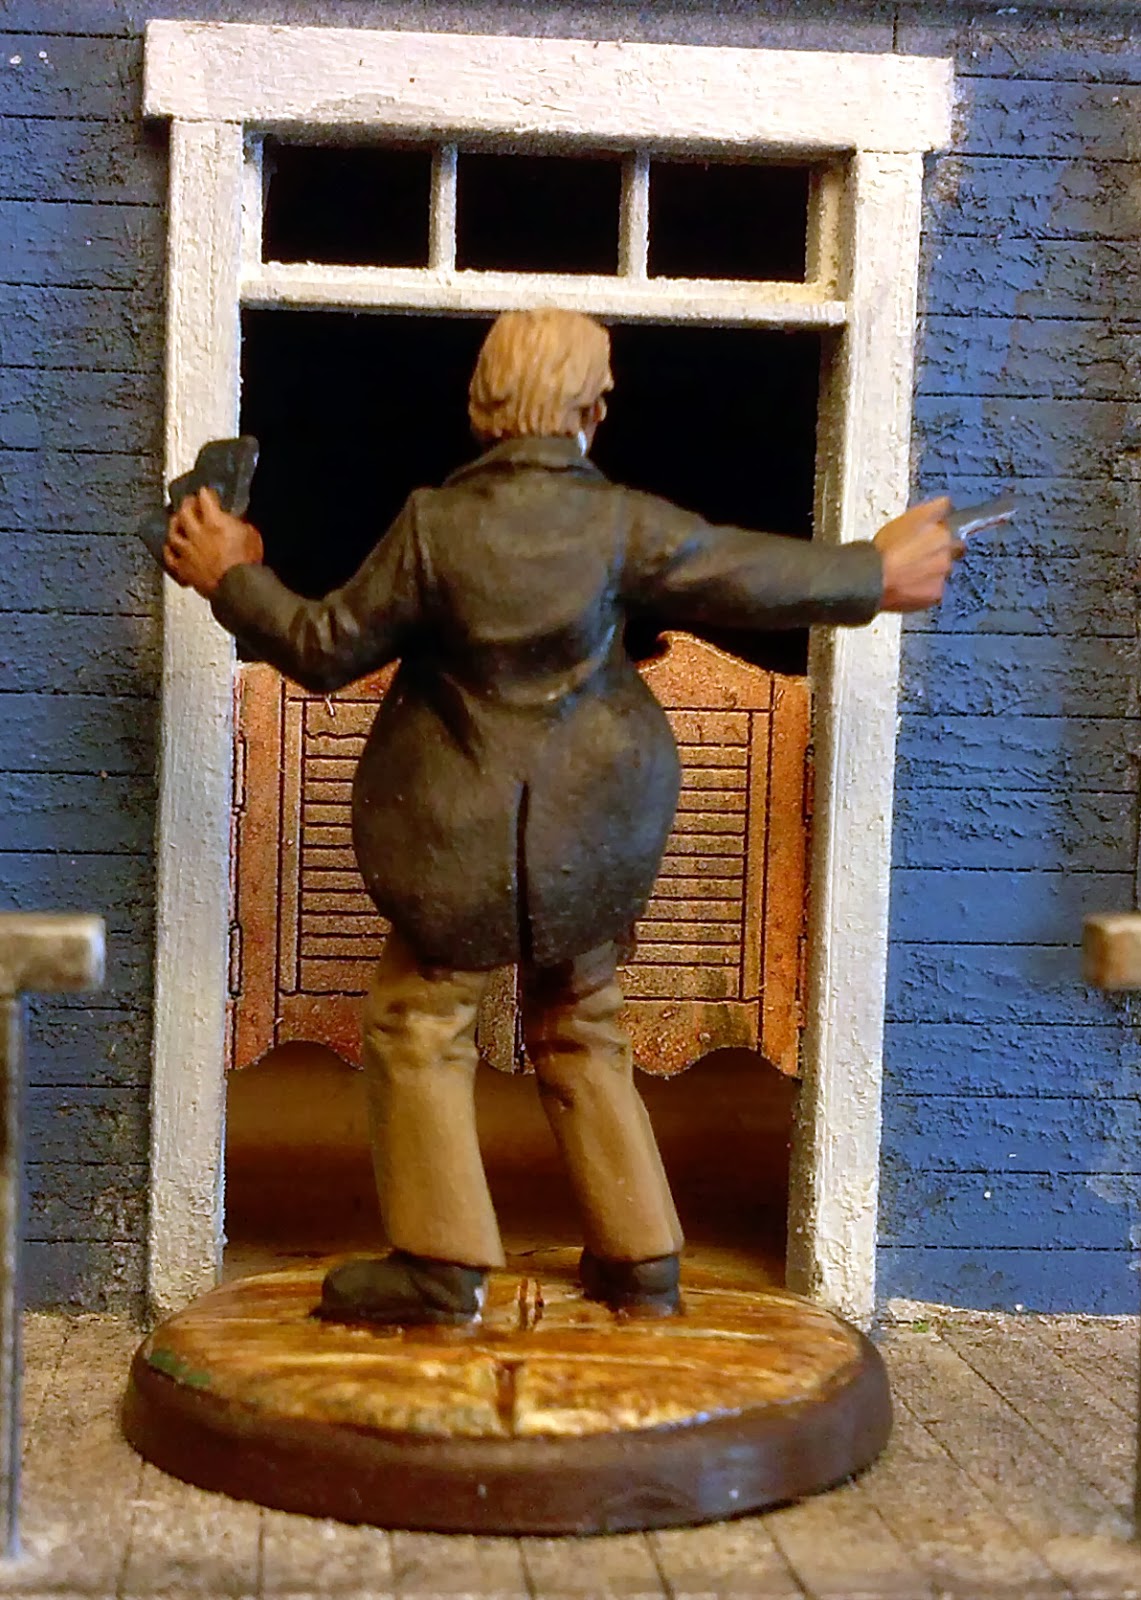
If you didn't buy into this kickstarter, or did and are anxiously awaiting your copy of the book this might appease you a little bit. Check out this gallery of Walter's photographs on culturalspot.org
I did download my pdf of the book and it only whetted my appetite for the real thing.
The Town of Calamity, The D&RGW RR Warehouse Row and Historical Miniature Gaming
Quotes
Life is short, break the rules. Forgive quickly, kiss slowly. Love truly, laugh uncontrollably and never regret anything that makes you smile. - Samuel Longhorne Clemens (Mark Twain)
Saturday, December 21, 2013
Tuesday, December 17, 2013
Calamity - Newspaper Office - Cutting the Parts
I'm pretty happy with the prototype I built out of mattboard of the newspaper office from Crested Butte. For my trip I grabbed some plastic and the Grandt Line windows and threw them in the suitcase. Tonight I was able to spend some time laying out the parts on the plastic sheets and then cutting them out. I realized that I didn't have any of my doors so all I cut tonight were the positions of the windows and the main pieces of the building. I still need a floor for this one, and I'm not quite sure how I want to approach that. Other than the windows, I haven't cut any detail parts out. I wait till I get home for that, in fact this is about as far as I can go with this one till I get home.
Definitely need a visual record so here are a few pictures of the progress so far:
![]() |
| Starting from the front, getting ready to cut out the place for the front window. |
![]() |
| Now I have it right. |
![]() |
| Window in place on the inner core wall. |
![]() |
| Side wall with the window in place |
![]() |
| The other side with both windows cut out |
![]() |
| And now with the windows in place |
![]() |
| The back wall with the window in place |
![]() |
| Here is the back wall (before cutting out the window) lined up with the false front with the rear roof support. |
![]() |
| Close up on the front of the lean to. A couple of nicks with the knife that I'll have to clean up later. |
![]() |
| The main building pieces. Again the vertical lines are where the battens will be glued. |
![]() |
| A closer shot of the main building parts. Still need to get that doorway cut out. |
Monday, December 16, 2013
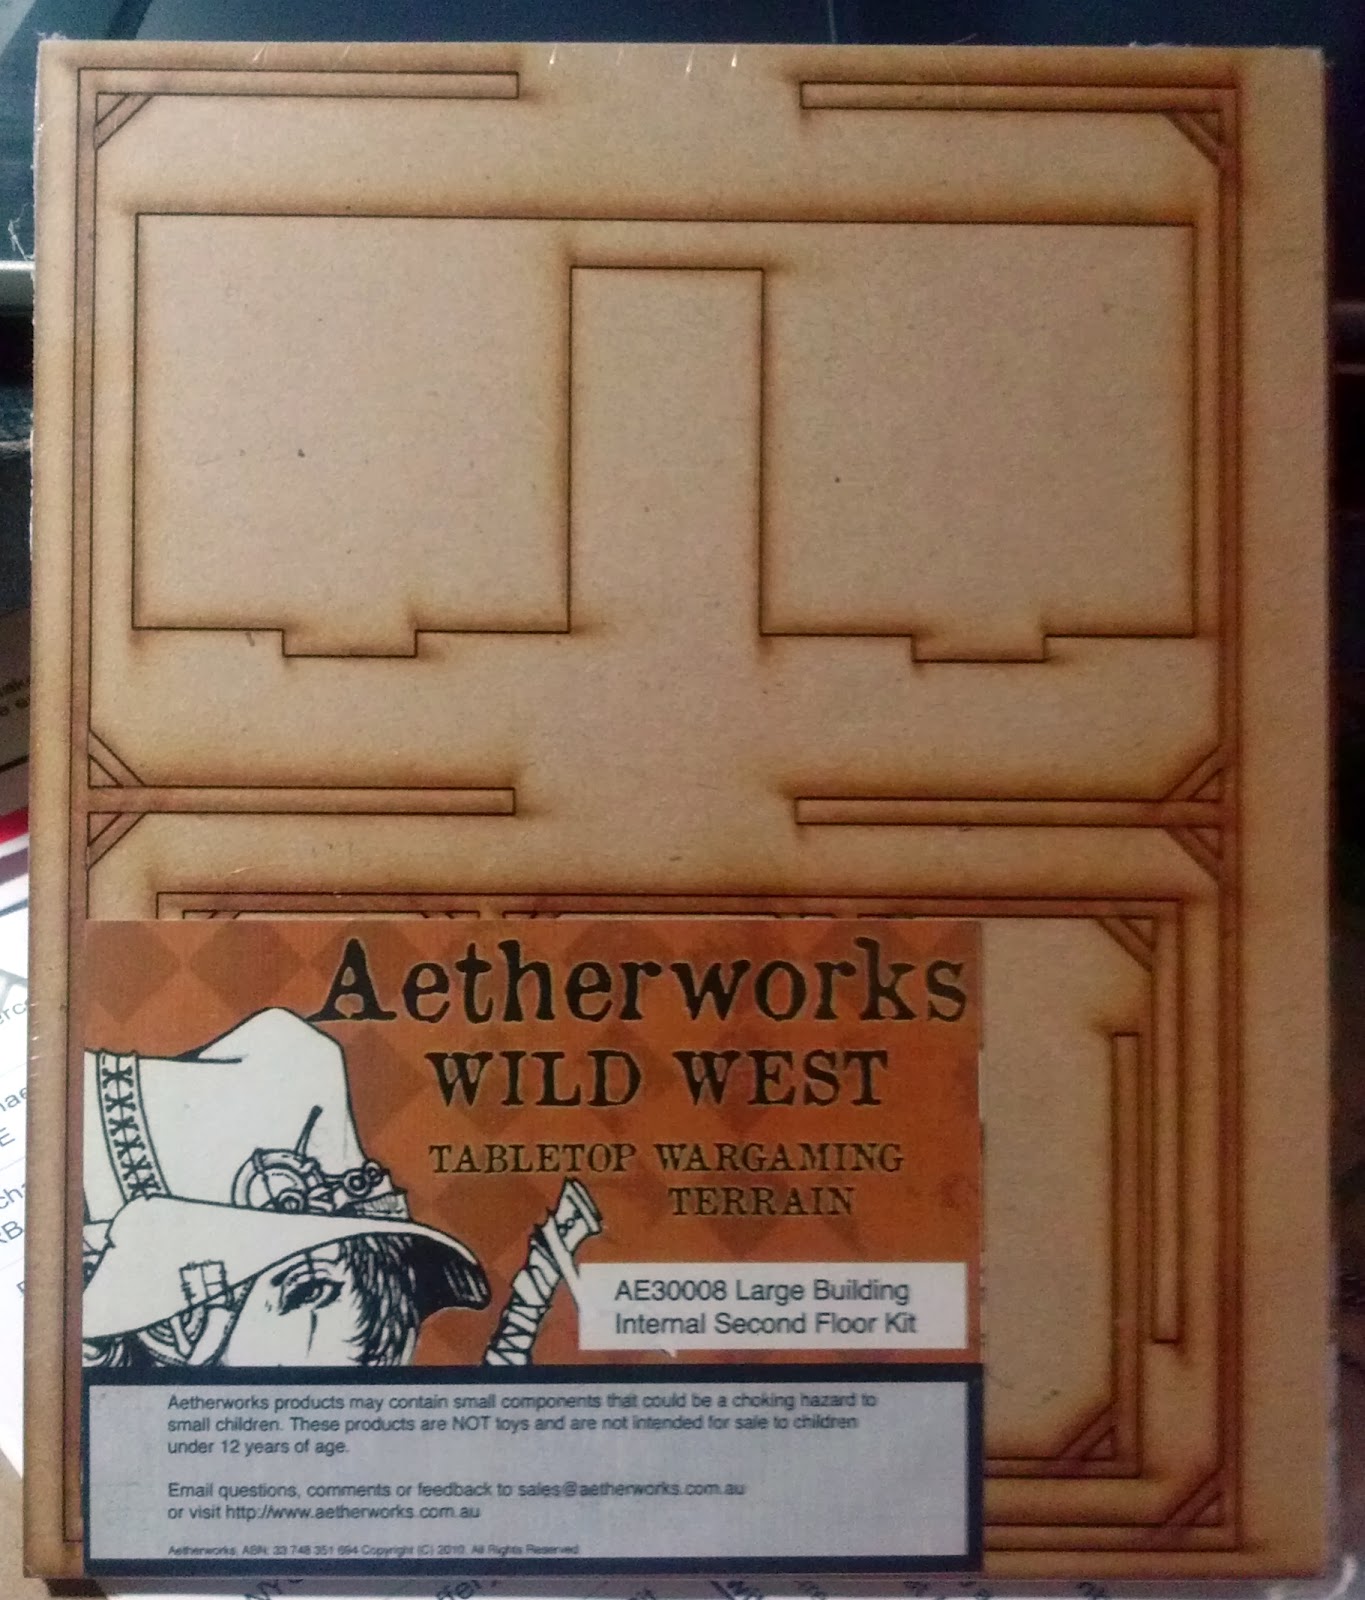
Aetherworks 2nd Story Kit for their 2 Story Western Buildings
When I received the Aetherworks 2 Story Western Building kit (the subject of one of my posts from last month (Aetherworks 2 story) they also sent a long a copy of their 2nd Story Kit. Right now the Aetherworks 2 Story building is a lot like a Gamecraft Miniatures building in that if you want to have a second floor you need to scratchbuild it. With the variety of kits from other manufacturers coming out with playable 2nd floors they saw a need to provide the same thing. Short of re-engineering the whole kit, they were looking for a simple way to create that playable 2nd floor.
The prototype they sent me is pretty darn simple and straight forward. I do prefer to have some instructions even with something simple, what's obvious to one person is not necessarily obvious to another. Being a prototype and a simple one at that I'm willing to overlook the lack of instructions. Everything else is typical high quality Aetherworks components.
You can scroll down to the pictures but basically the kit consists of a second floor, one interior wall and supports to hold the floor in place. You take the supports and glue those into the first floor of the building, that provides a nice ledge for the 2nd floor to rest on. You then glue the interior wall to the floor add the door lintels and you are done. I really like the look the supports add to the first floor, really adds to the look of the interior without a lot of effort, although I would probably recommend gluing wallpaper in place first rather than afterwards.
Its simple elegant solution which I like. I set a couple of minis down on the second floor and pulled it straight out with no problem so it certainly foots the bill. It doesn't take a lot in the way of materials and its not very heavy.
It has a couple of drawbacks that, for the most part, are probably more personal for me than real drawbacks. I would prefer that that whole 2nd floor came off to get to the bottom floor. Its just a little awkward to moving minis around on the bottom floor when you have to reach all the way into the building. The lift out also means I can't really do anything to the walls on the second floor beyond wallpaper them. The fit is reasonably tight so anything I glue to the wall that protrudes into the room, like a window frame, is going to lock the 2nd floor into place. These concern me because I am a modeler first and not being able to do anything to much to the interior bothers me. I would have preferred a whole shell myself so you have walls going all around the room plus the interior wall. A lot of detail could be cut in with the laser cutter if they went this route. However, that would add a lot of materials (essentially a whole other building) and weight to the package without a lot of gain. From a game standpoint its a pretty minor issue, and for most gamers its not going to be an issue at all.
The only thing I might think about adding is a hole in the 2nd floor and stairs going up to it. That takes it from a simple kit to something a bit more complex though and isn't really necessary, but I would still like to see it.
I don't know if or when we might see this 2nd floor kit go into production but if you already own a number of Aetherworks 2 Story buildings then this is an excellent buy. It will take you about 10 minutes to assemble the whole thing and be ready to go. If you have some Aetherworks buildings drop them a line and see if you can acquire some of these kits for your building. If you don't have any but are thinking about buying some then definitely see if they can include these 2nd floor kits to your order. You can contact them through their website: Aetherworks
Here are some pictures of my version, since it is a prototype I don't know what might be changed but I imagine these pictures will still be pretty close to the final.
![]() |
| The parts |
![]() |
| Interior wall glued to the 2nd floor, this becomes your handhold. |
![]() |
| Definitely fits inside, I think its a little low right now, or maybe just a building sized elevator. |
![]() |
| Side Supports |
![]() |
| End Supports. I do like these a lot better than using Battle Flag's template and scooting it around the walls to make sure you glue all your support beams in place at the same height. |
![]() |
| Gluing the supports in place. My weights are probably over kill at this point, but useful none the less |
![]() |
| Making sure the end supports are never coming off. |
![]() |
| Supports in place |
![]() |
| 2nd Floor in place. Works Great! |
Sunday, December 15, 2013
Citizens of Calamity - In Between Trips
I managed to get another citizen for Calamity finished over my few days at home. I wanted to be able to sit down and finish something so I set the Marines aside and decided on another western mini. This one is from Reaper Miniatures in their Savage Worlds line, #59005 Huckster. Now there is a little story to go with this one. The sculptor is a friend of mine; Bob Ridolphi who I have become friends with over the years at ReaperCon. I'm pretty sure he worked from the original artwork that graces the cover of the book "Hucksters & Hexes" by Pinnacle Entertainment for their Deadlands RPG. The original artwork for this cover was painted by an old friend of mine; Dan Frazier in Boulder CO. The "model" he used for that cover is another friend of mine Dave McMillen. Seems like I was pretty much destined to paint this piece, its not often you find a connection to mini like this.
Saturday, December 14, 2013
Calamity - Prototype Buildings - Moving Forward
I was able to take some time and do some basic assembly with the Silver Plume Bakery and the Crested Butte Newspaper Office (Pilot). I pulled out some minis and judged them for scale and I'm pretty happy with the result so I think I can move forward with these two buildings. While I enjoy scratch building structures I also believe in making it as easy as possible so a trip to Caboose Hobbies took place. There I was able to directly compare the windows and doors from Grandt Line for both their O and S scale lines to my templates. While I talk a lot about scale when building Calamity, its not nearly as big a factor as I make it out to be. First I can't let it dictate everything since I'm working in our odd 1/56th scale. All I really need our windows and doors that will fit the openings that I have what "scale" they actually are is irrelevant. There are a fair number of manufacturers out there that make windows in doors in the various railroad scales. The reason I went with Grandt Line is that they give actual measurements of their products in the their online descriptions. With good measurements I can at least get close and ultimately that's all I really need to do, if the proportions look right then it should work just fine. Caboose Hobbies stays pretty well stocked on Grandt Line parts so I have ready access if I need it and if they don't have it I can order it pretty easy. Doors look like they are going to be a bit more difficult to deal with and I may have to actually make all the doors, we can't have everything!
The next decision is what material to use for the construction. I'm leaning towards plastic right now. I could go with the wood and use the matt board as a core, but plastic is pretty easy to work with and I have a lot on hand. I'll have to dwell on it a bit.
So a few pictures of what I ended up with:
And here is how some of my Grandt Line parts might work out:
The next decision is what material to use for the construction. I'm leaning towards plastic right now. I could go with the wood and use the matt board as a core, but plastic is pretty easy to work with and I have a lot on hand. I'll have to dwell on it a bit.
So a few pictures of what I ended up with:
![]() |
| This makes a nice odd corner for an ambush |
![]() |
| This corner could be a problem, fortunately there is a window to dive through. |
![]() |
| Looks good, will still need a front porch though |
![]() |
| The Bakery, I seem to have misplaced two of the side pieces that help fill in the doorway. The door is set at an angle across the opening. |
![]() |
| My prototypes side by side |
![]() |
| Sitting next to my Battle Flag Saloon |
And here is how some of my Grandt Line parts might work out:
![]() |
| The results of the shopping trip to Caboose Hobbies. Calamity Citizens checking out the purchases. |
![]() |
| Masonry Window, usually used in a brick or stone wall but its nice because it doesn't have any kind of ornate frame so its pretty flexible. A bit tall for the Bakery though |
![]() |
| Pretty good fit on the Pilot though. A little wide, I'll have to see if there is a narrower one available. Tiche Trains Group is another parts possibility, |
![]() |
| That's almost a perfect fit and I like how it looks. |
![]() |
| With a Brigade Games mini standing outside the window. |
![]() |
| Still a bit large for the Bakery |
![]() |
| Two different styles in the RGS pack |
![]() |
| The larger RGS window might be a good fit for the Bakery. Maybe add an a narrower window on the right or left and make the building a bit wider to match. |
![]() |
| A little small for the opening I scaled from the plans but its a good look none the less. |
![]() |
| I love these windows, I used them in a Halloween Diorama once. |
![]() |
| Not a bad look for the Pilot |
![]() |
| Way to big for the bakery |
![]() |
| These good work on the Bakery |
![]() |
| Adjusting the sizes a bit these good work for the Bakery front as well. |
![]() |
| Works nice for the front of the Pilot as well. |
Subscribe to:
Posts (Atom)