Quotes

Life is short, break the rules. Forgive quickly, kiss slowly. Love truly, laugh uncontrollably and never regret anything that makes you smile. - Samuel Longhorne Clemens (Mark Twain)

Tuesday, December 5, 2023

Jigsaw Puzzle - Mistakes!

I have been working on my jigsaw puzzle cutting skills. There is an idea in the back of my mind that this could be my retirement "job". We will see if that comes about, retirement is starting to creep up on the horizon though.

From Oct - Nov 2022 I cut 9 puzzles. I consider two of those to be prototypes and I put out for people to put together. Seven of those were family gifts. This year we have expanded things a bit. I'm cutting 14 puzzles this year, including two that are 11x14 rather than the 8x10s I have been doing. One of those I made a mistake on and I don't feel right giving it out as a gift so it will become another display puzzle,

I start with a picture and a piece of 5 ply baltic birch plywood I then use a dry mount press to mount them together. We purchased a smaller used press last year and it works okay. This year I used it on the first two puzzles and I just wasn't getting a good bond. Out of frustration I went looking for another used one that was in better shape and I found one on eBay that was local and we could pick it up. These presses are heavy and I really didn't want to try and have it shipped. This one is a bit bigger and worked like a charm. However, there was a bit of learning curve with it. I used the same settings and timing I used on the original press and that didn't really end well.

This is what happens when you apply to much heat for to long a period of time:

I think this particular image is cursed. This is the same image that I messed up a cut bad enough to tear it and thus making it only good for a display puzzle to put together on the table.

Monday, December 4, 2023

Jigsaw Puzzles for 2023

One of the things that has been occupying my time is cutting jigsaw puzzles for Christmas. I actually started cutting in October because we are expanding how many we are giving out for gits. Here is what is on the list for this year:
Here is the first batch of 8x10s

The next batch, including three bigger puzzles. 1 is 11x14, the bright orange one is 10x14 and then a panoramic photo that is 8x20.
I had already finished three puzzles so these are not included in the first two photos.


This one was going to be for my wife, but she decided she would rather have the Spanish Windmill shot instead. I'll end with with three of the Spanish Windmills in 8x10 and one 11x14.

Unfortunately with all the puzzle cutting I forgot about printing Christmas cards this year so we are going commercial with those!


Monday, November 27, 2023

Painting the Modelu O Scale Transitional Era Crew Bundle - Part 7 Finishing up

Time to wrap this up. These are relatively simple figures from a painting perspective. After the overalls, jackets and caps its just down to gloves, boots and touching up the skin a bit.


To start off I wanted to try something to try and bring out the features on the skin a bit more. I took some Army Painter Strong Tone and thinned it down about 50:50 with their glazing thinner. I painted all of the skin and the shirt with this mix and let it dry. It feels like it added quite a bit of depth to the face and filled in the eyes better than my initial effort, however, my highest highlight was really emphasized and looked very odd at this point. Didn't work as I had hoped on the shirt though, I think the detail is just to fine there to really take advantage of this technique. It also dried pretty glossy, but I expected that. So to bring some life to those shadows on the shirt I took some Reaper Brown Liner and made a wash and essentially did a pin wash along the folds of the shirt. That helped things pop a bit.


I went in with my mid-tone skin color. Ammo's Burnt Sand (A.MIG-0133), touched up the skin a bit which covered most of the gloss and tightened up the transition to that highest highlight.

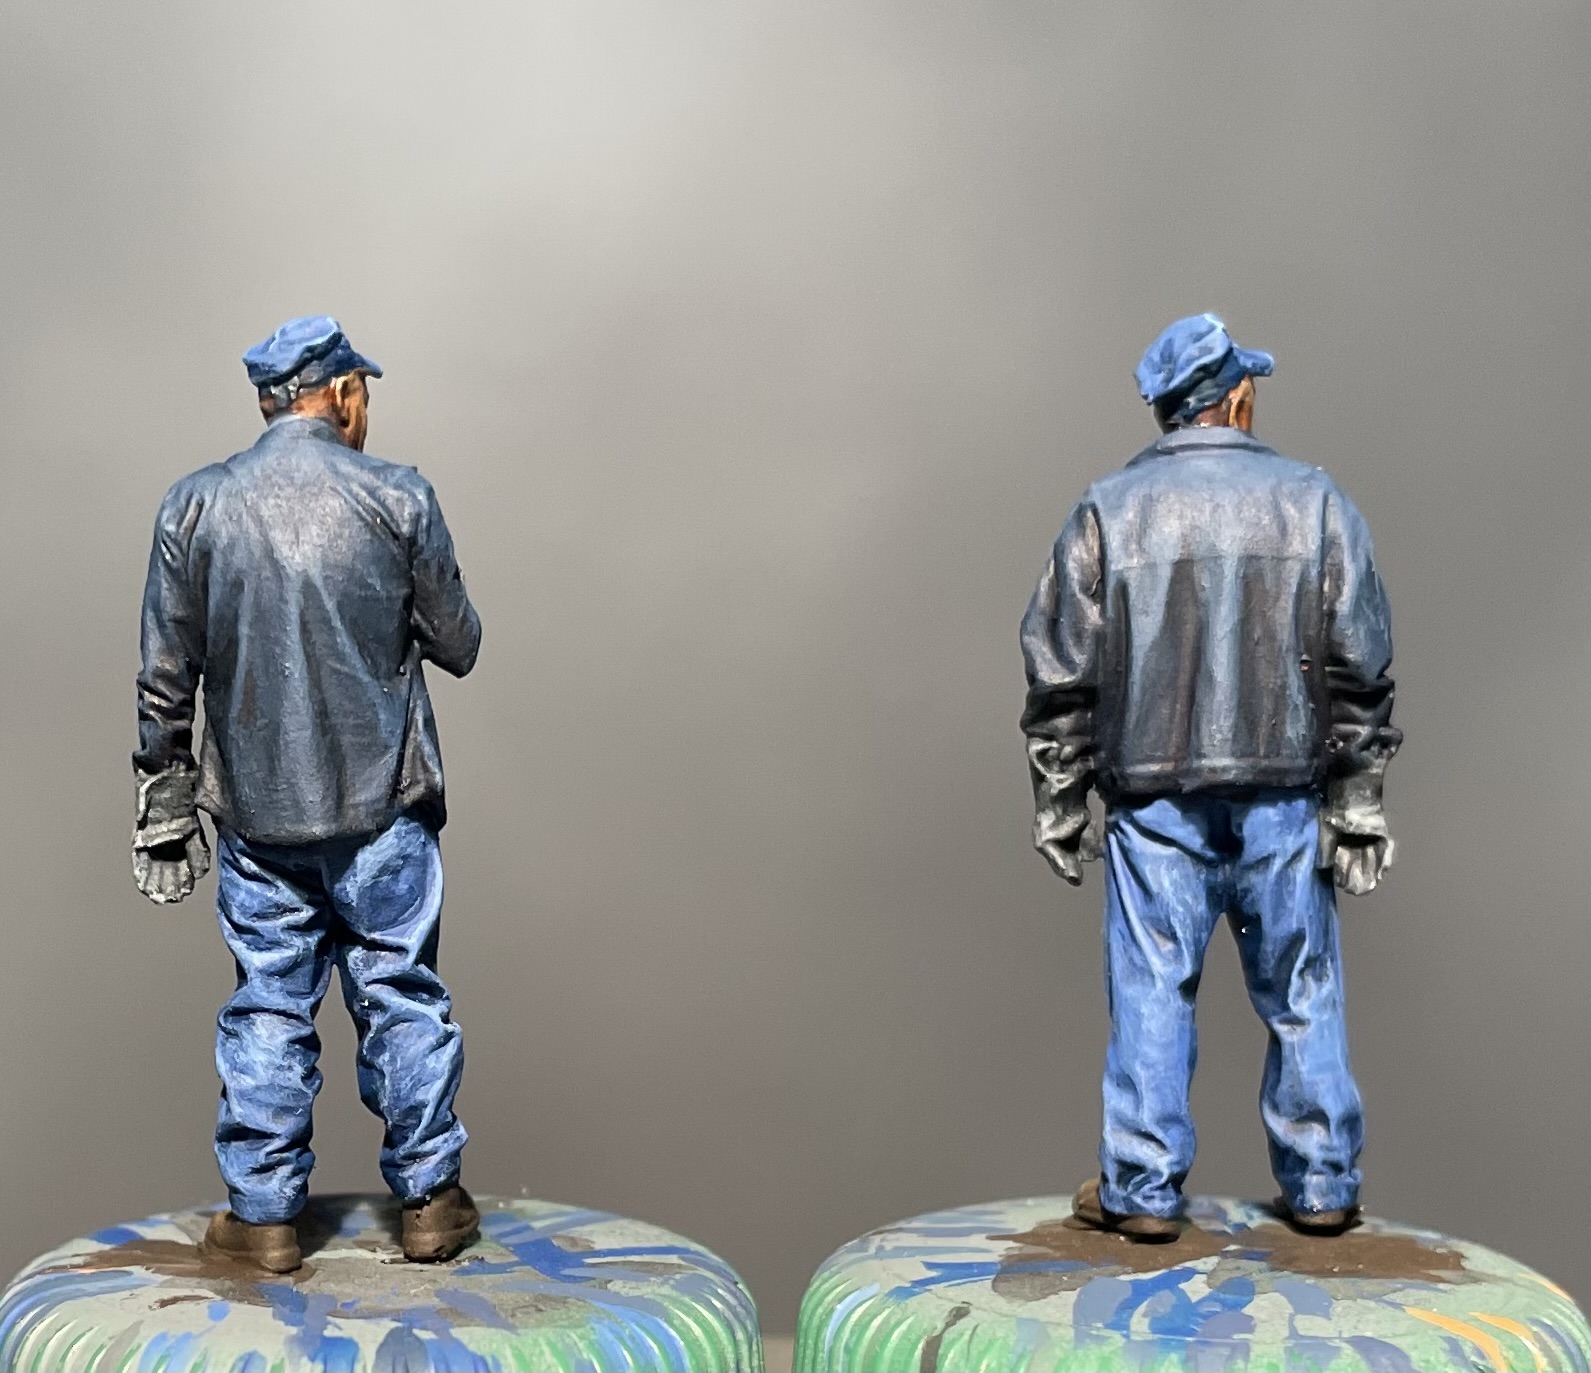
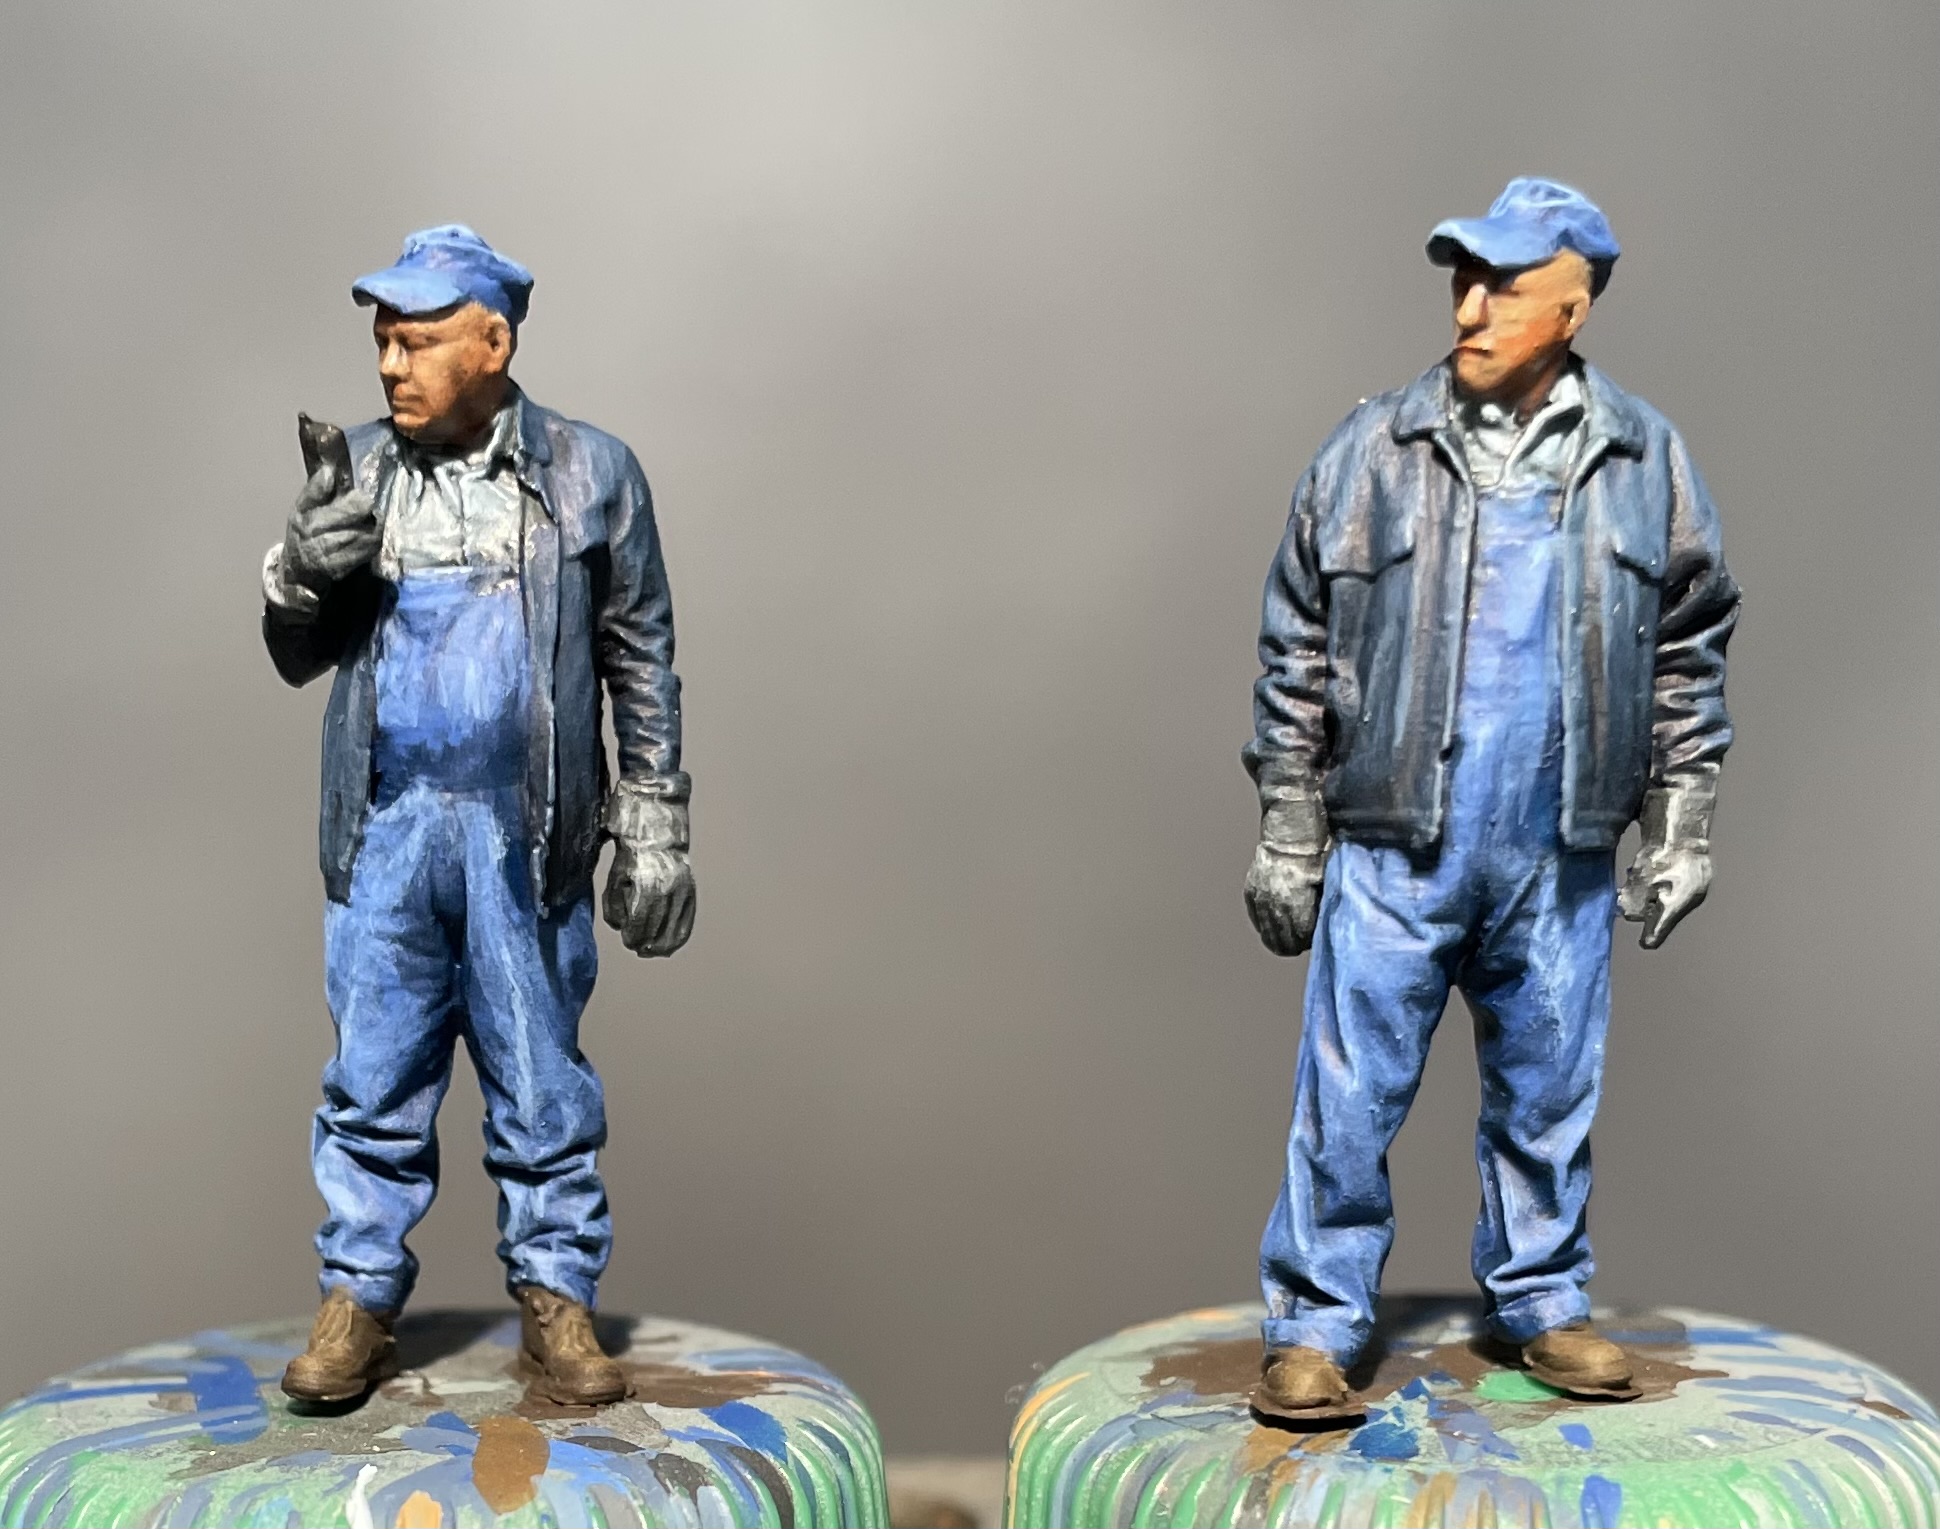
From there I moved on to the gloves and boots, following pretty much the same process as the jackets and overalls; a dark, a mid-tone and a highlight. These areas are small and don't need those transitional 50:50 mixes that I used on the larger areas. I went with brown for the boots and dark grey for the gloves. I'm not quite sure what would have been a common color for railroad workers' gloves in the 50's so I went neutral.


Next its time to add some "nature" (a phrase we use when our Great Pyr brings in an assortment of leaves and twigs on her coat into the house). For me these will be diesel crews for warehouse row served by the Rio Grande. On to the dirt. I used two colors from my Pan Pastel stash, one dark and one light.


Since it is powder I might continue to play around with this, but for now I’ll call them done

Friday, November 24, 2023

Painting the Modelu O Scale Transitional Era Crew Bundle - Part 6 The Blues - Jackets

Continuing on I layered up the blues on the jackets from the dark nightmare black to some highlights. I did a lot more glazing on these larger models to smooth out the transitions from dark to light. Still looking a little rough at the end but at some point you just have to say enough.

Looking back at the colors in order (all of these are paints from Reaper Miniatures)
Nightmare Black 9280
Solid Blue 29816
Nightsky Blue 29818
Winter Blue 29817

Intermediate mixes are, more less, a 50:50 mix of the two colors next to each other in the sequence. When I glaze back I use the Nightmare Black thinned down about 1:10 paint to thinner. For glazes I don't use water as a thinner I use an airbrush thinner (Vallejo's in this case). Basically I'm thinning with binder to keep the paint from beading up on the model.