Quotes

Life is short, break the rules. Forgive quickly, kiss slowly. Love truly, laugh uncontrollably and never regret anything that makes you smile. - Samuel Longhorne Clemens (Mark Twain)
Showing posts sorted by date for query Wild West. Sort by relevance Show all posts

Tuesday, May 31, 2022

Catching Up a Busy May

I only have exterior shots of the greenhouse right now and, of course, nothing current. This is what it looked like after the builder was done. You can tell because the back fence panels are still down and you can see into the empty lot behind our property.

Its been a very busy May around here, unfortunately nothing truly hobby related. I have been working, slowly, but steadily on my wife's greenhouse. I have finished insulating the east and west walls and have almost finished the south wall. That's taking a little longer, lots of cuts because of all the windows and I had to cut in a floor level vent. All that's left there is to cut out the opening for the vent on the inside wall add insulation and seal that last 2 square feet up. That leaves the north wall which is the easiest. I have to cut in one more floor vent and that's it, no windows or doors to deal with on that wall.

We also reset all of the flagstone in the back garden about 9' wide and 80' long all of  our raised garden beds sit on this. Of course we added three more beds this season. While it was very tempting to plant as soon as the beds were ready we held off, even though we didn't get any snow in April and up through May at that point. Still as long term Colorado natives you learn not to plant before Memorial Day unless you want to do it twice. Sure enough we had a pretty good snow storm running from Friday the 20th through Saturday the 21st.

The large expanse of flagstone. The project was originally started by my wife's father and most of the flagstone at the far end (which is also where the greenhouse is located) is from old Denver sidewalks. We had to buy more to fill in the last 10' to the foundation of the workshop. This was right after it was finished and before we got the raised garden beds set back up.

At the end of the month the new workshop went up, the crew arrived on the 25th and had the whole 12'x20' structure up and ready the next afternoon. The electrician has been out and we have gone over the circuits and power requirements so that's next on the list, hopefully he can get out quickly. Once the power is in I'll start insulating and putting up the plywood (its actually an underlayment plywood, interesting stuff and not nearly as expensive or as heavy as 1/4" plywood). Then we can start moving in the tools from the garage workshop out to the new building. I still need to put a bit of fencing back up and install a new gate but I don't have to wait to do that. I'll finally be able to get the diode laser and the CnC router setup and running. Both will be on mobile platforms, they take up to much space to be left standing up all the time. Its been ages since we have been able to do any wood working so I'm certainly looking forward to getting back to it.

This is most of the view from the house. Once I install a gate in the chainlink fence that door will be our main access. Its 4' wide and opens out.

First glimpse from the garden side, you can see where the flagstone ends and the two fence panels that need to go back up on this end. Although one of them is destined to become "spare" wood.

The east side which will overlook the "wild" garden. That garden is looking a bit trampled at the moment but peas are very resilient in this area as is the horse radish and rhubarb.

This is the south side which faces the driveway for the back lot, we have an easement to use this driveway. Those are 6' doors but I only intend to use them for to get the tools and wood inside. Since they are directly across from the neighbor's garage which he uses as a workout space we really don't want the door open!

The inside which seems absolutely cavernous at this point. We opted for full eight foot ceilings and the gambrel roof to gain some extra storage. Since a lot of the wood we use comes in 10' - 12' lengths this will allow us to store it vertically.

The south wall, destined to become home to the lathes for sure, not quite sure which other tools will run along this wall.

And the east wall, nice and blank except for the door, 14' of uninterrupted wall space.

The inside of the house has been a bit topsy turvey as well. We had the floors in the dining room and living room re-finished which also means painting because if the room is already empty then painting is pretty easy to do. Right now the dining room is finished but stuffed with furniture, the living room is empty while the floor cures (about 7 days) and you can't really move around in the basement were the bulk of the living room furniture resides at the moment.

The dining room floor. We put on a fresh coat of white paint and went from a light blue to a dark blue on the walls. The floor is a lot lighter in color as well we didn't add any stain to it so that's pretty close to the natural color of the oak.

Looks like there will be plenty to do in June and hopefully a couple of projects will finally get completed and some experiments with new tools done as well. I’ll try and keep the updates coming!


Friday, February 4, 2022

State of the Blog and Mind

Phoebe on guard at dawn. 

To say I have been struggling mentally lately is a bit of an understatement. Losing Lani (our Great Pyr/Anatolian Shepherd mix) back in October left a huge hole in ours lives (at least there are three others doing their best to fill it) and was probably the trigger for a lot of this, but there are a lot of other factors at play. 

The biggest single stressor has been getting the 2nd house ready for sale. We acted as our own General Contractor on the remodel as the owner of the original company that we would have used literally died while he was working on the quote, that really throw a spanner in the works as we didn't know that had happened for a couple of weeks. We were also up against supply chain issues, so the mantra became "must be in stock" came into being. It limited some of the selections but it also guaranteed that we would have everything we needed for each step in the process. 

The house has received a complete make over at this point, more than we had originally intended. New problems came to light as we tore out and replaced the kitchen, primarily  plumbing (thank goodness we knew an excellent plumber). Tearing out the kitchen revealed a problem with waterlines in the second floor so those had to be redone. In fact probably 80% of the copper lines in the house were replaced. A new furnace went in since the existing one was in a grey zone for replacement, the fuse box was actually illegal (apparently its now considered a fire hazard, our entire neighborhood uses this old style fuse box as do about 90% of all homes in the Denver area built from 1978 - 1985) so we had to bring that up to  code. The list went on and on and it seemed never ending. However, it has come to and end and it goes on the market this Friday and its almost a completely different house than when we started. Its been a long 3 months to get it ready. Of course its currently snowing here and which means I'll have to go over and shovel it on Friday before the showings begin.

I recently learned that the virus has struck a bit closer to home than I would like. A friend of mine that I haven't seen for about 5 years, passed away from it. He decided not get vaccinated and paid the ultimate price for that decision. My wife has a cousin in the hospital with the virus and we are not sure if he is going to make it, again a decision not to get vaccinated in this case by a 1st responder. These things weigh heavily when they strike that close to home. Fortunately our vaccinations are up to date and we have not been exposed although my brother and his wife did catch it during a vacation to Hawaii, they were vaccinated and pulled through without a problem. So a positive note there.

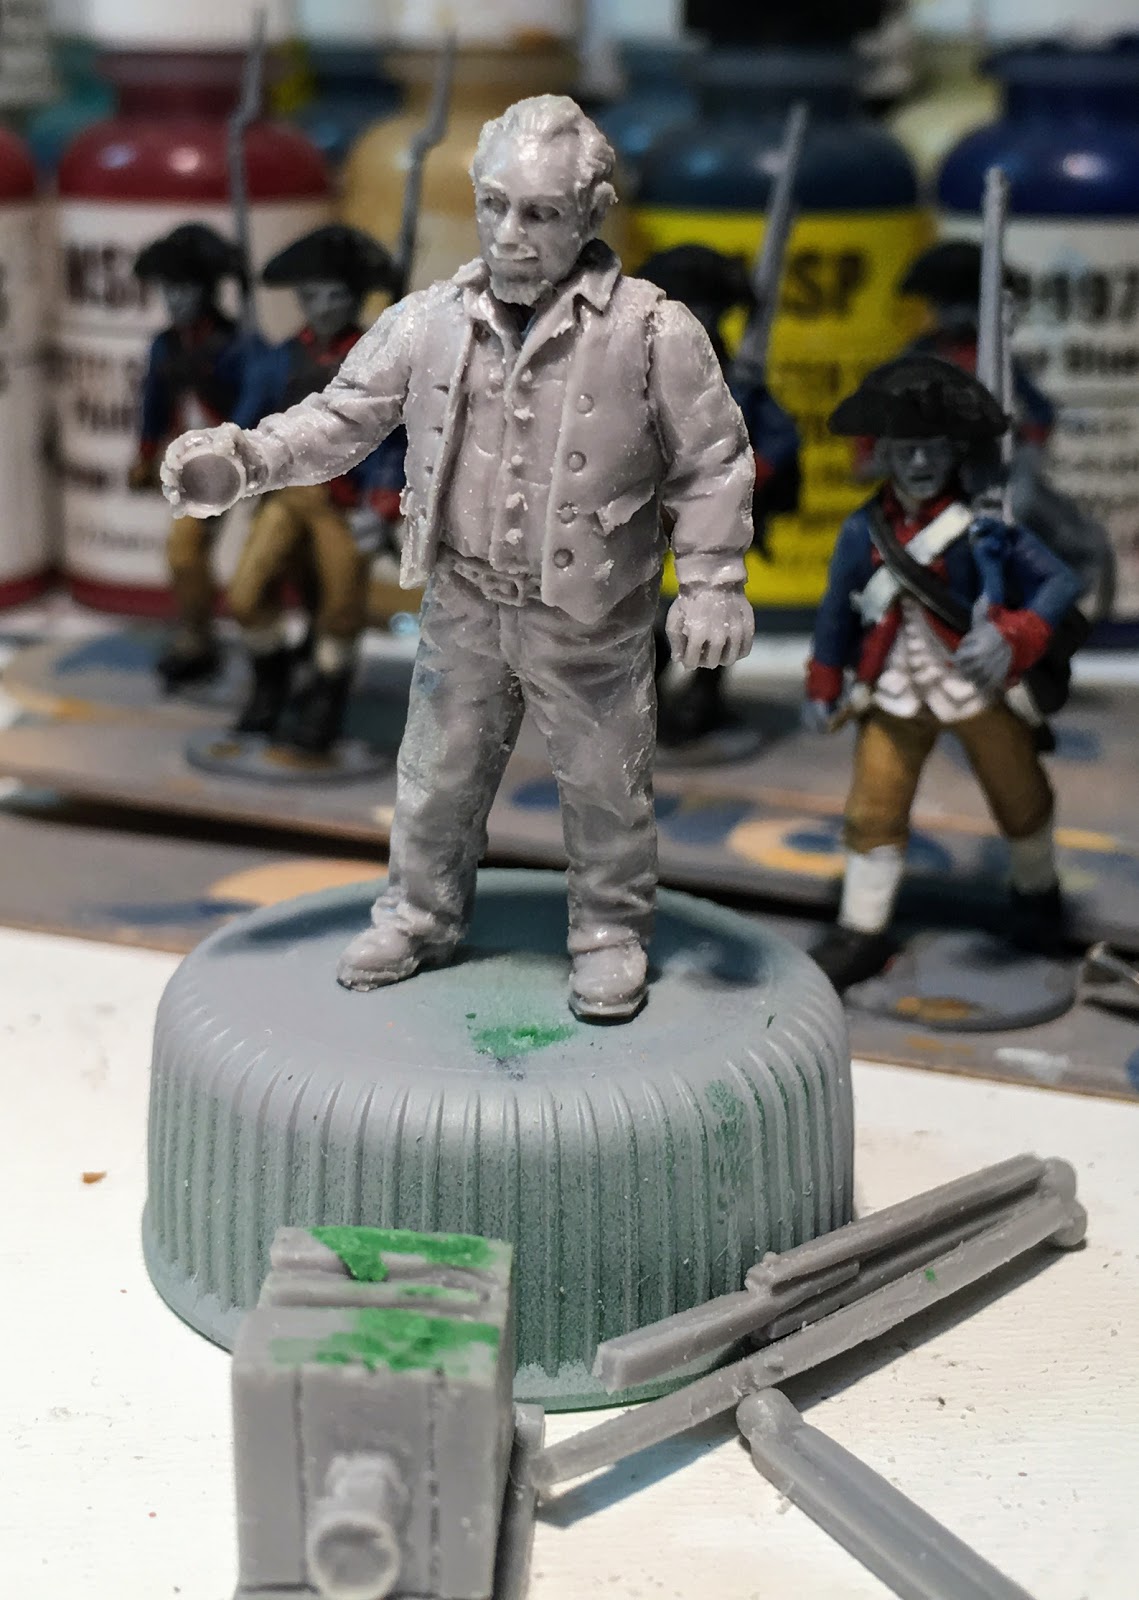
Getting the house ready has had a huge impact on my hobbies and I have literally not lifted a paintbrush or built a kit for months now. I have three Stugs and one Stuh still waiting for their weathering, I think I started those almost a year ago. The Sophie's Revenge pirate ship still sits in pieces, at least its in the box and not strewn across my desk. Also cleaning out the house has really made me re-evaluate what I'm still interested in playing.

On the project front:

1) Rebuild the Sophie's Revenge, with an eye to using it only as a display piece, possibly a competition entry for a future ReaperCon. 

2) Finish the Sledgehammer, again just as a display piece and a competition entry for ReaperCon

Wargaming armies I will continue with

1) 28mm WWII Skirmish - While I may cut back on what I will actually paint, I'm still interested in this period, at this scale along with the terrain to play on.

2) 28mm AWI - More likely this will still be oriented towards a skirmish level but maybe army oriented since the "armies" are not particularly large.

3) 15mm ACW - Still one of my favorite periods so I'll keep these around. They are not likely to see any action in 2022. But the finished portion of my Union army is plenty large enough to play with.

4) 15mm Napoleonics - Kind of on the edge on this one still, but I do have a fair amount of British infantry finished, mounted and ready for battle.

5) 28mm Wild West - This one is probably still on the top of my really want to do list. Including a "portable" board for conventions.

6) 15mm Vikings - I'm on the edge with this one at the moment. The promised set of rules from the kickstarter have yet to see the light of day although the miniatures are great.

7) 28mm Rohirrim - Another one on the edge. I rescued everything that I have for this and I still get excited to paint them but I'm not sure its worth doing a whole army at this point.

Periods being dropped:

1) 15mm WWII - Dropping this which means I have an old 15mm FOW Afrika Korps army that needs to be sold off.

2) 28mm Napoleonics - something I have always toyed with but definitely dropping it from the list at this point. It just takes to much time to do them justice,

3) 20mm Modern - I got started but I'm just not feeling it any more. I have enough vehicles to build for WWII without adding more to the list.

Other Hobbies

I love trains and I'll keep what I have but I might start selling off some of my accumulated books and only keep the ones specific to my interests. At some point I will find space to have a layout (I actually have a place scoped out that will work). Its time intensive though so it will be last on the list for the time being. I have plans still for an HO layout based on the old Denver Warehouse district and an On30 layout based on the Colorado & Northwestern.

Woodworking - this is moving up the list. Its the one thing that I was able to work on while the house remodeling was going on. I'm quite pleased with the pens, both acrylic and wood, that I have turned in the last month and it provides a much faster result that anything else I do which is really nice and quite satisfying.

This is the latest round. The one in the center is acrylic which is an interesting material to work with. I think I have turned about 40 pens at this point, most of which have been given away as gifts. This last batch is definitely some of my best work.


Hopefully things will start looking better in 2022 and I'll endeavor to keep the blog going at a reasonable pace, although probably drop my goal of 12 posts a month to something a bit less demanding.

Hoping everyone has a better year in 2022! Pay attention to your mental health its just as important as your physical health.

Friday, April 27, 2018

C&N Railroad Project - O Scale Miniatures - The Aspen Modeling Company

You can just see how small the AWI troops look even with the mini still in the package!
I can say enough about how quickly Alan packed and shipped this order to me. I really appreciate it especially when I have $250 worth of games still in "packing" status with another company. He also dropped me a note asking for a bit more information on the pictures of potential miniatures I had sent him. He was a least receptive to the ideas, unlike Knuckleduster which while polite said that they weren't really going to do much with that part of the business. Its to bad because it could really be a good market for them.

I ordered three O-Scale miniatures to try out: #O-03 Brakeman, #O-42 Man with Dog, and #O-66 Photographer.
Brakeman
Man with Dog
Photographer
While there appears to be a fair amount of resin flash, it is easily cleaned up. There are a couple of rough areas the needed some green stuff work on the Brakeman and the photographer.
A little squadron green stuff to fill a gap in the resin


About what I expect from resin miniatures and nothing terrible difficult to deal with. Mold lines were pretty light and easily dealt with as well.

For those that still think 1/48 scale is a reasonable substitute for 28mm miniatures here is a comparison shot with the Prospector from Reaper Miniatures.

Reaper Miniatures Prospector on the left, Aspen Modeling Company Brakeman on the right. Reaper miniatures are on the large side already and even he looks small.
While they are not exactly on equal footing, the prospector only comes up to about the brakeman's shoulder, so they are quite a bit larger and won't really work well together unless you are populating your wild west games with 7' tall individuals.

For the C&N they should be perfect, the brakeman fits right in, the other two have clothing that's a bit more modern looking than my period, but I don't think that will be an issue after they have been painted. I have managed to get two of them ready for priming yesterday, but I still need to finish working on the man with dog. I am going to mount them on bases for now as its probably going to be a while before Sunset will be ready for them.

The photographer and camera. The camera needed a little work, but looks pretty good

Brakeman and Photographer ready for a little paint.

Wednesday, April 25, 2018

C&N Railroad Project - O Scale Miniatures - A bit of a rant

I guess I'm pretty spoiled at this point with the quality of tabletop gaming miniatures. I have been playing miniature games since the late 70s and I have enjoyed, and taken advantage of, the near continuous increase in variety and quality of miniature offerings through the years whether they are in metal or plastic. Yesterday I spent a chunk of my morning looking for what is available in O Scale to populate the C&N with and quite frankly I expected a whole lot better than what I found. Poor to average sculpting, completely inaccurate proportions, to thin or to thick, complete lack of detail. No wonder so many narrow gauge O gaugers do such heavy modifications to their miniature populations and why layouts are so sparsely populated. If you model a more modern period there are better miniatures available in O scale but the best of what I can find doesn't come close to some of the work being done in the tabletop gaming world.

Now I model a bit of an obscure time frame but if you look at period photographs most of the apparel worn in the 1900 - 1920 period works for at least 10 years prior (and maybe 20) and probably forward through the 1930s. The styles don't seem to have changed significantly during that 50 year time frame and even then changes in fashion were slow to reach the western US.

The station at Ward Colorado. Just in this first photo you can see a wide variety of mens' hats including the classic newsboy, fedoras, bowlers, cowboy, and what looks like montanas as well. Men in jackets and waistcoats, just jackets, just waistcoats but in general everyone is fairly well dressed. I see tall boots and dress shows, knickers and pants. The fireman standing on the far left of the photo (which I believe is Bill Tipps who would move up to engineer) is wearing a bowler, necktie, long sleeved shirt and overalls.


An excursion train on the C&N, probably at Mont Alto. This is a good shot for women and children. Check out all the young boys hanging off the locomotive's running board. All the women have hats, most have white blouses and all have long skirts, mostly plain but a couple of patterns as well. Note the grumpy gentleman seated in the front row near the right side of the photograph, looks like he is the group's curmudgeon.


I still need to model this caboose, it is certainly one of the more interesting ones out there! It must be morning because these three guys are very clean! Three different hat styles, one worker in overalls (with necktie and waistcoat as well), another with sweater and long pants and the third all decked out in bowler, jacket and waistcoat with gloves. I love the attitude these guys give off, ready to get started for the day and happy to be there.


Fortunately there are a couple of bright spots; The Aspen Modeling Company and Knuckleduster Miniatures (one of our own!). I have a couple of horse sculpts from Aspen Modeling so I know they do quality work. Unfortunately the line is not very large right now and there are only a few that will be really useful but its a start. They also ask for suggestions so I sent them some suggestions! The order I made this morning has already been packed and shipped so those might be here by the end of the week. (I pulled the pics from Aspen's website, they are a little small).


I have seen this pair painted up, badly on another website, they look much better here. It really shows how a poor paint job can affect someone's perception of how good a miniature is.
This is one that I ordered. Looking forward to its arrival.
These two pictures really show how a good paint job and really show off a miniature.

Knuckleduster I am already familiar with. I am in on their current Kickstarter and its looking like it should deliver on time or pretty close to it. Knuckleduster has shifted to making 3D renders and then creating the masters from those. As a result their quality has shot way up since going that route. Now their O-scale offerings are from the same 3D renders scaled up to O. I'm fine with that. I do wish they would expand that line beyond just the wild west period. There are a few miniatures in there that are very usable and a bunch that probably aren't. I certainly appreciate the effort though. It would be nice if they would advertise in the railroad hobby magazines and websites and have a chance to really grow that part of their business.

I just painted this guy up for Calamity, obviously in 28mm, it looks like he scaled up just fine to O (1/48th).


Your classic conductor, good for almost an era you care to model in.

I'll probably see if I can convince Knuckleduster to do a little bit more with their line as well!


Thursday, April 12, 2018

C&N Railroad Project - the Mines

Before I decide to change the C&N track plan significantly I figured I should at least take a look at how much space a couple of mines might take. Quite possibly I would have to extend one end or the other to accommodate these structures.

There are a number of commercial kits out there that would certainly be appropriate. I would love to get my hands on the J&L Mining kit from Stoney Creek Designs but that one is likely to fall way outside what I'm willing to pay for it. Banta Modelworks makes the Little Creek Mining kit but this one is a little on the small side for what I'm envisioning. Wild West Models has three kits; the Quartz Hill Mine, the Flack Mine and the Atlantic Cable Mine. I think that either the Quartz Hill or the Atlantic Cable would be good choices, the Flack Mine is a little small again. Those were really the only commercially available kits that I could find. I'm sure there are others out there I just didn't find them (I'm certainly open to suggestions if anyone wants to provide some links).

That brings us to the possibility of scratch building these two structures. I'm certainly capable of doing that. I first turned to plans from the Narrow Gauge and Shortline Gazette. Instead of pawing through all my hard copies I search through the NG&SL CDs. Much easier and much faster! Here is what I was able to find:
1) The Vicki Jo Mining, an HOn3 diorama by Ron Morse, MMR

2) The Saratoga Mine Revisited by Kelly Morris

3) Up Rattlsnake Hill, Part 1 and Part 2 by John Campbell

4) Up Clear Creek on the Narrow Gauge, Part 33: The Hukill Mine Head and Ore Bins by Harry Brunk
Later on Harry would discover that this is actually the Maude Monroe Mine, not the Hukill

5) The Saratoga Mine by Malcolm Furlow

6) The "No Name Mine" by Harry Brunk


 I have always like the Saratoga Mine and the revisited version really shows off what could be done with it. Its also capable fitting in a relatively long and narrow space which may be all that I have to work with. The designs for the Rattlesnake Hill are very versatile with all the structures being very separate from each other. I could easily just build the ore bins and use them on another structure. I need some good sized ore bins to justify rail traffic for these mines. The Hukill is the only "open" structure so that one will get some serious consideration. I like the Vicki Jo as well but there really aren't any plans for it in that article but it is similar to the Rattlesnake Hill mine and the arrangement of structures is intriguing.

There were a few others I found that are worth considering in a couple of my structure plan books.
From "Structures of the Early West" by Joseph Crea and Elwood Bell:
1) Silver Mine; Leadville CO, page 18

2) Crown Pointe & Virginia Mine, Idaho Springs CO page 28


From "Early Wood Frame and Stone Structures" by Pat Harriman, MMR
1) Samantha Morgan Mining Company, page 141

The Leadville Silver mine is a neat complex but it would absorb a lot of space. I have always wanted to build the Crowne Point & Virginia but its significant depth may rule it out. The Samantha Morgan Mining company is very similar to the Vicki Jo and if I utilized the ore bins from the Rattlesnake Hill mine it would be a more complete complex.

So those are the candidates for the Sunset area mines. From those candidates only two will emerge. In the mean time I'll make some paper foot prints to mess around with and see what kind of track arrangement I can come up with in the defined space or if I need to expand a little (and I have an idea building in the back of my mind for just such an expansion without adding more length to what I have).

Thursday, February 8, 2018

Days of Wonder - Ticket to Ride; France & The Wild West Pt 2

The second half of the new Ticket to Ride Expansion is the Wild West which can be found on the reverse side of the board. This includes a new set of white cars to add a sixth player to the game, new destination tickets and 18 city markers (3 for each player).

Those city markers are the key to the Wild West version which features a map of the US from about the eastern edge of Colorado to the west coast. These city markers are key to this version of the game and it should make for some very interesting strategies. At the beginning of the game each player will select a starter city. The first route you claim must be from your starting city and every subsequent route must connect to your home city or to a city you have built to. Only one player's marker can reside in each city and once placed they cannot be moved. Now comes the real twist. If you build into a city controlled by another player then they score the points for claiming the route not you. Even more intriguing is if for some reason a player claims a route between two cities that are controlled by other players (or even the same player) then both players score the points (or a single player would score double). This board also introduces Ferry like those in Ticket to Ride Europe.

This is possibly one of the most interesting twists I have seen in the Ticket to Ride games and will really affect the strategy you use in both claiming routes to complete your tickets and where to locate your city markers. I'm definitely looking forward to getting a few games of this one in.


Tuesday, February 6, 2018

Citizens of Calamity - Pa and the Blacksmith

I finished off, or thought I had finished off, another one of the bystanders from Knuckleduster's Gunfighters Ball line. I also spotted the Blacksmith from their original (and still available) Classic 25mm-28mm Wild West line. I thought it would be a good contrast between the two lines. The Gunfighter's Ball line pretty much blows the Classic Wild West line right out of the water. Not really to surprising, there are some truly awful sculpts in the Classic line and some of the worst are the women. I have a couple of women from the Gunfighter line in the painting que as well so you will get a chance to see them soon (hopefully anyway). The Classic ones I should probably just take the ReaperCon and meltdown for the pewter value, that's about all they are good for.

So "Pa" from Knuckleduster:


There is nothing quite like a close up pic to let you know that you really aren't done like you thought you were. Needs some touch up on the front.


And maybe the hair should be painted in the back
 And the blacksmith from the Knuckleduster Classic Wild West line
Again, some touch up is still in order


And maybe some more work on the suspenders

And just to remember what colors I used to make Pa's vest: