Quotes

Life is short, break the rules. Forgive quickly, kiss slowly. Love truly, laugh uncontrollably and never regret anything that makes you smile. - Samuel Longhorne Clemens (Mark Twain)

Tuesday, November 14, 2023

Painting the Modelu O Scale Transitional Era Crew Bundle - Part 2

Painting O scale is definitely a switch from working on the HO figures. Like the HO scale Transition Crew I decided to start out with a wash over the entire figure rather than straight to the skin tones. Even at this larger scale some of the  detail is subtle enough that I needed something to make things pop a bit. For this I used Walnut Brown (9136) from Reaper Miniatures. I thinned this down to a wash consistency. I used Vallejo Airbrush Thinner for this instead of plain water. 

I then painted each of the five figures with the wash and let them dry.


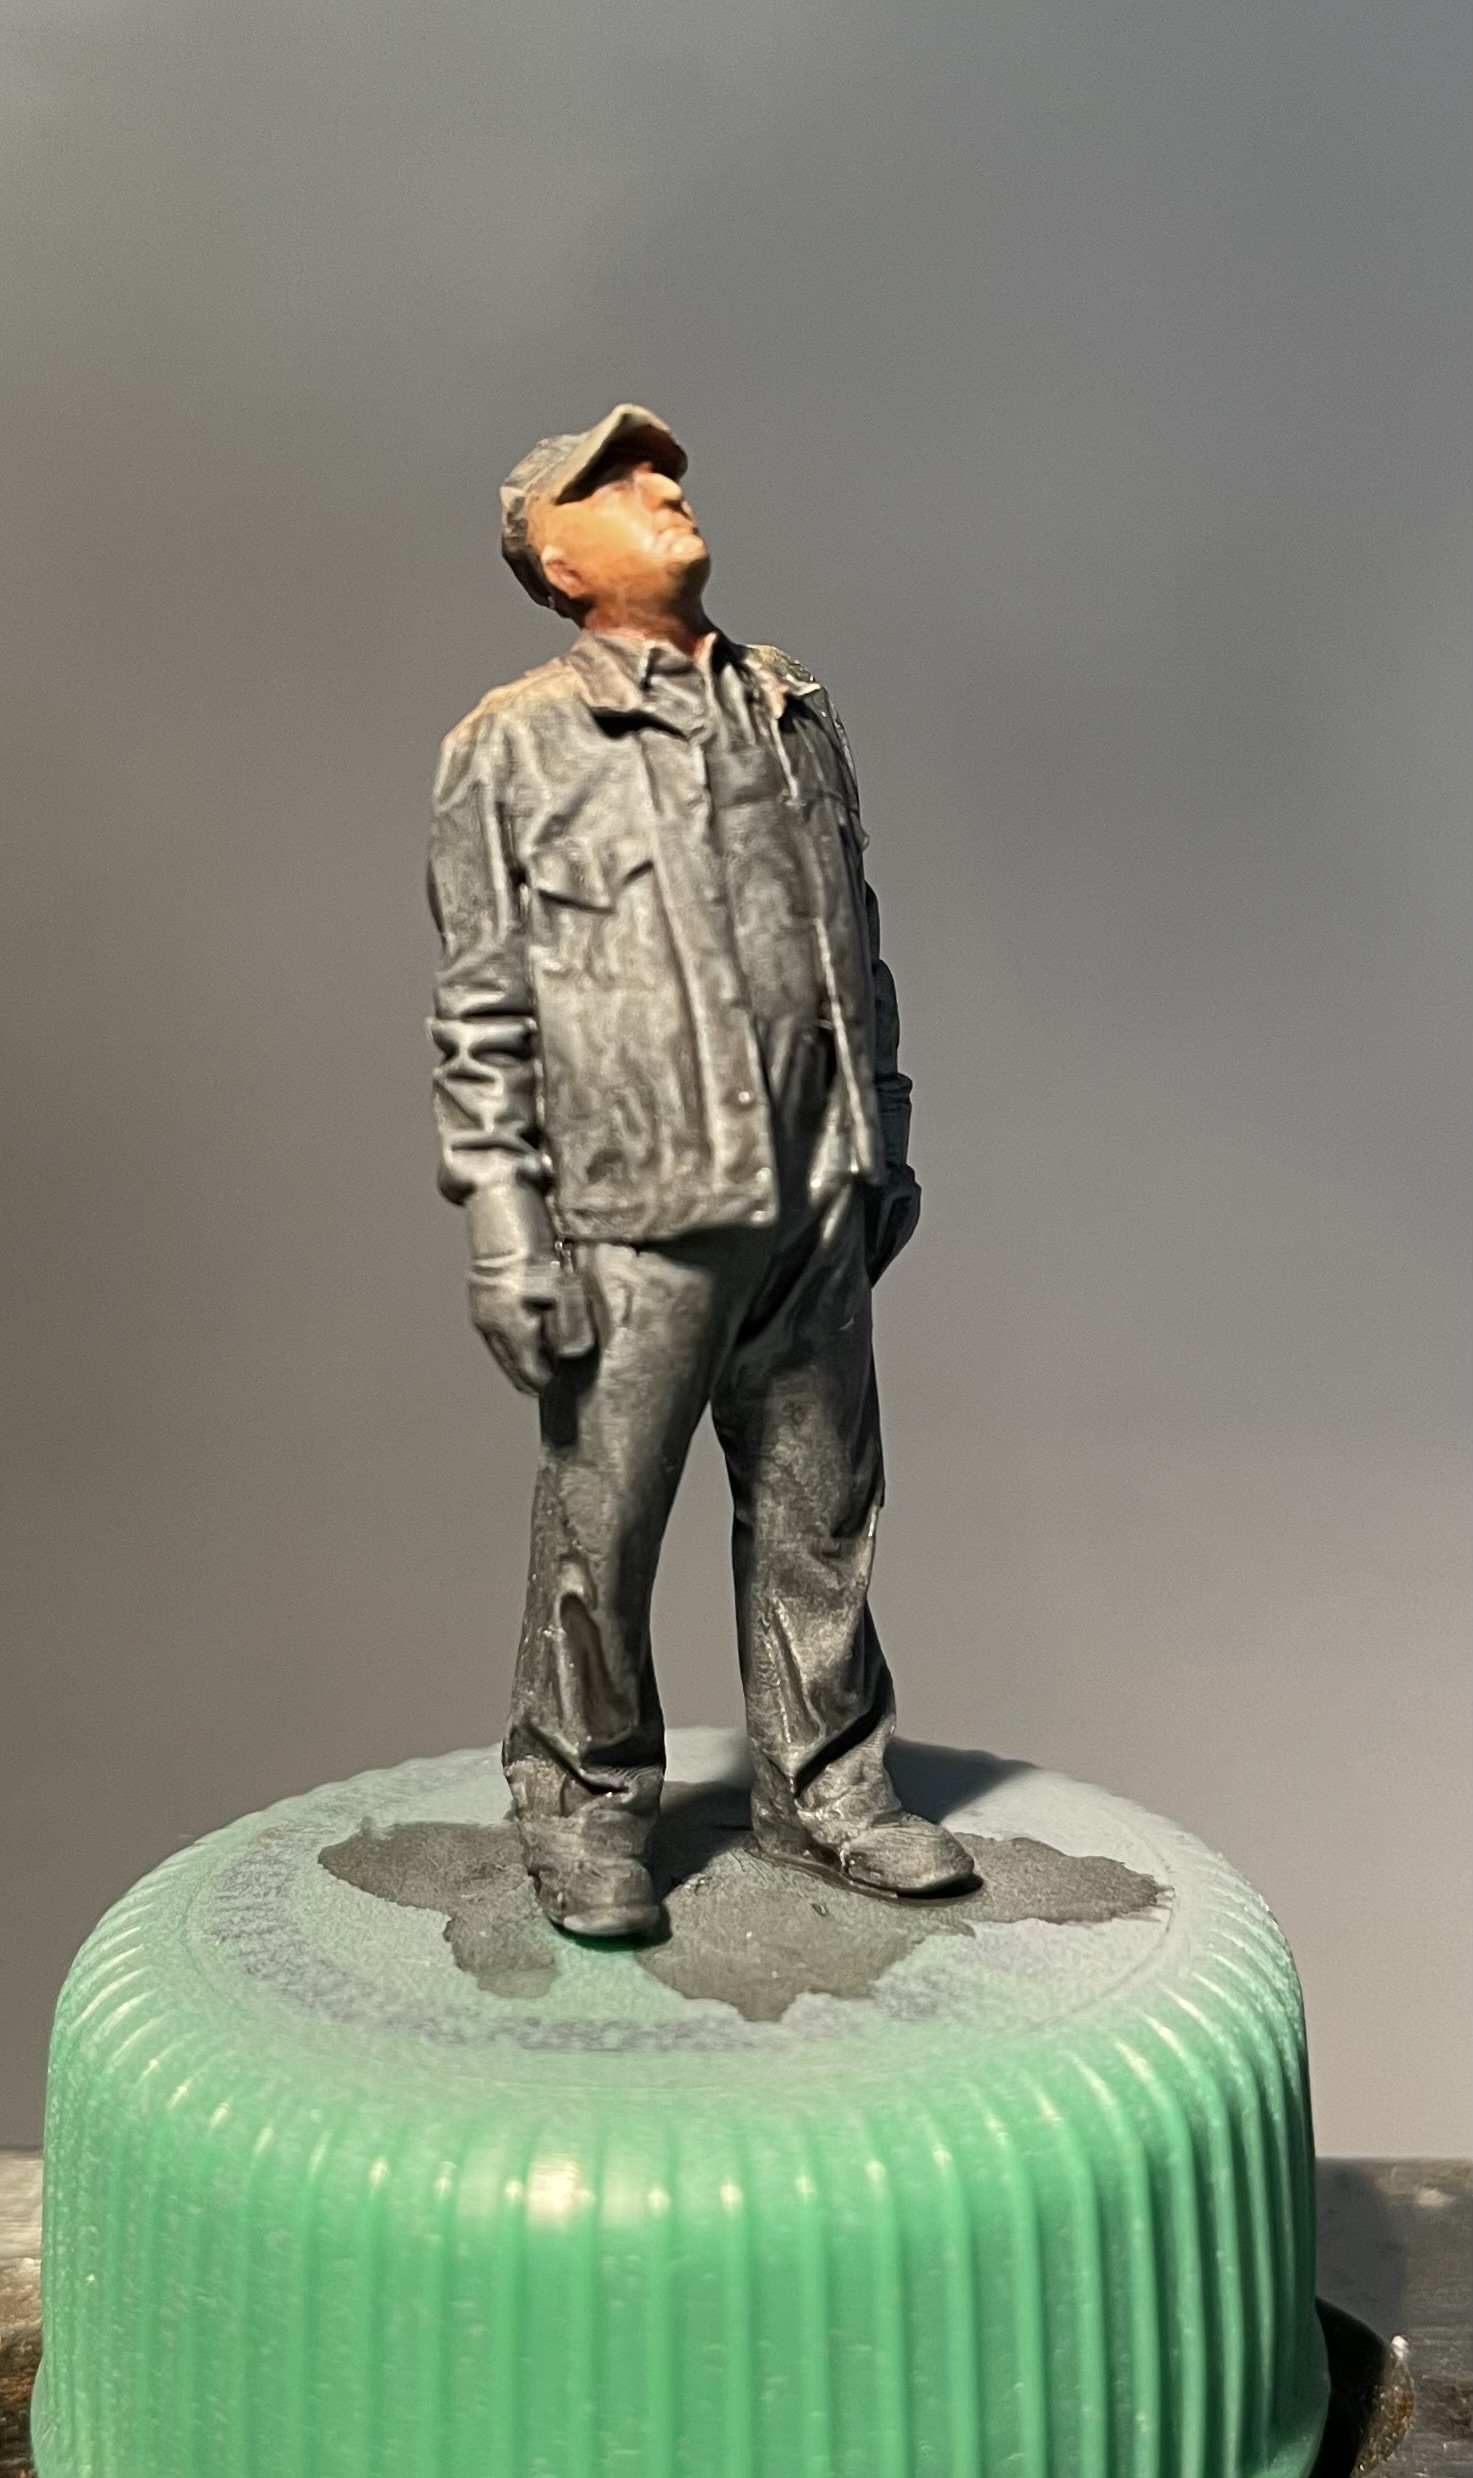
Now its time for the first skin tone; A.MIG-0134 Burnt Brown Red. I thin the paint a bit with water and apply it over the entire face. Normally I paint all of my skin tones first but for this crew only the face is visible. This step is pretty straight forward.


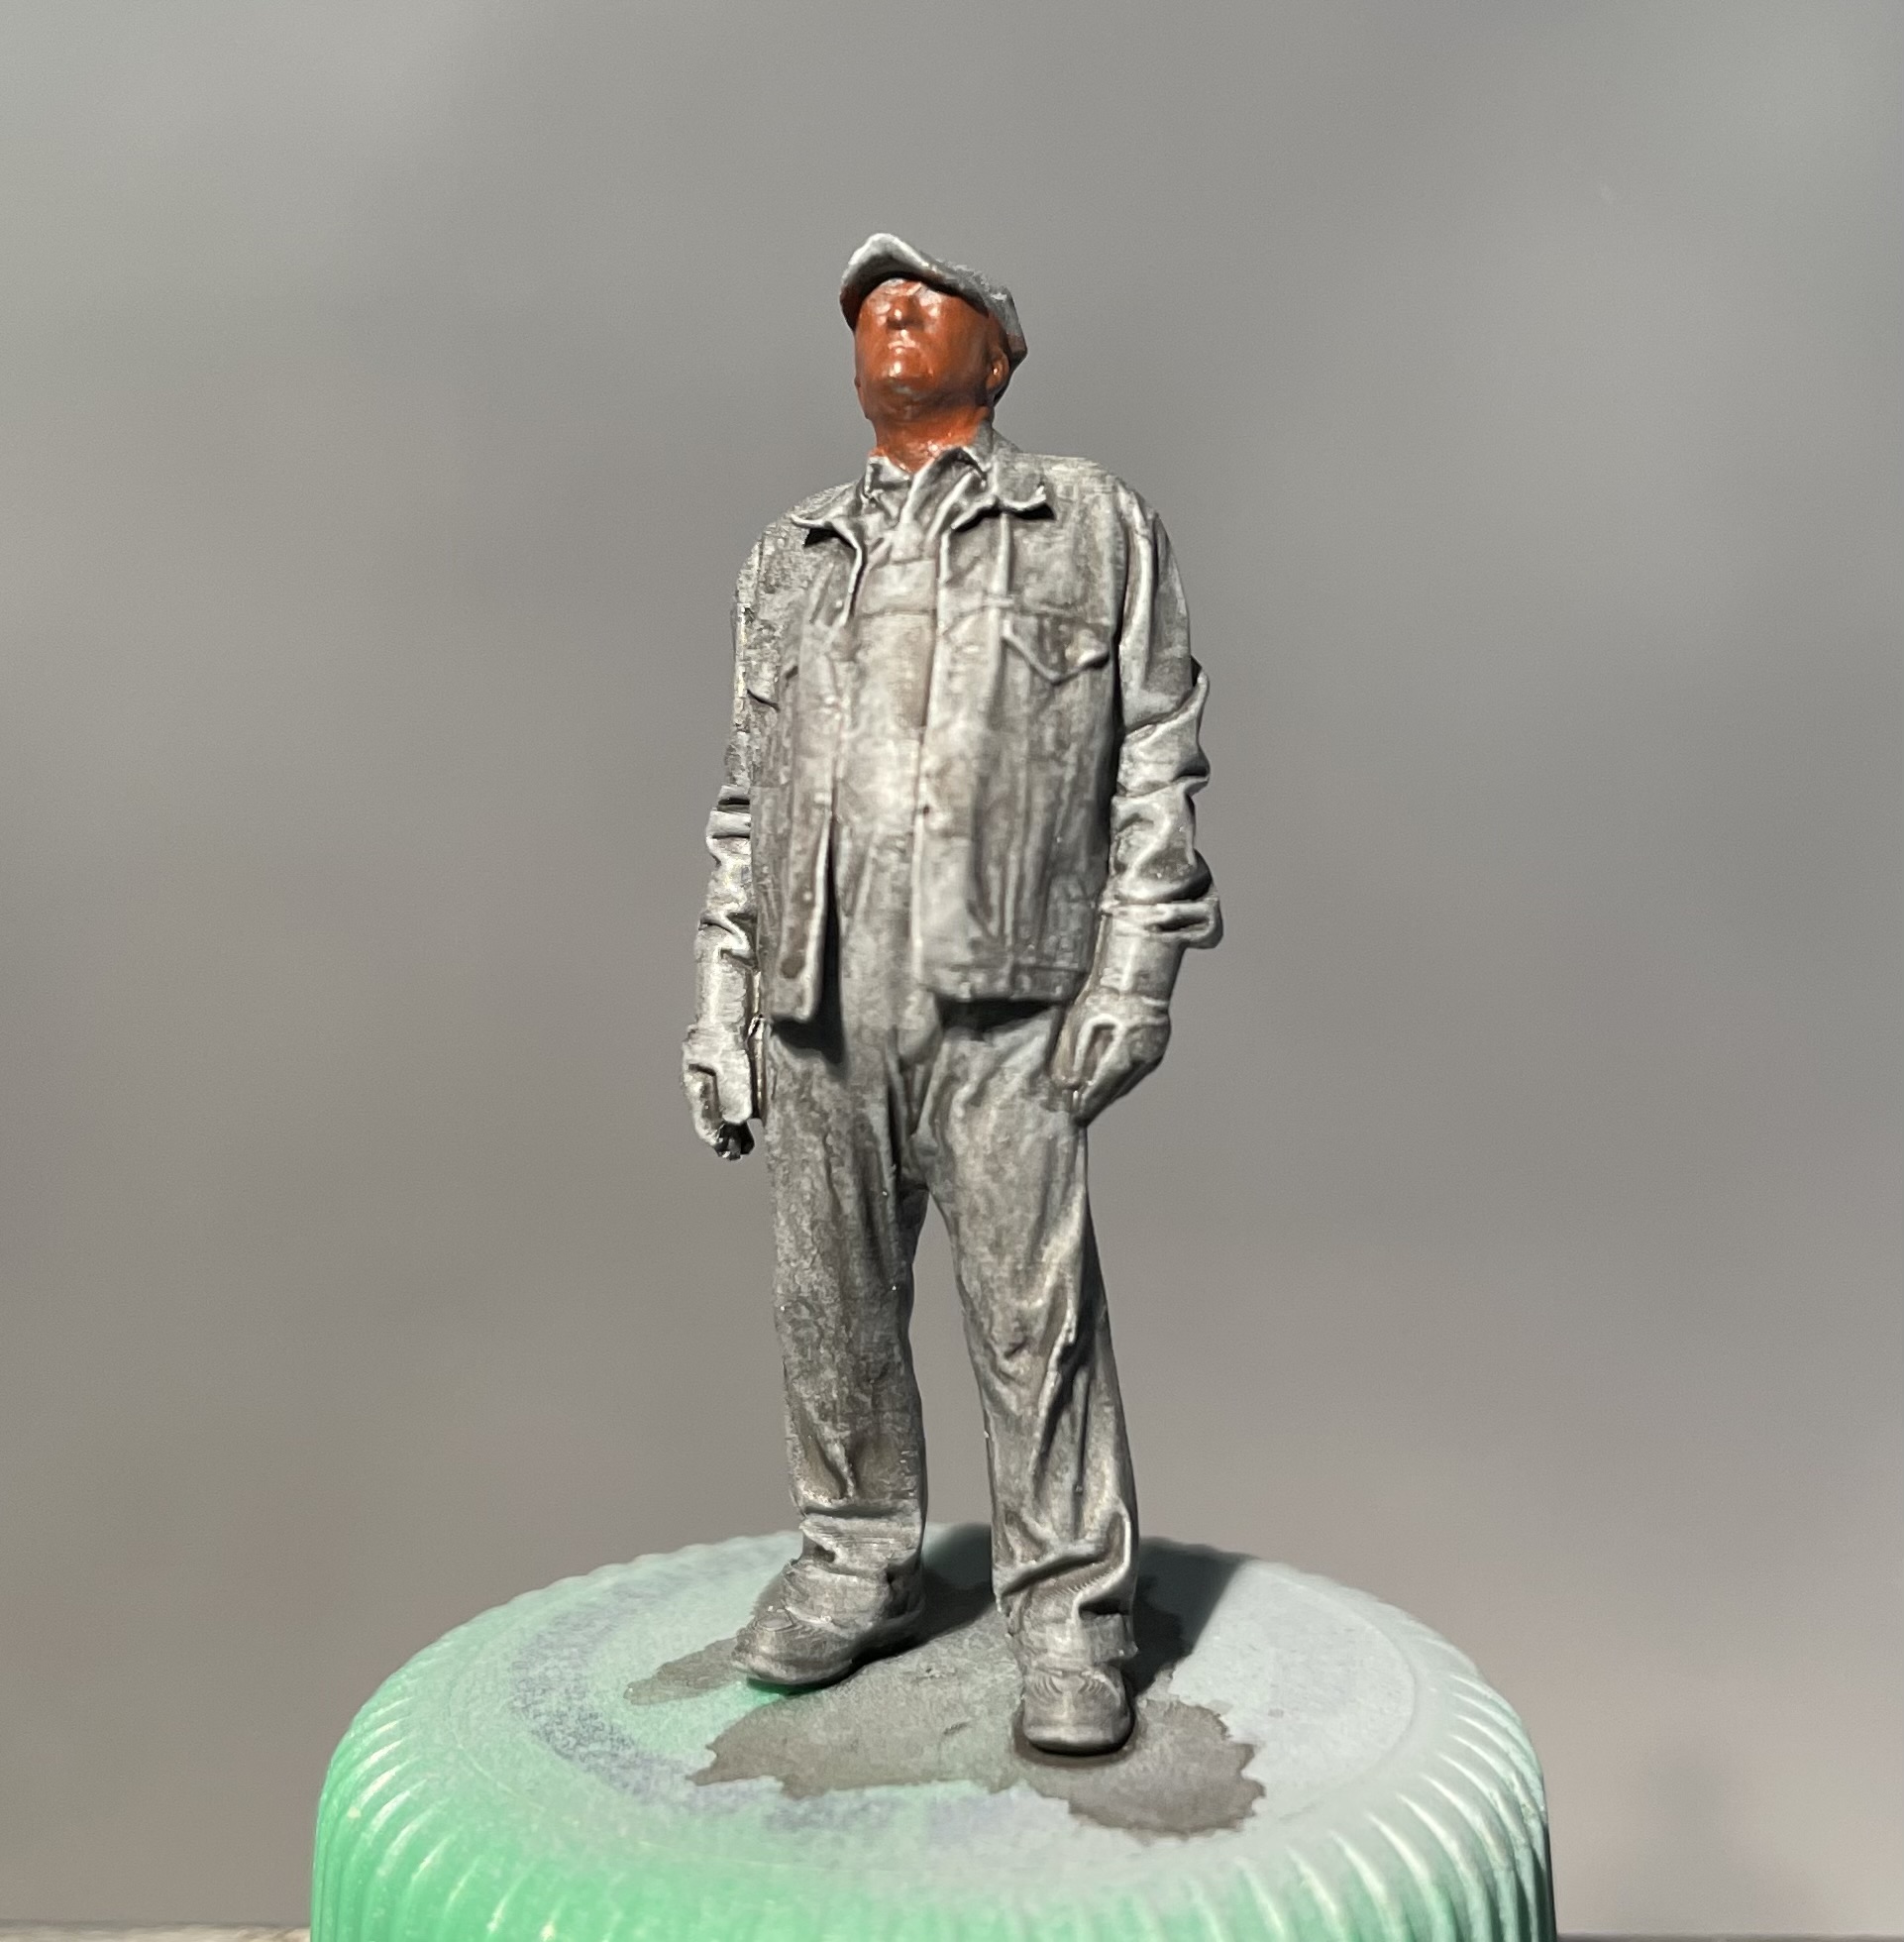


This should be allowed to dry but it that happens pretty quickly in this climate. I moved on to the second skin tone A.MIG-0133 Red Leather. Thinned a bit with water and then applied to the majority of face, leaving the deeper shadows and creases on the face in the original Burnt Brown Red.


This is a standard build up for skin tones in my painting process. I'm definitely out of practice but hopefully things will start coming together a bit better. From here I moving on to the third skin tone A.MIG-0118 Burnt Sand. Like the previous step I'm continuing to reduce the area this color is applied to, concentrating on the higher points of the facial features. Everything looks a little rough at this point. To smooth this out I created a glaze of Burnt Brown Red and applied this over the whole face. It helps blend the edges together and emphasizes the shadow area.


These are large enough to need one extra highlight, I used A.MIG-0117 Warm Skin Tone to apply smaller dots of color on higher points; the tip of the nose, point of the chin, tops of the ears. I then blended this in with a bit of Burnt Sand followed by a glaze of Burnt Sand. Just trying to pull things together. It was reasonably successful.

I have lost some of the definition on this one. I should go back and work in some more shadow

This one isn't to bad, the upturned face is hard to work with.


I like this one the best. could use a little more work.

A bit more difficult since he is looking down, I think I need to go back and re-work the mid-tone and maybe the highlight as well.


Another one where I started to lose the definition. He definitely needs some more work.


One note here, I'm electing not to try and paint the eyes. Since the "originals" are scanned as opposed to sculpted, the eyes are to scale and at this scale and from the distance they will be viewed you just aren't going to see that kind of detail, not to mention they are all squinting a bit. I let the eyes fill in with the shadow color instead of painting them.

Monday, November 13, 2023

Painting the Modelu O Scale Transitional Era Crew Bundle - Part 1

When I made my order from Modelu I ordered the Transitional Era Crew Bundle in both HO and O scales. Since I model in both HO and O I wanted to see how the Modelu measured up in both scales. Since these are, in theory, larger than my normal wargame figures I want to do push the quality a bit. I'm not going to try and push to a competition level, we will see how that goes, but I want them to look good on the layout (still way off in the future) since they are likely to get some rather intense scrutiny there.

These start off the same way the HO scale ones did, trim away the supports and some minor cleanup. That is certainly a nice feature of 3D prints, the lack of mold lines and injection marks is a big plus. As long as the resolution is high enough so you can't see the layers I'm good.

I drilled out a hole in one foot on each of the crew members for the wire and mounted them on bottle caps for painting. It is much easier to drill out that foot at this scale! Then it was off to the paint booth for a quick priming session. I used Badger Stynylrez Grey Primer (SNR-402) for this. By far my favorite primer although it is a bit pricey.


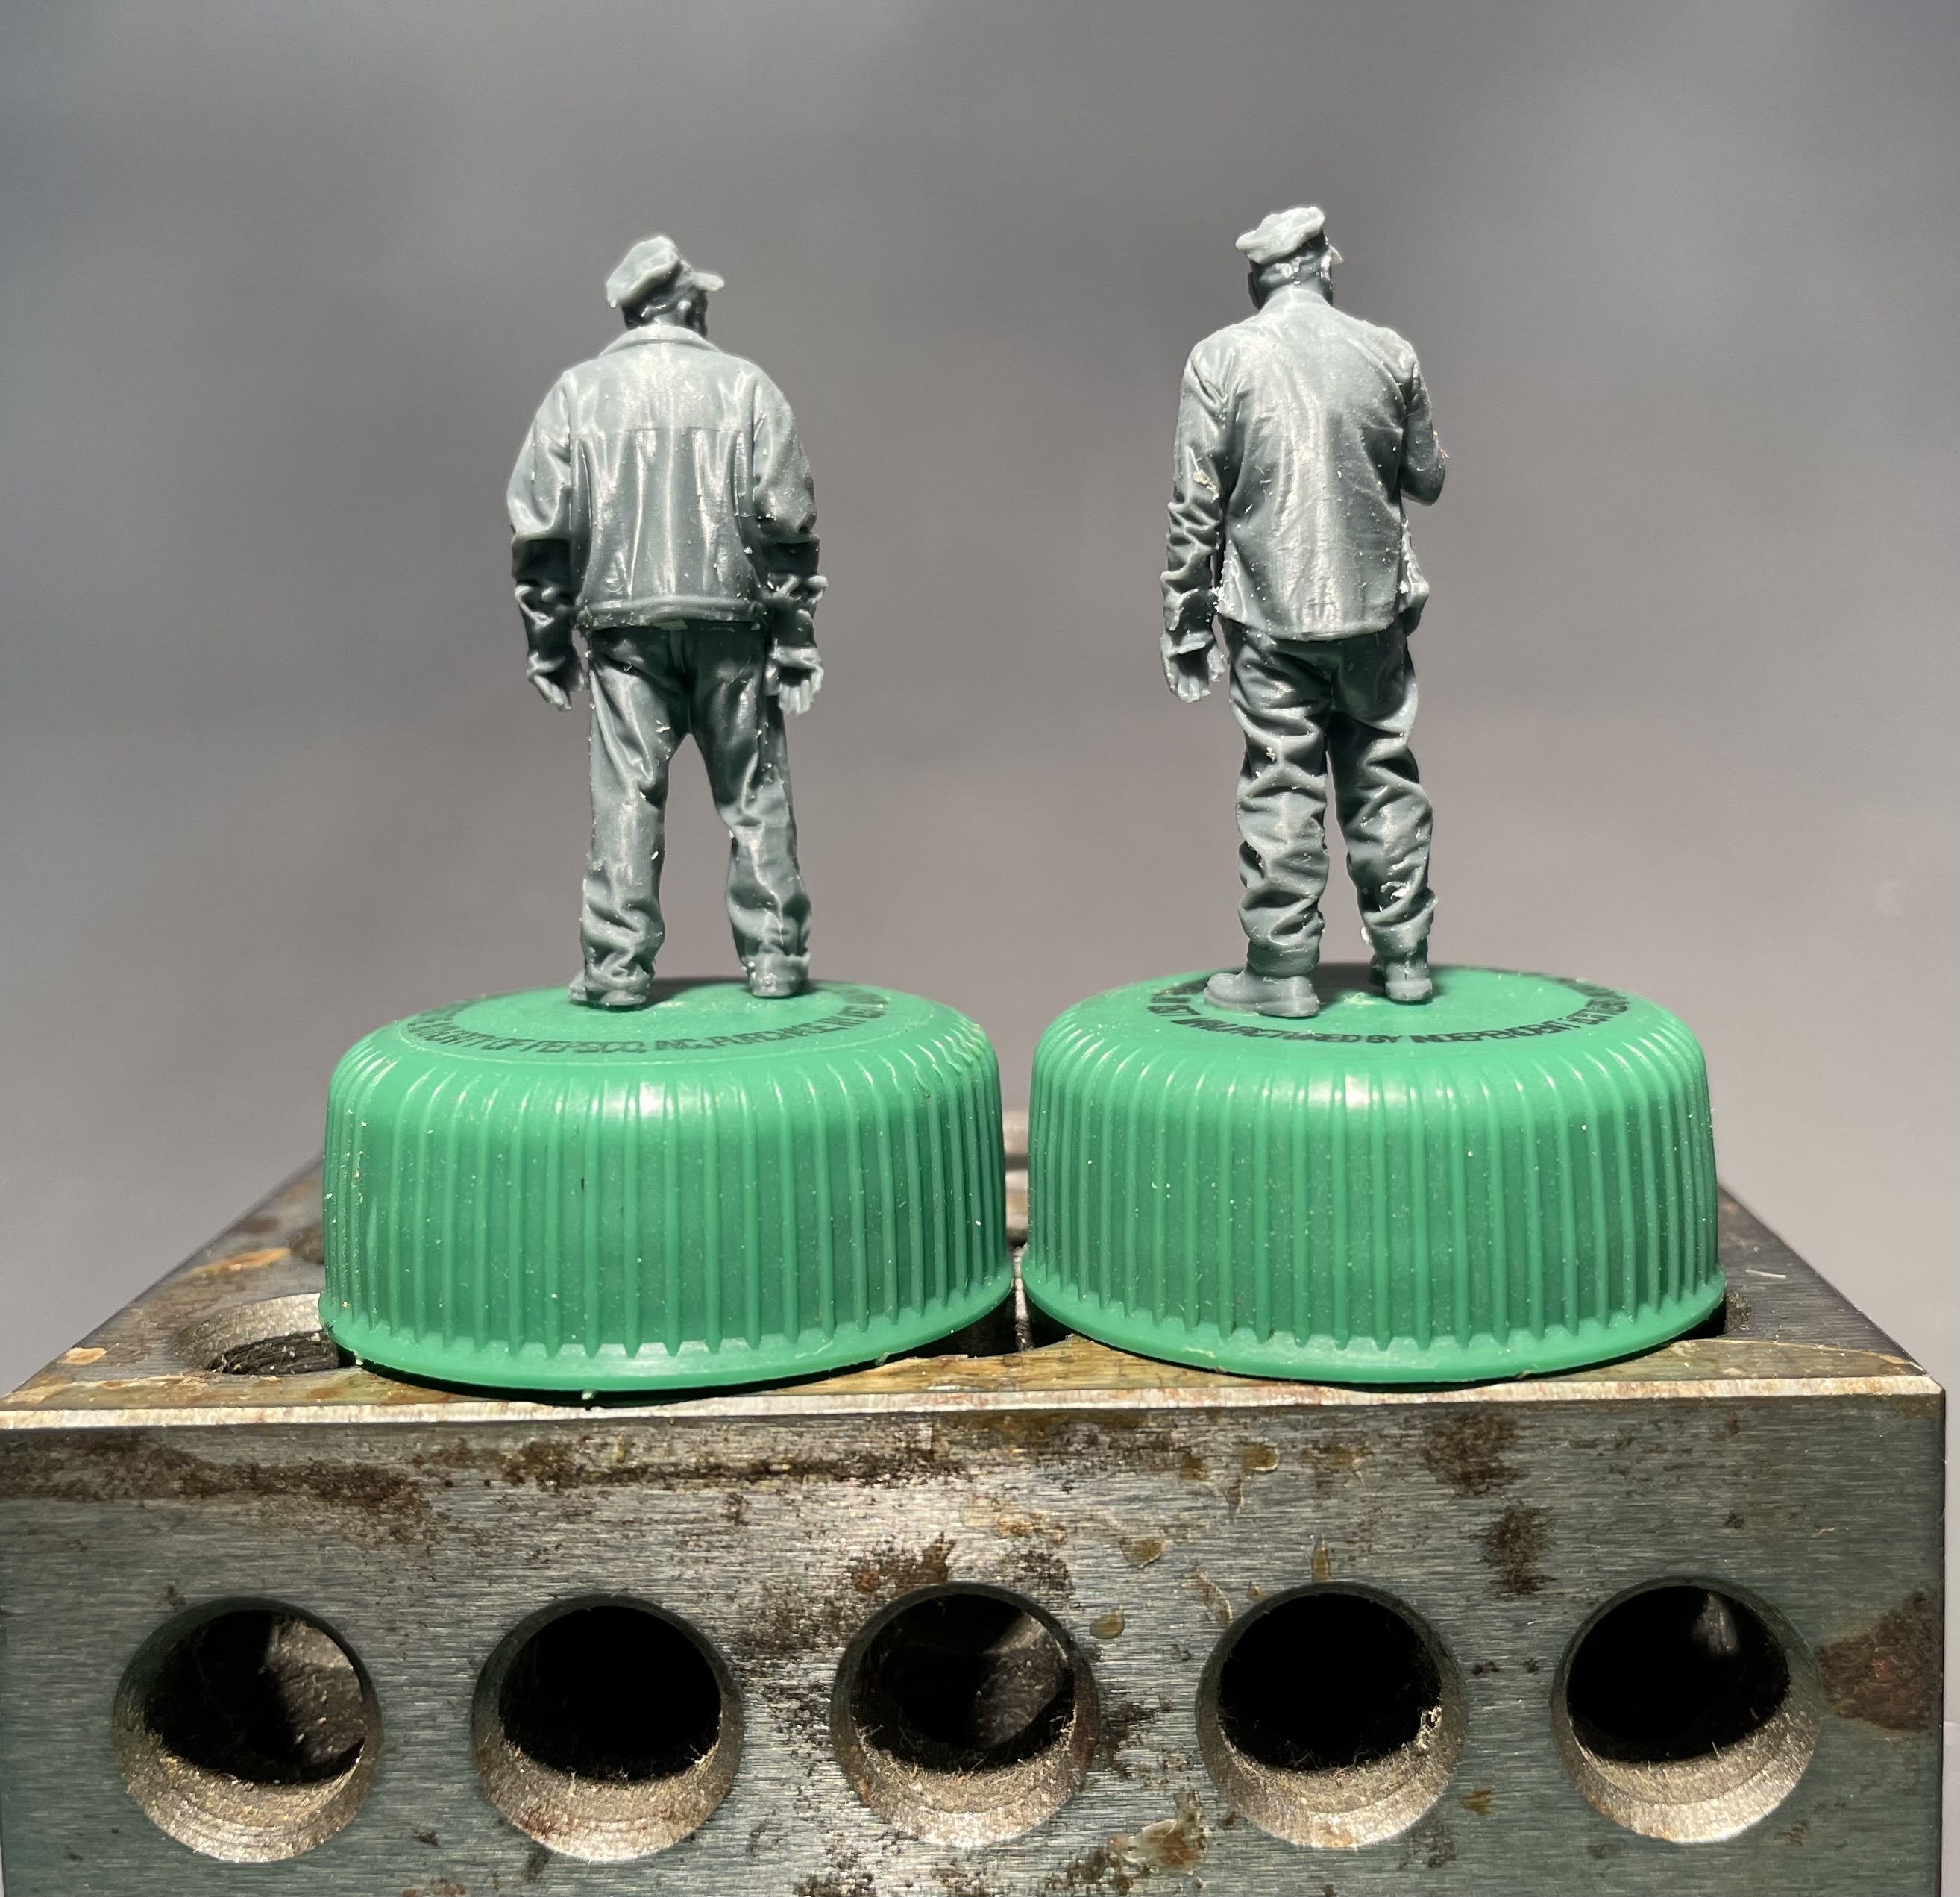
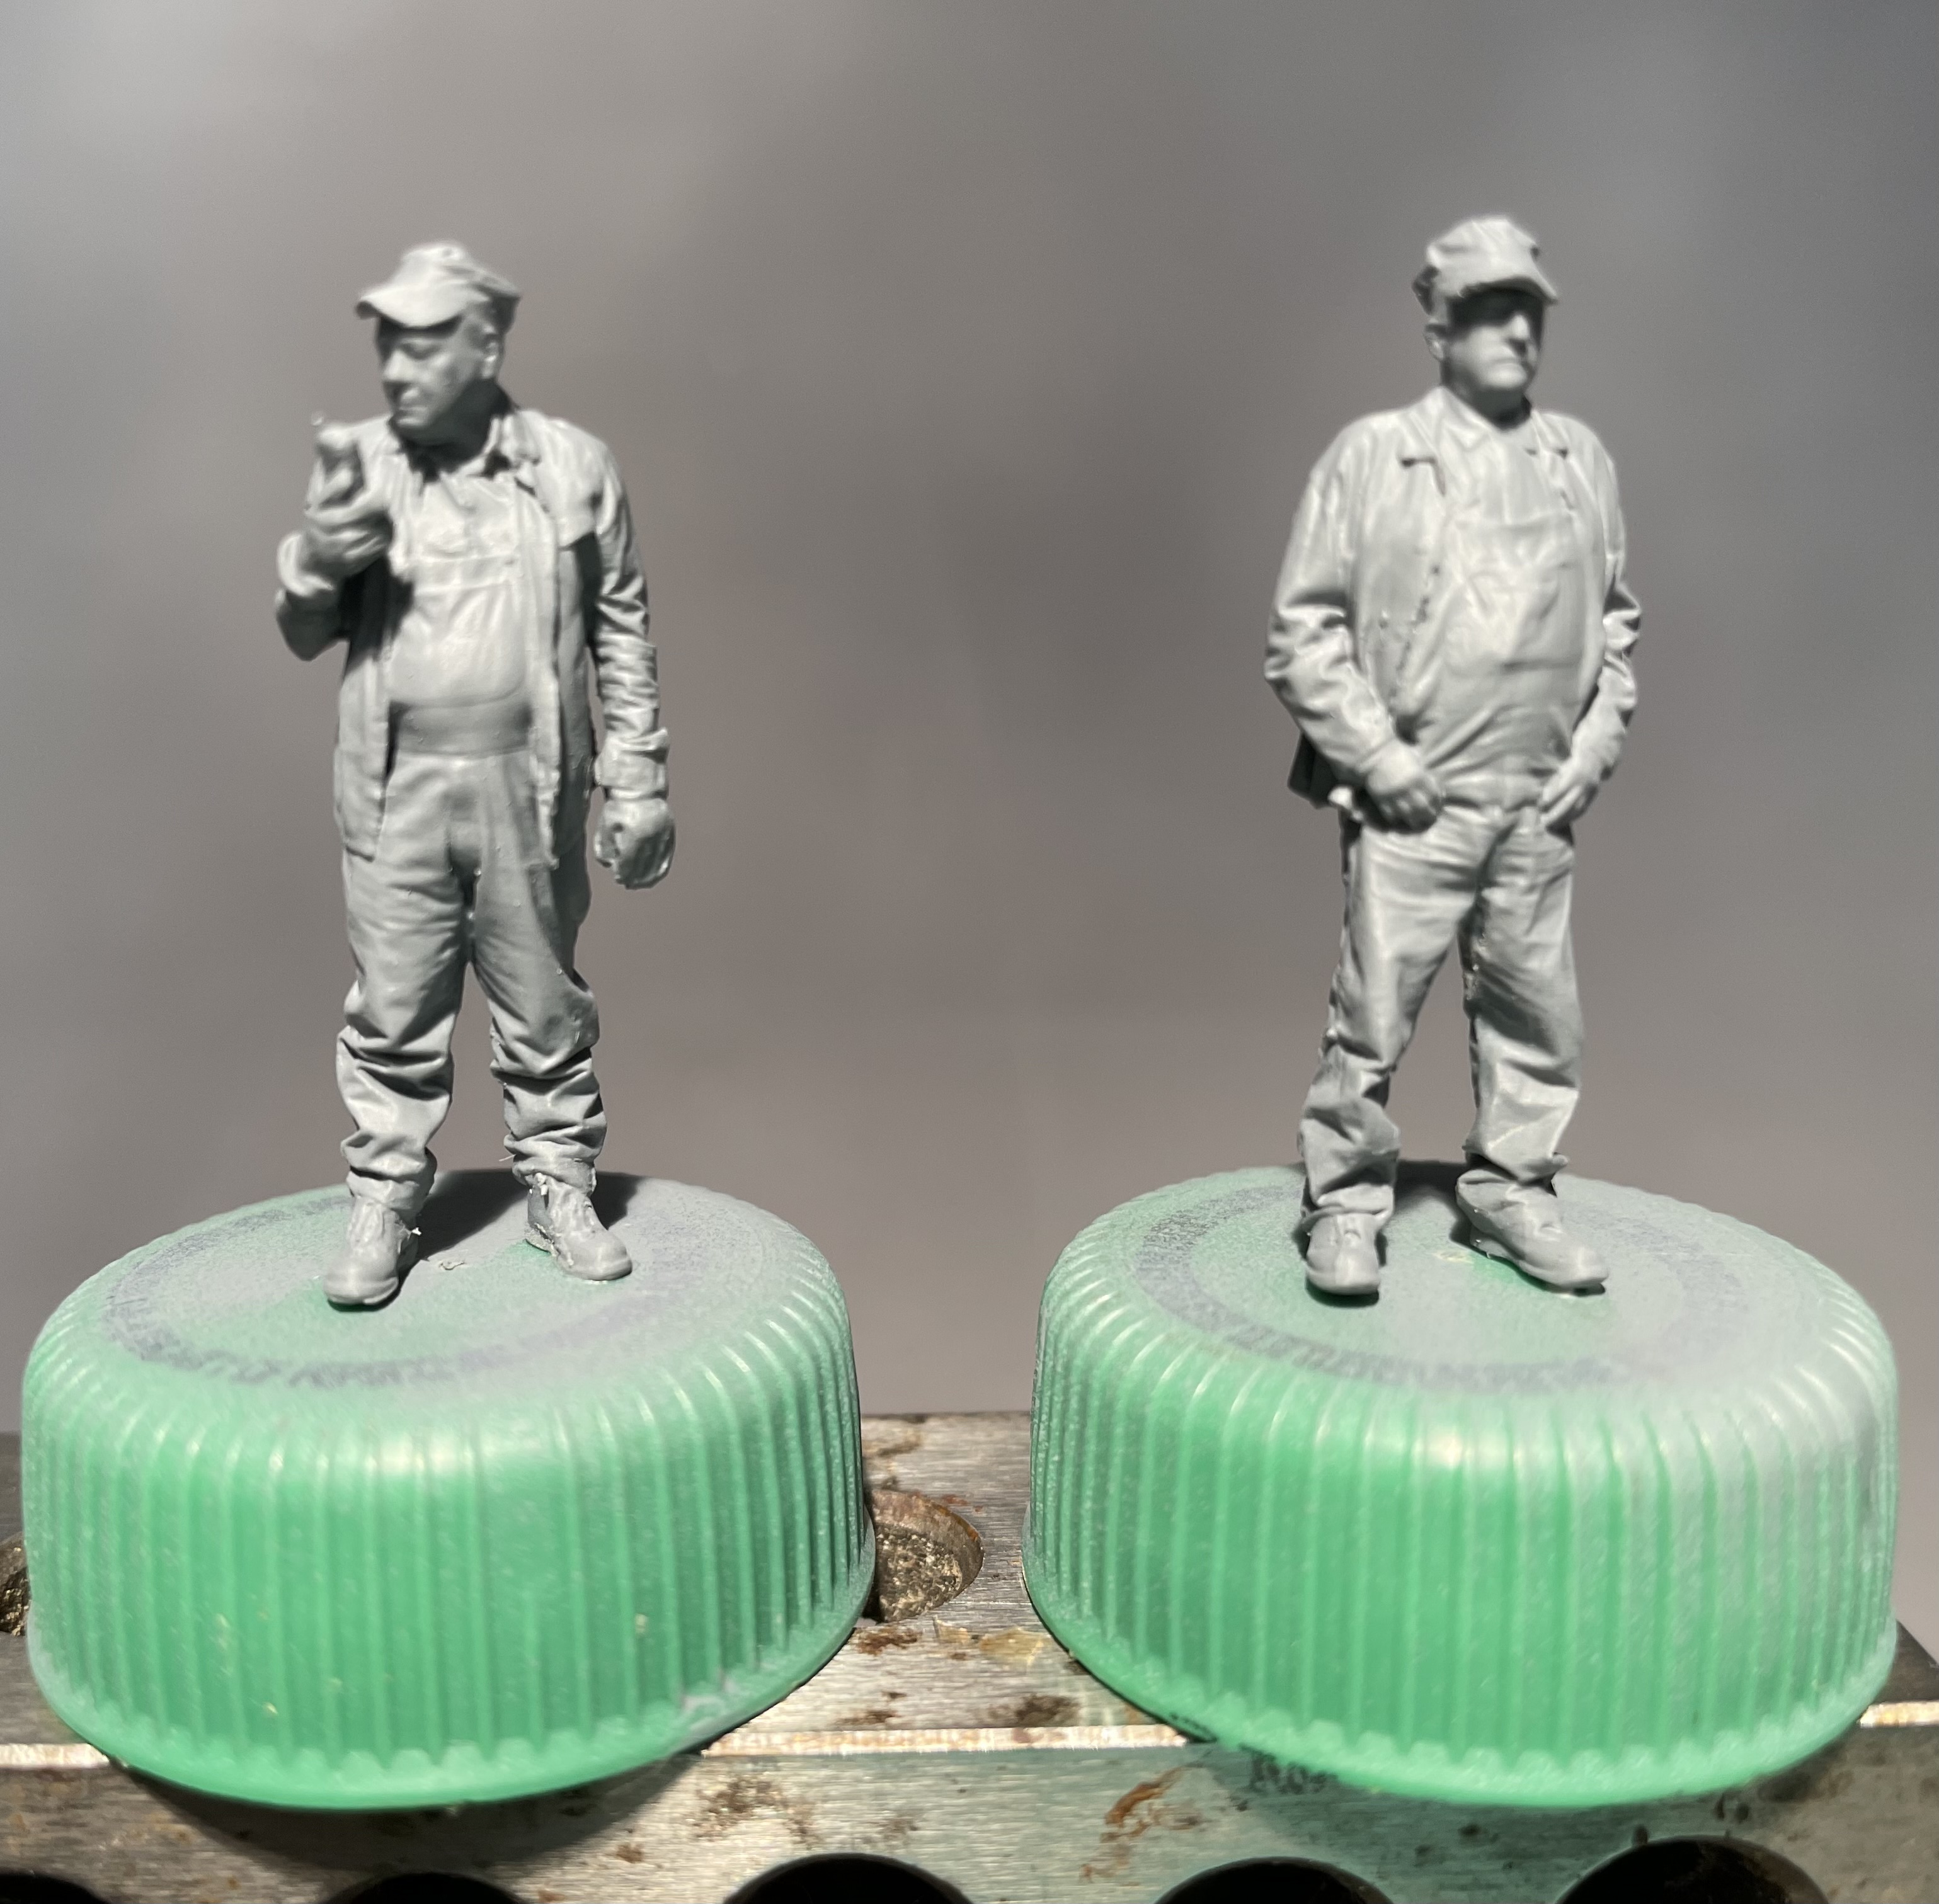
Basic work done, cleaned up, wired up and mounted for painting.


Its hard to tell at this point but the grey primer has been applied


Missed him in the pre-primed state but here he is primed and ready to go with the west.


Friday, November 10, 2023

Wednesday, November 8, 2023

Painting the Modelu HO Scale Transitional Era Crew Bundle - Part 8 Finishing Up

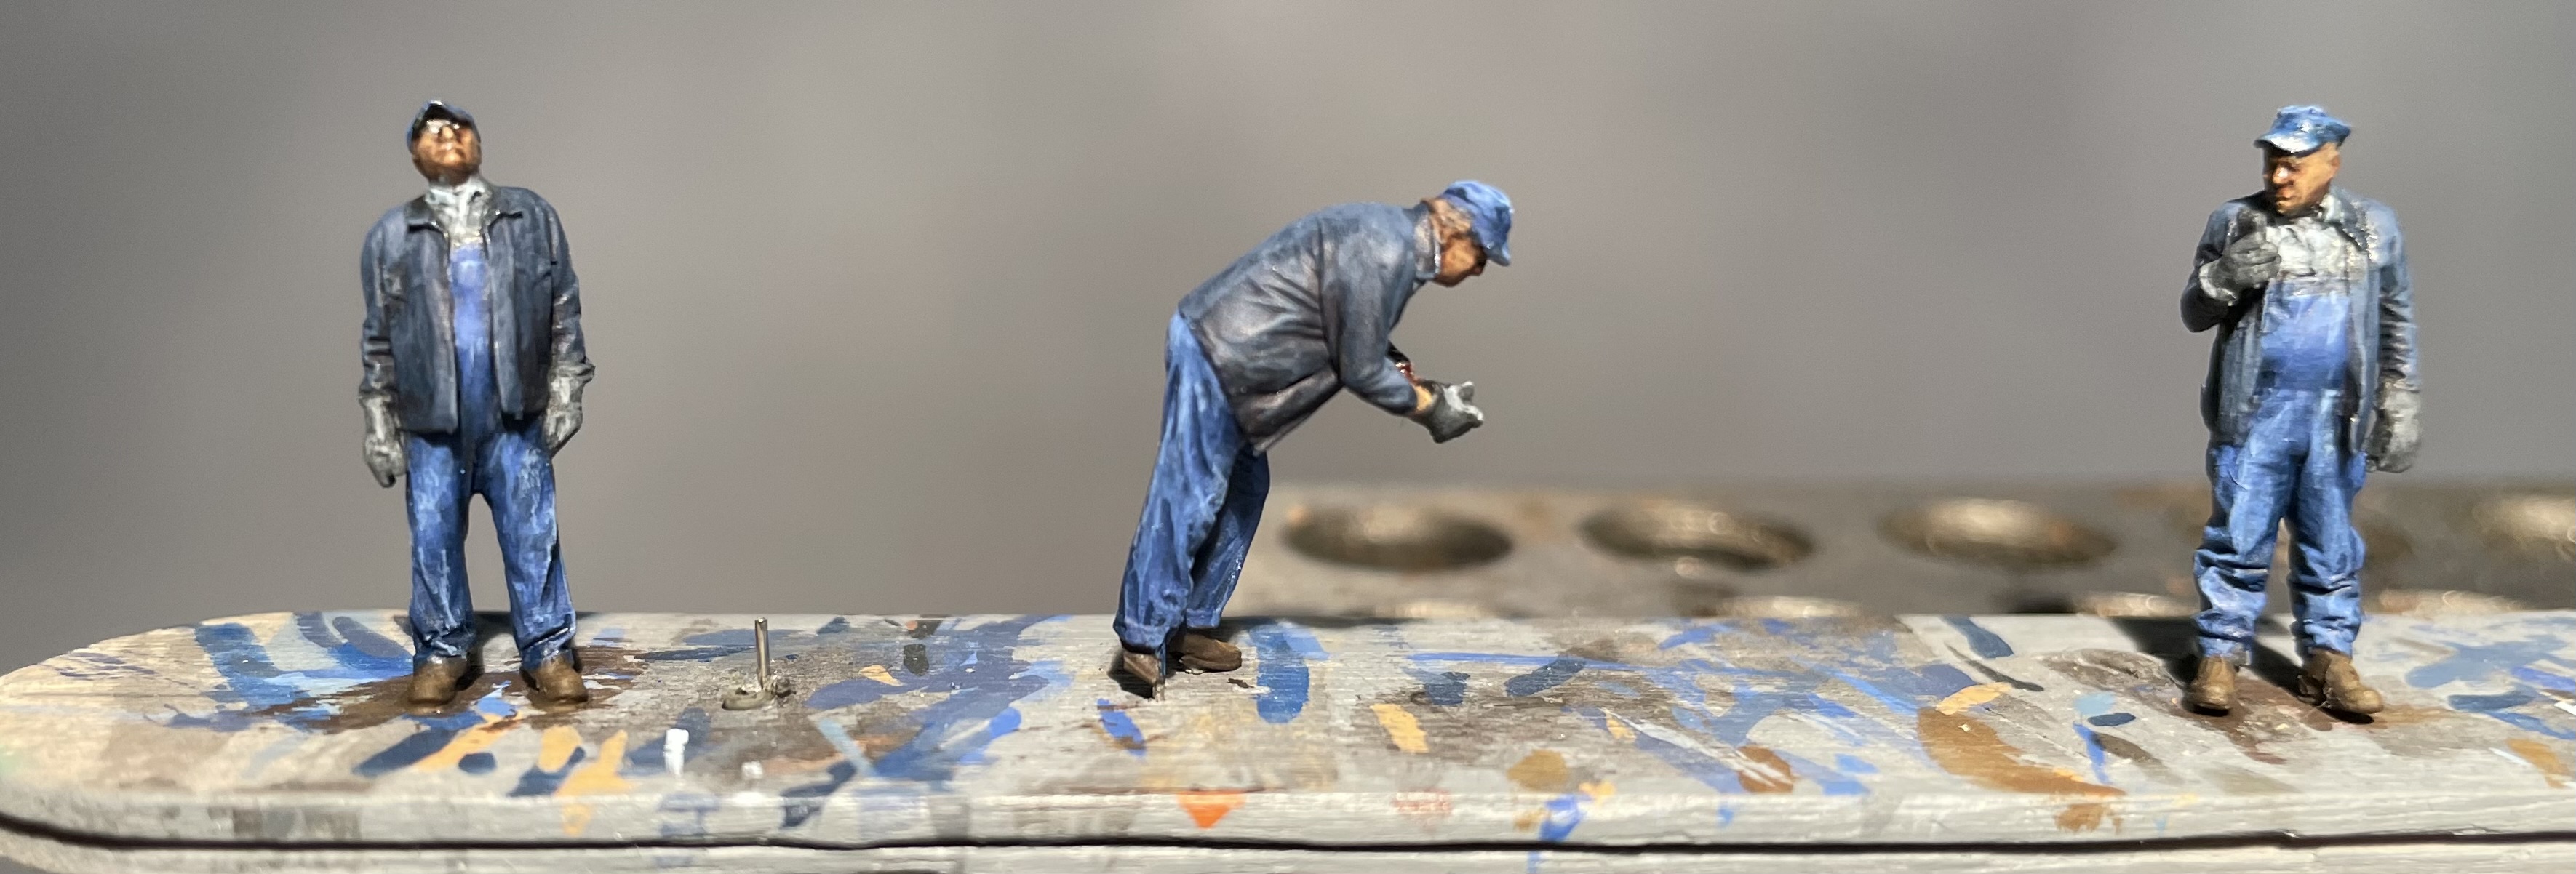
Time to wrap this up. These are relatively simple figures from a painting perspective. After the overalls, jackets and caps its just down to gloves, boots and touching up the skin a bit.

To start off I wanted to try something to try and bring out the features on the skin a bit more. I took some Army Painter Strong Tone and thinned it down about 50:50 with their glazing thinner. I painted all of the skin and the shirt with this mix and let it dry. It feels like it added quite a bit of depth to the face and filled in the eyes better than my initial effort, however, my highest highlight was really emphasized and looked very odd at this point. Didn't work as I had hoped on the shirt though, I think the detail is just to fine there to really take advantage of this technique. It also dried pretty glossy, but I expected that.


I went in with my mid-tone skin color. Ammo's Burnt Sand (A.MIG-0133), touched up the skin a bit which covered most of the gloss and tightened up the transition to that highest highlight.

From there I moved on to the gloves and boots, following pretty much the same process as the jackets and overalls; a dark, a mid-tone and a highlight. These areas are small and don't need those transitional 50:50 mixes that I used on the larger areas. I went with brown for the boots and dark grey for the gloves. I'm not quite sure what would have been a common color for railroad workers' gloves in the 50's so I went neutral.


Next its time to add some "nature" (a phrase we use when our Great Pyr brings in an assortment of leaves and twigs on her coat into the house). For me these will be diesel crews for warehouse row served by the Rio Grande. On to the dirt. I used two colors from my Pan Pastel stash, one dark and one light.


Since it is powder I might continue to play around with this, but for now I’ll call them done.

Tuesday, November 7, 2023

Painting the Modelu HO Scale Transitional Era Crew Bundle - Part 7 The Blues - Jackets

Now its time to lighten up the jackets. I'm using some colors that I was trying to avoid because they are part of Reaper's HD series which is not out of production. However, they look like they are going to work pretty well so I'll work with them now and then figure out some replacements.

The first color up is Solid Blue (29816). Its dark enough that I didn't bother to mix it with the Nightmare Black (9280). Its a good step up without needing an intermediate layer of the two colors mixed together.
I followed that up with Solid Blue mixed 50:50 with Nightsky Blue (29818). Trying to limit it to the higher areas now, leaving the two deeper blues in the folds creases.

Next up is then just a layer of Nightsky Blue. I failed to mention that I have been thinning all of these colors with water (since I'm not doing a wash or a glaze at this point). I just want the paint to flow off the brush and if it takes a couple of passes to get the color intensity I want that's just fine.

Final color is Winter Blue (29817). Again with the colors so close I skipped the intermediate mix and went straight from Nighsky Blue to Winter Blue for the final highlight. And of course that ended up being to big a transition so I glazed it back a bit and did a 50:50 mix then followed it up with Winter blue.

I think the jackets are looking pretty good. I like the contrast between the dark blue of the jacket and the more faded blue of the overalls.