Unlike a lot of conversion kits on the market the Rubicon kit comes with a full set of instructions so you won't be referring back and forth between two separate sets of instructions. A very good thing, I can only imagine what problems I would have manage to run into building the kit if I was referring to both sets.
The pictures here will focus only on the resin portions of the build. The rest I have covered in an earlier posting when I built my first Rubicon M4A3 (although I do need to find a new hatch cover for that one I managed to snap it off and lose it, and maybe get it painted up properly as well).
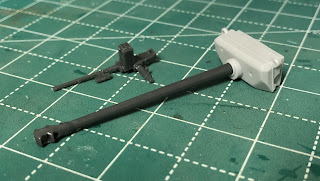
Starting off with the gun mantlet and then moving on to the turret itself:
 |
| The turret complete with the plastic parts. The MG is not glued in place so I can remove it for painting. I used Locktite gel superglue to attach all the plastic parts at this point and to glue the resin together as well. Its relatively cheap, easily applied and the gap ensures that it doesn't get clogged up. |


No comments:
Post a Comment