Quotes

Life is short, break the rules. Forgive quickly, kiss slowly. Love truly, laugh uncontrollably and never regret anything that makes you smile. - Samuel Longhorne Clemens (Mark Twain)
Showing posts with label Stug III. Show all posts

Tuesday, August 30, 2022

World War II Project, STuG Project - Two down, two to go

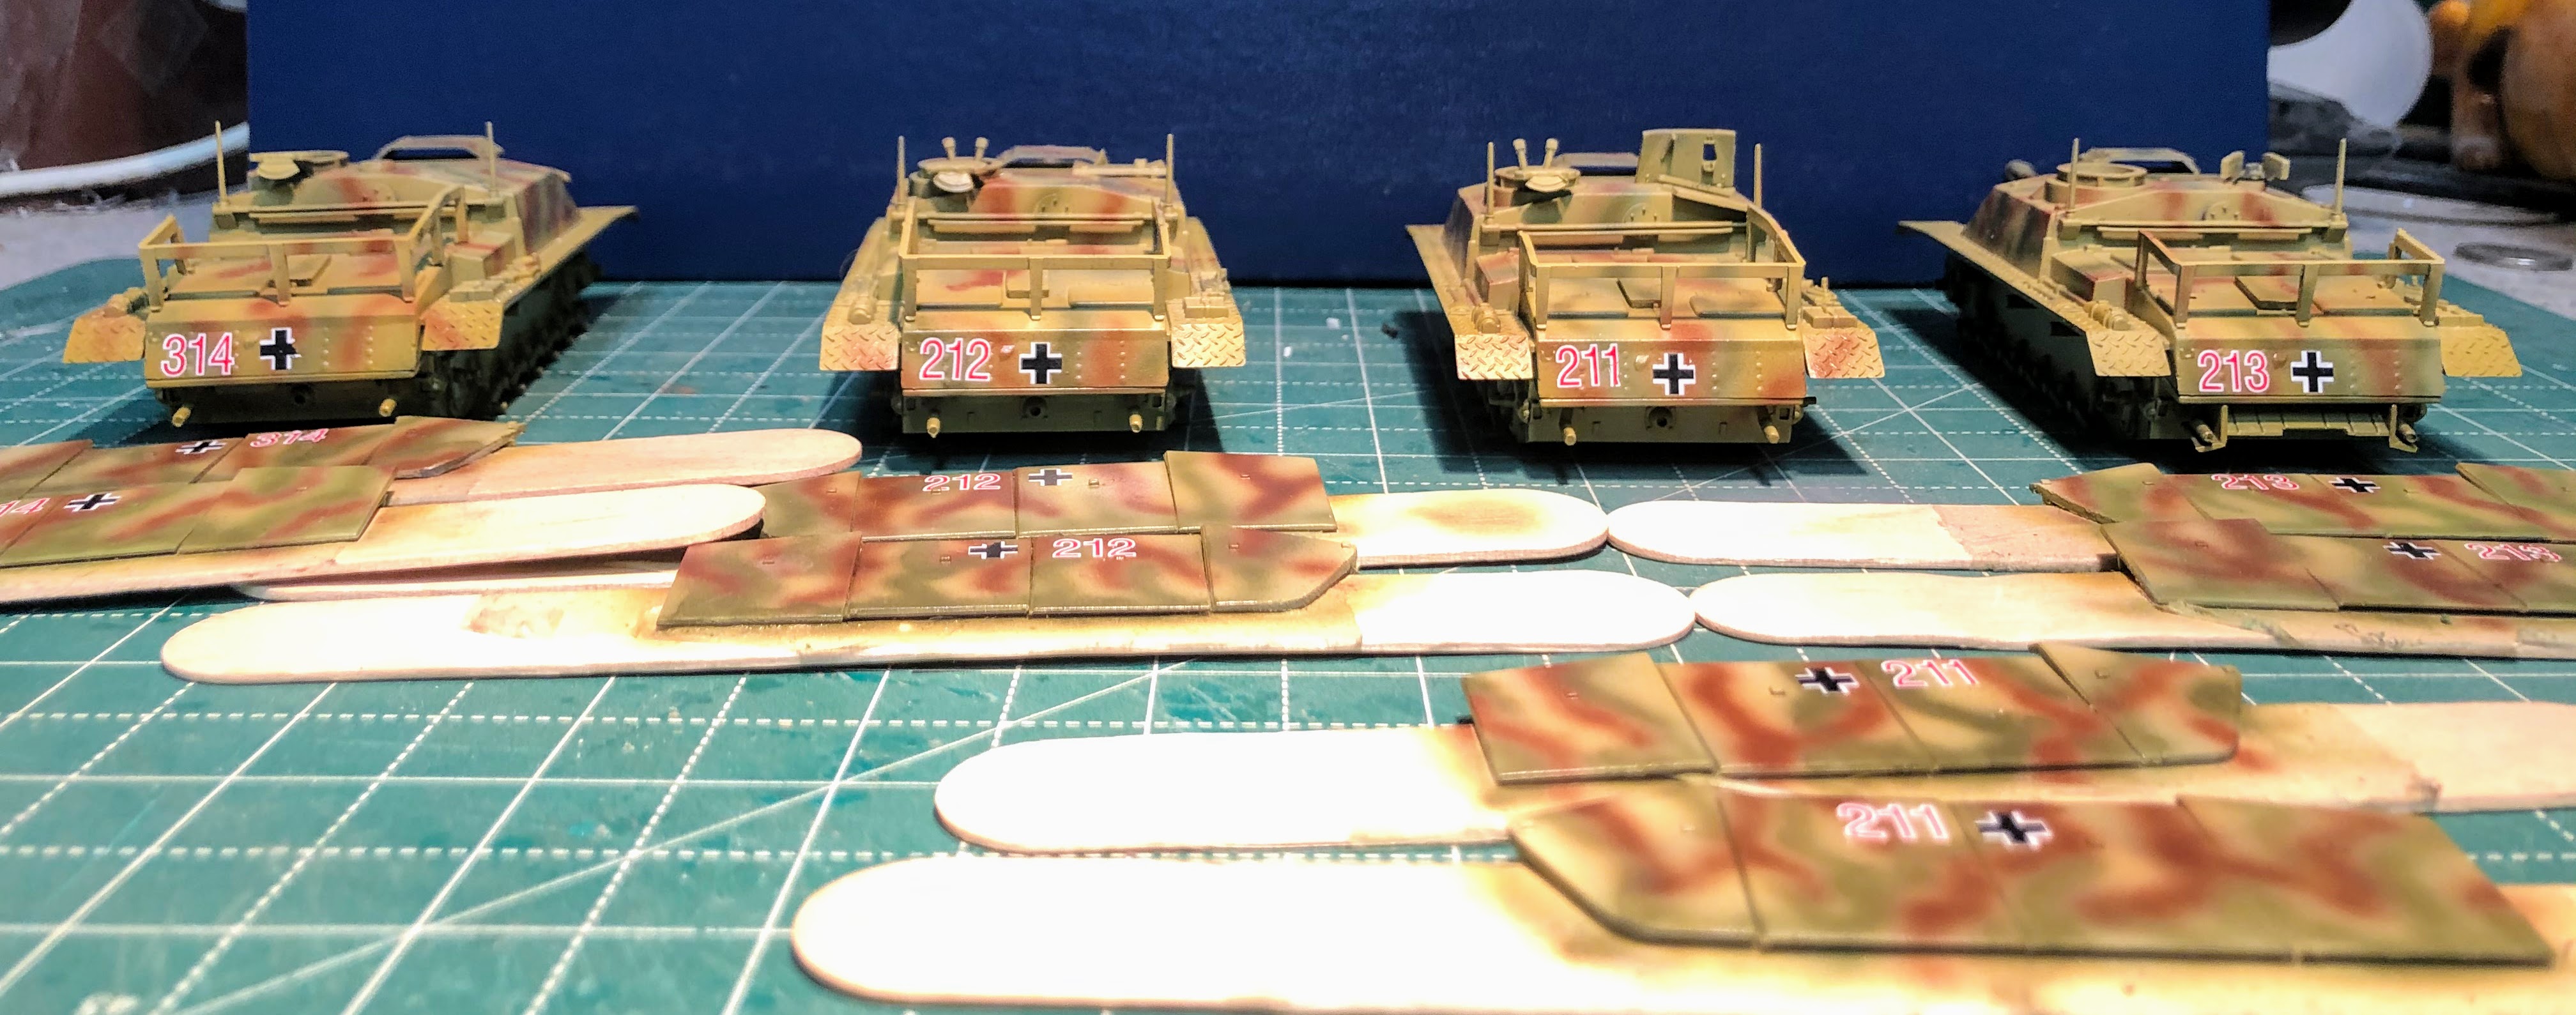
I'm calling these finished and I'm taking them to Reaper Con just to get some feedback on them. I'm pretty happy with them but I see some flaws too. I also wanted to get them looked at before I start throwing stowage on them.

I picked a specific unit for my Stugs; Sturmgeschutz-Brigade 341. Ut had a couple of unusual characteristics that I wanted to try and model and it would make them stand out on the game table from all the other Stugs out there.

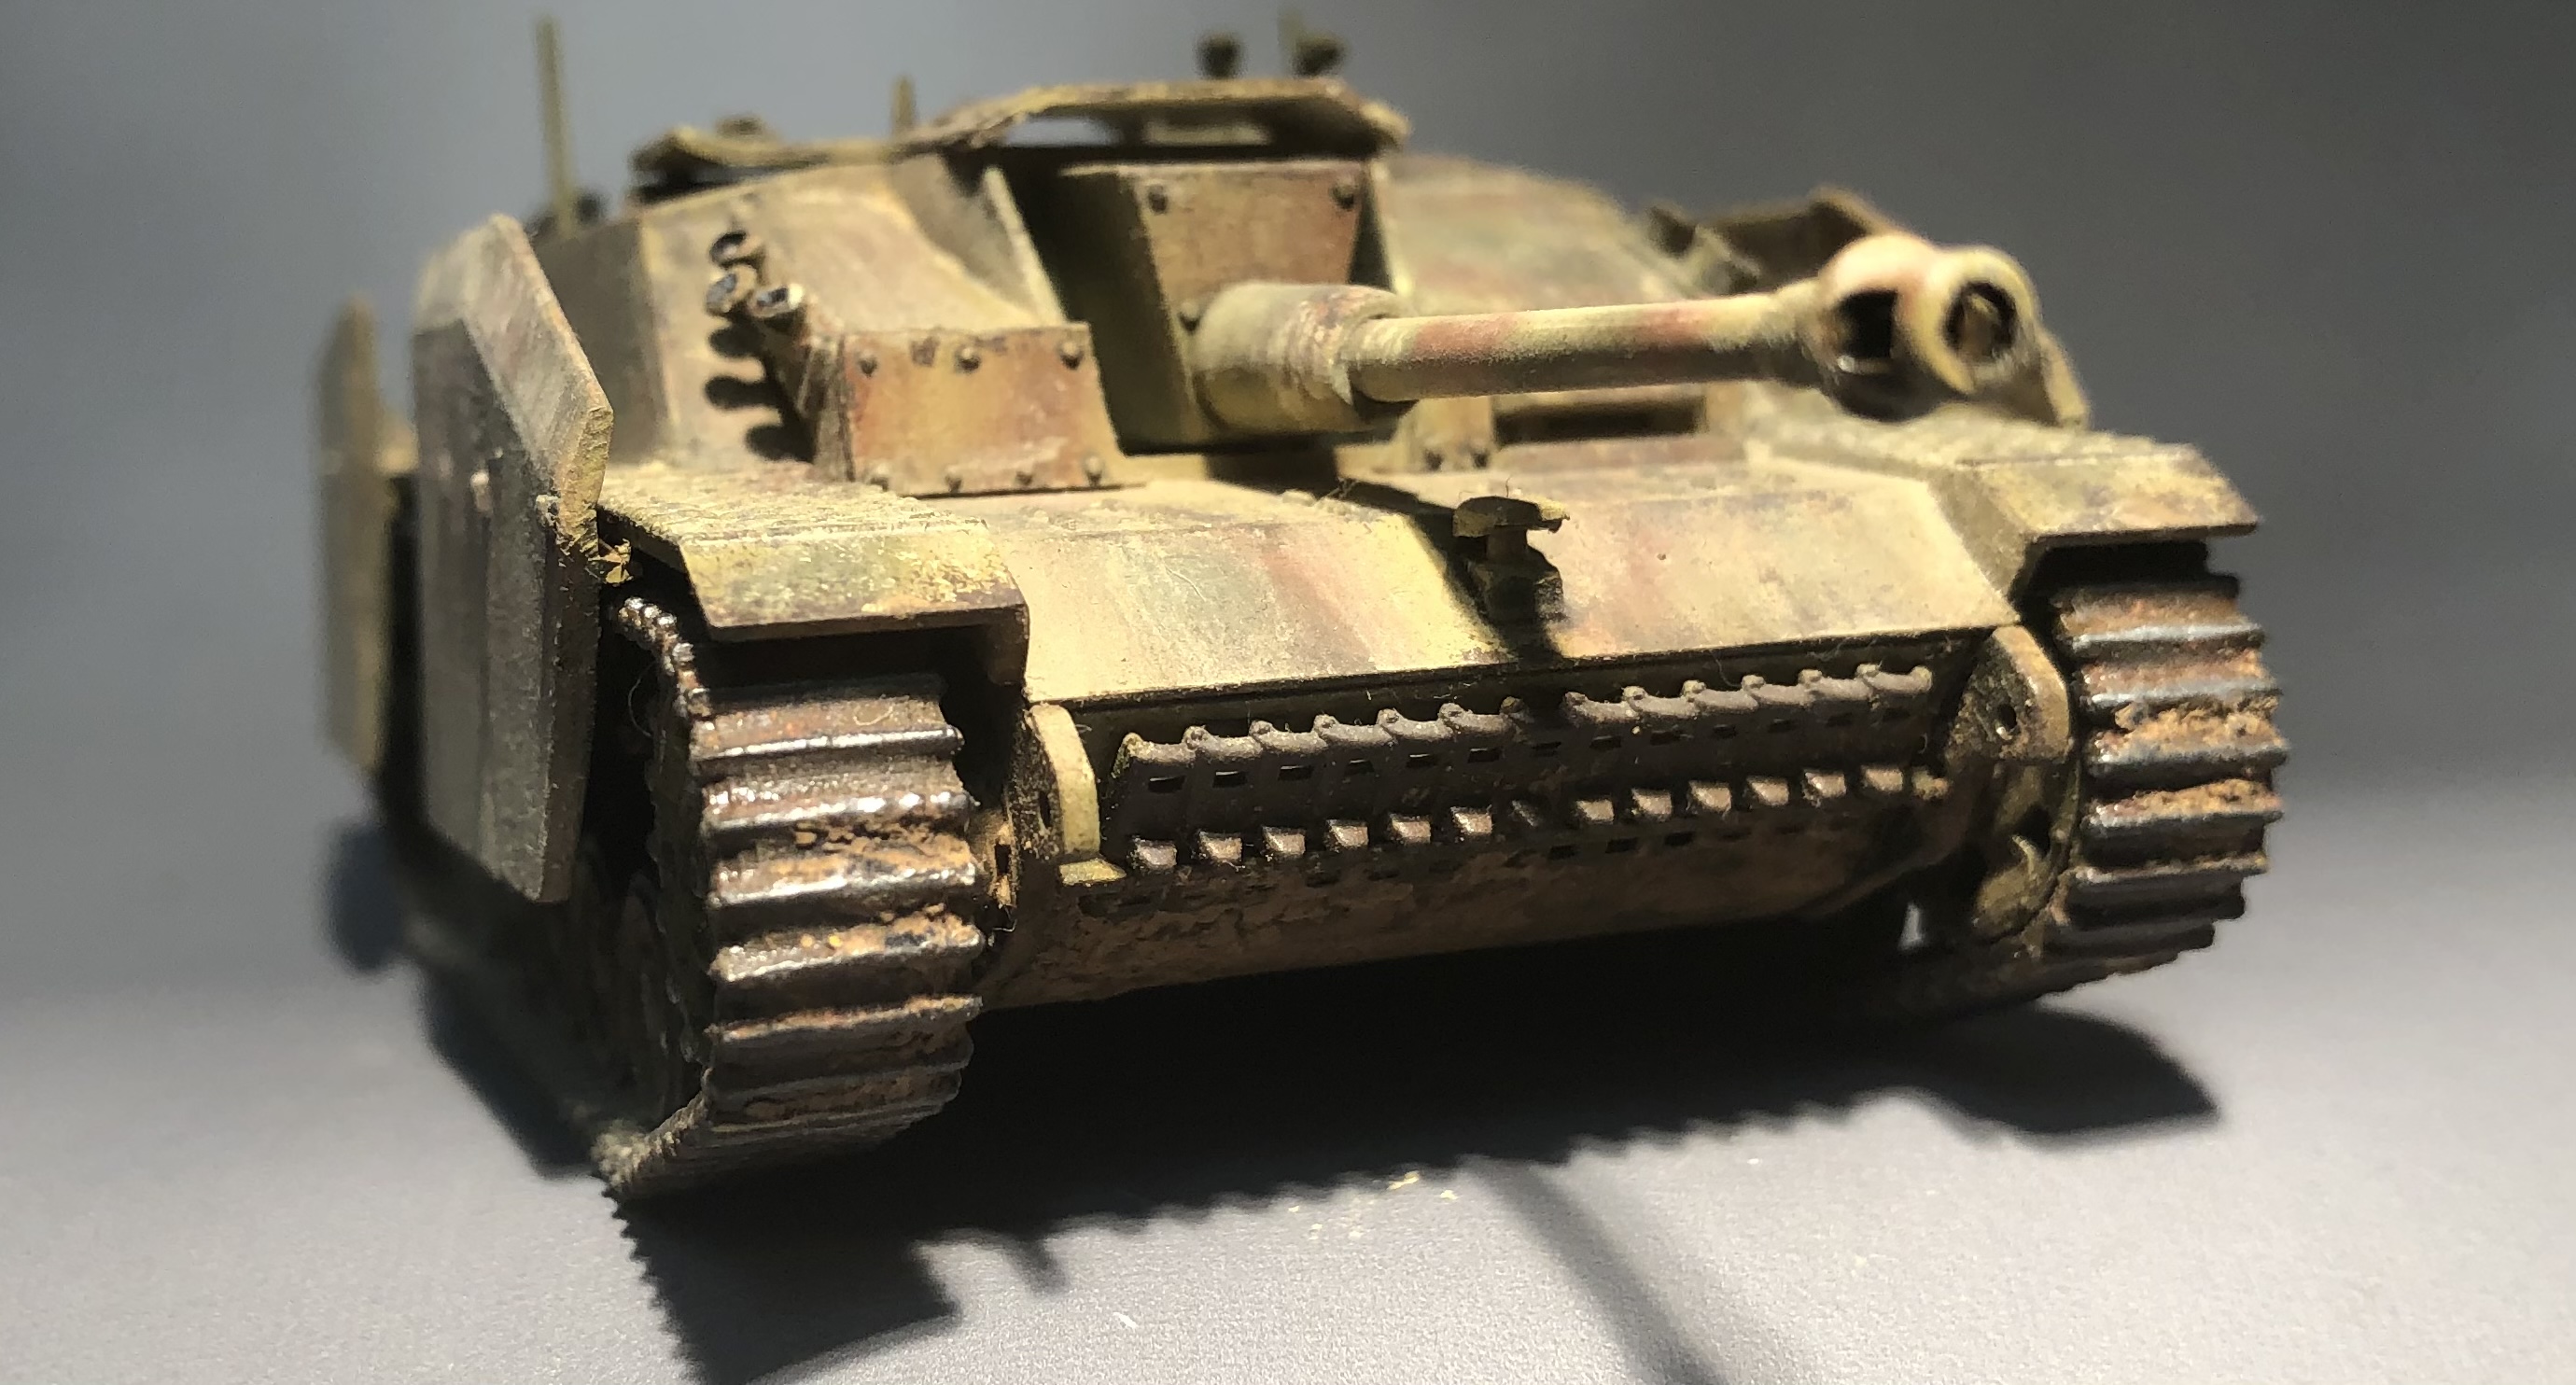
First the maintenance crews modified the front skirt to make maintenance a little easier on the front drive sprocket. Second they welded plate over the gun mount to help keep debris from falling in and possibly fowling the movement of the gun. The third, which doesn't make much sense, is they bent the top of the skirts over towards the upper hull. Not sure what they were attempting to accomplish but its clearly visible in the pictures. My main reference for this was "STUG III & IV, German Army, Waffen-SS and Luftwaffe, Western Front, 1944-45" by Dennis Oliver and published by Tank Craft. The Tank Craft books are excellent. I found a number of other photos of Stugs from this unit which provided some other angles, most from "Sturmgeschutz on the Battlefield" I just don't remember which volume those picture were in.


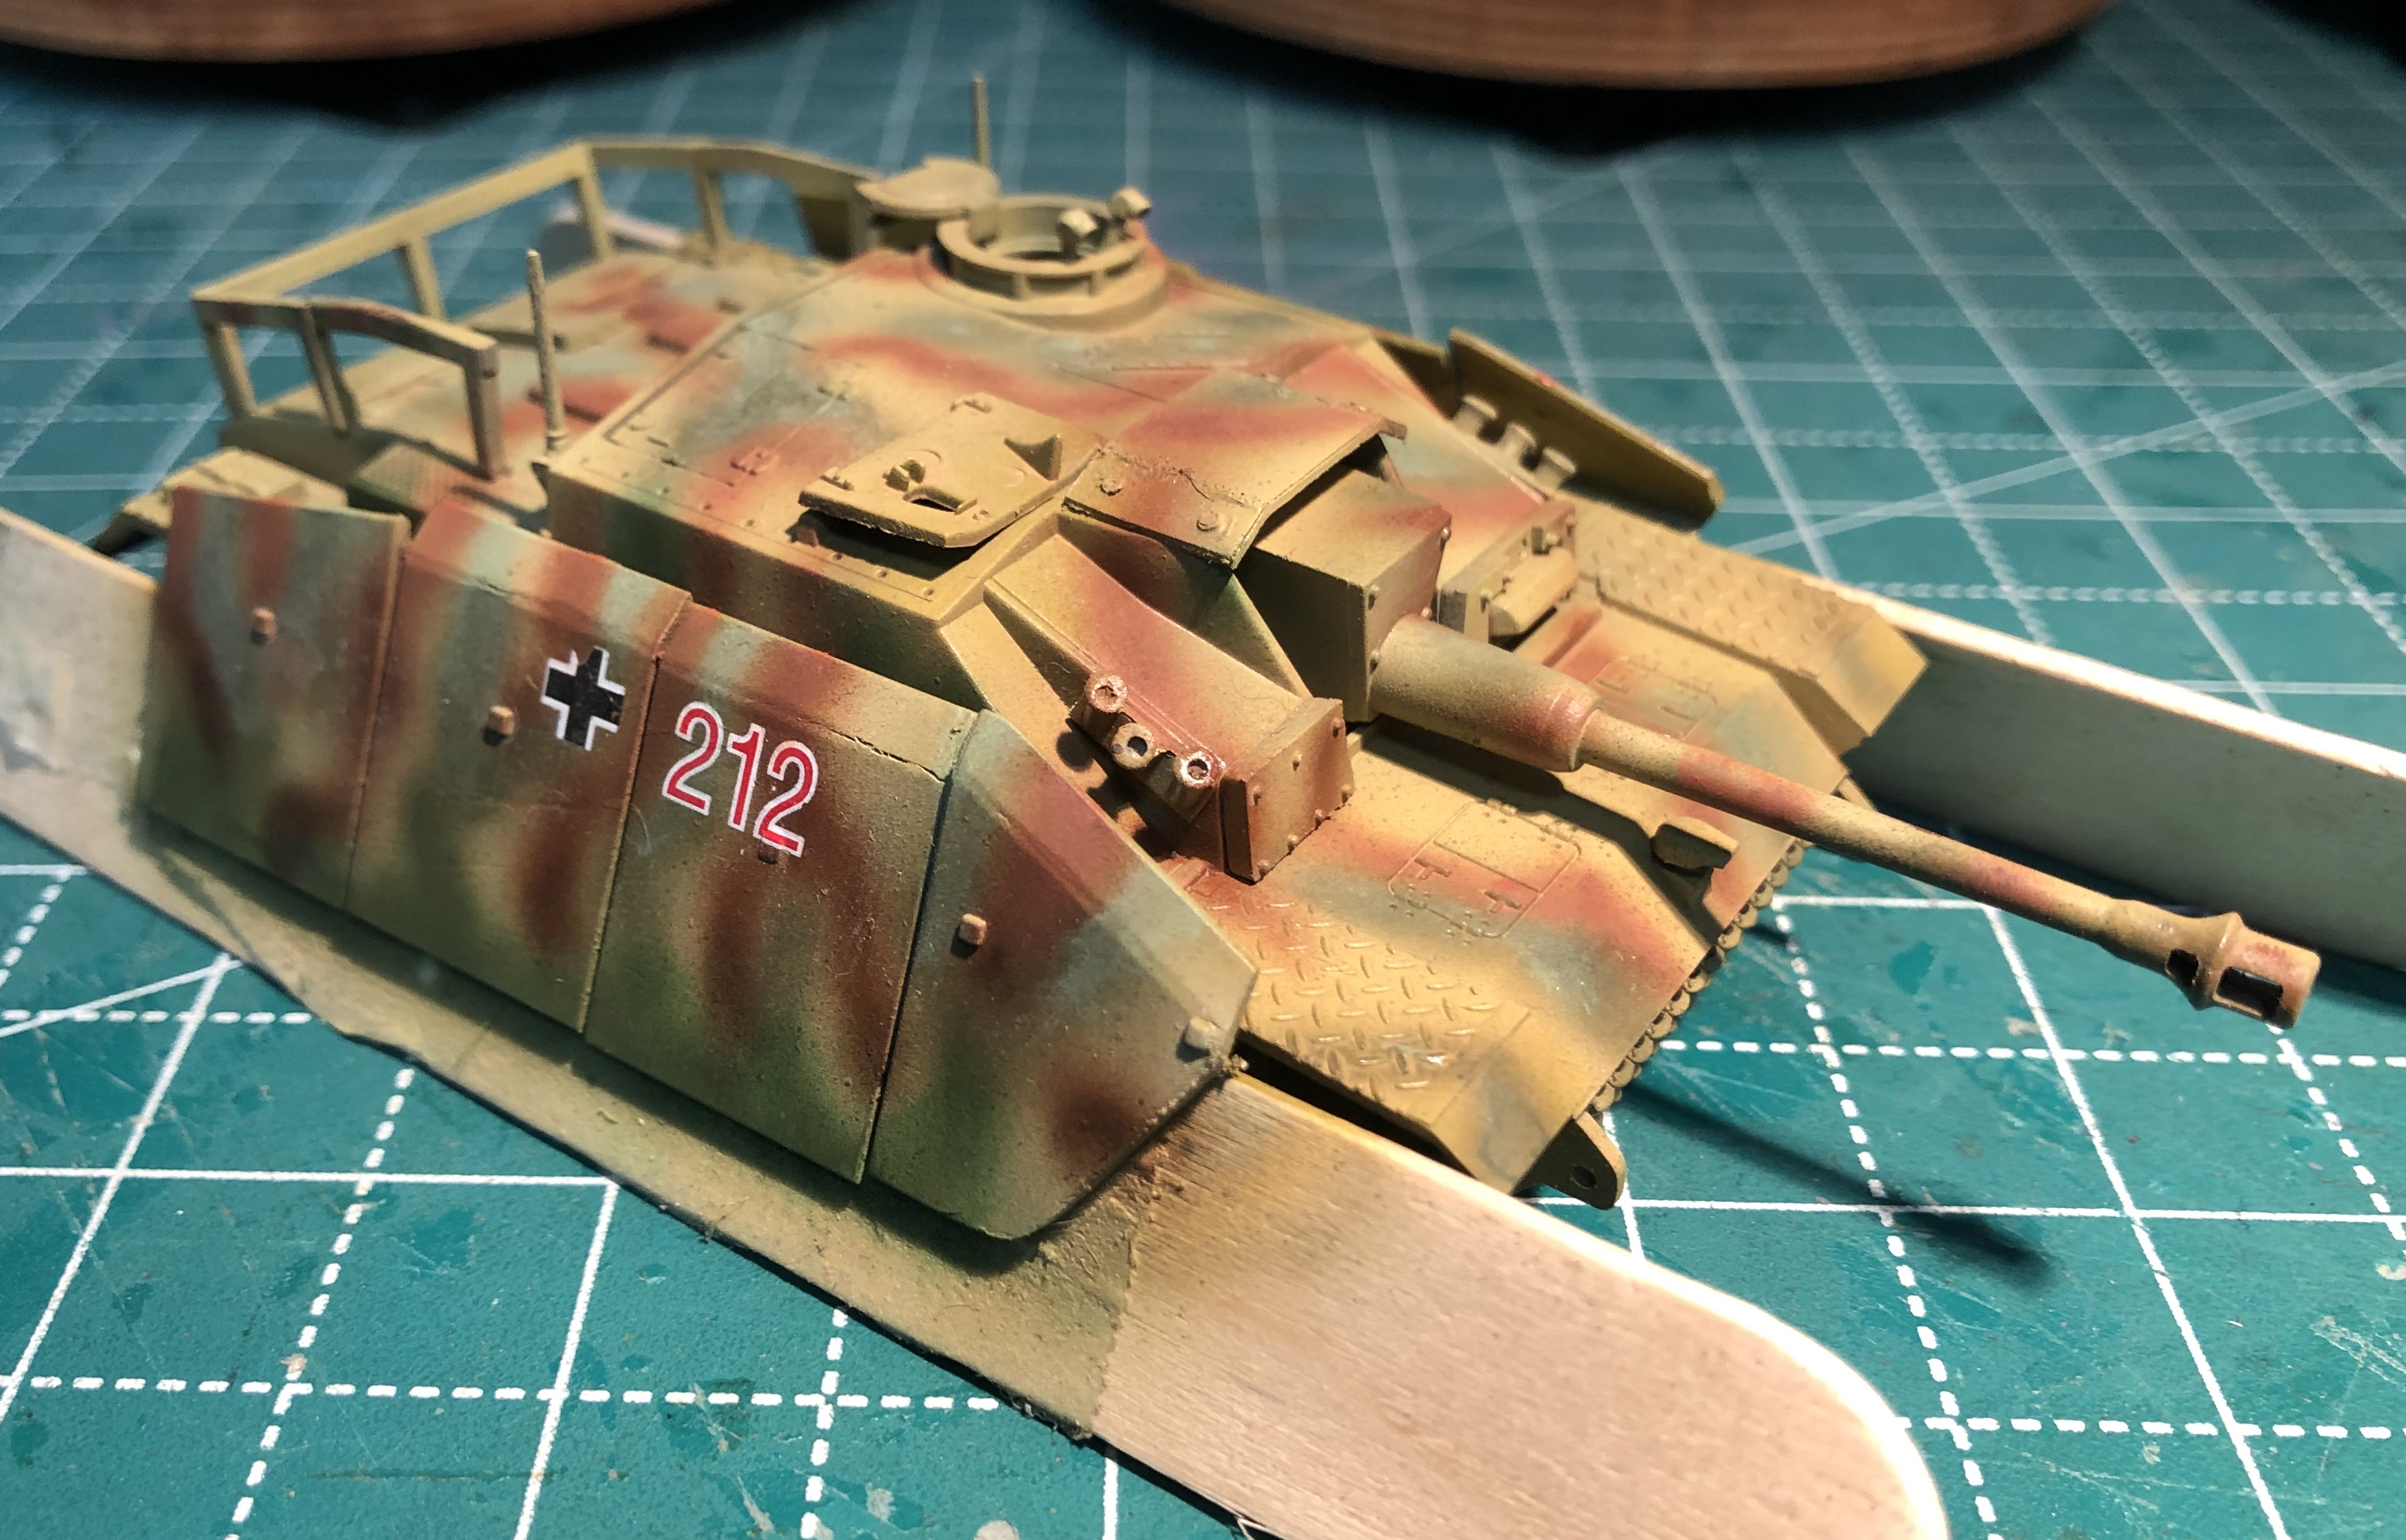
Sturmgeschutz III ausf G, 2 battery, Sturmgeschutz-Brigade 341, France, summer 1944. 
Rats, I just noticed that I swapped the two interior skirts. I'll have to see if I can fix that.


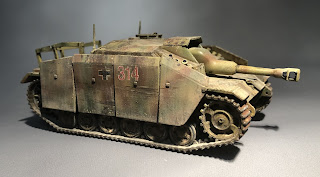
Sturmgeschutz III ausf G, 3 battery, Sturmgeschutz-Brigade 341


Thursday, August 25, 2022

World War II Project, STuG Project - Progress!

Its been ages, but I want to take one or both of these down to ReaperCon. I have been working on the lower hull and the tracks. I have been using a lot of pigments for this to add some texture and to work down into the tracks and wheels themselves. I'm actually pretty pleased with the progress at this point. 

I have started rusting up the mufflers as well and drilling out some stuff like the smoke grenade launchers and the tailpipes. Hoping to finish up the rusting on the mufflers today and then I can move on to the side skirts.

Hard to see, but weathering powder has been applied to the tracks

An in progress shot. One almost dry and one still wet.

Almost finished track and hull


Can't forget the front lower glacias!


Need to drill out those smoke grenade launchers


Thursday, April 15, 2021

World War II Project - STuG III Chipping - Getting Started

I managed to steal a little time and started the chipping work on the STuGs. I  finished the light chipping on the STuGs and the skirts and finished the dark chipping on the skirts. So I'm calling the skirts done at this point and hopefully can find a little time to at least start the dark chips on the STuGs this week.


I tried to add some long scratches to the skirts. Not perfect by any means but not bad either.


Thursday, March 25, 2021

World War II Project - STuG III Pin Wash - Complete!

Finally have finished off the pin wash on the STuG fleet. Now I can move on to something a bit more interesting; chipping!


Monday, March 22, 2021

World War II Project - STuG III Pin Wash - Vehicle #211

 Found some time to at least get started on the third STuG. This is really dragging out but things just keep cropping up and taking me away from the painting desk. As it stands the pin wash on this STuG is still not finished. All the initial lining work is done but the clean up is only about 1/3 done. So it continues to sit on the desk.

This is a reminder to myself to apply the wash neatly. Sloppy application requires more time to clean up and time is a precious commodity.

My brush selection for most of my weathering work. Lots of nylon and taklon and couple of poor (and double ended) kolinsky sables (those are from the Games & Gears Kickstarter, worst kolinsky brushes I have ever bought).

Today's wash of choice, Dark Wash from Ammo by Mig

An unsung hero my Badger paint mixer, which I can only use in wide mouth jars which is a shame.

Sloppy application of the wash leads to a lot of time spent cleaning it up. Be neat the first time!


Friday, March 5, 2021

World War II Project - STuG III Pin Wash - Continues

Just a quick  look at the two STuGs with their pin washes finished as compared to the other two. The pin wash really heightens the contrast and the clean up helps darken up the exterior colors a bit.


Thursday, February 25, 2021

World War II Project - STuG III Pin Wash

I find the pin wash to be a very tedious technique, however, its an absolutely necessity for me as it really makes the vehicle pop. I have complete one and unfortunately I didn't let the fading dry long enough and I wiped some of that effect out when I cleaned up the wash. The next three will have had a couple of days to dry so they should be fine.

This step is to time consuming to just churn out on all four vehicles so the other three will take a little longer to complete.

Initial application of the wash. I try to be as neat as I can here, otherwise the cleanup takes forever.

Its really hard to be neat on that tread pattern though! I got a little sloppy at the end.

And after I have clean it up. I used odorless thinner with a brush to do this. You do have to be careful you don't want to flood it with thinner you will lose all your work.

STuG 212 looking pretty sharp at this point. Three more to go.


Monday, February 22, 2021

World War II Project - STuG III Fading

I think I'm on the verge of breaking out of my painting slump and I started the next step on the STuG IIIs. Decals are on and sealed with a satin finish, I used a satin finish rather than a gloss to give a bit more tooth for the weathering steps. In theory that will make the washes a little easier to manage, we will see about that!

I decided I would give fading another shot on these. I'm still experimenting with this technique and I'm still on the fence about using it. If I keep the rest of the weathering relatively light then it will stand out. If I go heavy on the technique then the effect is lost. I suppose I could come back and redo it after the rest of the weathering. I might give that a go when I get back to the Jagdpanthers. After these have dried I'll do the pin wash.

Here are a few step by step shots (sort of) of my process:

A couple STuGs and my oils of choice for this task. A couple of oilbrushers and a couple of tube oils. The oilbrushers are much easier to use but I don't like the selection of greens that they come in hence the need for a couple of tube oils (Abteilung) for the greens.

The dunkelgelb has been done, mostly on the top surfaces, the dots or streaks are the first step to lightening the brown.

The mostly finished skirts. I went back afterwards and darkened up the green and brown on the bottom edge a bit more.


And a parade shot of with the fading finished on all 4 StuGs.


Technically this is STuH since it has the 105mm cannon


Monday, January 11, 2021

World War II Project - STuG III Decals

Found a little time to get the decals on the STuGs and the STuH. I used the decals from the Rubicon Jagdpanther kit as those seemed to be a better match for the unit STuG battalion I'm modeling. I ended up having to splice some of the numbers together but I think they came out okay.

I did prep by applying a satin finish to the full body of the STuGs and the skirts. After I had the decals on I hit them up with another layer of the satin finish to seal the decals. I can finally move on to the fun part!