Quotes

Life is short, break the rules. Forgive quickly, kiss slowly. Love truly, laugh uncontrollably and never regret anything that makes you smile. - Samuel Longhorne Clemens (Mark Twain)
Showing posts with label sledgehammer project. Show all posts

Tuesday, March 23, 2021

Sledgehammer BFG - Back to the bench

This bad boy has been sitting for at least 18 months on the back burner. Since it looks like ReaperCon 2021 might really happen I figured I better pull it out and get started so it has a chance of being ready for Labor Day weekend (Sep 2-5).

While I was fairly happy with the initial airbrush work at the time I am decidedly unhappy with it now. So back to the airbrush for some camo work. I essentially change the color of green I used and widen all the green and brown stripes so the dark yellow wasn't so glaring. I also cleaned up all the bad spots from the previous airbrush work. Which goes back to do it right the first time and you won't have to come back to it.

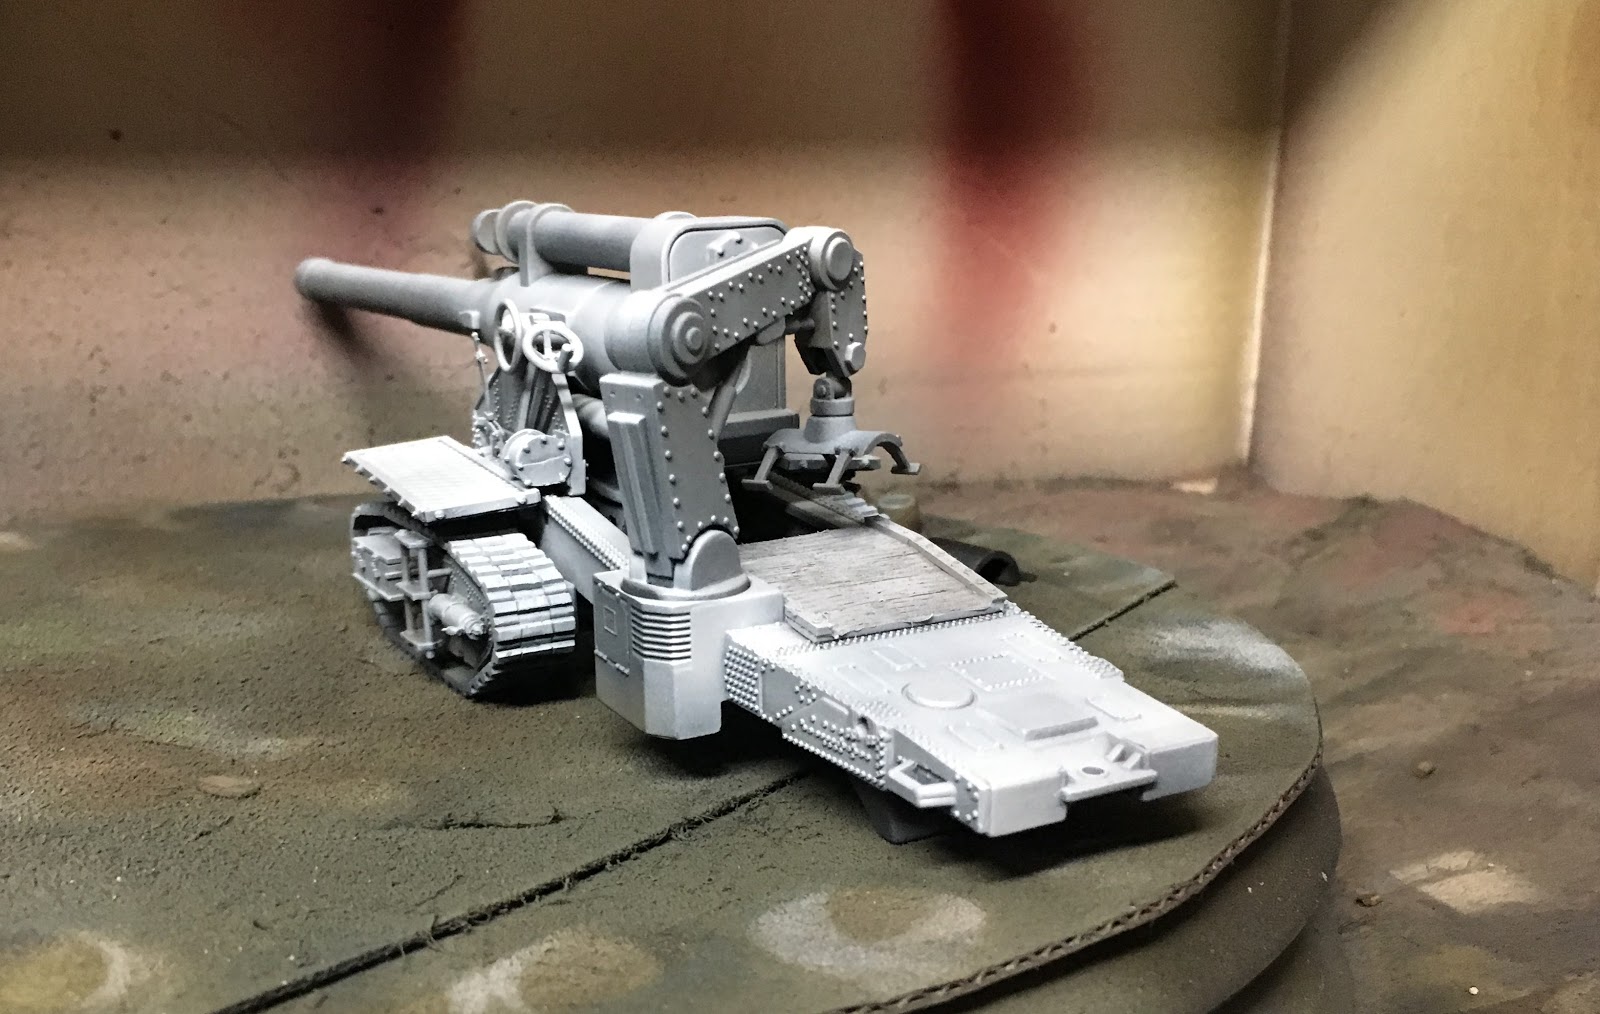
After looking at the pictures I realized that the crane is missing. I need to find out it and do a little work on that as well especially since I switched out the green!

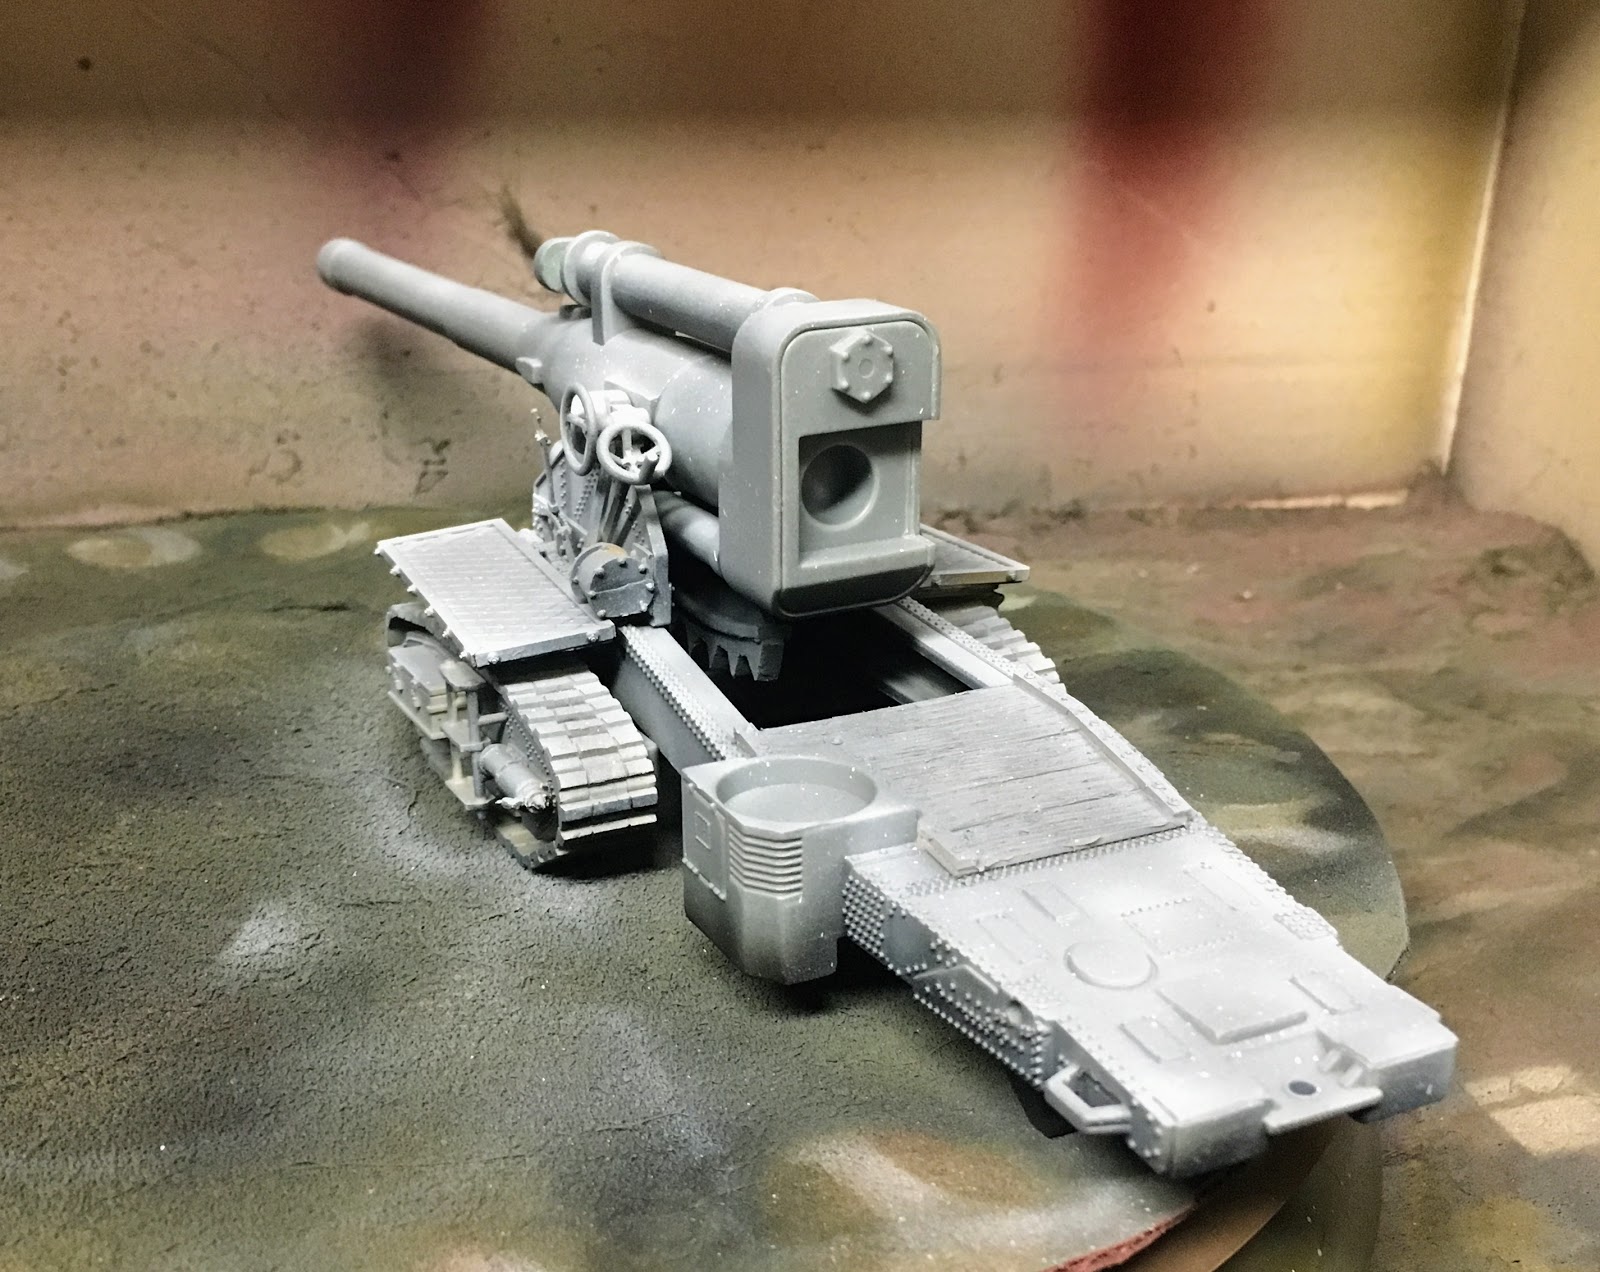
The camo that was completed 18 months ago (or there about). The bright light over the airbrush booth tends to wash the colors out a bit.
.

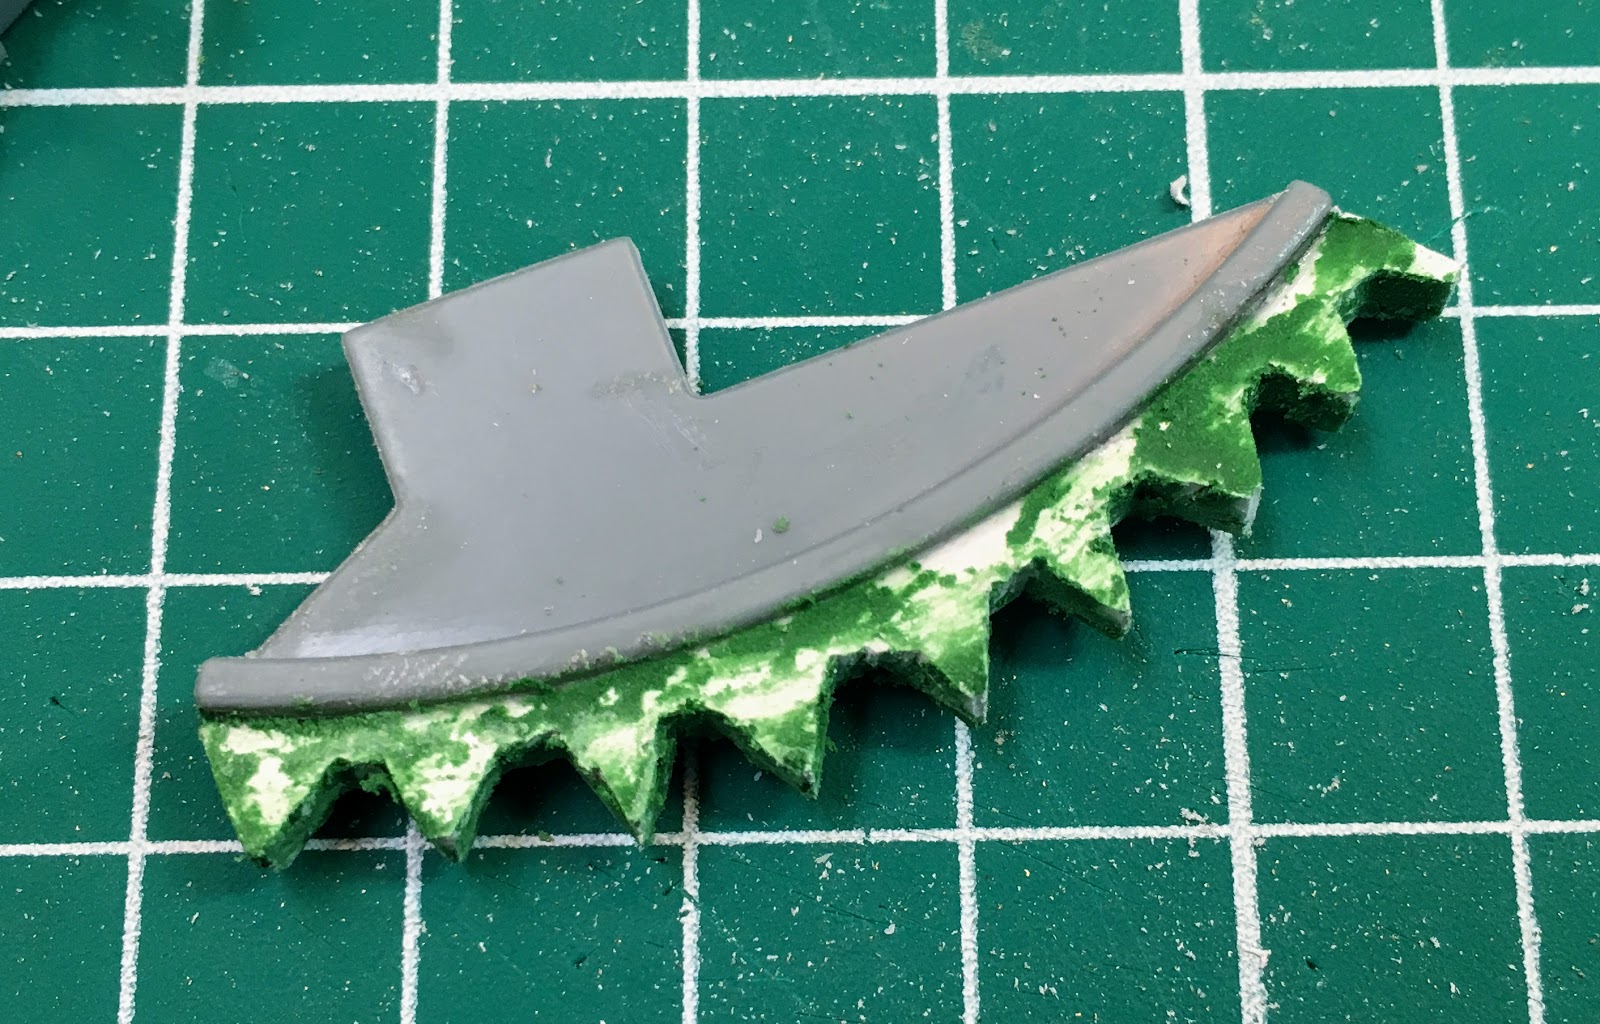
A new shade of green


Widening the brown stripes


At the end of the airbrush session. Note the missing crane which seems to have wandered off on its own.


This session's colors. I may need to put in a paint order soon.


Monday, October 7, 2019

Sledgehammer XXXIII - Tricolor achieved

The darker brown is on. I see numerous places that need to be tighten up but overall I'm quite happy with it right now.


Tuesday, October 1, 2019

Sledgehammer XXXII - And then the green

Trying to keep some fairly tight lines on this. Will see how that goes, I'm certainly dusting off the airbrush skills at this point.


Thursday, September 26, 2019

Sledgehammer XXXI - Next Color

I'm so much happier with this than the original brown base that I started with. I realize its going to end up in a WWII German camo scheme but I'm okay with that, it seems to work much better at least so far.


Tuesday, September 24, 2019

Sledgehammer XXX - Reboot

So Chester really is at the top of the list, but I had started the reboot of the Sledgehammer before he was ready to go. Plus there is still some paint to buy for Chester. So he does remain the priority but I need to accumulate a few materials first.

I have not been very happy with the colors I selected for the Sledgehammer and the support vehicles. I decided to try something a bit different so I have started over on the Sledgehammer itself. First job was to re-prime it. So now its ready for some real color


Friday, July 19, 2019

Sledgehammer Project; Pt XXIX - Priming the Sledgehammer

Managed to pull the airbrush out and prime the Sledgehammer. I'm still trying to introduce some level of modulation to the first airbrushed color by using a black, grey and white primer technique. While it looks good here, it seems to just be to subtle and affect afterwards. I think I am probably underdoing the black and overdoing the white. So still need to practice more with this.


Wednesday, July 17, 2019

Sledgehammer Project; Pt XXVII - The Sledgehammer BFG final details

I final find a few spare moments from working on the house and the yard to get the final details and assembly of the Sledghammer done. This has taken forever and the convention is now definitely looming over me.


Here you can see the nut and bolt castings added to the side of the platform. I was going to drill out the holes for these and do it properly but in the end I cut them flush and just superglued them in place. You can also see the other control rod being fitted into position.

I figured that gluing the wheel to the control rod would be a weak joint so I decided to pin it. Will looking for a paperclip and figuring it would be to big anyway I came across a stapler. Perfect! Staples are just the right size for small pinning jobs. 


And the finished control rod and wheel. Need one for each side.

I cut this side, of course, a little to short so the fit is tighter than I wanted it to be, but it still looks pretty good.

The longer cut for the other side. I'm still trying to decide about the aiming apparatus. With the weird dichotomy between technology something electronic is definitely in order and would contrast so well with the rest of the Sledgehammer.

Friday, May 24, 2019

Sledgehammer Project; Pt XXVII - The Sledgehammer BFG coming together

With paintwork started on the Taurox I realized that I really need to get the Sledgehammer itself together. Did some extra detail work along with some assembly in this session. I'm thinking one more session ought to finish it up and it will be ready to paint. At this point it mostly needs more rivets!


The first order of business was to add some teeth to the elevation mechanism. Without teeth it can't be elevated (and why there is a gear in the carriage without teeth on this component makes no sense). I'm constructing the teeth from 3mm foamed PVC.

The roughly cut teeth attached to the elevation mechanism.

Did some work on the carriage supports as well. Now the elevation wheels would, in theory, actually work.

Filing and a little green stuff and they will be as near perfect as they need to be for something that will likely go unseen.

Treads in place, sideboards in place and starting to hack off two cradles that would hold shells. Since there is no casing on the shells provided, there must be powder charges (just like the real B4 Howitzer) which means that the crew must be able to ram home the shell and the powder and they need a place to stand.

Almost there

The basic planking to give the crew some standing room.

A little wood grain added. This will give some variation in surfaces and its what they did on the real thing as well.

Some strapping added to hold down the planks.

Holes drilled for the nut and bolt castings.

The tiny nut and bolt castings cut from the sprue. A number of these are spread all over the room as they escape from the jaws of the tweezers at velocity.

These whole thing seemed to take forever, put looks good, looks just like an actual field modification.

Some of the crew checking out the new details. I still need to add a gun sight of some kind and finish adding some of the other detail bits. But she is close to being finished.