Quotes

Life is short, break the rules. Forgive quickly, kiss slowly. Love truly, laugh uncontrollably and never regret anything that makes you smile. - Samuel Longhorne Clemens (Mark Twain)

Sunday, June 29, 2014

Calamity Gets a New RR Station - Part 4

I had to order the windows and doors I needed online instead of being able to use my regular local source. That's the problem with using S scale parts since the basic demand is low you never know when the restock is going to come in. The online retailer I used "claims" they have the parts in stock but the order has been "in process" since 6/24. So we will see what happens with that. We are going to get to the point where not having these pieces is going to bring construction to a halt. The good news is that the stone sheet that I ordered from Monster Modelworks arrived. The bad news is that I didn't check the thickness and its much to thick to just tack on to the tab that I left on the bottom of each wall. I'll have to cut the tab off and line things up a bit more carefully and I'll have to think about the bottom floor a bit more than I anticipated.

Today's construction revolved around getting the interior started. All the exterior walls have received their wainscoting and chair rails. I can probably start painting that now and then apply the wallpaper. I can move on to building the interior walls, I just have to decide how I'm going to divide the rooms up. 

On to today's construction photos.

Adding the wainscoting and chair rail. Hard to see with the white on white going on 

And the close up doesn't really help much

This is the front door to the waiting room, still to much white on white.

Ah, works better this way. Trackside door.

Adding the detail for the second floor

Again from the trackside, You can see how the second floor will basically be an A-Frame.

The waiting room, interior side, waiting for some paint now.

The Baggage room. I probably didn't need to add the wainscoting since the floor will be raised and you won't be able to see it.

The baggage room, interior side

The trackside wing. I still haven't cut out the windows since I need a third one to create the large window. That's definitely going to hold up construction

Trackside wing, interior.

Front wing, interior. Its interesting to see how the yellow of the stain can is affecting the auto white balance feature.

Front wing, interior

This is the laser cut stone sheet from Monster Modelworks. Looks great, although I managed to ignore that it is an 1/8# thick. I'll have to work out an alternative solution.

Friday, June 27, 2014

Ticket to Ride - 10th Anniversary Edition - Days of Wonder

This will be a serious board game geek post. While I love miniature games and miniature painting I grow up as a board gamer cutting my teeth on Avalon Hill classics like Gettysburg, Panzer Blitz and Squad Leader as well as monster games like SPI's Atlantic Wall and War in the Pacific. But my favorite board games are railroad games. From Rail Baron to the 18xx games (1830, 1929, etc) I have played most of them. While I have been out of touch with the newer games released in the last five years its mostly because Ticket to Ride designed by Alan Moon and published by Days of Wonder, is one of my favorites. Its also my favorite board game to introduce non-gamers to something besides the standard board games like Clue and Monopoly (if you have read my blog for any length of time you know about my fascination with Clue). This game is easy to learn, easy to teach and can be played in less than an hour and its different every time and strategies change completely depending on the number of players. I don't often buy anniversary editions of games as they are typically just new box art (please ignore the Clue fetish at this point, that's a collection, gotta have 'em all). This one is different though, Days of Wonder went all out for the 10th Anniversary edition of this game, I didn't even blink at the $100 price tag on this one (okay, maybe a little). It comes with a larger board with much nicer graphics than the original. Each player has his own set of unique playing pieces instead of the same piece molded in a different colors in the original. The cards are full sized instead of the original half sized cards and the graphics have been improved again. The game can be played as either the "classic" edition or the "1910" edition and the logos for the differences are big enough to make the ticket deck easy to sort through. There's just way to much good stuff going on this version, let's to go to the pictures.

I'm not at the house so I can't show you the size difference between the original and the anniversary edition but trust me its bigger. And the pictures aren't great, inadequate lighting but I was to excited to wait.
Box Top

Box Bottom

The storage tray, the game board rests on top

Each players' pieces now come in their own tin, no more little ziploc bags.
Here we have the Black Powder Railroad - the Black pieces

That's a lot of pieces. Each player has 45 "trains" to work with. I haven't counted these in the original game there were 55 trains in case you lost any. There may not be that many in here, these are pretty fancy

Coal Cars for the Black Pieces

Metropolitan Rapid Transit - the Blue pieces

Passenger cars for blue

Hobo Caboose Central - Green pieces

The caboose for the green player. Not quite sure who dreamed this version of a caboose up

Savannah, Florida & Circus Railway - the Red pieces

Love the Giraffes sticking out of these - Red pieces

Dutch Flat Barrel Co - The Yellow (?) pieces. The original has yellow pieces but I don't really see yellow here, perhaps we are shifting to brown now, it certainly looks very brown.

Flatbed with Barrels (are they full?) - yellow/brown pieces

The board, its huge! Not sure if this was absolutely necessary, it might actually be harder to find a table to play it on.

Unopened card decks (there are actually three of these, making up two decks)
 The first deck is the train card deck. You draw these during your turn. You need these to be able to claim "routes" on the board. For instance on the board between Denver and Kansas City there are four spaces (and its double tracked meaning two players could claim this route). One set of 4 spaces is black, the other set is orange. You would need four cards of the appropriate color to claim the route i.e. 4 black or 4 orange (no mixing).
The Black Train Cards

The Blue Train Cards

The Green Train Cards

The Red Train Cards (I don't like the scarlet color they went with on these, to much orange in it)

The Orange Train Cards

The Pink Train Cards

The White Train Cards

The Yellow Train Cards

The Locomotive Train Cards. These are wild cards and can be used as what ever color you need.
 The second deck is the Ticket Deck and its the key to how the game is played. In the beginning each player is dealt three tickets. You may discard one of them. They show two destinations, in order to complete the ticket and score the points you must connect the two cities with your own trains. You may draw additional tickets during the game but beware! Any tickets in your hand that you don't connect will be deducted from your total.
This Phoenix to Boston card will earn you 19 points if you complete it. This is a ticket from the 1910 version. The 1910 cards are added to the ticket deck.

This San Francisco to Atlanta ticket will earn you 17 points if you complete it. This is a ticket from the classic version. If you are playing the classic version the 1910 tickets are removed from the deck.
  
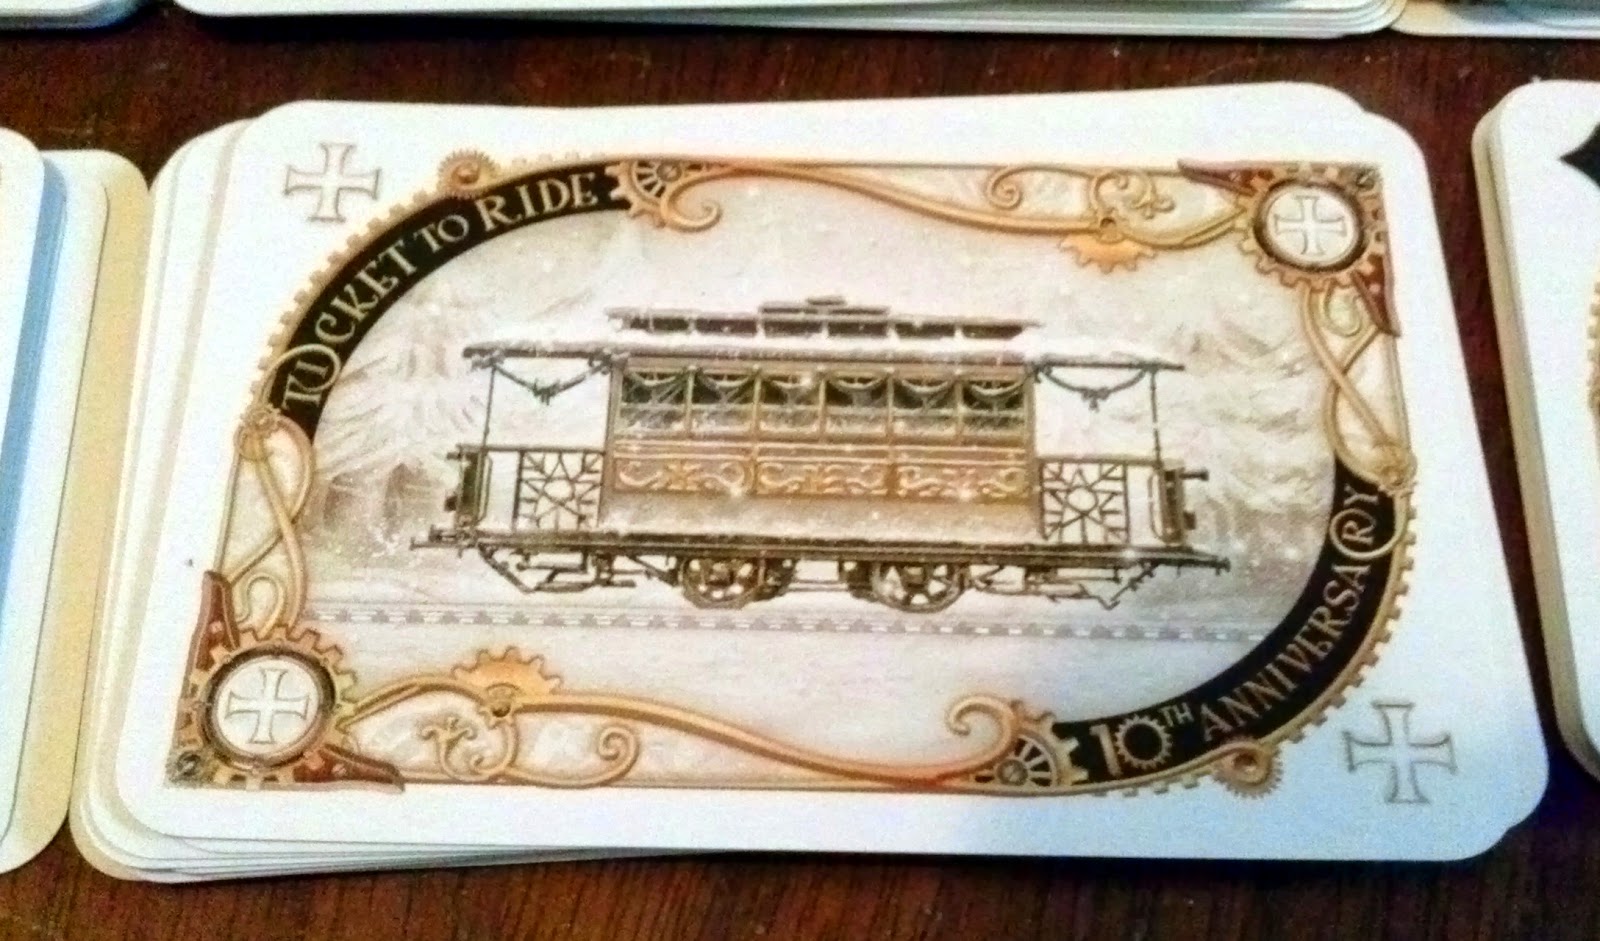
The back of the ticket deck

10 Extra points if you have the longest railroad at the end of the game

15 extra points if you have visited the most cities at the end of the game

The scoring markers. The scoring track runs along the outside edge of the board

And the rules. This is a twelve page rule book. The rules themselves are only two pages long, but its translated into 11 other languages! English (American English, not English, Australian or Irish), French, German, Spanish, Polish, Italian, Danish, Norwegian, Swedish, Finnish and Japanese (I don't recognize the flag symbol for the 12 language
Seriously, this is a great game, good enough that if I could only have one board game (like that's going to happen) this would be it. Alan Moon is one of my favorite game designers and I'll pretty much just buy any game he has designed. He also managed to introduce me to Settlers of Catan. My ex and I bought one of the first copies of that game that came to the US, basically hand carried over by Alan from Germany. There are a number of different expansions for the system as well. Ticket to Ride Europe, Ticket to Ride Germany and Ticket to Ride Norway are all stand alone games and each has a game play characteristic unique to itself so its not just porting the system over to a different map. There are also 4 expansion boards that require you to have one of the main games for the components. Its a great series of games to have around the house. The computer game (available through Steam) is also pretty good, and fast!

Sunday, June 22, 2014

Calamity Gets a New RR Station - Part 3

Finally on to Part 3. I spent this time getting the main exterior siding into place. The station is mainly clapboard siding with some more vertical planking on the few spots where the second story is visible along with some board and batten work up in the eaves. Having three different styles of siding is really what attracted me to this station in the first place. I'm really liking how the building is coming along. I tempted to jump right in and starting putting it together but since I do want to have an interior I'll have to do that first. I also have to figure out where I want to cut the building so you can take off the 2nd story to get down to the first story. Originally I was thinking that I would have the second floor just slide out but I think the building is to narrow to make moving miniatures inside comfortable if I do that. I'm still thinking about how to do the roof as well, so lots of things to think about before I can actually do the final assembly.

As always the pictures with a few comments should explain everything that I did, well at least when I remembered to take pictures.

I cut the siding to fit and glued it into place right over the window openings.

I cut the windows out from the backside. Note that the sides of this piece still need to be trimmed a bit.

Here the process is repeated on the freight door side

A construction photo, this is the front of the bay window on the front of the building.

Another in progress photo

Front bay window. The clapboard is in place, windows have been re-cut the vertical planks have trim on both sides.

Door to the waiting room on the front side

Door to the waiting room, trackside

The windows into the freight/baggage room

The sides of the bay windows ready to go

Hard to see in this picture but the upper trim piece has been added to add separation between the clapboards and the vertical planks of the second story.

Second story vertical planks, freight door side

Second story vertical planks, waiting room side

A thinking shot. I need to add the vertical trim strips as well as the board and batten siding at the very top. I didn't want to make a mistake when I added the vertical trim since its a key component of getting everything to line up and provide as solid surface for glueing.

Testing fitting the front elevation. All the vertical edge trim has been added as well as the board and batten siding at the top of the bay window and both ends.

A view from the freight door side. The blank space a the bottom is going to be either a brick or stone foundation, I haven't decided on which type I want to use yet. I'm leaning towards a field stone since Calamity is a mountain town.

And from the waiting room side. The board and batten really shows nicely here as does the vertical trim pieces.