So there is a lot of different information out there and a lot of it is not very informative. In fact I even saw one post that said that Tru-Scale didn't use pigment and that's why it didn't separate. Now that is possible as colors are either built from pigment or dyes, but generally anything called paint uses pigment (inks are dyes). Tru-Scale talks about pigment right on their website. So I combined the information I could find into something that, I hoped, would work for me. This paint is pretty thin already but it wouldn't go through my Infinity airbrush straight from the bottle. I pulled out some little graduated cups that I keep around and measured out three parts paint to one part acetone, that's right acetone as a paint thinner. I got lucky and hit the right combo off the bat and this 3:1 ratio worked like a charm.
Going into the booth were four boxcars, one stockcar, two flatcars, two short cabooses and one combine caboose. The C&N kept all its freight cars and cabooses the same color which means I don't have to switch out colors. Most of the prep consisted of removing trucks and in the case of the cabooses applying a liquid mask to all the windows. The cabooses I completely dissembled and removed the interior lighting components. They are actually quite nicely detailed on the inside, to bad you can't really see it through those small windows.
So two bottles of paint and 10 cars later I was finished, a pretty good days work. The cabooses will probably need some touch up. Its hard getting up underneath some of the overhangs and I found a thumbprint on the side of one so back to the booth for those, probably later this week. With the painting done this bunch is ready to see if these brand new decals I made are going to work. Pretty exciting stuff!
On to the pictures!
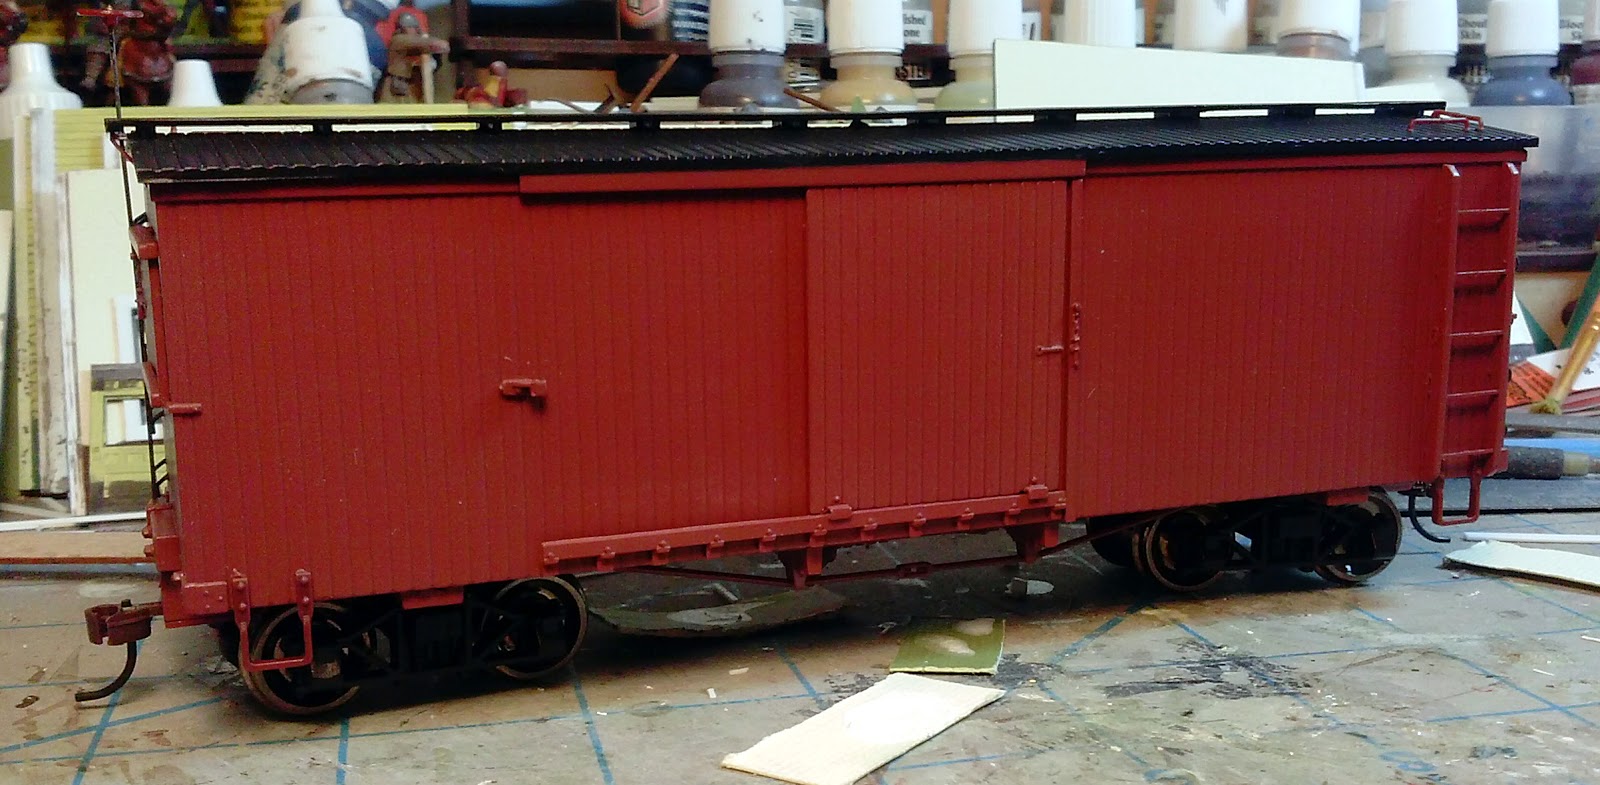 |
| Three boxcars like this. |
 |
| Fortunately only one in this ugly color |
 |
| One stockcar |
 |
| two flatcars |
 |
| The reefer, although I reconsidered and left this one in yellow. I'll go back and do some decals in black for this one. |
 |
| Disassembling a caboose. Removed the lighting and was surprised by the nice detail on the inside. |
 |
| Easier to see the detail on the red interior as opposed to the black interior in the first caboose |
 |
| Dissembling the second one, went much quicker this time. |
 |
| The combine caboose, of course this one didn't come apart in quite the same way. |
 |
| The interior, again some nice detail that you just can't see |
 |
| Airbrushing complete! I left the stockcar with a black roof. |
 |
| The cabooses and the flatcars. |
These are gonna look fantastic! If your interested, this is one of my favorite pictures of a caboose interior...
ReplyDeletehttp://theartpart.jonathanmorse.net/wp-content/uploads/2011/04/8d24456u.jpg
I hope so, the decals are really going to make or break them I think. I'll check out your link caboose interiors are always cool, they pack so much inside them. Thanks Ken!
ReplyDeleteNice paint work! but thinning with acetone? Even with a paint booth that has got to stink.
ReplyDeleteYea, but its still better than full strength turpentine! Maybe next time I'll take the booth outside.
Delete