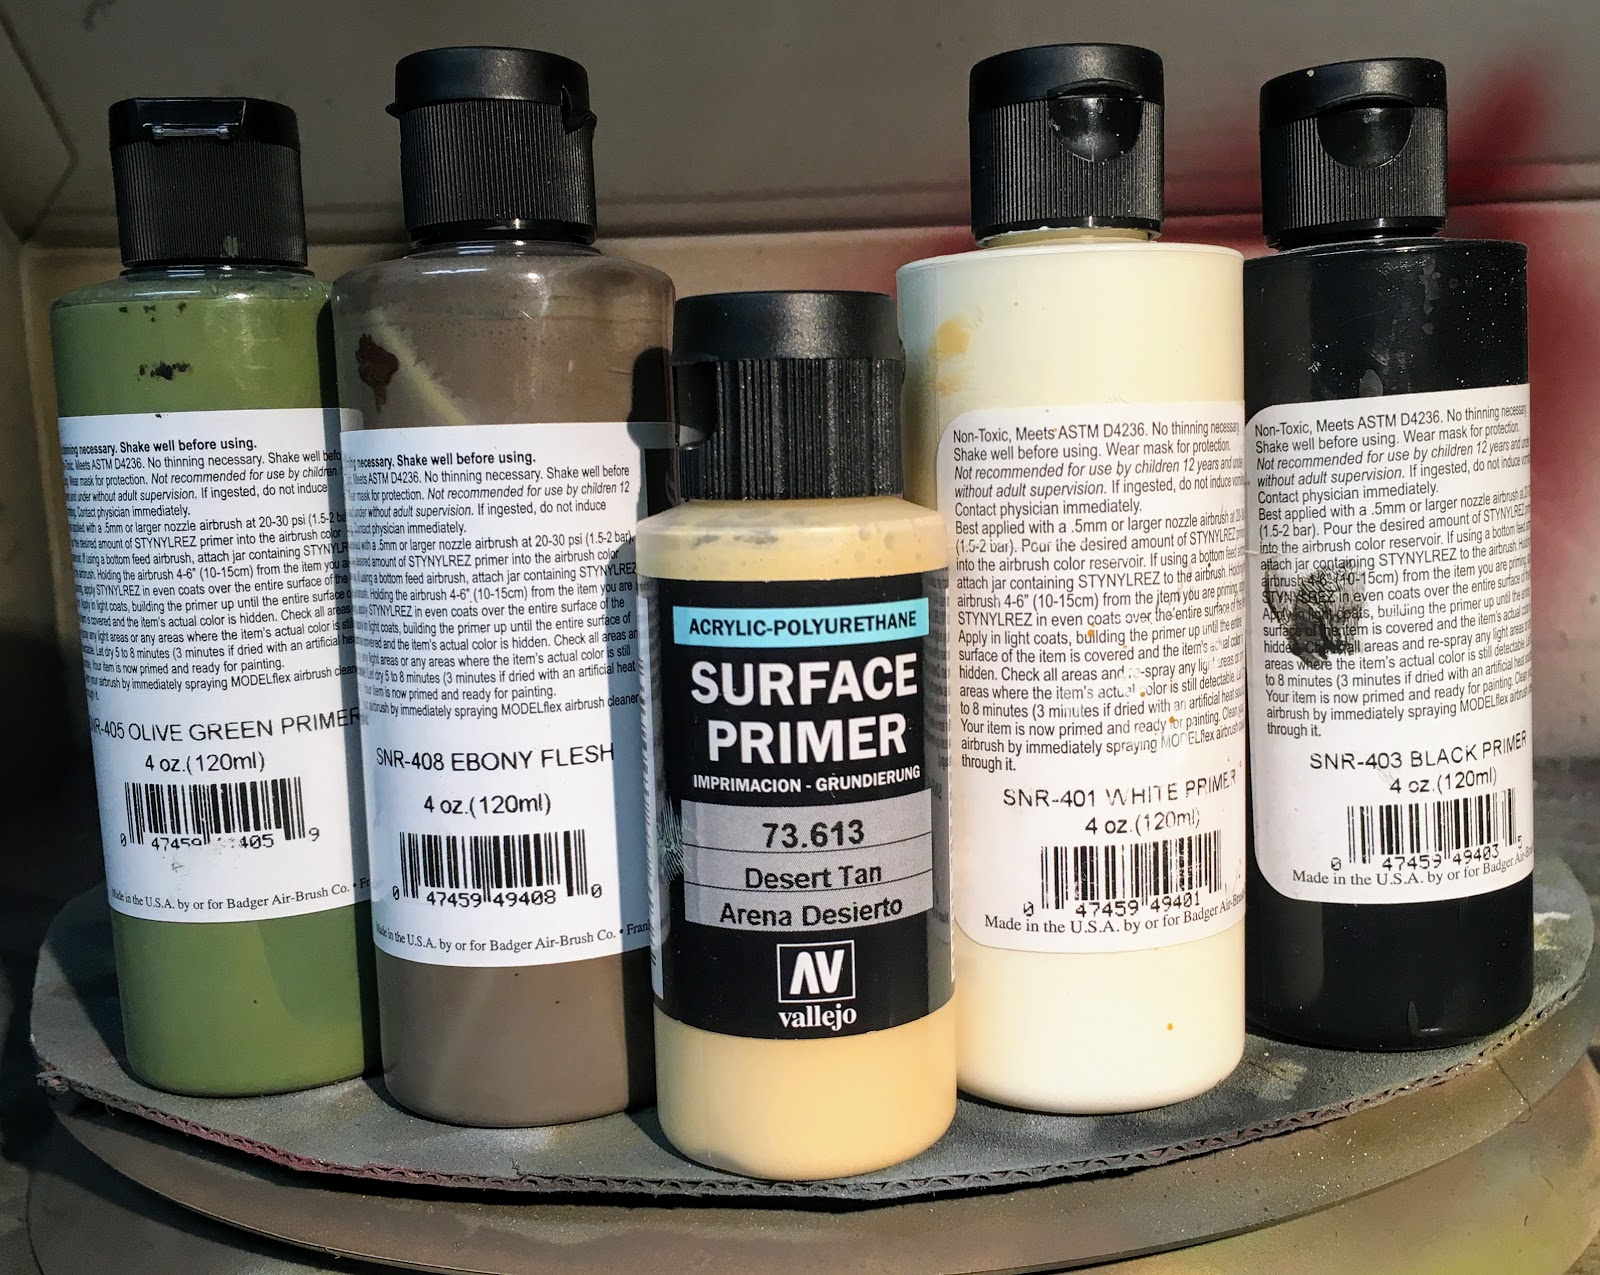
More action at the airbrush booth saw all three Jagdpanthers get coats of both black and grey primer. Like the STuGs the lower hulls were done in black and the upper hulls were done in grey. I had a little speckling going on so I may have to go back with some steel wool and remove the imperfections in the primer. I was pretty pleased with how well the thread I used for the tow cables looks with just a bit of primer on it. I think that's going to look really good by the end of the painting process. I was tempted to use my Vallejo primers on these just to compare the Vallejo vs Badger's Stynylrez primer, but once I have painted loaded up in the airbrush I tend to just keep going with what's in it.
The Town of Calamity, The D&RGW RR Warehouse Row and Historical Miniature Gaming
Quotes
Life is short, break the rules. Forgive quickly, kiss slowly. Love truly, laugh uncontrollably and never regret anything that makes you smile. - Samuel Longhorne Clemens (Mark Twain)
Showing posts with label Stynylrez Primer. Show all posts
Saturday, November 14, 2020
Thursday, November 12, 2020
World War II Project - STuGs - Painting Begins
Finally managed to get over to the airbrush booth and applied some spot primer to the STuGs. I basically primed the debris shields and the backs of the skirts where I had bent the top edge. I also reprimed the lower hulls with black, hopefully to help keep those areas a bit darker. I used my favorite grey and black Stynylrez Primers from Badger for this work.
Monday, August 10, 2020
Age of Sail, Black Seas - Plastic Frigates - Primed
I needed a little break so I grabbed all the plastic frigates from Black Seas, set the airbrush pressure to about 8 psi and hit them with the black primer. I know I have popsicle sticks around here some place but I couldn't find them while I was thinking about doing this, hence the lower PSI level. I thinned the Stynylrez primer down to handle the low pressure and did a couple of coats to get everything covered. So these represent the three smaller US frigates from the original six and six more brigs of one kind or another.
Primed and ready for some detail. Looks like they will need some pretty precise painting.
Thursday, May 23, 2019
Sledgehammer Project; Pt XXVI - Taurox - Painting with Primer
As I mentioned I need to do some paintwork on the Taurox before I can finish the assembly. This will consist to two distinct pages. I'll start with the primer, and see if I can work in some modulation, and add the basic camouflage to the exterior and get the interior ready for more detailed paint work.
| Ready to go in the airbrush booth. |
| The basic coat for the camoflauge was Stynylrez Ebony flesh. While not completely visible in the pictures the inside of the rear door and the inside of the turret hatch also received this color. |
| After the base color was on I finished off the camo with Stynylrez olive green. |
Monday, January 23, 2017
Madbob's Miniatures - An Evening of Priming
I continue to make progress on the armor from Madbob's Miniatures. Like I did with the 15mm cold war armor I decided to try modulation type priming on these. They are a lot bigger and it should have a better effect. I think in the end I wasn't controlled enough with the lighter primer and I ended up with more of a zenithal effect than I wanted.
| Ready for some primer! |
| Darker grey on the lower and some of the interior survaces |
| Then the lighter grey on the upper surfaces. Could have controlled the airbrush better for this part of it. |
Saturday, January 21, 2017
Team Yankee - An evening of priming
I like to prime in batches so I tend to let things pile up. I was finally ready to fire up the airbrush and get down to business with the various cold war vehicles that have been piling up. This priming session included 5 M1 Abrams tanks, 4 M113 APCs, 3 M106 Mortar Carriers and 1 M577 Command APC (its a Battle Front objective marker).
I used the Badger Stynylrez primer for this. I decided to try using a modulated primer style to see if that really has an effect at this scale or not. I used the pure grey for the upper portions of the hull and turret and a darker grey (about a 50:50 mix of the grey and black) on the sides of the hull and turret. I finished it that way but I'm not sold on the concept after I finished.
It was fun to break out the airbrush again and feel like I'm making some progress on one of the 2017 priority projects!
I used the Badger Stynylrez primer for this. I decided to try using a modulated primer style to see if that really has an effect at this scale or not. I used the pure grey for the upper portions of the hull and turret and a darker grey (about a 50:50 mix of the grey and black) on the sides of the hull and turret. I finished it that way but I'm not sold on the concept after I finished.
It was fun to break out the airbrush again and feel like I'm making some progress on one of the 2017 priority projects!
| The APCs on the turntable at the beginning of the evening's priming extravaganza. You can see some of the M1s in the background sitting in the booth waiting for their trun on the table. |
| You can see the darker primer lower on the sides and tracks and the lighter primer higher on the sides and top |
| The M1s and M577 after the same treatment |
| The M1 turrets primed and ready for paint |
Tuesday, November 10, 2015
Trenchworx - WWI French FT-17 - Pt 1
I know this seems odd but I started another project tonight. Now there really is a method to the madness here, I have received some new paints to try out. Based on who is going to produce them I decided that I really needed a vehicle to try them out on. Since I haven't done any WWI miniatures for a while the FT-17 from Trenchworx seemed like a good choice.
So tonight I cleaned, assembled and primed the three FT-17 I received from the Trenchworx kickstarter almost exactly a year ago.
I accidentally deleted a few of the pictures I wanted to show you but here is pretty much where things started and ended this evening.
So tonight I cleaned, assembled and primed the three FT-17 I received from the Trenchworx kickstarter almost exactly a year ago.
I accidentally deleted a few of the pictures I wanted to show you but here is pretty much where things started and ended this evening.
![]() |
| Here they are fully assembled. I see at least 4 different colors of resin being used in the production at this point. I really can't tell the difference between any of the different colors. |
![]() |
| Close up of one of the three vehicles. I'm hoping to get these done relatively quickly. |
![]() |
| These are beautiful models. They maybe a little expensive but I think they are well worth the price. |
Tuesday, September 29, 2015
Warlord Games - Red Devils Session 1
After the intensive workshop this past weekend I decided I needed something to help relax with. I know I have a number of other projects going right now and I promised myself that I wouldn't start the British Paras but I didn't put the box away fast enough.
I pulled out the files and started cleaning up the mold lines. I think at least half of these minis have the mold line going right down the face. I realize that there isn't much to be done with that but I think there could have been cleaner and better choices made when the mold was created. Overall nice solid figures that should look pretty good once they are painted. My German Fallschirmjagers and US Airborne are both from Artizan Designs and I'll be fleshing those forces out from Artizan when I get back around to them.
After the filing was done I brought out the Badger Stynylrez primer to see how it handles metal. So far no problems with it. I'll see how happy I am with it once I have applied some paint to the minis. I'll need to get a little paint on the BONES minis I primed as well.
The results of an evening of prepping.
I pulled out the files and started cleaning up the mold lines. I think at least half of these minis have the mold line going right down the face. I realize that there isn't much to be done with that but I think there could have been cleaner and better choices made when the mold was created. Overall nice solid figures that should look pretty good once they are painted. My German Fallschirmjagers and US Airborne are both from Artizan Designs and I'll be fleshing those forces out from Artizan when I get back around to them.
After the filing was done I brought out the Badger Stynylrez primer to see how it handles metal. So far no problems with it. I'll see how happy I am with it once I have applied some paint to the minis. I'll need to get a little paint on the BONES minis I primed as well.
The results of an evening of prepping.
![]() |
| The two packs I decided to start with. One 10 man squad of Paras and Vickers MMG and its para crew. |
![]() |
| Not to many minis, I should be able to do this |
![]() |
| All silver and waiting on primer |
![]() |
| Tonight's Primer |
![]() |
| Definitely not silver now |
![]() |
| Rifles and Sten SMGs |
![]() |
| Rifles and Sten SMGs |
![]() |
| Rifle and Sten SMG |
![]() |
| The section's Bren Gun |
![]() |
| The Vickers MMG. The loader actually looks bored. |
Subscribe to:
Posts (Atom)