Sorry about that, I just realized that all the text came through in black or blue and was virtually unreadable.
I made a huge post in the Reaper
Forums this morning about entering miniatures in the painting competition at
ReaperCon. I thought it would be worth while to post it here in the blog as
well. One of the reasons that this is my favorite competition is that it uses
the Open System which rewards you on the work you have done, not whether you
managed to finish in the top three. I have judged enough competitions and gone
through the pain of working through a category (typically single figure
fantasy and/or single figure Sci/Fi) where the top 6 or so entries all were
candidates for that top spot. Then you have categories that there are barely
enough entries to award 1st-3rd (and sometimes you wish you didn't have to).If
you are heading to ReaperCon and you should be reading the rules which can be
found at ReaperCon
 |
| Gold at Tacticon, Silver at ReaperCon - Painter |
 |
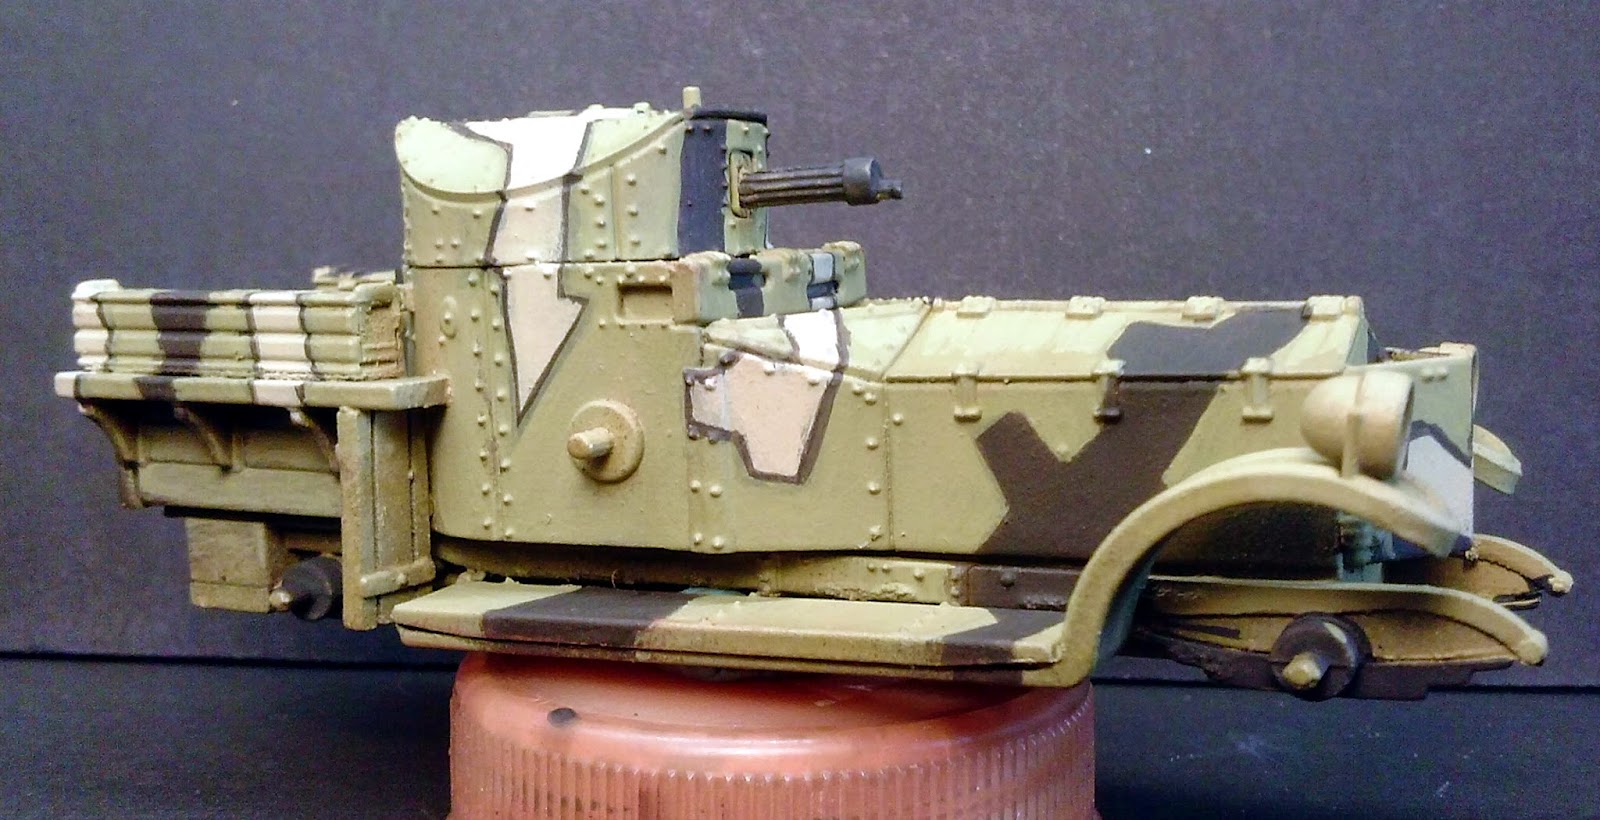
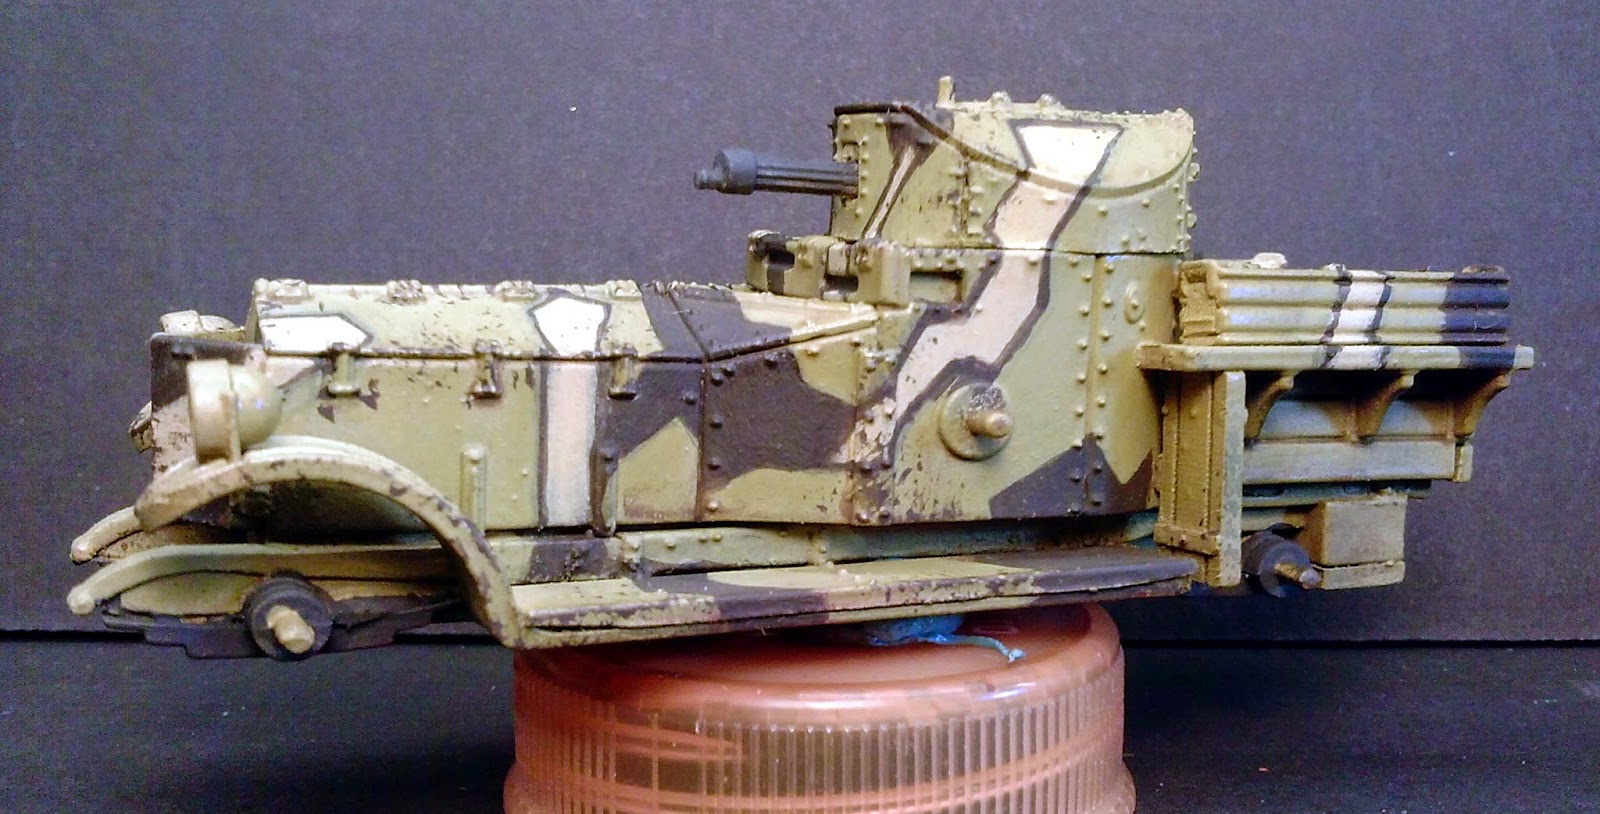
| Bronze - Vehicle/Ordnance |
 |
| Silver - Single/Painter |
 |
| Silver - Dioramas |

So you are coming to ReaperCon and its coming fast, especially for those of us
still working away on our entries. ReaperCon is a rather unique convention and
there is nothing else quite like it out there. Since the focus is on miniatures
and painting this is a good convention to enter into the painting competition
especially if its your first time. Now that sounds scary I know, you have heard
that some of the "big" names are going to be entering why should you
bother? ReaperCon's painting competition is in a much friendlier format than
most (not all, but most) game convention painting competitions. Its a good
place to get your feet wet. You can check out the rules on the ReaperCon.com
website.But really what does all that mean?First let's take a look at
the categories, there are only four of them. Why four? All the other shows seem
to have a dozen categories. We have modeled this competition from the one used
by MMSI, which is also used by a good chunk of the military/historical painting
shows. The idea is that you don't need a dozen or so categories when we aren't
going to award a 1st, 2nd and 3rd place (sometimes referred to as podium or
trophy judging). Instead we want to reward you for the hard work you have put
into your entry. Instead of 1st-3rd we award gold, silver, and bronze medals
along with certificates of merit, this is known as the Open (or medal) system.
Since we are going to reward you for your work we don't need a dozen categories
to give people as many chances as possible to win an award. Instead we want you
to focus your painting on what you do best and four categories is all we need.
The titles can be a bit confusing so let's take a look at them.
Painter - The focus here is on a single stock miniature. While
presentation (i.e. basing) is a factor an elaborate base isn't what the judges
are focusing on. I use the term stock here because essentially you are using
the mini right out the package. Conversion work whether it is elaborate or
simple is not considered, although a poorly done conversion can hurt your
score.
Open - The focus of this category at ReaperCon is a bit
different than it is at an historical show so be aware of that if you go to
MMSI in Chicago or Lone Star here in Texas. What is acceptable for ReaperCon
may not qualify as Open there. Our Open category is primarily on the conversion
of existing miniatures, scratch sculpts and elaborate basing. Painting is still
a factor but its not weighed quite as heavily as it is in Painter. So if you
have spent as much time on the base as the miniature and want it considered as
part of your score then this is the category for you.
Dioramas/Vignettes - While this category is pretty standard at game convention
competitions, at MMSI and similar shows these typically go into the Open
category. This category is focused on story telling through the use of
miniatures and basing. There are different ways to define dioramas and
vignettes. The simplest I have seen is that a diorama has more than 3 figures
on the base and a vignette has 3 or fewer figures. Painting is still a
component of this category but the emphasis is on presentation in the sense
that you are trying to convey a story or message to the viewer. Keep it as
simple as you can, while I have seen some wonderful complicated dioramas out
there sometimes there is so much action they muddy the story. Keep this mind,
if you have to explain your story to some one looking at your scene then you
have failed to convey your message. A diorama or vignette needs to stand on its
own and convey the story without explanation from its creator. Here is a clue, if
you can't figure out a title for your diorama, then you many not know what your
story really is.Vehicles/Ordnance - This category is for those
things of a mechanical nature, subject to a bit of interpretation. A horse
drawn wagon is a vehicle. In this case the wagon and its team of horses would
be judged as they are the "vehicle", while the riders are not
considered for the painting portion but would be considered as part of the
presentation. It can get a little complex.
So what about this medal stuff and how
do I know I won?You can think of the medals as a
grade awarded by a team of judges. What the judges don't do is compare your
work to the entry right next to you (which may actually be judged by a
different team anyway). The judges will score your work without comparing to
other entries. If they decide you have earned gold, then you will receive a
gold medal for your entry. You can only win one medal in each category. It
works like this; each piece is scored by each of the three judges on the team
independently of each other (so you get 3 scores). If you have multiple entries
in Painter they will discuss which piece they are going to judge. They do not
discuss what score they are going to award a piece. After determining the piece
to be judged each judge assigns a score from 0 (yes Zero) - 4. When they have
finished working all the pieces on their list those sheets are handed in and
one of the staff members totals everything up to determine the score. So not
even the judges know what what the final score for a piece actually was until
the awards ceremony. Those three scores for your piece are added up to
determine what medal you receive: 0-1 no award, 2-4 Certificate of Merit, 5-7
Bronze, 8-10 Silver, 11-12 Gold. The Award Ceremony is Saturday Night.
Hey! The rules say I can enter as
many miniatures as I want, why can I only get one medal per category?Yes, you can have as many entries as you want in each
category. As mentioned above though the judges will only score one of those
entries in that category. An initial conversation is held to determine which
piece will be scored, its often along the lines of "I can score this
miniature higher than that one". Judges will score the piece that they
think is your best work (which may not be what you consider your best work, it
happens). So while you can certainly enter all "20" single miniatures
you painted this year in the competition you are only going to get a medal for
one of them. The judges will go through this process for each category, hence
why the maximum number of medals you can receive is 4. There are other awards
as well, the Sophie Trophy, the Theme Award, and various manufacturer awards.
These are judged separately and use the more traditional 1st - 3rd method (in
essence that can be boiled down to this miniature has fewer painting flaws than
that miniature). Its possible that a single entry could win multiple awards.
The judges do have the prerogative to score your entire display if they can't
reach a decision on a single piece or they feel that the display of miniatures,
as a whole, is worthy of being rewarded with a medal.
What was my score and why did I get
it?After the awards ceremony and when
the painting competition hall is open you can ask not only what scores your
mini received but who judged it. Most of the judges are taken from the ranks of
the instructors at ReaperCon with a couple of exceptions (myself for one,
although I do teach on occasion) so your miniatures are being judged by people
that are knowledgeable about painting and how to do it. We use teams because we
feel (and its one of the reasons MMSI developed this system) that a combined
score is more indicative of what a mini should get rather than depending on a
single judge to know everything and be neutral on all the different painting techniques
that are out there. To find out what the judges were thinking you will have to
track them down. Most of us are more than happy to discuss the whys and
wherefores just be aware of our time and that you may be taking up the only 15
minutes we have to eat. Be considerate.
Some Hints for Entering
1) Every
piece has to have a name or title. To speed up registration please already know
the name or title before you get to the front of the line! Write it down before
hand if you need to! As I mentioned before if you don't already know the name
of your diorama or vignette you may have an issue with your story.
2) Don't
bring everything you painted in the last six months. Yes, I know it says
unlimited but really if you painted "20" miniatures this year is the
first one better than your last three? Odds are the last three or four are
probably more indicative of your best work. Try to keep you numbers down to
around 5 or fewer per category.
3) Make
sure your bases are at least finished in the Painter category. While
presentation is not a huge chunk of the percentage in this category a nicely
finished base will show off your miniature better than the base you tried out
different color combinations on or used to wipe excess paint off your brush on.
4) Make
sure your entry is well fastened to its base, you don't want to be subjected to
the "Heisler Affect". If you mount your mini on a pedestal style
base, judges tend to see that as a handle. If the mini is not attached when its
picked up by the "handle" its going to hit the table, probably to
disastrous effect.
5) Make
sure the paint is dry when you hand in your mini for the competition!
6) You
must enter all your miniatures at the same time. You cannot bring them in as
you finish them in the painting room. So if you have 5 entries for each
category then you have to bring all 20 entries at once, not a couple at a time.
7) Remember
that if you have ReaperCon Full Weekend badge your entries must be in by 5pm
on FRIDAY night. No exceptions.
8) If
you have a Saturday only badge your entries must be in by 12 Noon on
SATURDAY. No exceptions. If you have a ReaperCon full weekend pass you
cannot enter on Saturday you missed your cutoff.
If I
think of other things I'll add them to the list.


