First thing I noticed just pulling out the parts is that these cars are likely to be pretty fragile, something that was borne out during the construction of this first kit. The instructions are okay at best, but the one in this kit looked like a photocopy and not a good photocopy and it some places was pretty useless because the grainy picture no longer showed any detail. That's what reference books are for.
It went together pretty well in the end. Just required careful cutting from the sprues. There was a lot more flash than I expected to see, especially on the grab irons which was difficult to remove at times. As I was finishing the car up though I came across the single biggest problem. My kit has the wrong doors. Without measuring these are the doors for a 40' car, not the doors for a 50' car. Since they aren't manufactured anymore I will have to figure out away to acquire new doors for this one. Due to the fragile nature of the brake lines I managed to break one of those during the construction. I'll probably just replace it with wire at this point. Lord knows I have access to wire. Between getting the wrong doors and breaking pieces during construction that puts a damper on my enthusiasm for building the rest of them.
 |
| The Kit |
 |
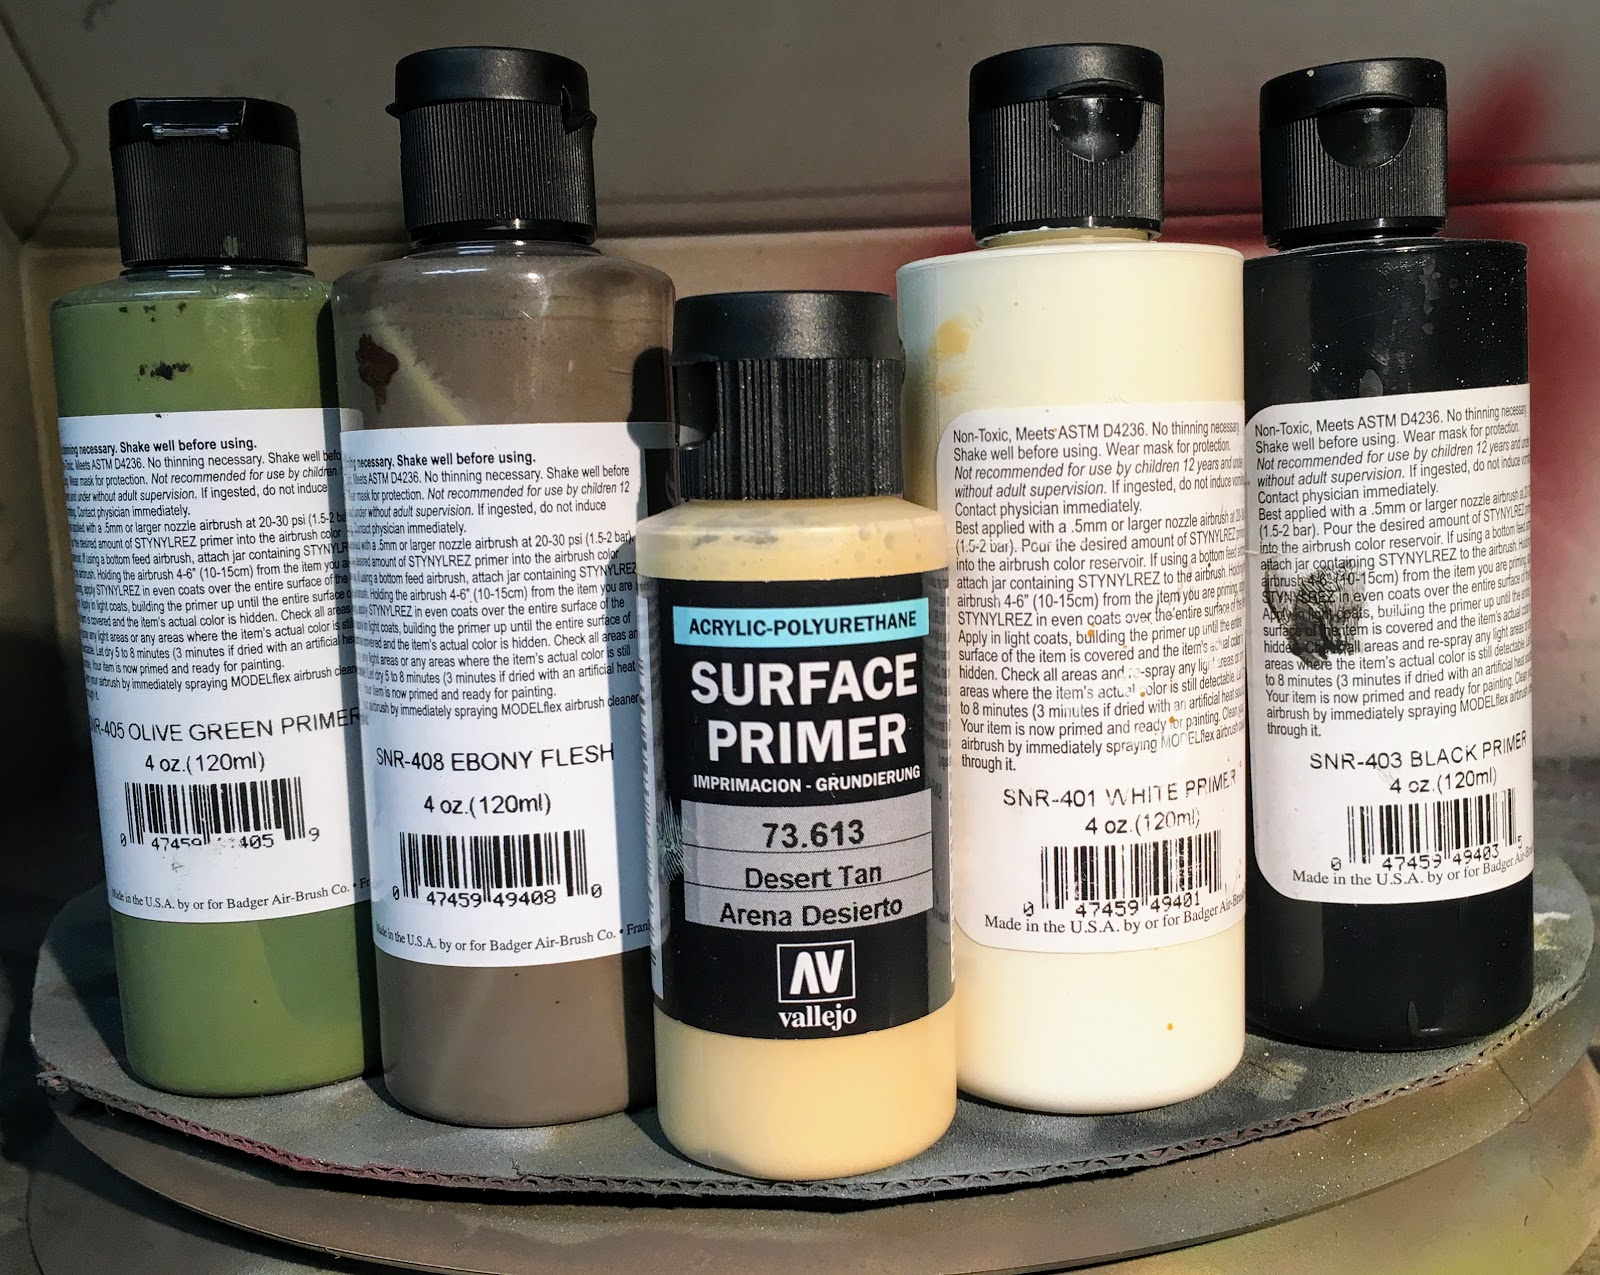
| The Tools |
 |
| That's a lot of stuff |
 |
| The weights |
 |
| Brakes |
 |
| Underframe finished |
 |
| Ready to work on the top |
 |
| Roof, note the doors, just a tad to small for this car. |
 |
| "A" end |
 |
| "B" end |