Quotes

Life is short, break the rules. Forgive quickly, kiss slowly. Love truly, laugh uncontrollably and never regret anything that makes you smile. - Samuel Longhorne Clemens (Mark Twain)

Thursday, May 25, 2023

A Brick Building from the Ground Up - Part 10

A brief update as I keep playing around with oils for weathering. I have used oils extensively for weathering on vehicles but its been a different experience trying them out on building. I decided to start with "old" weathering first. I'm trying to build everything up in layers and start with deeper grime first then work in the rust stains and then follow up with a lighter layer of "dusty" weathering at the end.

Its definitely been different working with these oils just on the sidewalks. I started back in to quickly and pulled off a lot of the light/dark shading work with the next layer of oils, it just had not dried enough for this treatment. Hiding brush marks has been quite the challenge as well. But, I'm pleased with the look so far.


Friday, May 19, 2023

A Brick Building from the Ground Up - Part 9

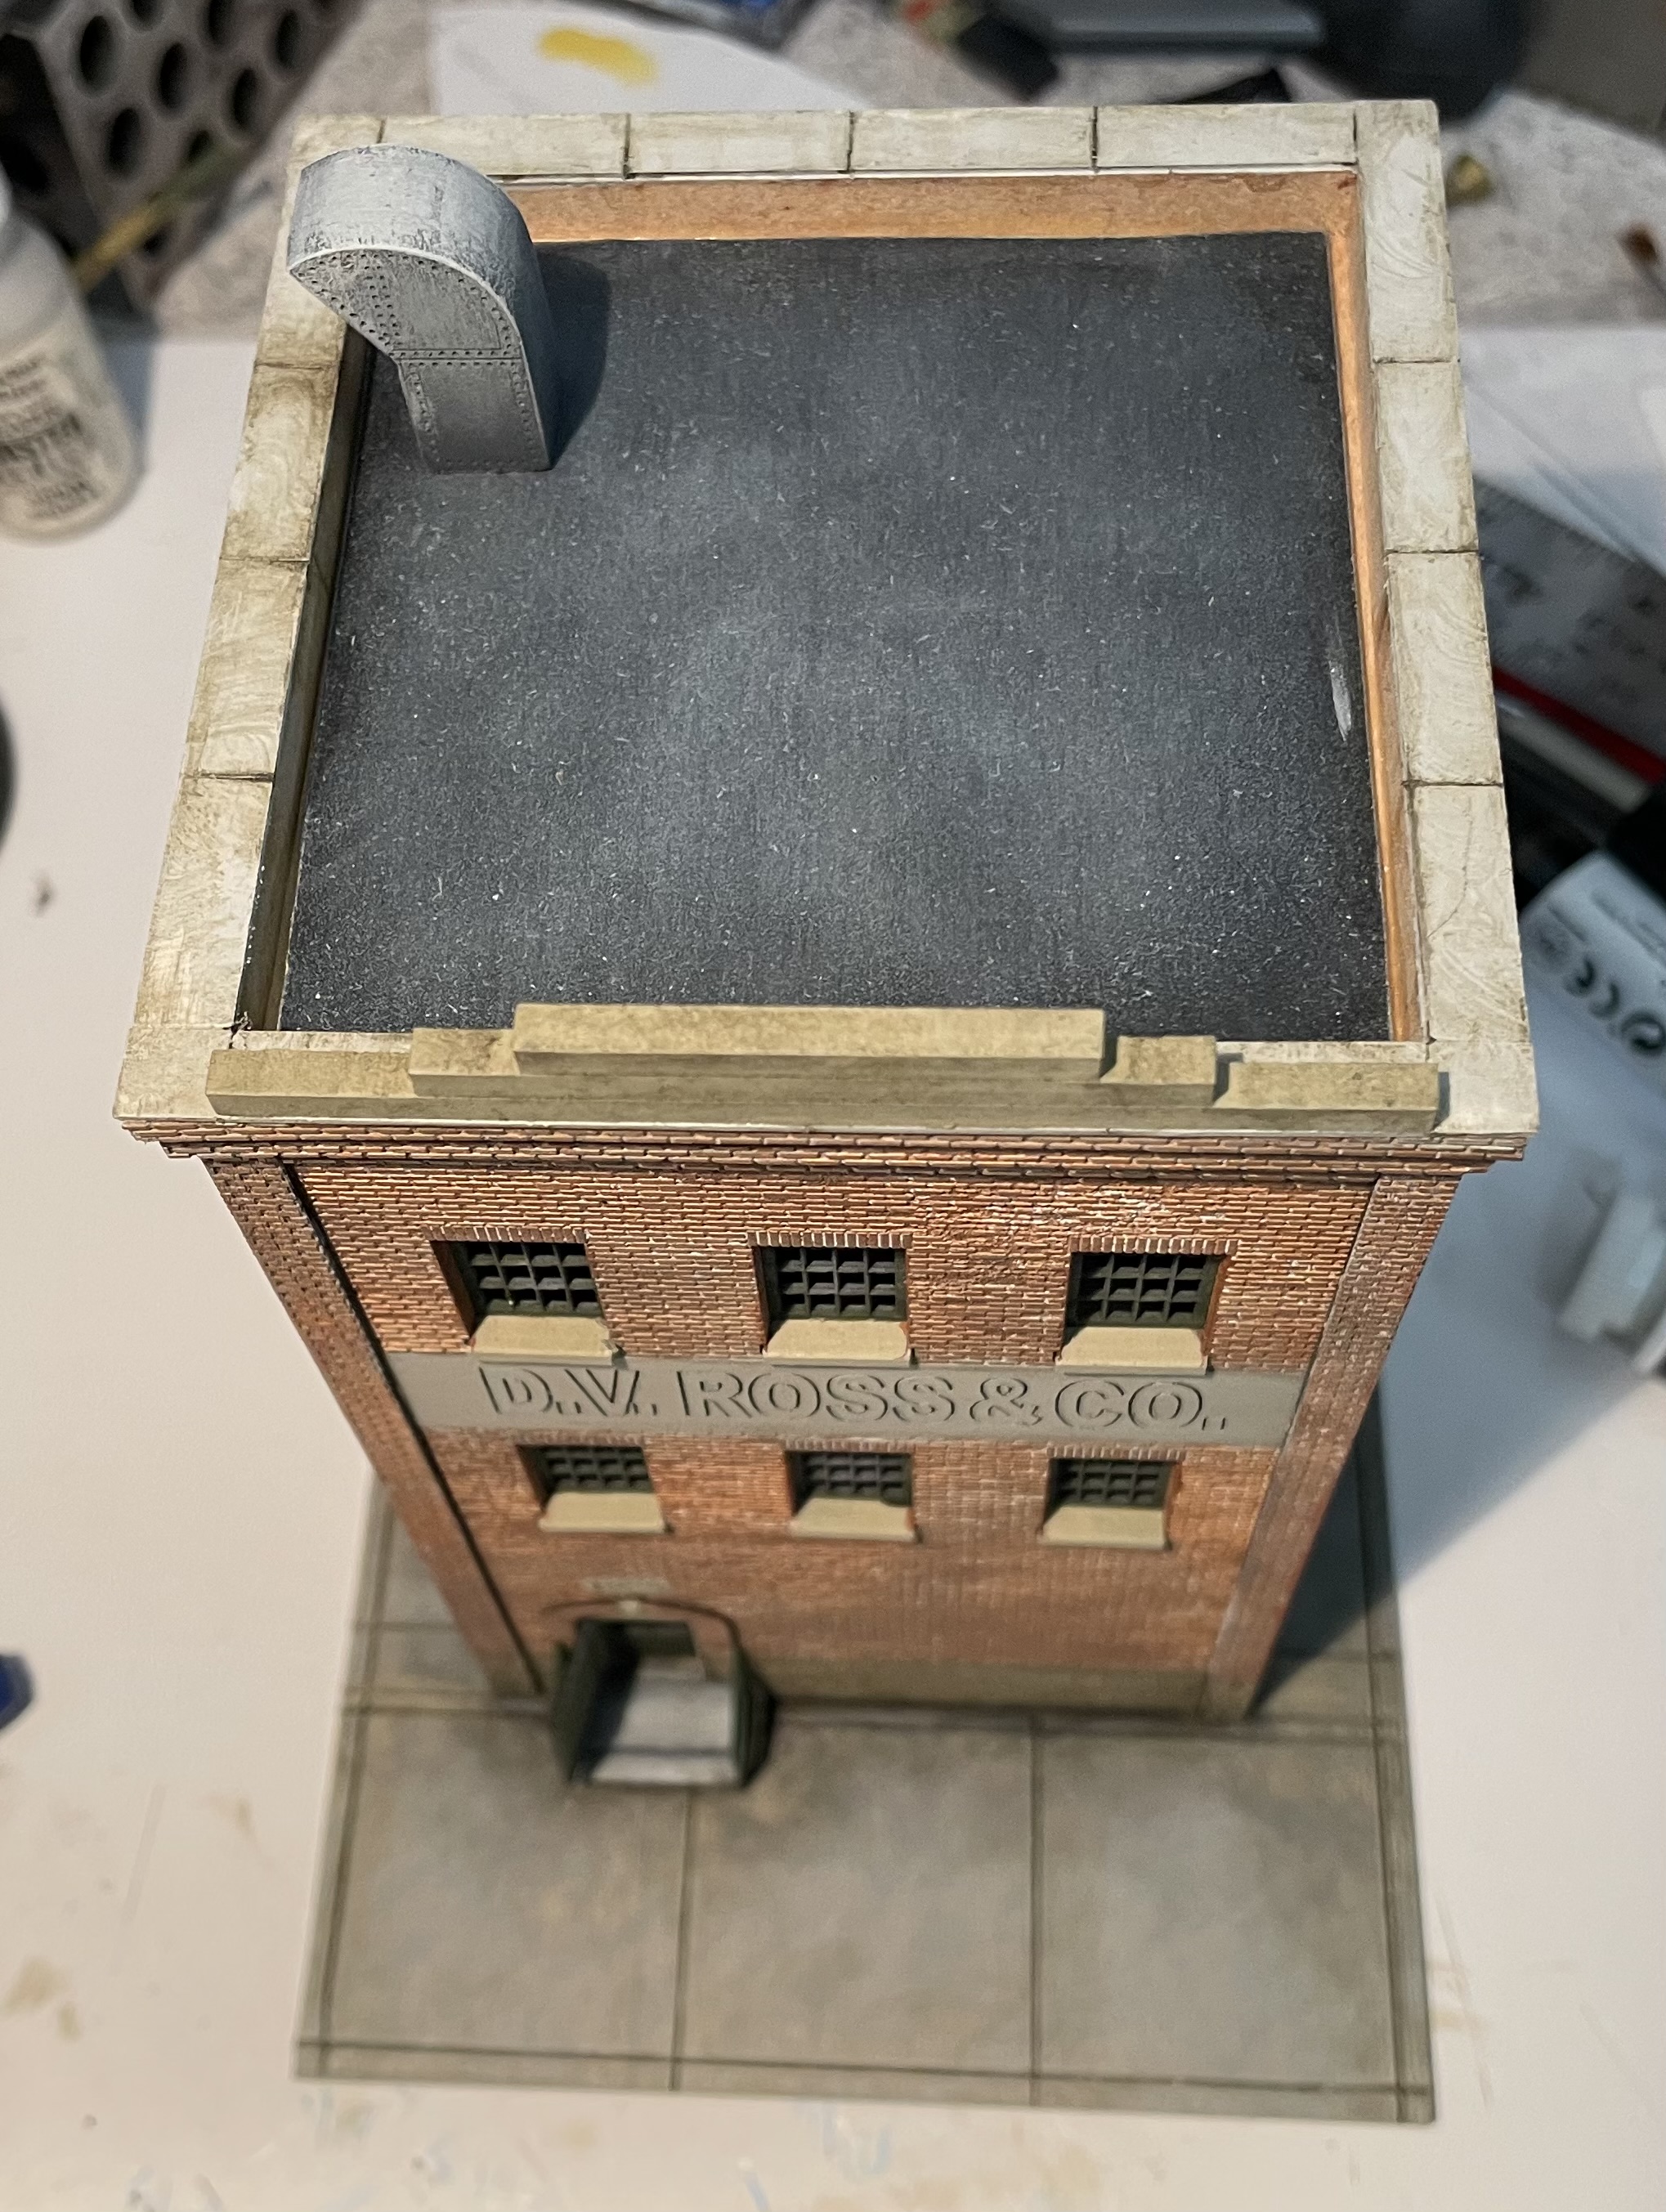
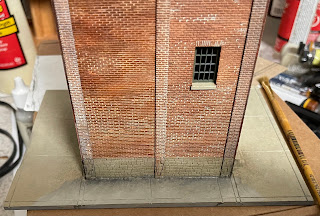
I was getting ready to do some weathering on the sides of the building but I wanted to add some of the final details first. As I thought things through a bit more I decided I wanted to try out a light/dark technique on the sidewalk.

I wanted to work on some techniques out of the "How to Paint with Oils, Ammo Modeling Guide". As with everything else, the pictures make it look simple, the reality is a bit different. The idea is to add some shadow and light variations in what is otherwise a fairly plain concrete surface. I used three different oils for this. From 502 Abteilung ABT170 Light Grey and ABT001 Snow White and from Winsor & Newton Winton Oil Color 24 Ivory Black.

In theory your are placing dots of color on the base and then brushing/blending in the proper direction, so dark brush towards the shadows and light brush towards a more sunny spot. I always have a problem with the blending line and I seem to end up with some rather distinct lines of color in the area where I'm trying to blend colors together.

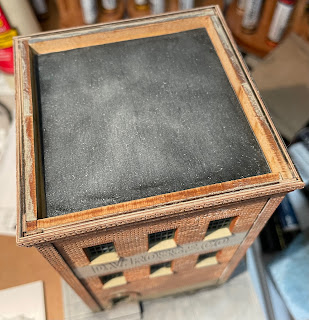
In the end I think it came out okay. Since I had the grey out I starting trying to fade out the very black roof as well. All of that will need at least a day to dry before I so some additional weathering and add the security doors and hand rails, all of which are pretty fragile, on the outside. I still need to add the cap stones to the edges of roof top as well figure out something for the internal brick edge (still thinking paper brick at this point).

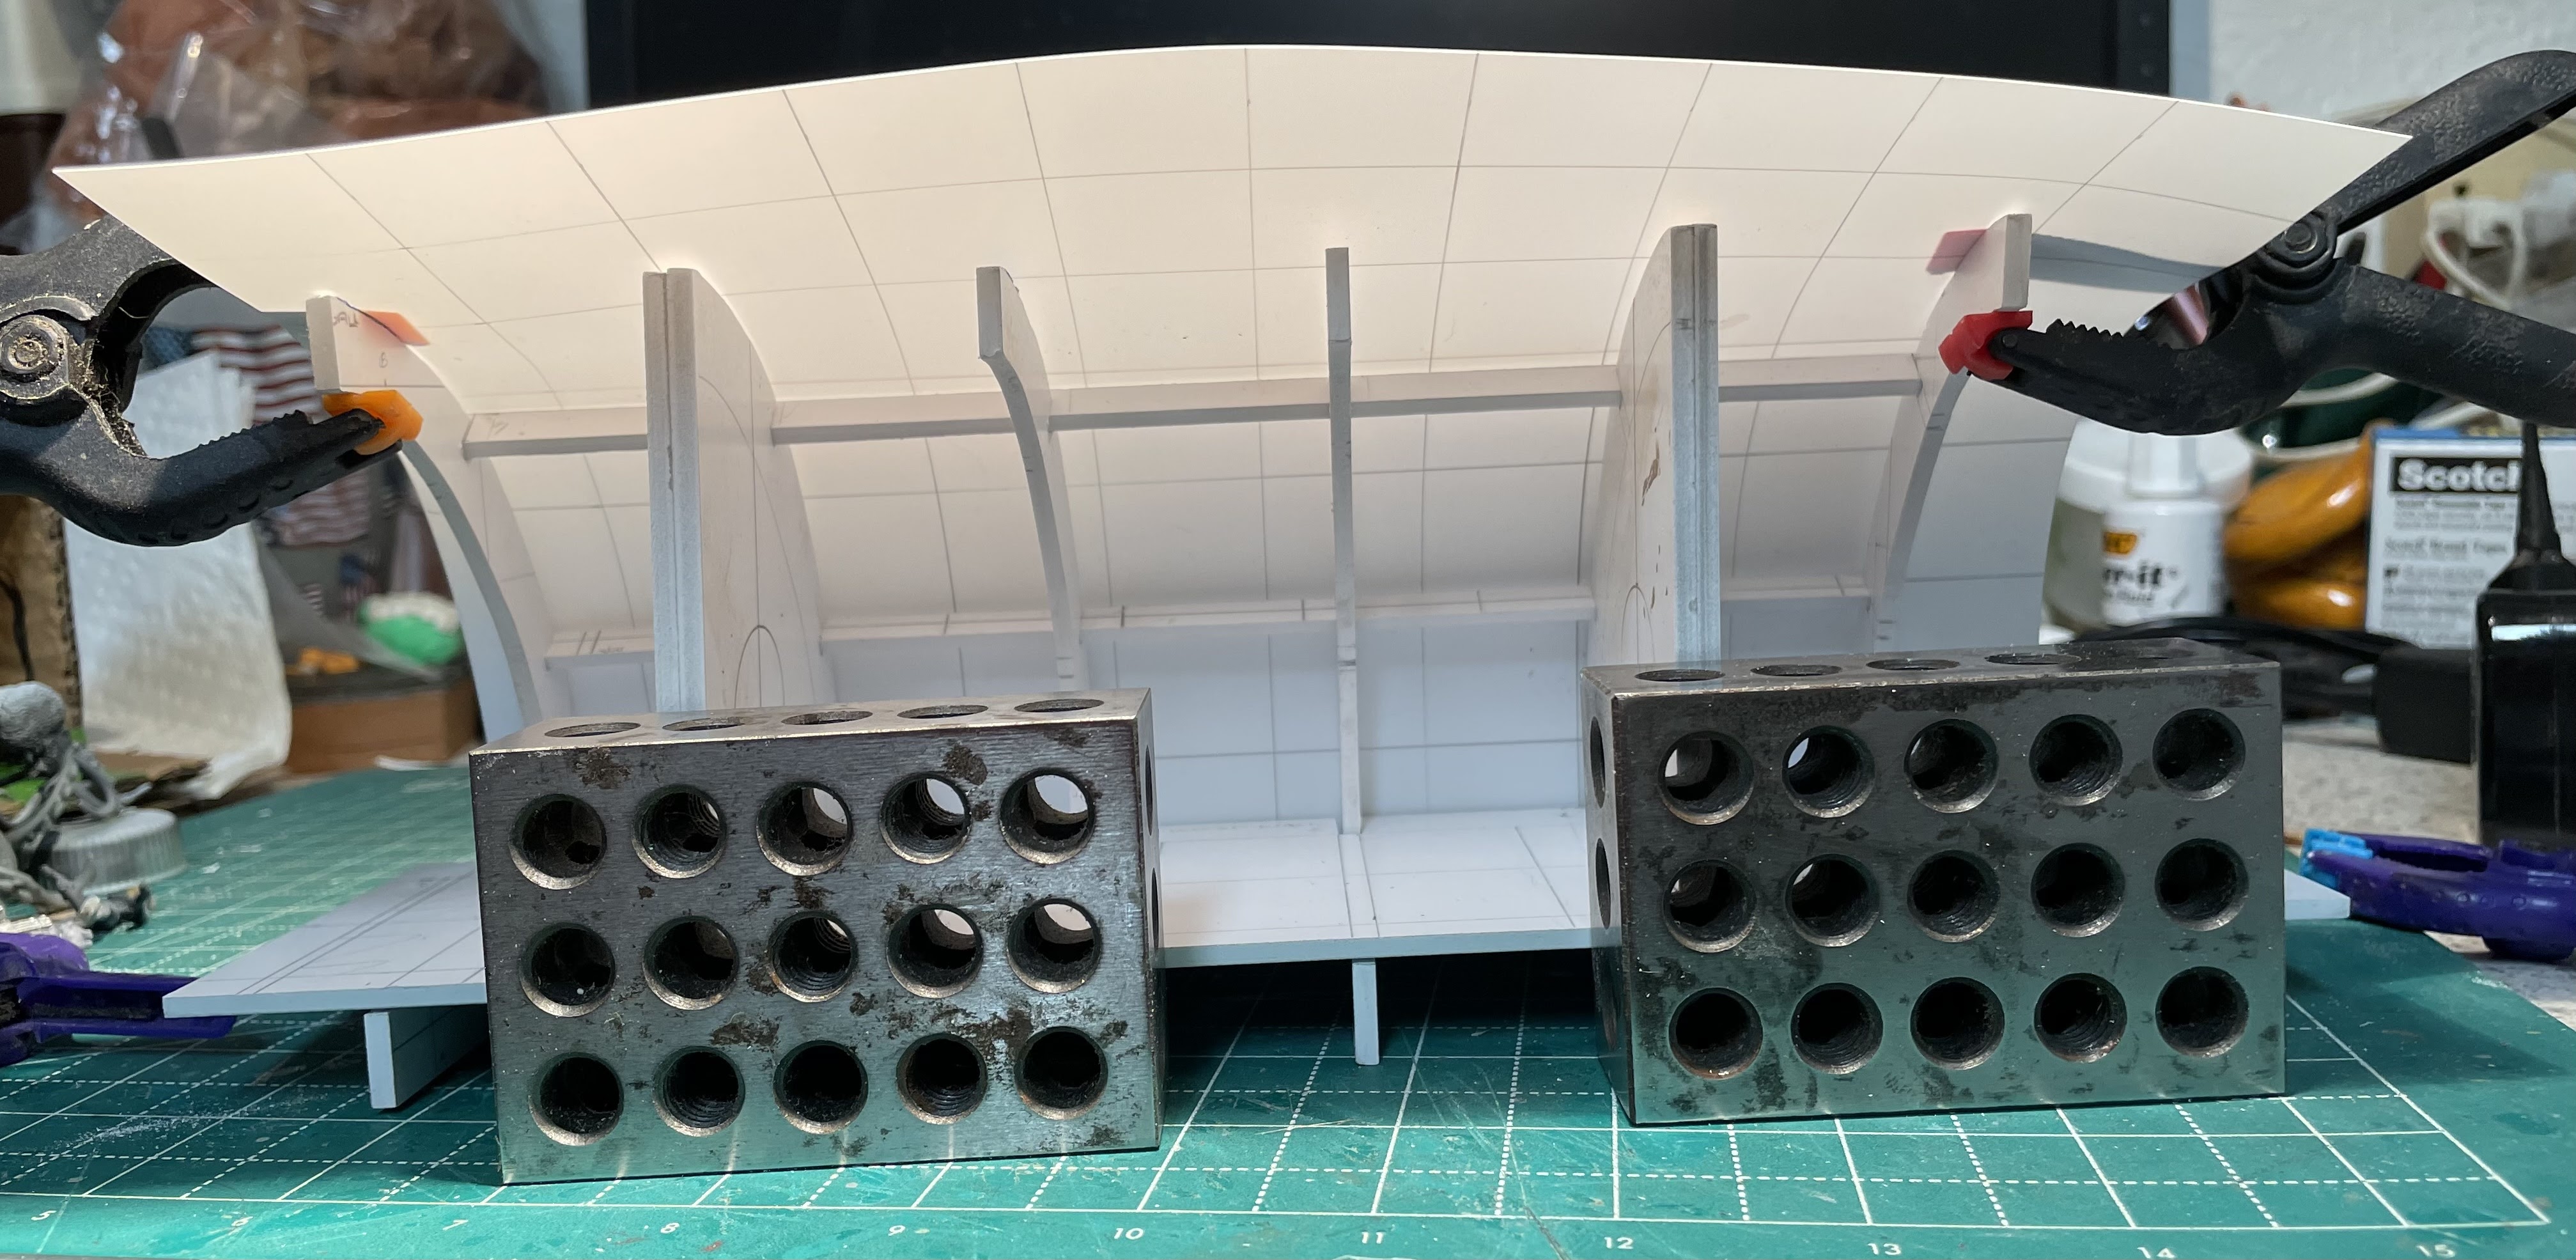
On the Pulp Sci Fi Diorama, I'm still in search of a glue, I may resort to super glue but its my last resort I just don't like working with it.


The oil colors that I used for this process.

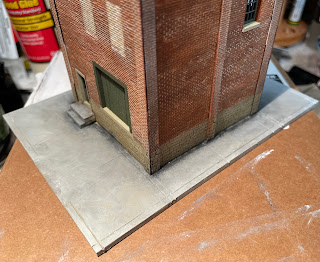
I did this side first, not to bad.

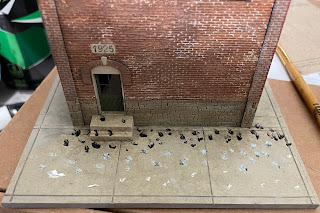
Way to many black dots, the white and grey are about right I think.

Starting the blend

After the blend (a lot of blending).

Working my way around


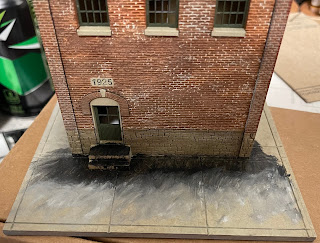
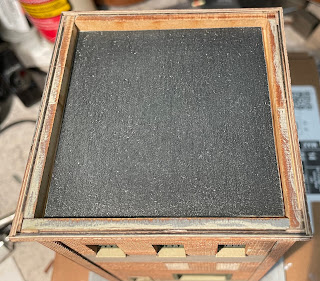
Starting to fade the very, very black rooftop

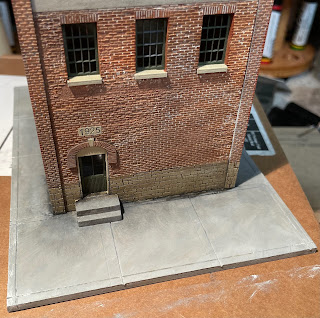
Adding a bit more white and trying to keep it from looking quite so uniform.


Tuesday, May 9, 2023

A Brick Building from the Ground Up - Part 8

I was getting ready to break out the oil paints to start weathering the DV Ross building when I realized that I needed to cut the curb down for the loading dock. I used a knife and a file to get it close enough. Of course that ruined all the paint work. I re-primed this area and then went over it with the Vallejo Highlight US Tckr. Now it just needs to cure thoroughly before I start smearing oil paint over everything.


A high level look at the curb cut.

A slightly lower level look, just to show how far down I cut it.

Primed and ready for paint.


Monday, May 8, 2023

The Sci Fi Pulp Diorama - Interior Continued - The Hull

Over the weekend the Sintra (foamed PVC) arrived, 1mm, 2mm and 3mm sheets. I was hoping that the 1mm would be flexible enough to conform to the curve of the "girders". It was immediately apparent that it wasn't. I'm sure I will find some other use for it though. I started sifting through the bins again and I came across some Plastruct brand .3mm sheet. This is really thin, I can see my fingers through it! But it will conform pretty easily to the curve.

I have kind of blocked things out and I have made some lines to indicate where I will need to cut the windows out. This will entail adding some thickness around the windows to make it appear that the hull is relative thick plus I need to sandwich some clear plastic in there. I don't think it will be much of a problem.

I'm still debating the idea of mirrors on either end to give the illusion of a much bigger ship.

I used 1-2-3 blocks to hold the basic structure in place (there are two in the back as well) and some clamps to see how well the .3mm sheet would work.
Little better shot with the alien, more or less, in place.


I turned on the light, to sort of, represent the LED light that would be on that side. As you can see this sheeting is really thin and you can see my hand as I press the sheeting down more firmly against the center girders.

I tried experimenting with regular Testors Model Master  Liquid Cement. While it held the two big bulkheads together it totally failed when trying to glue the lighter girders to the floor. I need to get some Plastruct  Plastic Weld, which I know works very well. The other option would be PVC cement, which is just hard to work with because of the way its packaged.


Friday, May 5, 2023

A Brick Building from the Ground Up - Part 7

In theory, the reason I keep multiple projects going is to be able to shift from one to the another and back because of boredom or time restrictions. This time it was a material issue. I stopped worked on the brick building because I was looking for something to cap the top of the cornice. While I let this percolate in the back of my mind I moved on the Pulp Sci Fi diorama. Then disaster struck! Well, not really, but I wanted to create the hull of the rocket ship out of 1mm Sintra at the same time it struck me that Sintra would work as the cap stone for the DV Ross & CO building and I didn't have any left!

I made an order that included a 1, 2 and 3mm Sintra and, of course, it hasn't arrived yet. In the mean time I moved forward with the base for DV Ross. I decided to glue it permanently to the base and discovered that I really disliked the color of the base, so I repainted that with a 1:1 mix of Reaper Leather White and Panzer Aces (Vallejo) Highlight US Tkcr. I think it looks much better now. I just need to let this set up for a bit before I attack it with some oils for weathering.

I'm still contemplating what to do with the roof. I think it needs some brick detail along the inside and unfortunately there isn't enough scrap brick from the kit to do that. Still thinking about that. At the moment I'm leaning towards paper but I need to take a look at see if I can find some brick sheet that would work I know there are more than a few sources for that out there.

So a week with not a whole lot accomplished on either project, to the point were I was considering pulling out the pirate ship and doing some work on that, because the ideas in my head never really stop.

Attaching the building to the base. Without thinking it out I used wood glue, completely forgetting that the base is a piece of 3mm Sintra. So far the bond is holding and I don't think its going to be a problem.

The roof was warping so I added some extra bracing to flatten it out. At this point its just resting in place. I may not glue it down just so I can still access the inside if I want to.
Here is the new concrete color, a bit on the brown side but its just the base color. More colors to come!