Quotes

Life is short, break the rules. Forgive quickly, kiss slowly. Love truly, laugh uncontrollably and never regret anything that makes you smile. - Samuel Longhorne Clemens (Mark Twain)

Sunday, November 30, 2014

A Reefer for the C&N and Calamity

Believe it or not (and I know you model railroaders do) the refrigerator car did indeed exist in 1880. I managed to acquire one of Bachmann's privately owned Reefers on Ebay for a good price although not quite the one I really wanted but I am on a budget for these things. Its pretty pristine right out of the box so I decided to take an evening and do a little weathering. Not my best work but good enough is sometimes all I need. It at least looks like its been in the great outdoors for a bit.

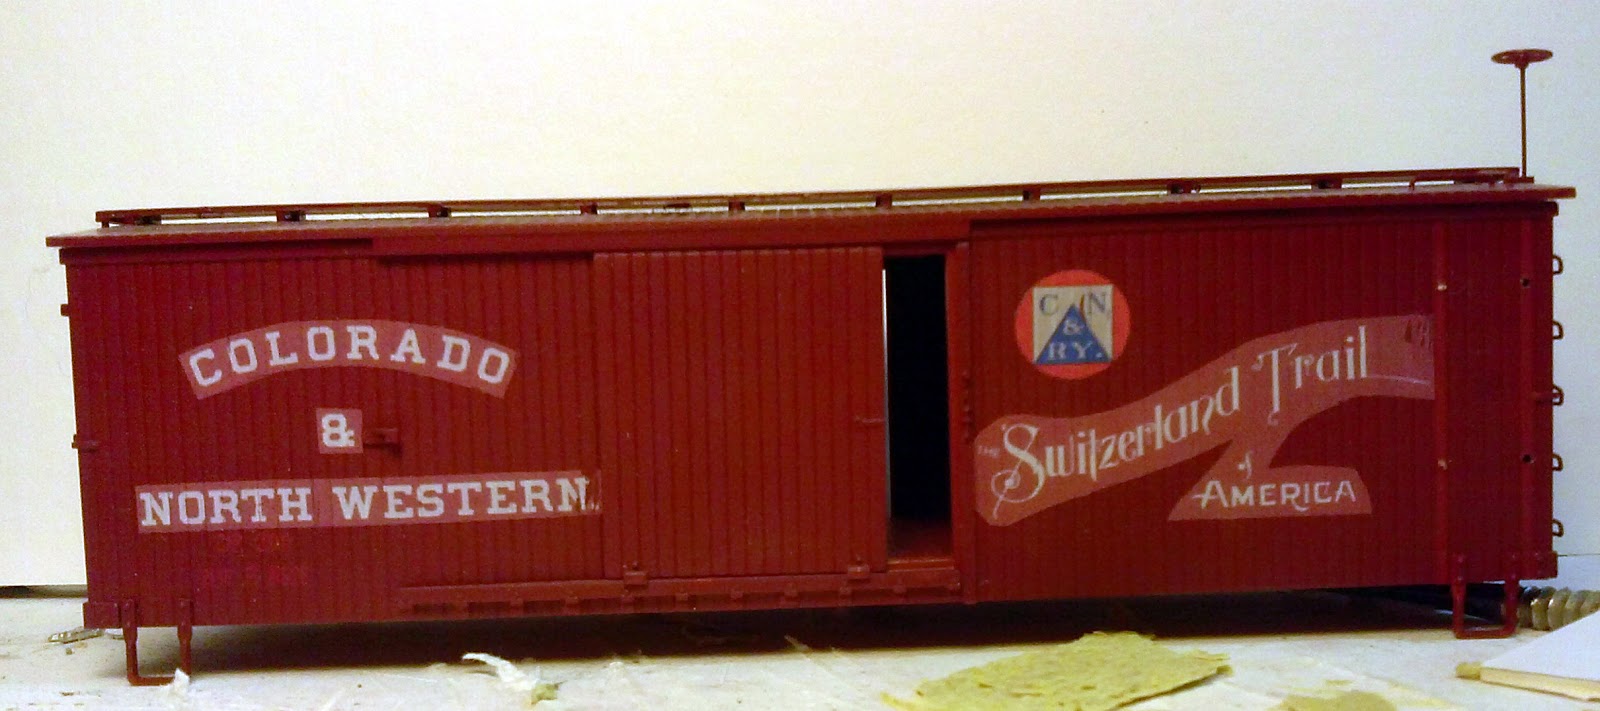
Pictures always tell the story better than me so here we go:


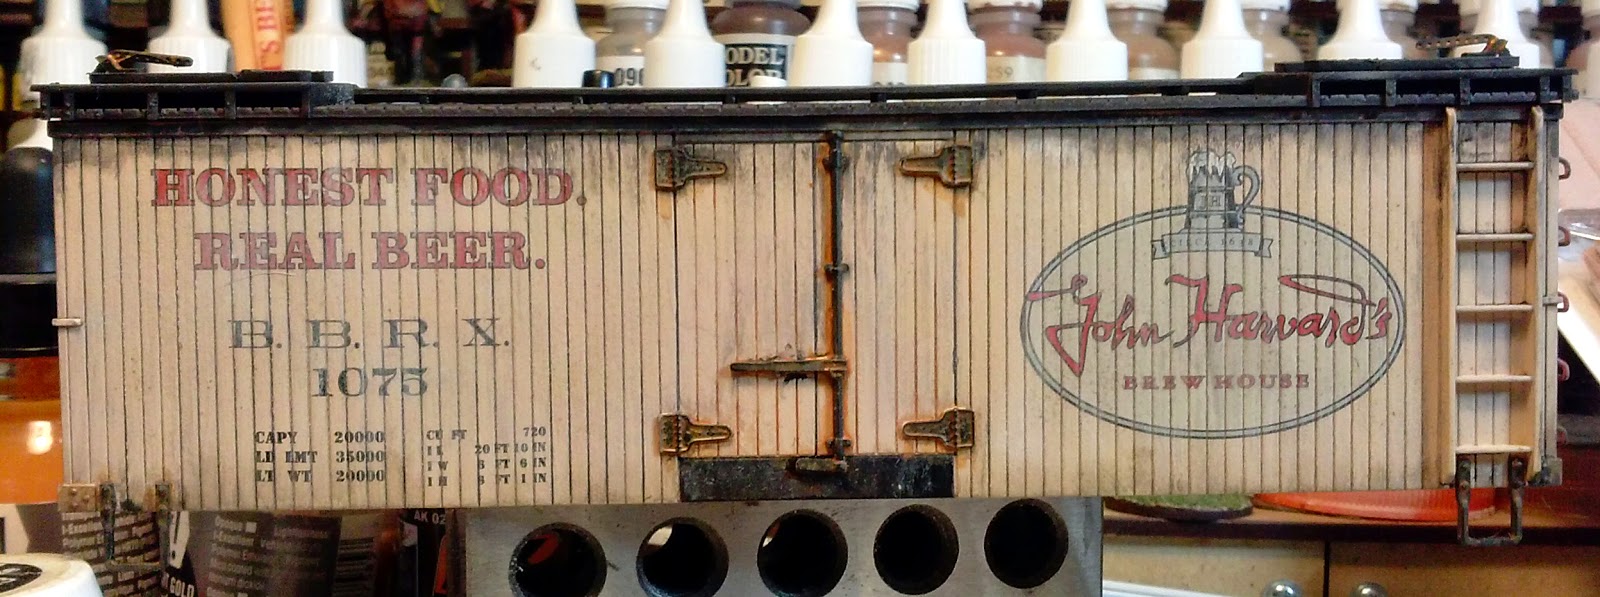
The John Howard Refrigerator Car

A quick fade using thinned down Liquitex ink

Adding some soot, I think I over did it at this point

The other side

Adding some dirt to the bottom

Added some rust but overall not feeling good about it

Trying to get the soot to streak down between the boards

Happier with this now
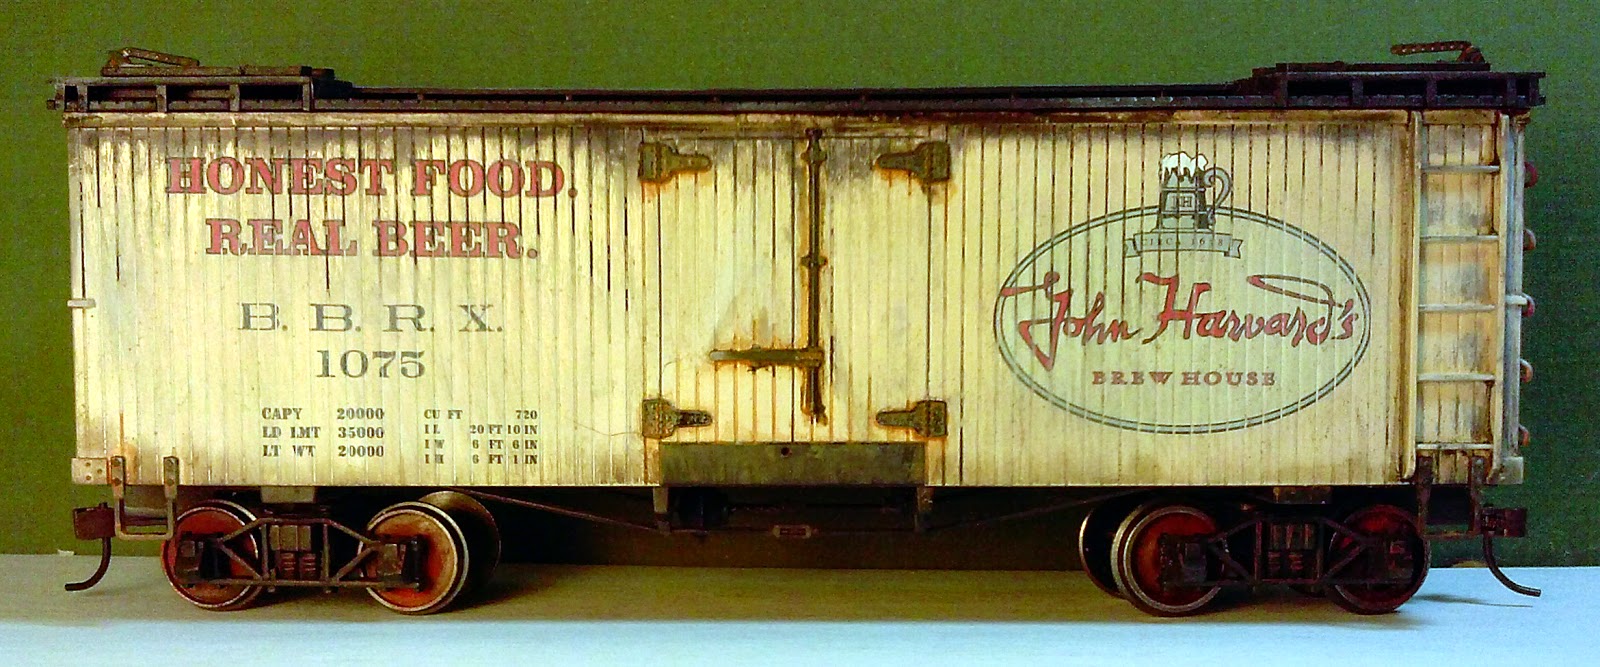
The beauty shots


Saturday, November 29, 2014

A Grab Iron Jig

The Bachmann On30 box cars (goods car for you UK readers) has nice wire grab ends on the ends but on the sides the opted for what looks like a ladder and quite frankly I don't like the look of. I was willing to put up with it on the non C&N box cars since it helps set them apart. But I wanted grab irons for the C&N. My first problem was trying to figure out how to get a consistent spacing and location. That's what jigs are for. This evening I constructed a jig and performed surgery on my poor decal test car. Overall I would call it a success. However, I didn't realize that the grab irons I purchased were actually white metal castings. While they work, they are a bit soft and I'm not sure I like them. They might look better after they have been painted, I think I will go looking for some actual wire ones though.

I kept track of the trials and tribulations in vivid color.

The issue, the ladder instead of grab irons on the right side

The victim, the box car that has my first run of decals on it. I have removed the ladder already

The opposite side, plenty of room for more decal experimentation

What I want, wire grab irons like the ones that appear on the ends. Why didn't they use these on the sides?

First jig attempt. A piece of sheet styrene cut to  fit between the top of the eves and the top of the step

I thought I should cut it down to make it easier to use

Drawing the first lines to figure out where to drill the holes. I'm having second thoughts at this point

I decide to take a slightly different direction. I grab a piece of new plastic and  set the jig so that the machined edges, which I know are square, line up against straight edges on the box car.

I mark the jig so that I remember which edge is which.

Drawing the lines to determine where the holes for the grab irons need to go. Each place where the lines cross is where a hole needs to be drilled.

Jig in place complete with holes. I used a #73 bit for this.

The grab irons. I never really looked at these before and I didn't realize they were cast instead of wire.

The holes are drilled, need a little cleanup.

Cleaned up and grab irons in place. They look a little rough partially because they bend a bit when inserted and my holes are a tad to close together.

In place on the other side. The one, second from the bottom, that looks really off is because the drilled hole concided with the original hole for the ladder. When I glue it in I'll push it up into the right spot.  For now I have left them unglued, while I search for some wire ones.

Thursday, November 27, 2014

Setting the Scene - Location, Location, Location

One of the things that makes creating a semi-historical diorama interesting for me is the research I get to do. In the last "installment" I was working with brick patterns, with the Flemish bond being the most common in London during the 1880-1890 period that I'm working in. During that little exploration I learned far more about brick patterns than I really intended. For instance the English bond is very common in the eastern US. Both of these brick laying patterns are designed to great a strong supporting structure. What many of us see for our urban homes in the US is the stretcher bond which is really only designed to be used as a facade rather than the base structure.

The other element to establishing the scene in London are street signs. That one certainly led me down a rabbit hole. The usage of words between the UK and the US can be quite different at times and more than a little frustrating. It was late in the day that I finally figured out that in the UK they are not street signs, they are road signs. Not only that but the placement is quite different. Instead of being part of a corner street light or on its own post at the corner road signs in London are actually attached to the buildings. I couldn't find any period photographs that included these signs, nor did they appear in any of the newspaper sketches that I ran across. However, I did finally stumble across an old blog that did quick post on road signs from 1866-1917. There were a few photograph of road signs on the site that dated from that period that are actually still in place. There's enough information that I should be able to put one together for the diorama. I just have to decide what street I want to use. I want it set in Whitechaple in 1888, I'll just have to go through the maps. I can tell you one thing, if you use the words London and 1888 you will find a plethora of Jack the Ripper websites.


So this particular sign has the right "look" but its not from the right time period. You can tell because of the E.1. at the end which indicates it dates not earlier than about 1917 when the postal code for the distract was changed. You can also see the brick pattern in this photo quite nicely. This is a Flemish Bond.

Another post 1917 road sign, and another example of Flemish Bond brickwork.

This road sign is in the right style for the 1880 period with just an E. at the instead of the more modern E.1. The sign could have gone up as early as 1866. The brickwork here looks closer to a English Bond rather than a Flemish Bond.

Another 1866-1917 period road sign. Another example of what appears to be a Flemish Bond pattern.

Another 1866-1917 era sign along with Flemish Bond pattern brickwork.

Another 1866-1917 era sign along with Flemish Bond pattern brickwork. Note that the color of the brick can help set the scene was well. Yellow brick more common than red brick in the London area. Especially in the Whitechapel area.

And one final 1866-1917 era sign. Red brick with what appears to be mostly a Flemish Bond pattern with some additional decorative work added in.

Monday, November 24, 2014

Woodworking - Calibrating

I finally managed to drag out a work table and get my miter saw and drill press setup properly. I sat down and calibrated the miter saw to make sure its making straight cuts. My heavy weights come in handy for this as this is the kind of thing they are designed for. They essentially act as squares and they are heavy enough to stay in place while you make the adjustments.

I switched out the 24 tooth blade for the 45 tooth blade hoping to get a smoother cut so that less finishing work is needed.

Just a couple of quick shots of the results:


Trying out the 45 degree cut. Looks good so far.

Much smoother, cleaner cut. Finishing should be a breeze

That's as perfect a 45 degree angle as I'm going to get.

Sunday, November 23, 2014

Setting the Scene - Experimenting with Bricks.

The "Steady Lads" Diorama is under construction at this point, or maybe stalled at the beginning of construction. I laid out the new slightly larger version last night after I showed it to Michael. I don't think I have ever made a diorama base that was to small, but this one was feeling decidedly claustrophobic so I widened it to give a bit more sidewalk space and lengthened it to make the alley a bit wider and the street side a little longer. I think the new size will help relax the scene a bit more.

I do feel that setting the scene is important in any diorama and sense we can't talk to every person that sees it you have to rely on visual cues. This scene is set in London, so how exactly do I communicate that? The troopers are obviously British, but that doesn't tell us where they are, but they do help set the date. The Aliens don't do anything except add dramatic tension to the scene. So what else can we do? Architecture is one the elements that can really pinpoint a place, harder to do in a small scene like this but we can at least do one thing to help set it in England with the right brick pattern. The common brick laying pattern in Victorian England is the Flemish bond as opposed to the US which uses a stretcher bond. What I have found is that the stretcher bond is really easy to find in plastic not so much the flemish bond.

This time I turned to the dollhouse hobby and found a flemish bond "stencil" and I figured I would try it out. They also make a brick product but don't recommend it with the "O" scale stencil I ordered as its to coarse for "O" scale. I decided to try using Milliput with it. This was not a successful test and I may have ruined the stencil. If I can get the stencil clean up I think I will try one of the air dry clays instead.

Here is the picture story version of this less than successful experiment.

Realistic Brick and Stone Finishes. This huge package held my three little stencils. Granted most people would have been buying 1/2" scale versions which are significantly larger than "O" scale.


The Stencils them selves

Mixing up a blob of Milliput (Standard)

The stencil on the piece of plastic I intend to "bond" to

The Milliput goes on top and the stencil will be pulled up through it.

I used my x-acto knife as a roller. I used water to keep the Milliput from sticking to the knife, it mostly worked.

Pretty much spread all over the stencil

The milliput didn't bond to the plastic and came up with the stencil, although you can really see how nicely the brick pattern came through.
I was able to pull most of the Milliput off the stencil and I did achieve a nice brick pattern but not something that is actually useful. Hopefully clay will work a bit better, if I can get all the Milliput off of it.

Monday, November 17, 2014

What Do These Minis Have in Common?

This is the 2nd diorama piece that I want to do. This features Bath Time for Bubbles from Crocodile Games and three minis from Hydra Miniatures (their Retro Raygun line). The Hydra pieces are pretty simple (very reminiscent of the 1940 era sci/fi serials like Flash Gordon and Buck Rogers) so the paint work will have to be pretty smooth. They are also not the best castings, there is a fair amount of pitting in the metal. Fortunately the pitting is pretty light, buffing with the steel wool should take care of that and then maybe a filler coat of watered down milliput (something you can't do with green stuff). Bubbles, however, is an exceptional casting, a few light mold lines erased and she was ready to go.

Right now the working title is Time Rift, I'll let your imagination run wild at this point.

Packaging! I love packagin

Galacteer Engineer

Galacteer Trooper

Jane Hunter

Bubbles, bath tub and rubber ducky

Cleaned up, if you look closely you can see the pits in the metal. Steel Wool to the rescue!

Jane is a dainty thing isn't she?

And here's Bubbles!

This one might test my skin tone skills a bit. Plus I have to figure out how to get that wet water effect.