Quotes

Life is short, break the rules. Forgive quickly, kiss slowly. Love truly, laugh uncontrollably and never regret anything that makes you smile. - Samuel Longhorne Clemens (Mark Twain)
Showing posts with label Sci Fi Pulp Diorama. Show all posts

Monday, May 8, 2023

The Sci Fi Pulp Diorama - Interior Continued - The Hull

Over the weekend the Sintra (foamed PVC) arrived, 1mm, 2mm and 3mm sheets. I was hoping that the 1mm would be flexible enough to conform to the curve of the "girders". It was immediately apparent that it wasn't. I'm sure I will find some other use for it though. I started sifting through the bins again and I came across some Plastruct brand .3mm sheet. This is really thin, I can see my fingers through it! But it will conform pretty easily to the curve.

I have kind of blocked things out and I have made some lines to indicate where I will need to cut the windows out. This will entail adding some thickness around the windows to make it appear that the hull is relative thick plus I need to sandwich some clear plastic in there. I don't think it will be much of a problem.

I'm still debating the idea of mirrors on either end to give the illusion of a much bigger ship.

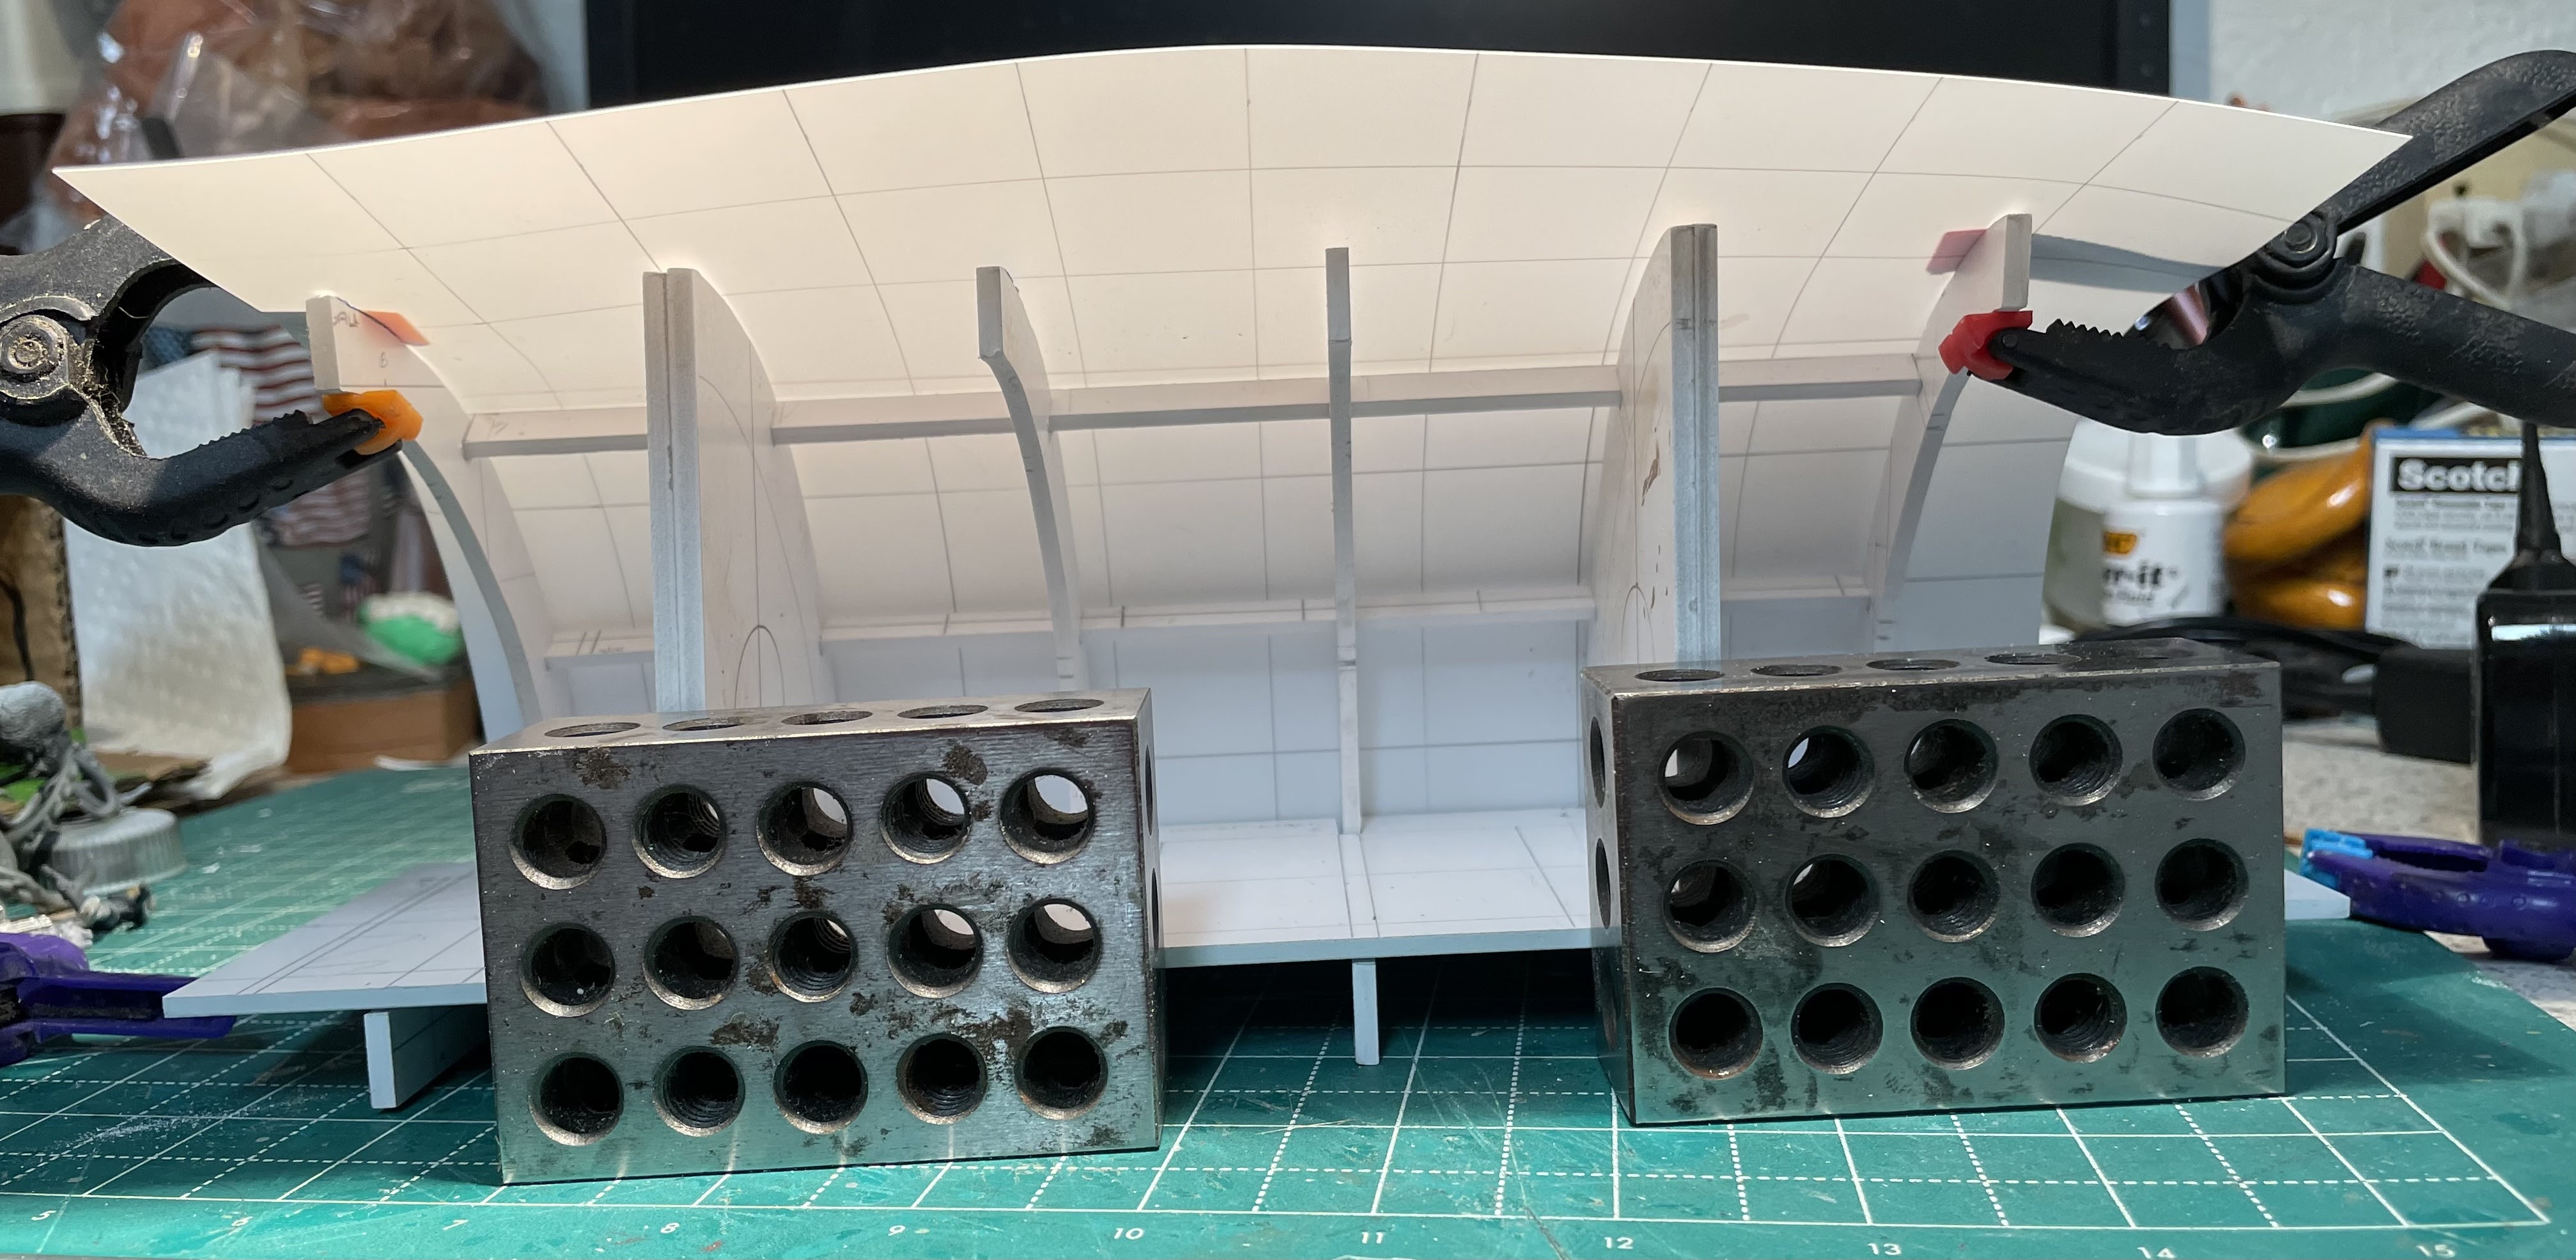
I used 1-2-3 blocks to hold the basic structure in place (there are two in the back as well) and some clamps to see how well the .3mm sheet would work.
Little better shot with the alien, more or less, in place.


I turned on the light, to sort of, represent the LED light that would be on that side. As you can see this sheeting is really thin and you can see my hand as I press the sheeting down more firmly against the center girders.

I tried experimenting with regular Testors Model Master  Liquid Cement. While it held the two big bulkheads together it totally failed when trying to glue the lighter girders to the floor. I need to get some Plastruct  Plastic Weld, which I know works very well. The other option would be PVC cement, which is just hard to work with because of the way its packaged.


Tuesday, April 25, 2023

The Sci Fi Pulp Diorama - Interior Continued

It feels like things are coming together. However, it was feeling a bit fragile so I decided that some interior ribs would add strength and provide more visual interest. It took a bit of thought but in the end I was able to cut some long "ribs" from Sintra to make it work. I'm happy enough that I think I have reached the gluing stage except I don't have any glue! I pulled my bottle of solvent from Plastruct and it was empty! Now I have to find some, the local hobby shop doesn't carry this solvent anymore so I need to find a replacement. I also need to order some 1mm Sintra to make the curved hull from.


Here I was experimenting with the spacing and trying to keep in mind that there are two solid bulk heads that have to go in there as well.

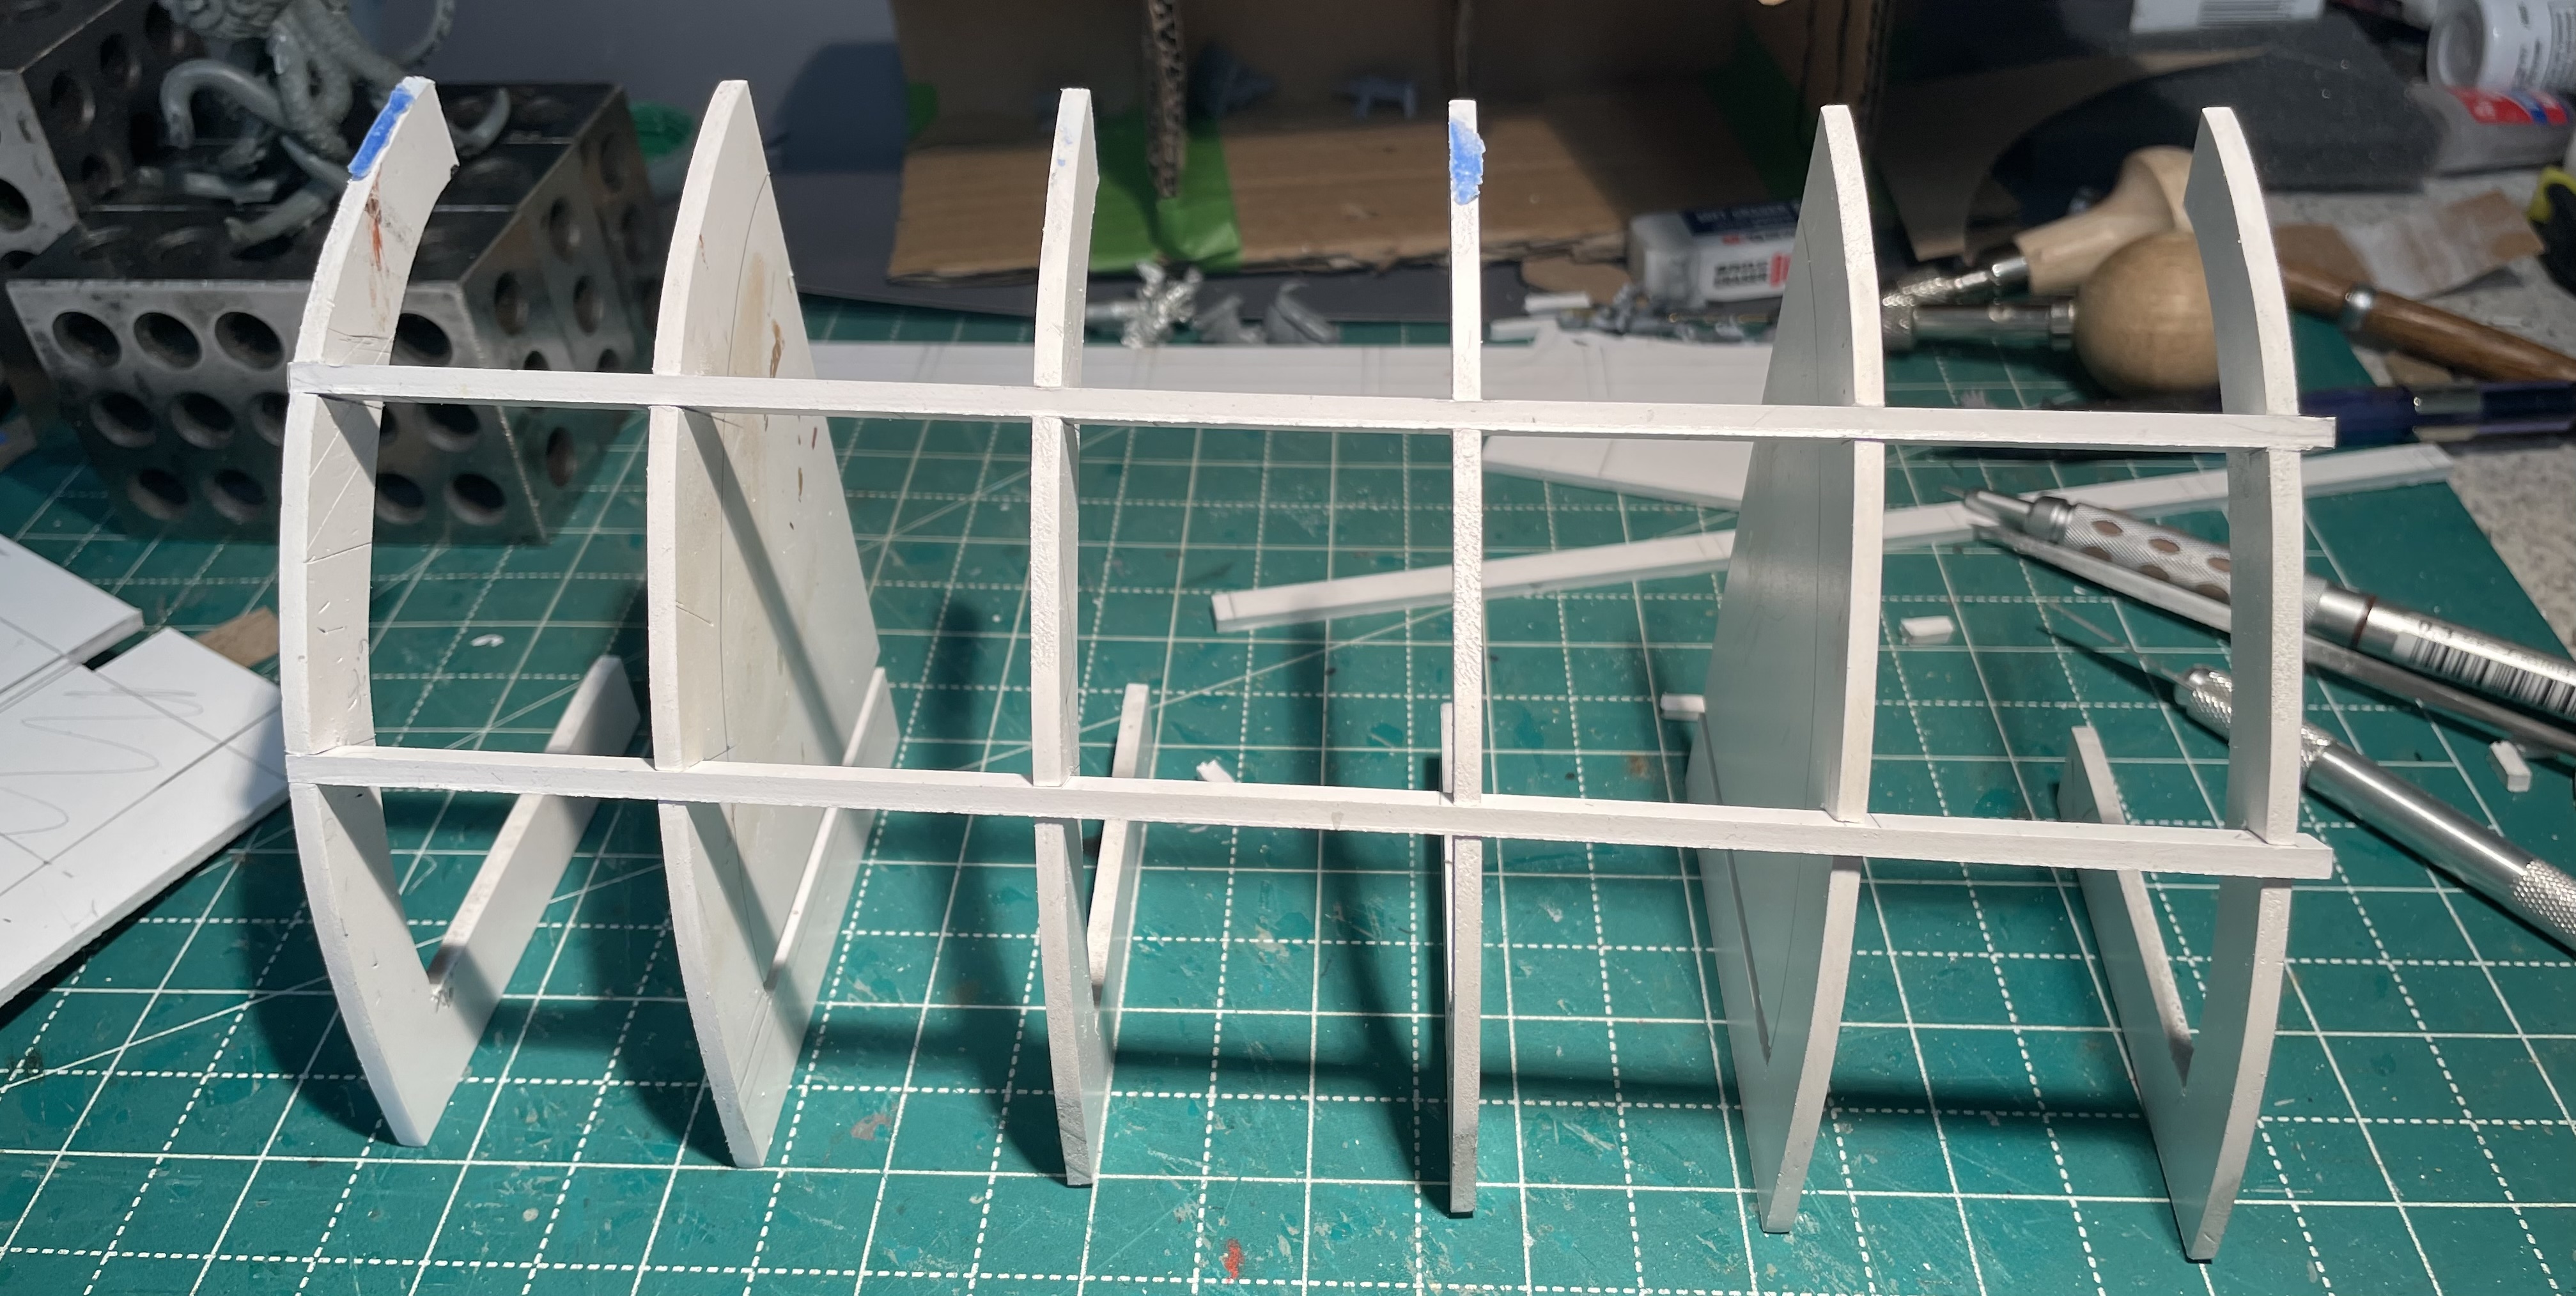
Its mostly equally spaced, this is the view from the "outside".

Looking down the "side" I like this view, to bad it won't be a visible part of the scene.

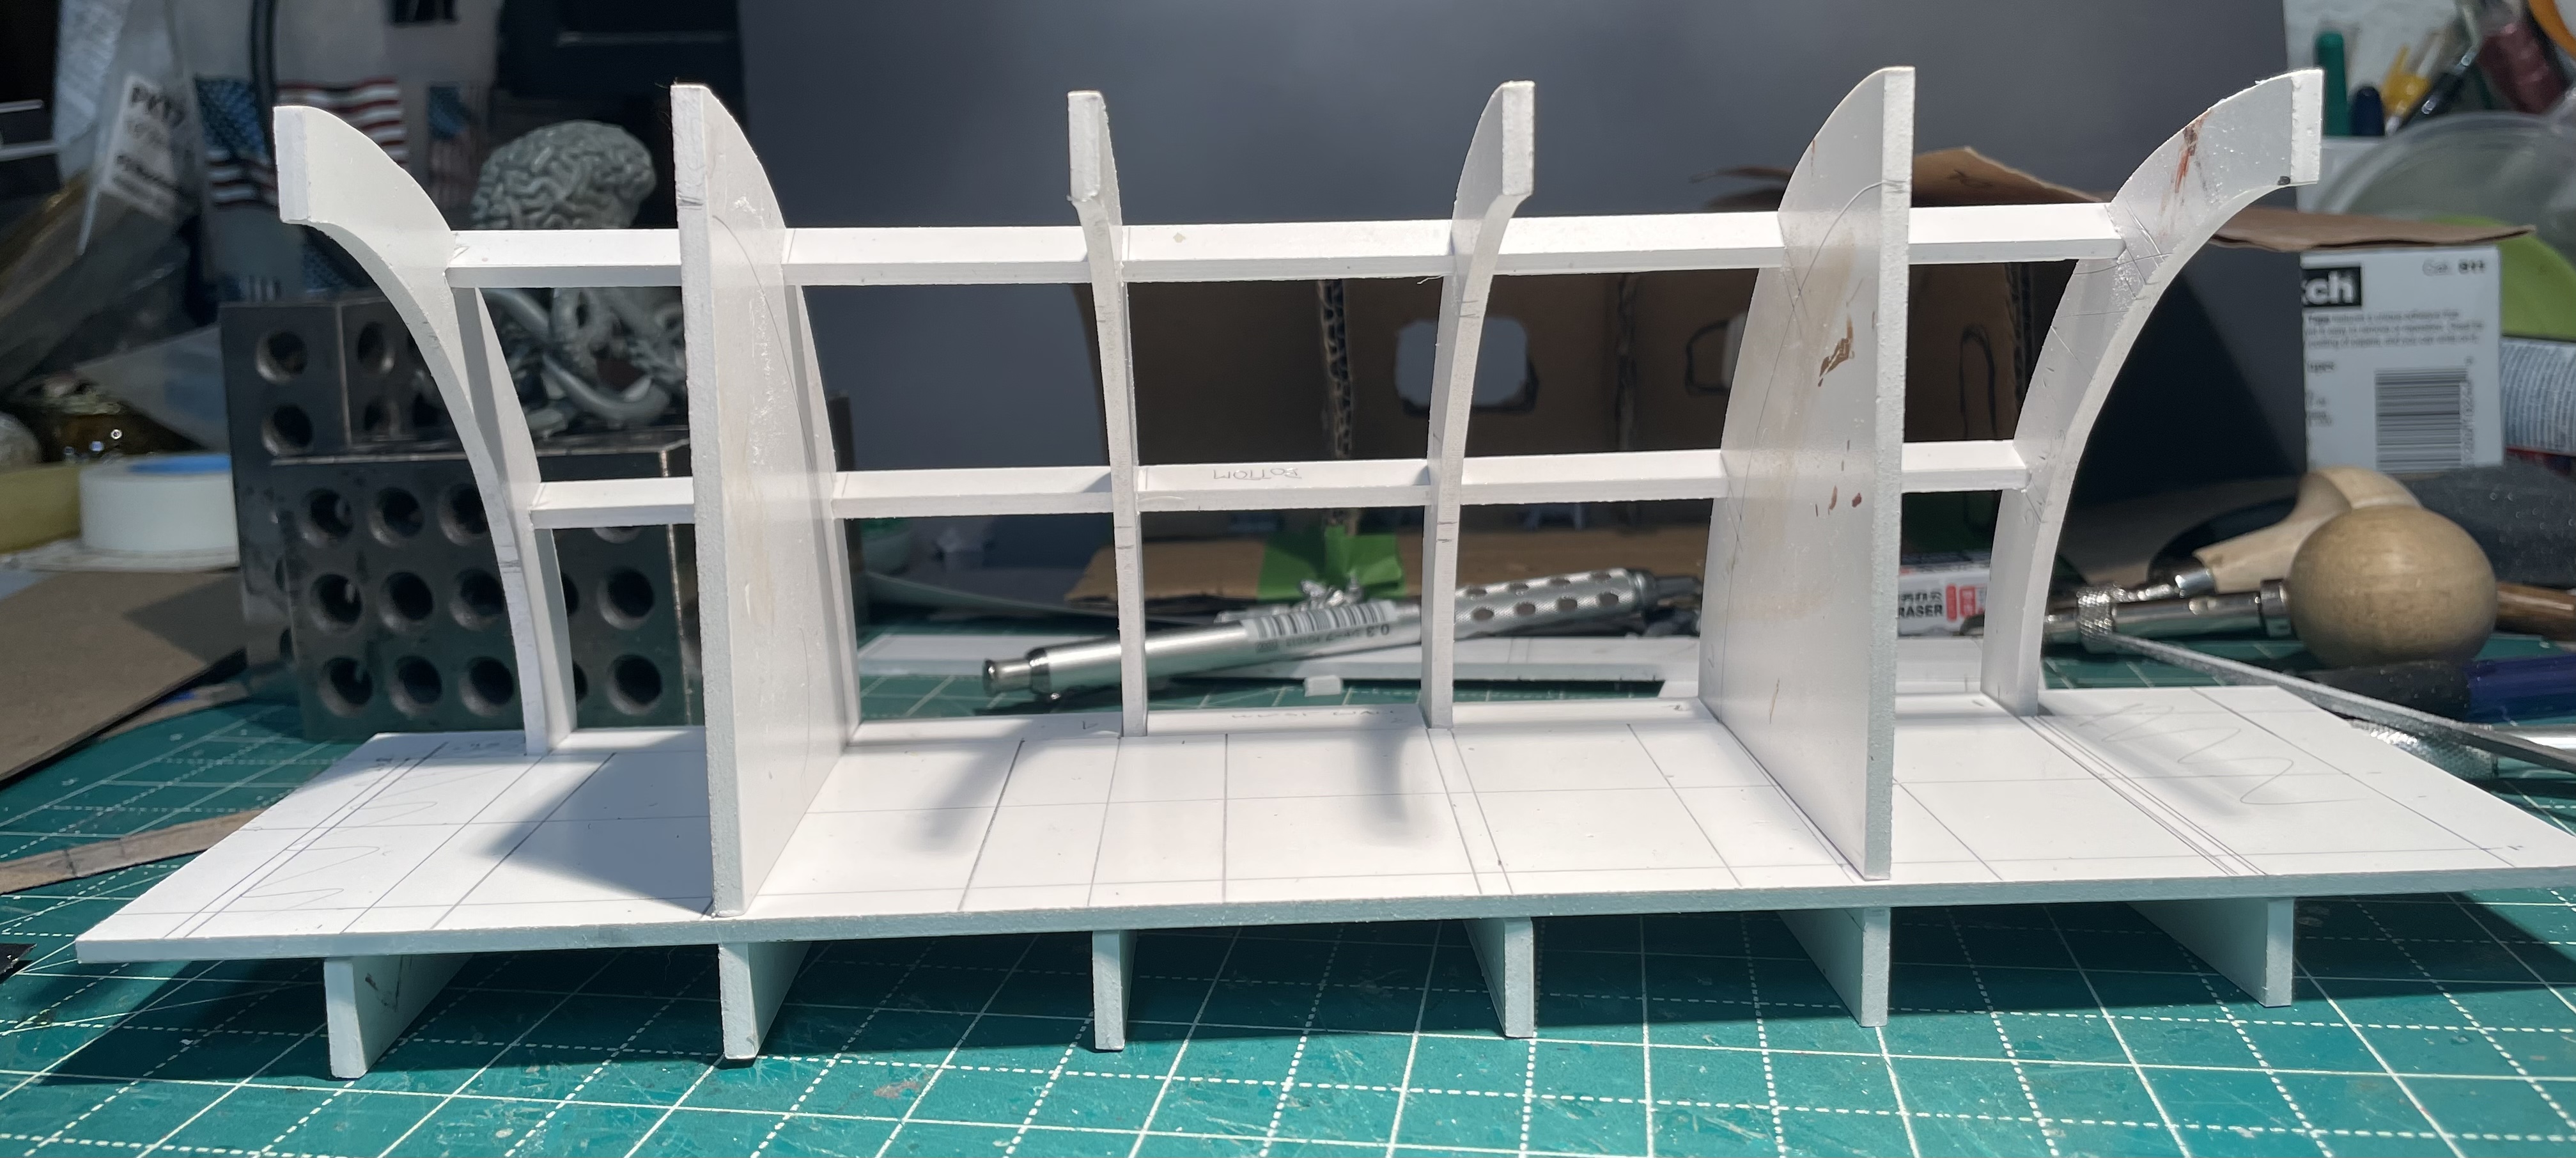
With the floor in place the whole thing feels a lot more rigid than before,

A view from inside the rocket ship.

And our main cast of characters. The Alien will be set back another inch or so actually coming through the doorway, I'm still struggling with how I'm going to create the "bursting through" effect.

Right now everything is very symmetrical and now I'm leaning towards keeping it that way. I think I'll be cutting it off, on both ends, right after that first rib before/after the bulkhead depending on which side you are on. I'm contemplating mirrors on the ends to create the effect of a larger ship but the one on the right is going to reflect the backside of the Alien and I'm not quite sure how to get around that. Plus I'm worried that it will amplify the light from the LEDs to much,


Thursday, April 20, 2023

The Sci Fi Pulp Diorama - Beginning the Interior

As I mentioned previously I made a few decisions after I finished the cardboard mockup. I redrew the template with a shallower arch and a bit taller. I then grabbed a large piece of 3mm Sintra (foamed PVC, Sintra is a brand name but its kind of like Kleenex, the brand name becomes the generic term) and cut it down to rectangles. From there I taped the block of them together and taped the template to the top. Then I took it to the scroll saw and cut out the basic shape.

After the basic shape was cut I sanded everything down so it was, mostly, even. I taped four of the pieces together and cut out the internal ribs on the scroll saw. I left 3, although I thought I had left 4, pieces solid to serve as the bulkheads. I'll cut the hatches out of those and the bulkheads will define the main "interior" where the action is taking place. I'll still haven't decided on what that width will be. If you have read any of my postings on diorama design you know that I like to keep things as small as possible. This one is a little easier because I'm defining the "base" rather than working with a commercial product of some kind.

The grid that you see on the "floor" is 1 1/8" square and was intended for a different project. Right now its a convenient reference as I play with the size. I just have to remember that those squares are not 1" squares!

Bulkheads and ribs cut out on the scroll saw. I may or may not drill holes in the ribs as well. At the moment I'm liking the solid look better.

Playing with distance. The Alien will be coming through the hatchway. So the rib on the side will actually be a solid bulkhead piece. The same is true with the crew, they will be standing in front of bulkhead with a closed hatch. Also the ribs are out to far. I need to cut the slots in the "floor" to slide them into, so those bits will be about a 1/2" closer to the viewer. The floor is the width I want it, at least at the moment.

Different angle

Moving everyone closer together. I'm leaning towards this one. The ribs will need to be centered and the right side bulkhead moved back. At the moment I'm thinking that only about an 1" of space will be necessary on the opposite sides of the bulkheads. Maybe a bit more on the left because the Alien will be on both sides of the hatch so maybe 1 1/2" on that side. It will make things a bit asymmetric but that should be okay. That would make the visible portion about 7 1/2" long. I could actually use a mirror on the right side. I'll have to think about that.


Monday, April 10, 2023

The Sci Fi Pulp Diorama - The Gathering

While I was messing around with templates and finding the bits and bobs that I had already accumulated I went back to Reaper to find some more stuff to work with. I wanted to get some more toolbots for sure, I figure more than a couple of them were going to end up as crushed remnants along the floor. You can never have enough toolbots. I picked up a possible alternative to the heroine. Then, of course, while I like the original protagonist quite a bit, I think he is just to small to get the whole "terror" aspect of the diorama. 

That care package arrived on Friday, here are the contents:
Here is the whole lot. Everything I could possibly need...yeah right.

This is really most of what I want to work with. I think I have already eliminated the alternative heroine (somehow I managed to order 2, oops) and will go with the original. But toolbots and extra weapons should come in handy.

Here are the big beasties. All three of the Bathalians and the Hivewarden. I think the Hivewarden has a lot of potential, perhaps add some bits from the others to up the "fear" factor.