Quotes

Life is short, break the rules. Forgive quickly, kiss slowly. Love truly, laugh uncontrollably and never regret anything that makes you smile. - Samuel Longhorne Clemens (Mark Twain)
Showing posts with label Reaper Miniatures. Show all posts

Monday, April 10, 2023

The Sci Fi Pulp Diorama - The Gathering

While I was messing around with templates and finding the bits and bobs that I had already accumulated I went back to Reaper to find some more stuff to work with. I wanted to get some more toolbots for sure, I figure more than a couple of them were going to end up as crushed remnants along the floor. You can never have enough toolbots. I picked up a possible alternative to the heroine. Then, of course, while I like the original protagonist quite a bit, I think he is just to small to get the whole "terror" aspect of the diorama. 

That care package arrived on Friday, here are the contents:
Here is the whole lot. Everything I could possibly need...yeah right.

This is really most of what I want to work with. I think I have already eliminated the alternative heroine (somehow I managed to order 2, oops) and will go with the original. But toolbots and extra weapons should come in handy.

Here are the big beasties. All three of the Bathalians and the Hivewarden. I think the Hivewarden has a lot of potential, perhaps add some bits from the others to up the "fear" factor.


Tuesday, November 23, 2021

Pirate Project - The disassembly continues Part 2

I have been pressed for time, typically really, and this particular de-construction is tedious. However, if I want things to go back together in any kind of reasonable fashion I must proceed a bit slower than I would like.

In my last session at this I separated the top (poop) deck from the quarterdeck. It took about 30 minutes of applying acetone, then prying or flexing the parts (rinse and repeat) until I was able to actually see some of the glue joints separate. There was a lot more glue here than there was along the edges.

In the end I was successful separating it into two sections. At this point I think I can begin to consider how things will need to come apart. Again the biggest issue I'm facing if that if I'm going to have the main deck come off so you can see the gun deck then the rigging and masts have to come away, intact, with it.


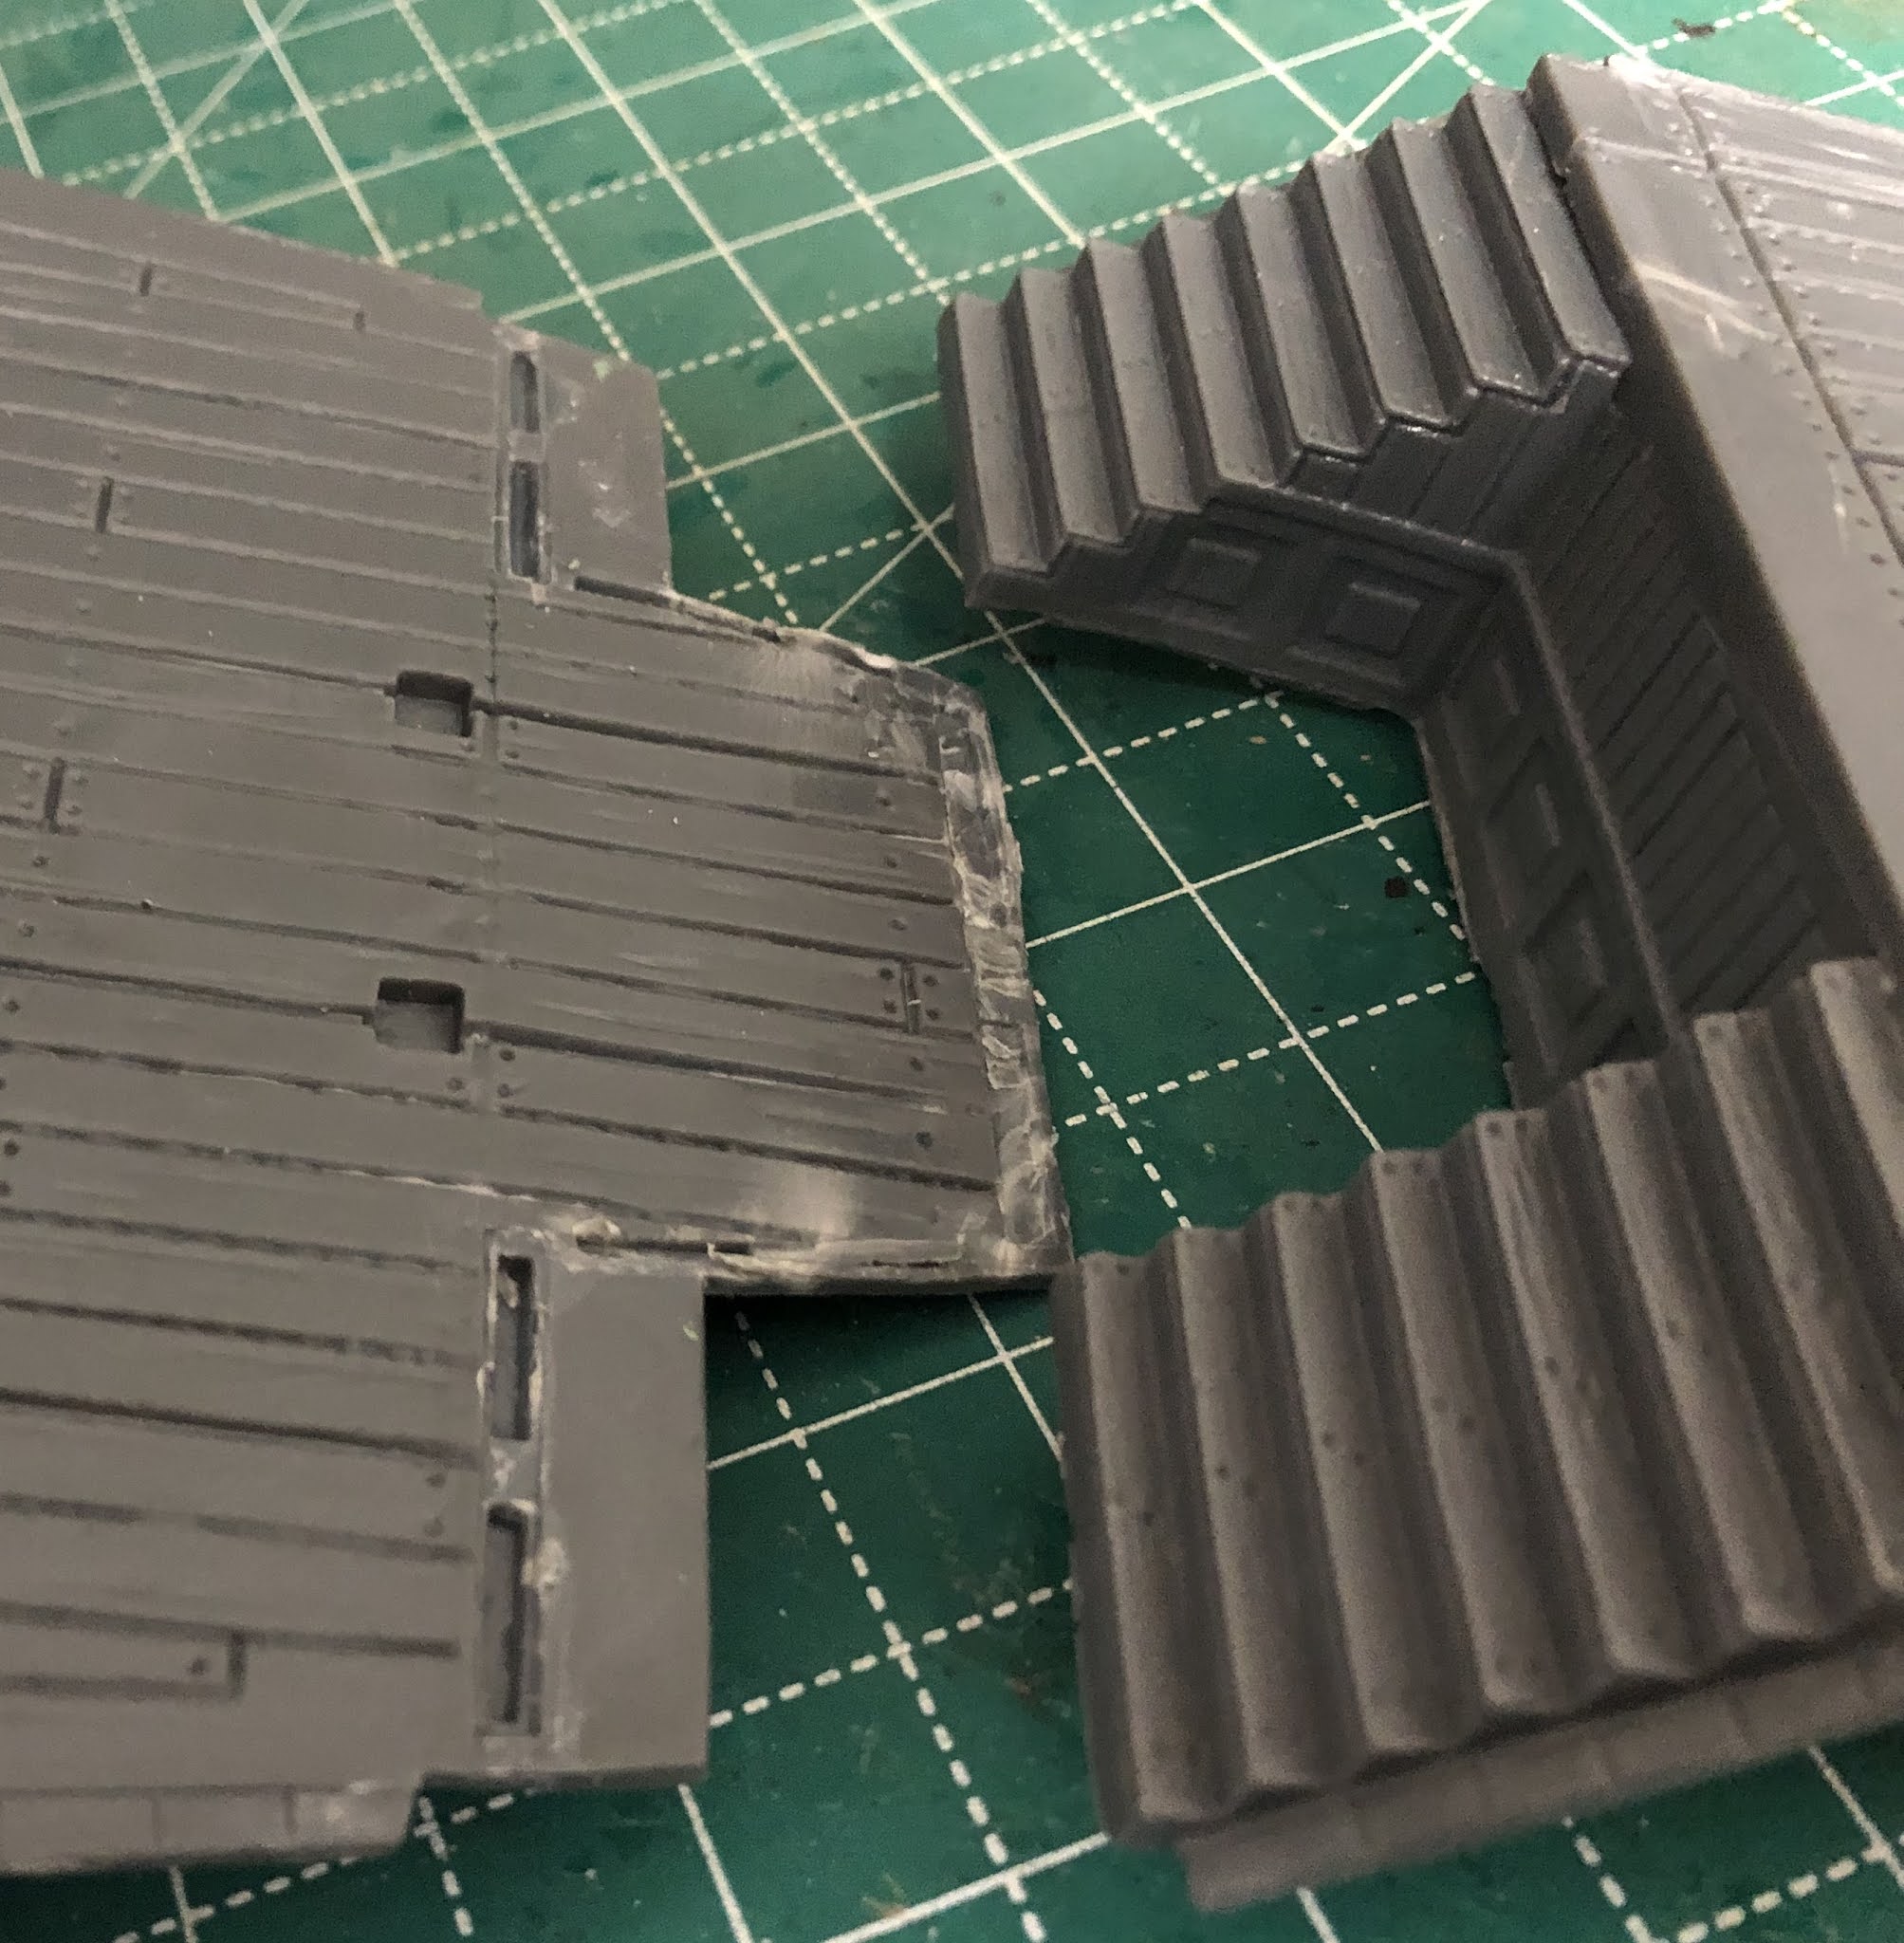
Here's what it looked like after I finally pried it all apart

All of the white discoloration you see are stress fractures in the plastic from bending it. Its thick enough that I'm not concerned with it at this point. A little more texturing and paint should cover it right up.


I'm going to leave the stairs attached. Its one of the better gluing jobs that I have run into so far and I don't think I can get them apart. It should work out just fine that way.

Here you are seeing the underside of the deck. You can see how much glue was used in the center section
Here I was just doing a test fit to make sure that this section still fitted correctly to the sides. Looking good so far.


Tuesday, November 16, 2021

Pirate Project - Sophie's Revenge - The disassembly part 1

As is pretty normal for me I have been distracted by yet another project that is likely to never be finished but its the thought that counts! I have been thinking a lot about what to do with this massive kit, which means its likely going to be displayed in the main part of the house which will require more than a game level paint job and build. We have plenty of guests that would appreciate it as a ship but would not understand what gaming terrain means.

I know that Talon did the design concept and Chris Lewis was the sculptor I see a lot of the Black Pearl and Queen Anne's Revenge in this ship and I'll use one of those two for the rigging. Yes, rigging. I know that its likely to be in the way as a game piece but I like the thought that players would have to maneuver around all the components that you might find on a ship and that means ropes, lots of ropes. 

Based on what I have been researching I think I can get away without the running rigging and just go with the standing rigging, except for perhaps the on the mizzen mast. What I'm thinking is adding a lateen sail as part of the mizzen and I think a sail there wouldn't be in the way to much, or maybe do all three lateen sails. The key to all that though is that the decks have to come away as a single piece to keep the rigging intact. I'm not sure I can even pull that off at this point, but I'll give it a try.

To even get to that point I need to figure out how to disassemble the ship and rebuild it so that any interior detail can be seen and appreciated. With that in mind I worked up my nerve and took a knife, a sculpting tool and acetone to the quarter and poop deck structure. I'm was fairly certain that they used super glue to assemble this at the factory hence the acetone which would serve to soften the CA joint. So using a brush I started running beads of acetone into the joints and gently trying to pry it apart.

I managed to separate the deck from the bulwarks and I think I'm in business. I broke the deck in a couple of places in the slots but it wasn't awful and I'm going to leave those "breaks" in place it will help make sure everything fits back into the right place. I want to be able to remove the decks, including the mast, and leave the bulwark in place so that I can detail the cabins in this area. Still not quite sure where I'll be making those cut lines but now that its in a couple of pieces it will certainly be easier to figure out.

Painting will probably be an ongoing process rather than something done at the end of the project. Will just wing it as I move along.

Let's take a look at the damage I managed to do!

And this is where it starts. If you really take the time to examine this its made up of 7 or 8 pieces.


Under the gentle ministrations of a hobby knife, a sculpting tool and a lot of acetone. I managed to separate the deck from the bulwarks

You can see a couple of the rough edges on this side. I actually broke the plastic here instead of it neatly separating. I'm going to leave the broken pieces in place, it gives a nice reference to glue everything back to.


Here is a look at the underneath of the deck. The circular bit is were the magnets for the mizzen mast are located. I'll need to run some deck  beams across the "ceiling" to make sure the deck remains stiff and not flexible when I take the deck off (if I can pull that off). Techincally I think there should be another cabin underneath that top deck, but there isn't a door and I'm not sure I want to go to that much work.

You can see the edge of the deck that I broke off. I was more careful after this and did much better after this. Just below this is the point where I need to start cutting the deck and top edge of the bulwarks away. Although I'm having some second thoughts on this because of the way the rest of the ship goes together. I'll avoid rushing in with a knife at this point.

And a look at the inside of the stern. This is another spot where I broke a portion of the deck that fits into the slot.

When I start to reassemble this I'll glue the gun deck down to a base that should help keep everything aligned. But the afterdeck cabin sits on the main deck which is the biggest issue for adding the standing rigging, if I try and make the quarter and poop decks removable.

Friday, October 29, 2021

Pirate Ship Build - A closer look at Sophie's Revenge

As I mentioned in the acquisition post I definitely want to do more than just paint the Sophie's Revenge. I want to add at least a small amount of rigging, do some interior detailing and put it on a base.

I think the base will be relatively straightforward. Sophie's Revenge is already a waterline model so it will just be a matter of creating a big enough base to show off a little wave action. There are probably a dozen videos on youtube describing how to do that.

I think the rigging will be relatively straightforward as well, and its perfectly acceptable to have sails still furled when the ship is underway. Leaving the main sails furled also leaves the deck cleared for action. I think it will need a lot more deck "furniture" as well, especially more belaying pin racks.

Separating the decks is the issue. The bulk of the ship was assembled at the factory and it looks like it should come apart, I just need to figure out what kind of glue was used and maybe I can find a way to dissolve it, hopefully without destroying the plastic. I need the sides to remain in place so the interior can be detailed, like cannons in place with the appropriate ropes and fastenings, gun ports that can be opened that kind of thing.

And then there are the masts. I think Reaper made the right decision by supplying abbreviated masts, anything taller would really just be in the way of using it and storing it. I was originally thinking that I would need to cut holes in the deck and extend the masts to their full length as one piece but that would make it difficult to lift the decks off to get below. Instead I just need to model the masts in the appropriate locations rather than cut through the deck.

Here are a couple of pictures just to show what the obstacles are:


Sophie's Revenge is, more or less, a galleon. This section here would be the quarters for the commissioned officers and the Captain's cabin. On top of that should be the navigation room but that section is a bit abbreviated on the Revenge. I can either leave it as is or figure out a weigh to increase the height of the navigation room and add a ceiling in the Captain's cabin. This whole section comes glued together from the factory and consists of at least 8 pieces, excluding the gun port covers.

A look at the inside of the Officer and Captain's quarters. Its pretty bulky here on the inside, which is good. There is plenty of plastic to work with. You can see the indentations for the stairs that lead up to both the quarter deck (bottom of the picture) and the poop deck (more to the top of the picture). The poop deck would be above the navigation room which in turn is above the Captain's Cabin. The large circular spot in the center is were the magnet for the mast is located. I though I would cut through the deck at this point and extend the mast down into the new hole and then do it again to go through to the gundeck. Instead I'll just model this portion of the mast. In theory the ship's wheel would be in front of this mast in the quarterdeck and the ropes to the rudder would be running through this portion of the of the commissioned officers' quarters.

A closer view of the rear cabins

This shot is looking underneath of the main deck. Here is another mast location plus some of the supports for the main deck. Again we have the issue of the gun deck walls being attached to the bottom of the main deck rather than to the gun deck itself. I would need to add more support beams and ribs and of course what ever else you would find across the center of the deck. Lots of possibilities if I can separate the walls from the deck and glue them directly to the gun deck. I counted 12 separate pieces for the this section, assuming I didn't miss anything and I'm sure I have.

Here is Sophie's Revenge straight from the box. A few small boats would be in order and the cargo loading area needs to be opened up. Probably will just cut that all out and rebuild it in either plastic or wood

With the rear cabins removed. What I want to do is just being able to remove the quarter and poop decks and leave the walls and model the mast where it would come through in that area.

Then down to the gun deck, a lot of possibilities here if I can disassemble the gundeck walls from the main deck.


Friday, March 26, 2021

Sledgehammer BFG - Pin Wash

I know I need to dig up some of the missing parts but I'm moving forward with what I have. I have applied the pin wash, still needs to be cleaned up but that big step is done. After that I'll follow up with some chipping in a couple of different colors.


Tuesday, March 23, 2021

Sledgehammer BFG - Back to the bench

This bad boy has been sitting for at least 18 months on the back burner. Since it looks like ReaperCon 2021 might really happen I figured I better pull it out and get started so it has a chance of being ready for Labor Day weekend (Sep 2-5).

While I was fairly happy with the initial airbrush work at the time I am decidedly unhappy with it now. So back to the airbrush for some camo work. I essentially change the color of green I used and widen all the green and brown stripes so the dark yellow wasn't so glaring. I also cleaned up all the bad spots from the previous airbrush work. Which goes back to do it right the first time and you won't have to come back to it.

After looking at the pictures I realized that the crane is missing. I need to find out it and do a little work on that as well especially since I switched out the green!

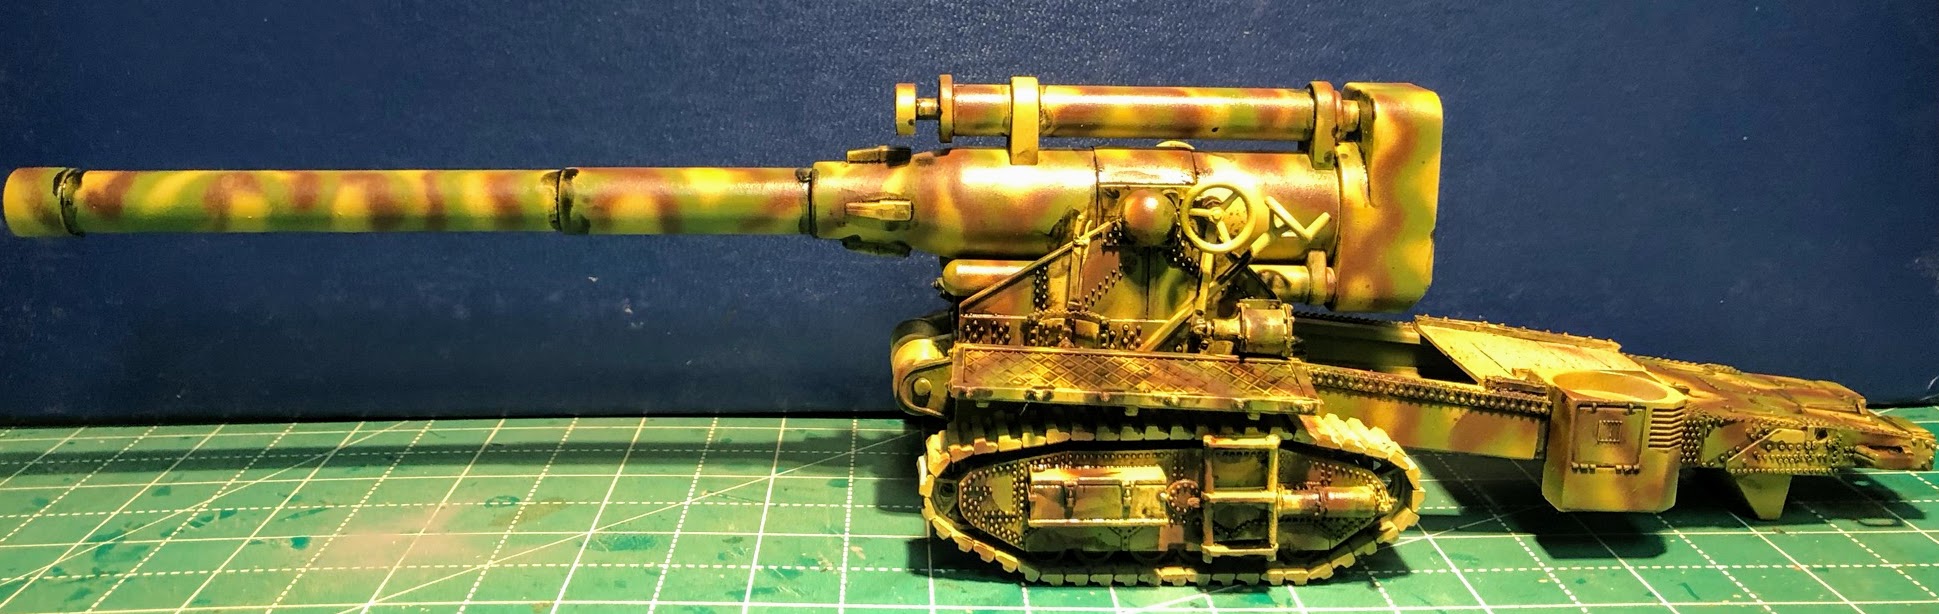
The camo that was completed 18 months ago (or there about). The bright light over the airbrush booth tends to wash the colors out a bit.
.

A new shade of green


Widening the brown stripes


At the end of the airbrush session. Note the missing crane which seems to have wandered off on its own.


This session's colors. I may need to put in a paint order soon.


Wednesday, February 6, 2019

Sledgehammer Project; Preparation Pt XVIII - BFG Sub Component Assembly

Trying to move forward from the rather disastrous UE build I pulled out the Sledgehammer BFG itself and resolved to at least get the sub assemblies together so I could start planning how the extra detail parts are going to be added.

I took a bunch of assembly shots figuring that it might help others that are working on this little beauty at some point. First thing to remember is that I did a lot of filing and filling before this. Since some of the filling required is for gaps and injection marks that are very visible I would really recommend going through the filing/filling exercise before you begin any of the assembly.


Starting with the gun carriage, this is pretty straight forward.

glued up and ready to go.

I have opted to go with the tracks from Victoria Miniatures, rather than the kit supplied wheels. Again these are pretty straight forward and are conveniently labeled left and right on the back side.

Some cleanup is required. The mold line goes right down the middle of the tracks.

And of course on the bottom you will have to deal with the resin blocks.

Ran into some issues with the left tread.  Look at the bottom enter and you can see a whole link looks like its missing. This casting is probably bad enough that I could get a replacement, but I'm not going to bother with that, especially since I have had the tracks for at least 4 months now. Remember to check your resin parts right away in case this happens to you.

From the bottom, its evident that this is definitely a  miscast, the mold was filled enough or may have slipped slightly during the casting process.

The ladder attached quite nicely, although I did have to shorten the locater pins on the ladder a bit.

The tracks all ready the extra detailing that will come later.

Back to the carriage the wheel/track axel. This is a single piece and because the pins for the wheels and/or tracks are so evenly spaced its easy to put on backwards. The center axle mounts into the tabs underneath the carriage, the other axle goes to the front of the carriage.

Like this (looking from the bottom where the tabs are located)

This is how it looks from the top

In theory, all of this should just slip together now. Remember when you need to glue the tracks in place you will have to use super glue. The tracks are resin the gun carriage is, essentially, polystyrene (which means you should be using plastic model glue, not super glue for most of the construction).

Whew, it all fits together quite nicely. Note that I have not glued the tracks on at this point.

So directly above the axles is this stupid little gear, it drops into place and then that large plate is glue over it. It spins very nicely. In the context of the model its completely useless, so don't worry about getting glue on it, no one will ever know. In real life its part of the gun elevation system.

Here I'm starting on the barrel assembly

The hydraulics to the recoil. Note that the end cap needs a fair amount of filing and filling and its very visible on top of the gun.

Getting it together, its a very large gun

Putting together the breech block. the first piece is already glued in place to the barrel. The breech block needs to be attached to the door and since I'm going to have the door open, I'll need to fill in that very large hole in it.

The front side of the breech block. I may scrape off the molded on handle, its very soft looking.

I think these would be counterweights and what others have called "the Fin" for lack of a better term (and I'm sure there is one) I'll go with that. You will note that the curve on the Fin is smooth if this was a real artillery piece this would be geared, its part of the gun elevation system and would engage with the small gear from a couple of steps ago. I'll be modifing this piece to have a geared edge so that it at least looks right, although you may not be able to see it when the build is done.

Getting ready to do a little gluing. At this point just the counterweights since I need to work on the Fin.


These are the cable reels with cable molded on. 

And the reels glued in place.

The components for the crane

You can glue this piece but I didn't. I wanted a little bit of swing to it since the diorama will feature the gun being loaded.

All glued up.

The upper piece for the shell carrier is glued to the the ring. I have not glued the base plate on yet, I'm not sure what position I will need to have it in so I can make it swivel appropriately.


Mounting up the gun. Again, this has not been glued into place yet as it will be receiving a bit of extra detail.


Test fitting the platforms. Again no glue, my intent is to use the supports underneath the three planks and replace it with a metal walkway on both sides.

A first look at the whole thing

Adding a few of the crew

This is what I have left to deal with. I won't be using the two plates in the lower right side of the picture.

Still a long way to go at this point.