Quotes

Life is short, break the rules. Forgive quickly, kiss slowly. Love truly, laugh uncontrollably and never regret anything that makes you smile. - Samuel Longhorne Clemens (Mark Twain)
Showing posts with label HO Scale Brick Building Painting. Show all posts

Monday, June 5, 2023

A Brick Building from the Ground Up - Part 11

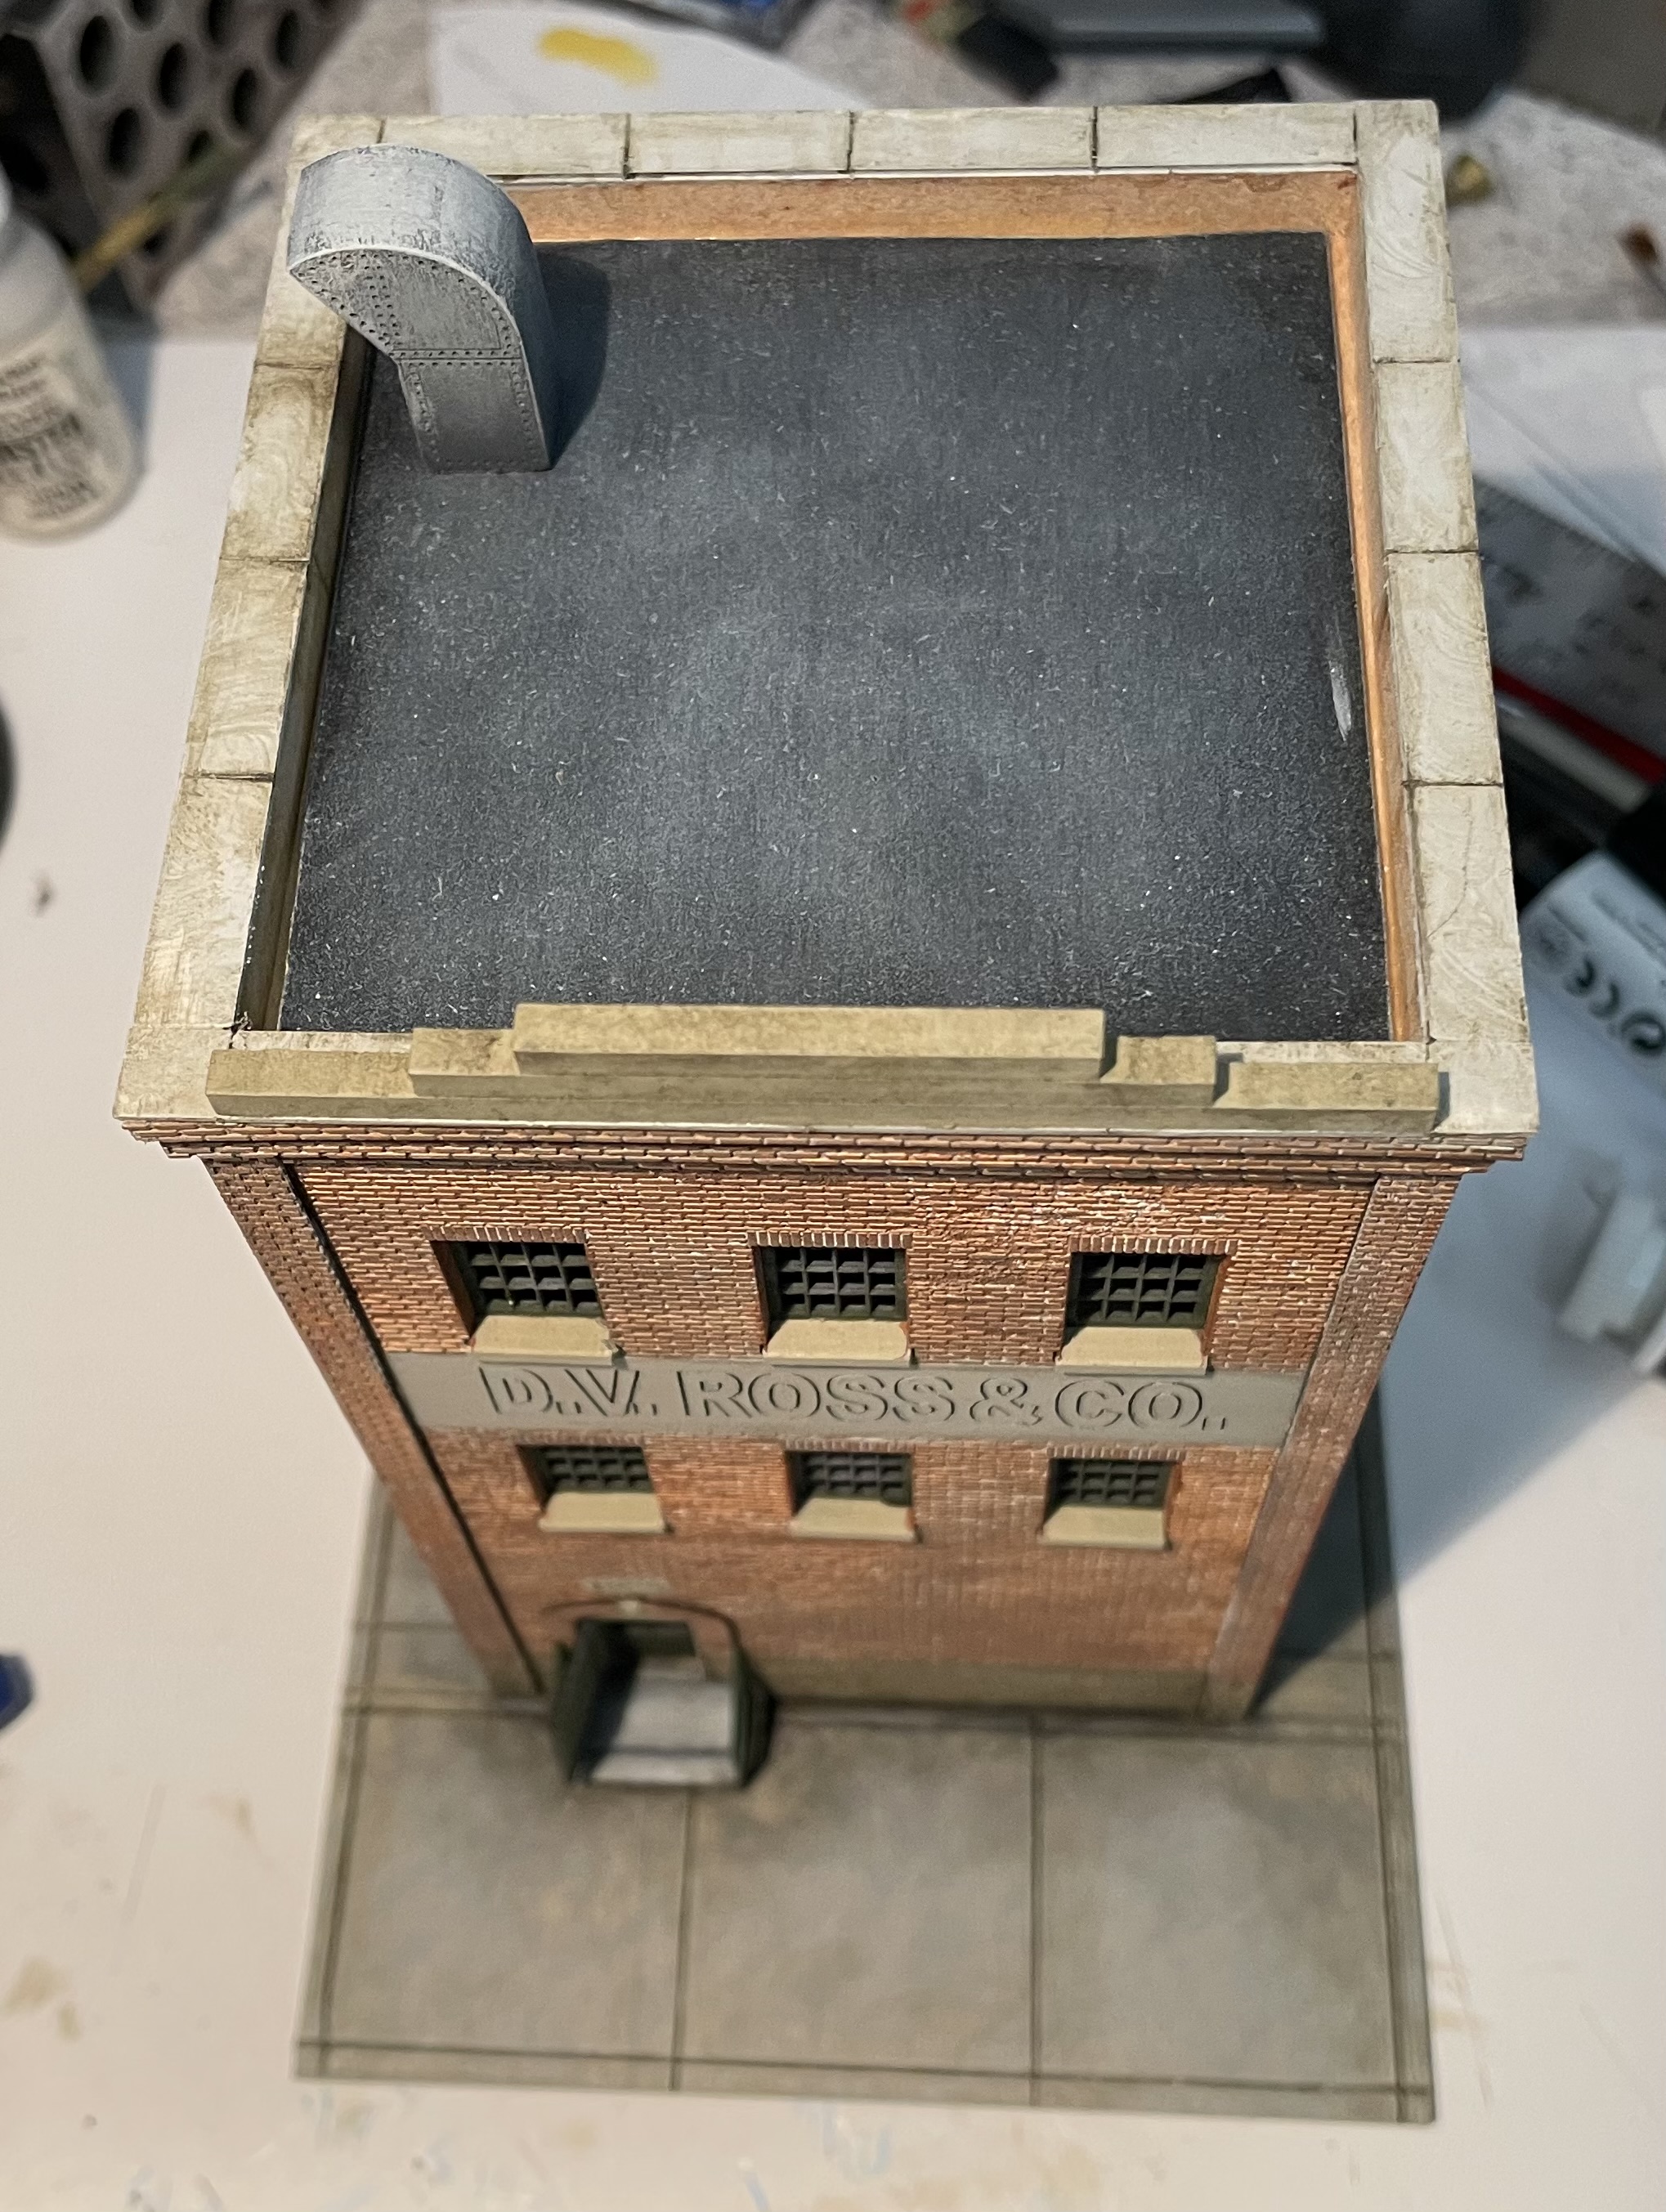
We were on a stay vacation last week getting our yard all cleaned up and ready for summer activities (that is if it ever stops raining around here). So I did very little on the modeling front, except managing to finish the weathering on the DV Ross building.

This was done with a combination of oils, in the form of Ammo's Oilbrushers (primarily Starship Bay Sludge [more brown] and Starship Filth [more gray]) and Pan Pastel Chalks (at this point exclusively Raw Umber Shade). The Oilbrushers went on first providing the darker streaks and lining. After they had dried I went back with a soft brush  and added the Raw Umber Shade. I also applied the Raw Umber Shade to the roof and air vent on top of the building and, generally, any place where I wanted to dirty things up a bit. Another area where I went heavier with the Raw Umber Shade was in the zone where the building sides and stairs met the concrete. It may have gotten a little heavy in a couple of spots but overall I think it came out pretty good, it also helped blend some of those colors and edges together that I had already painted the concrete with.

At this point I'm calling the series done. It certainly could use some other things to dress it up but that will likely have to wait for a while. Things like:

1) Brick liner for the interior roof edges. I bought some printed brick paper that claimed to be HO Scale but was in fact much closer to S and far to large for my purposes.

2) Roof clutter. There really needs to be a lot more going on the roof than that single air vent up there.

3) Fire Escape. either on the side or even on the front, it would add a lot of character.

4) Advertising. Its a brick building with a fair amount of blank space which certainly could use a little dressing up. Since this is a practice piece this is definitely a future project for this kit.

5) Graffiti. Not a huge fan of graffiti but from an artistic standpoint it is a challenge and at least in a small amount would help break up all that brick and stone work.

6) External details. Things like a light over the backdoor, a dumpster and other similar details would bring some life to it. I'll just have to keep my eye out for the appropriate parts.

7) Internal walls. Just to break up the see through effect and maybe see if I can go back and add some glazing to the windows. The roof is not attached so its still possible. I might even be able to go back and add some lighting effects of I felt really motivated about it.

There were definitely some pros and cons to the way I went about working on this. I have to remind myself that this wasn't a complete kit. It was a shallow background structure that I added two side kits and one back kit to. The instructions are okay but I can't really judge them based on what I was actually doing. The components, however, were excellent. Everything fit together the way it should. Some of the pieces, like the security gates and handrails, were pretty delicate so go slow then trying to cut them out.

In the end that building will serve its purpose as a photo backdrop for HO Scale miniatures and vehicles. I may even find away to incorporate it into the Warehouse Row layout.


Thursday, May 25, 2023

A Brick Building from the Ground Up - Part 10

A brief update as I keep playing around with oils for weathering. I have used oils extensively for weathering on vehicles but its been a different experience trying them out on building. I decided to start with "old" weathering first. I'm trying to build everything up in layers and start with deeper grime first then work in the rust stains and then follow up with a lighter layer of "dusty" weathering at the end.

Its definitely been different working with these oils just on the sidewalks. I started back in to quickly and pulled off a lot of the light/dark shading work with the next layer of oils, it just had not dried enough for this treatment. Hiding brush marks has been quite the challenge as well. But, I'm pleased with the look so far.


Friday, May 19, 2023

A Brick Building from the Ground Up - Part 9

I was getting ready to do some weathering on the sides of the building but I wanted to add some of the final details first. As I thought things through a bit more I decided I wanted to try out a light/dark technique on the sidewalk.

I wanted to work on some techniques out of the "How to Paint with Oils, Ammo Modeling Guide". As with everything else, the pictures make it look simple, the reality is a bit different. The idea is to add some shadow and light variations in what is otherwise a fairly plain concrete surface. I used three different oils for this. From 502 Abteilung ABT170 Light Grey and ABT001 Snow White and from Winsor & Newton Winton Oil Color 24 Ivory Black.

In theory your are placing dots of color on the base and then brushing/blending in the proper direction, so dark brush towards the shadows and light brush towards a more sunny spot. I always have a problem with the blending line and I seem to end up with some rather distinct lines of color in the area where I'm trying to blend colors together.

In the end I think it came out okay. Since I had the grey out I starting trying to fade out the very black roof as well. All of that will need at least a day to dry before I so some additional weathering and add the security doors and hand rails, all of which are pretty fragile, on the outside. I still need to add the cap stones to the edges of roof top as well figure out something for the internal brick edge (still thinking paper brick at this point).

On the Pulp Sci Fi Diorama, I'm still in search of a glue, I may resort to super glue but its my last resort I just don't like working with it.


The oil colors that I used for this process.

I did this side first, not to bad.

Way to many black dots, the white and grey are about right I think.

Starting the blend

After the blend (a lot of blending).

Working my way around


Starting to fade the very, very black rooftop

Adding a bit more white and trying to keep it from looking quite so uniform.