 |
| C&N Caboose, photo property of the Carnegie Branch of the Boulder Public Libary |
Really, the last thing I needed to do was start another project but here we go right off the deep end again. It started when I was trying to organize the basement workroom...again and I opened up one of the unlabeled Bachman On30 boxes. It turned out to have been my attempt to change the Bachman short caboose to a bobber (2 axle, no trucks) caboose. It wasn't bad but in the end I would count it as a learning experience and besides I really wanted to make a model of the C&N caboose. There are plans for this caboose, by Ed Gebhardt, in the July/Aug 1986 issue of the Narrow Gauge and Shortline Gazette.
The biggest issue facing me is building the underframe and how the two axles are supported. While I was muddling through this bit I was watching a YouTube video from Thunder Mesa Studio, from about a month ago, about building an On30 Short Caboose (ThunderMesaStudio). The base kit was by Chris Bohn at Full Circle Models (ibrake4trains@yahoo.com) and the 2 axle underframe is cast in resin (it might be 3D printed, I didn't think to ask). I downloaded the catalog for FCM from the link in the Thunder Mesa Studio link and reached out to Chris. The base underframe for the FCM kit has a wheelbase that's to short and overall the whole frame is to short and I figured that was a non-starter. Chris suggested that I just cut the existing frame into three pieces and lengthen to fit. That's why talking to other people about your project is a good idea! Chris was willing to sell me just the underframe and wheels, so I purchased two and those arrived earlier this week so I'm off and running!
The C&N cabooses, there were two, were very similar to the early D&RG cabooses (the class 1s) about the same from the frame up to the roof. I found a set of drawings made by John Maxwell online at JohnMaxwellDrawings which pretty much confirm that. They differ radically at the cupola. The D&RG caboose has a cupola that is centered and is the full width of the roof. The C&N cupola is off centered, taller, narrower and doesn't have any windows on the sides. The only windows face forward and backward. I would love to see what the interior of one of these cabooses looked like, especially since there is a smoke jack for a stove but that stove would have to be directly in front of one of the center windows. Alas neither of these cabooses survived so what that interior looked like will remain a mystery.
 |
| Here are the plans from the Gazette, and the FCM underframe. I need to stretch the whole thing out to 23' and change the wheelbase from 6' to 9'. That means adding 3' to the middle and 1.5' to each end. That 1.5' needs to be added between the axles and the steps. A little hard to describe but pictures are worth a thousand words. |

 |
| Here are the first cuts, separating the ends from the center. This is where the 1.5' inserts need to go, so two of those. You can see the line for the center cut going across the top of the frame. |
 |
| The second cut is right down the middle. I'll insert a 3' section here to stretch the wheelbase to 9'. |
 |
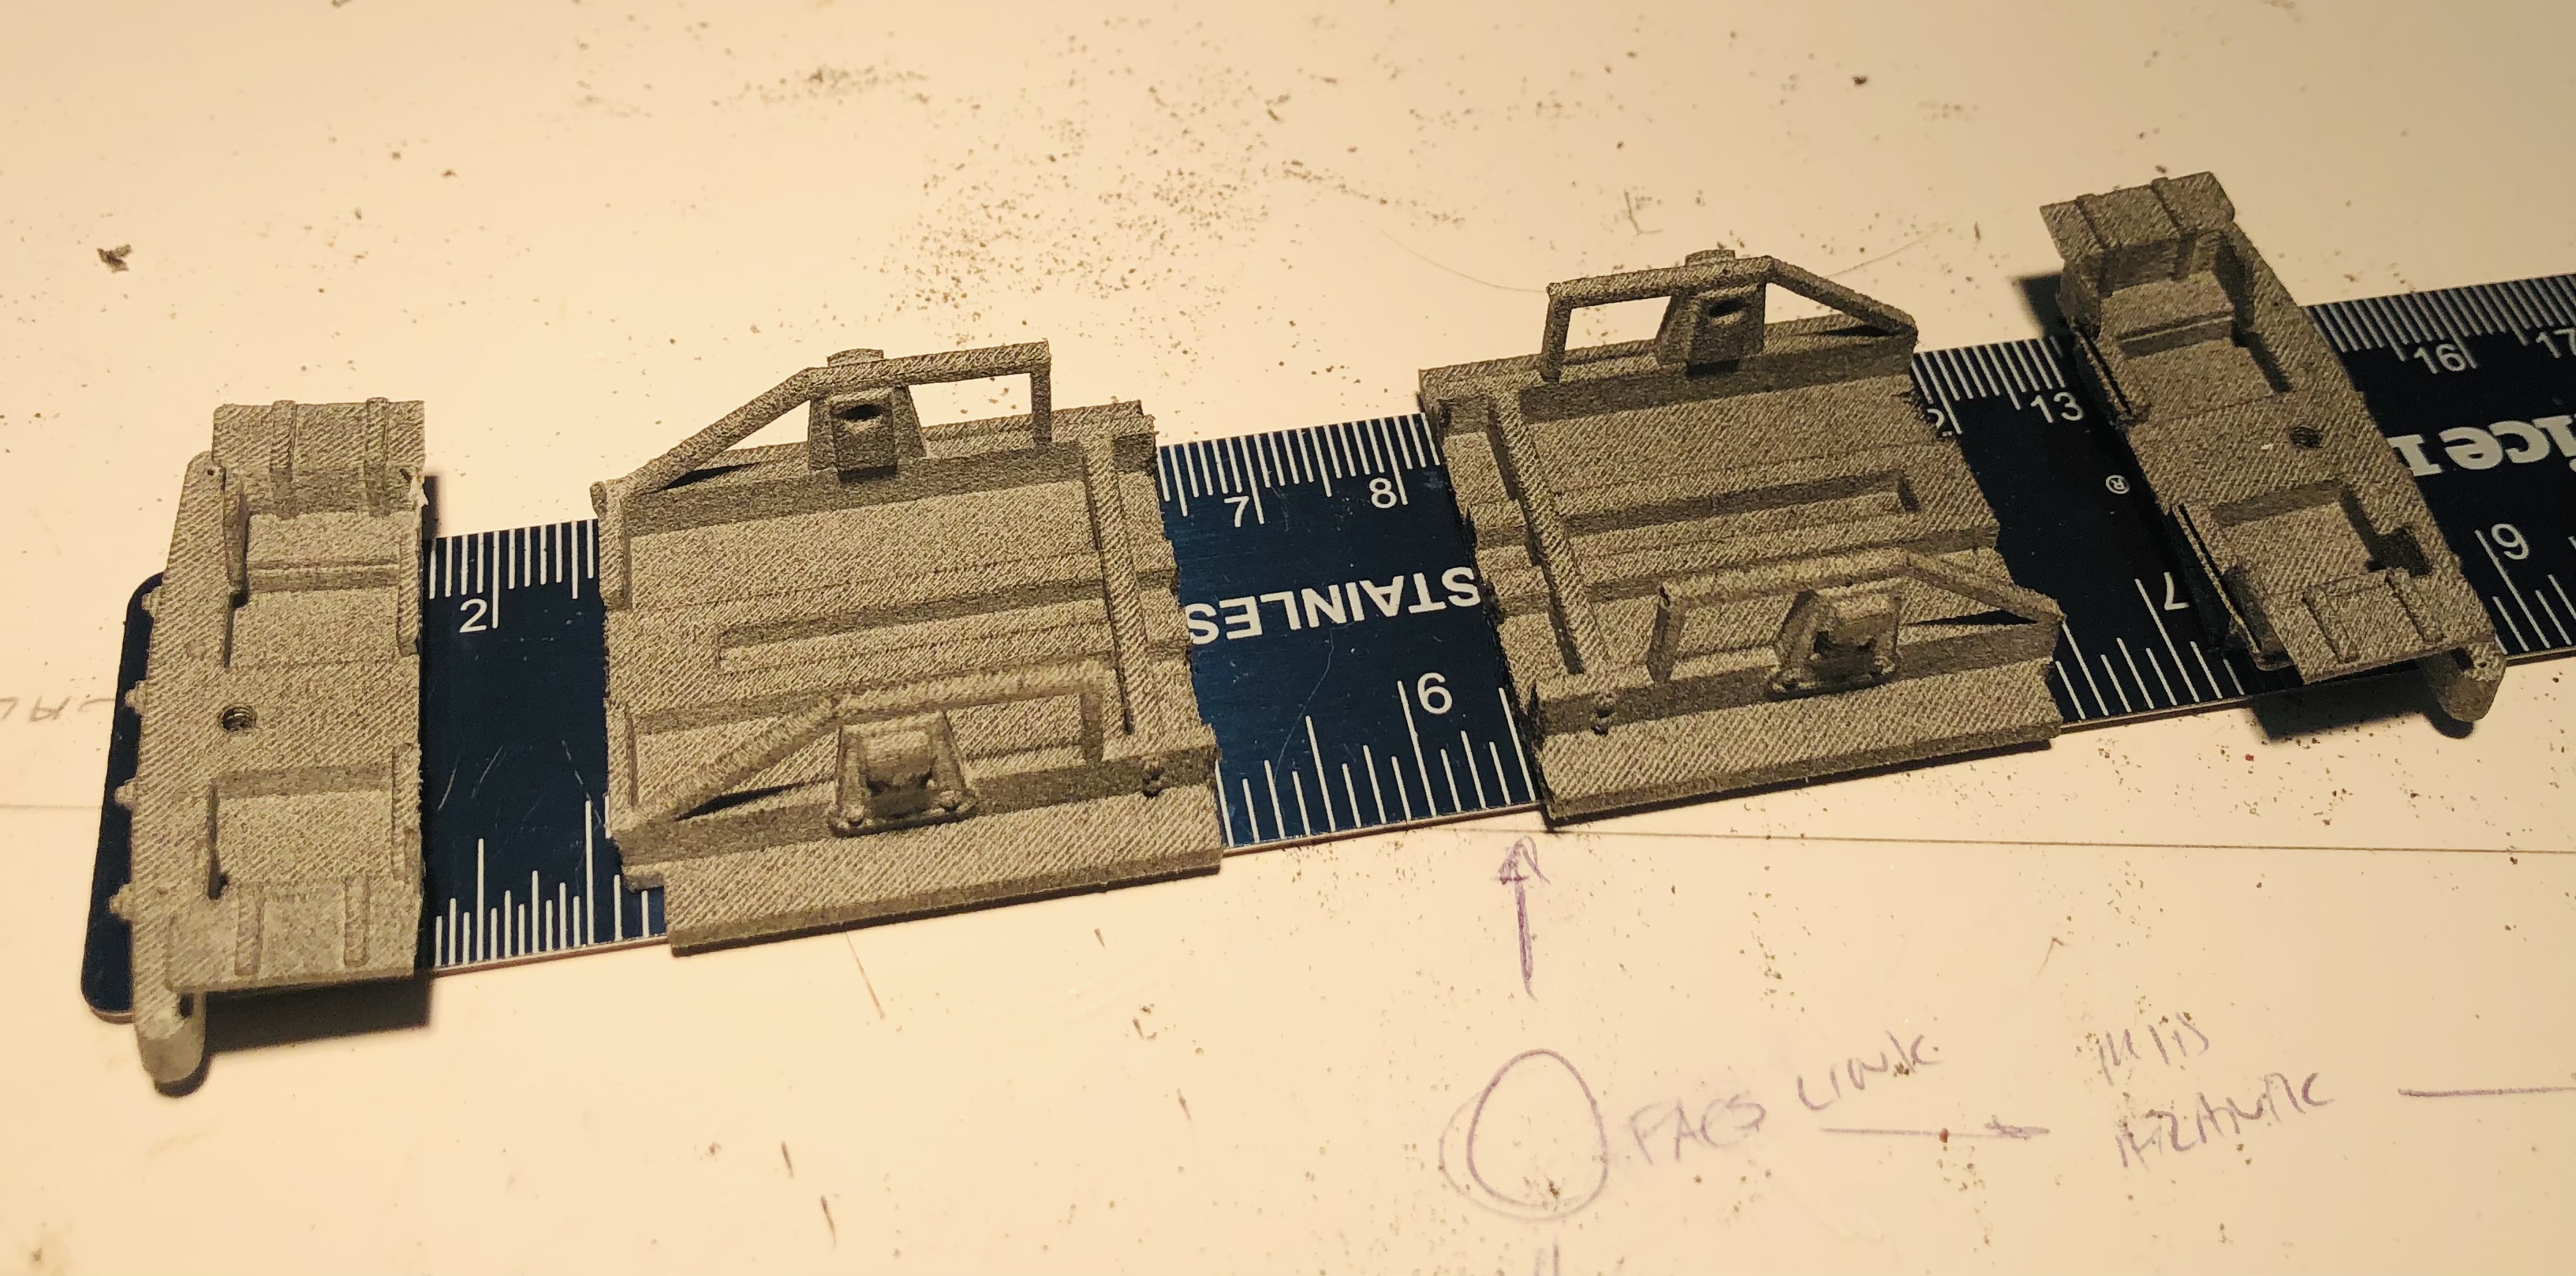
| I laid the parts out on a ruler to get a feel for what it will look like. At this point I just need to find something to make the inserts from, probably styrene. Time to rummage through the boxes and see what I have on hand. |
Next step is to put the whole thing back together!


When you start to talk about cutting up whole models and stretching them... I start to think that 3d design would be a lot easier! I am sure that you can pull it off though, and it will look great I am sure too!
ReplyDeleteIf I had a 3D printer on hand designing the frame would probably have been my first step. Its a piece of equipment I have waffled on for a couple of years now. In this case I might still have bought the parts from FCM because of the tolerances necessary to get the wheels to roll properly. Sometimes it better to let someone else do the work! I'm been mulling over the material to use for the splices and I'm probably going to go with styrene and assemble with epoxy to help fill the inevitable gaps.
Delete