Quotes

Life is short, break the rules. Forgive quickly, kiss slowly. Love truly, laugh uncontrollably and never regret anything that makes you smile. - Samuel Longhorne Clemens (Mark Twain)

Friday, March 8, 2013

Kickstarter - Critical Mass Games - ZAS Mercenaries


Critical Mass Games' Kickstarter campaign is coming to a close, about 44 hours left at this point, and it seems to have lost a bit of steam. You know you need a 15mm Sci/Fi army for "Tomorrows War" and this is a good time to jump in and get that army started. The ZAS mercs would be a good starter force for just about every ruleset out there. After my exposure to Ambush Alley's Force on Force rules I'm pretty content to go with that right now. Of course, nothing will prevent me from playing other rules either.  I also received my reinforcements for my Mech Company this week, although I'm going to set those aside for a bit while I work on Calamity and my entries for ReaperCon this year.


So here's your selections for the ZAS mercs:


What you get

How much it will cost you later. Its a steal right now.


Because you know you want it all

What you get

How much it will cost you later


And of course I need to show off the reinforcements that my mech company will be using. This arrived on Wednesday, great service from CMG!
Hellfire - Self Propelled Anti-Aircraft (Grav Version)

Vanquisher - Self Propelled Artillery (Grav Version)

Warmonger - Heavy Tank (Grav Version)

All of these images came from either CMG's Kickstarter site or their web site.

Thursday, March 7, 2013

Building Calamity - Sarissa Precision Railroad Station Part 3 Finished

There really isn't a lot to say at this point. I have spent a week or so slowly working on the railroad station and getting it to a table ready state. The interior on this one is a bit small so I don't think I'm even going to think about doing any interior work.I'll just get some paint on the inside walls and leave it at that. I think that overall I have managed to save the poor fit resulting from the out of spec MDF that was used. I think its likely that this one will be replaced at some point, either when someone else does a railroad station or with a scratchbuilt one. I certainly have enough plans laying around to build my own without to much trouble. Don't get me wrong, this is a good kit (especially if the MDF is actually 2mm instead of 2.5mm) it just doesn't suit my personal taste very well.

I tried another brand of shingles for this model that I really like. They are from Laser-Art Designs, a department of Branchline Trains which is another one of the model railroad laser cut manufacturers. The material is much heavier and has some texture to it. I was able to get a slightly fancier shingle at Caboose Hobbies which should help make the station stand out a bit more.. These shingles were a bit more expensive but the pack comes with two large sheets of shingles and I didn't use a full sheet for this building so I probably have enough for at least two more buildings, maybe three depending on the sizes of the roofs. Very nice product.

There is a little bit more paintwork going on as well. I used a white ink (from Liquitex) thinned down and use that to fade the yellow and the green a bit more. Trying to give it a more faded look. Unfortunately it doesn't really show up in the pictures very well. Neither does the detail on the roof, so look close!

Pictures, lots of pictures!

First up a look at the shingles


Then its on to paintwork. I wanted a darker green for the base color, so out came the Vallejos

Then a lighter green applied in streak pattern working down from the peak.


The third color was a bone color from reaper, a very light grey that was applied working up from the edge to the peak. Unfortunately it is really washed out by all the light. So you are basically seeing the finished builidng at this point, with the additional color fade applied to the building's yellow and green surfaces.


Overall I enjoyed working on the railroad station. I think it could stand some improvements but its still going to look good on the table. I'll be doing some additional weathering once I mount its base. There is a whole stage of weathering that will be applied to all of the buildings to tie them together, but that stage won't happen till I'm much closer to actually building the boards themselves.

Friday, March 1, 2013

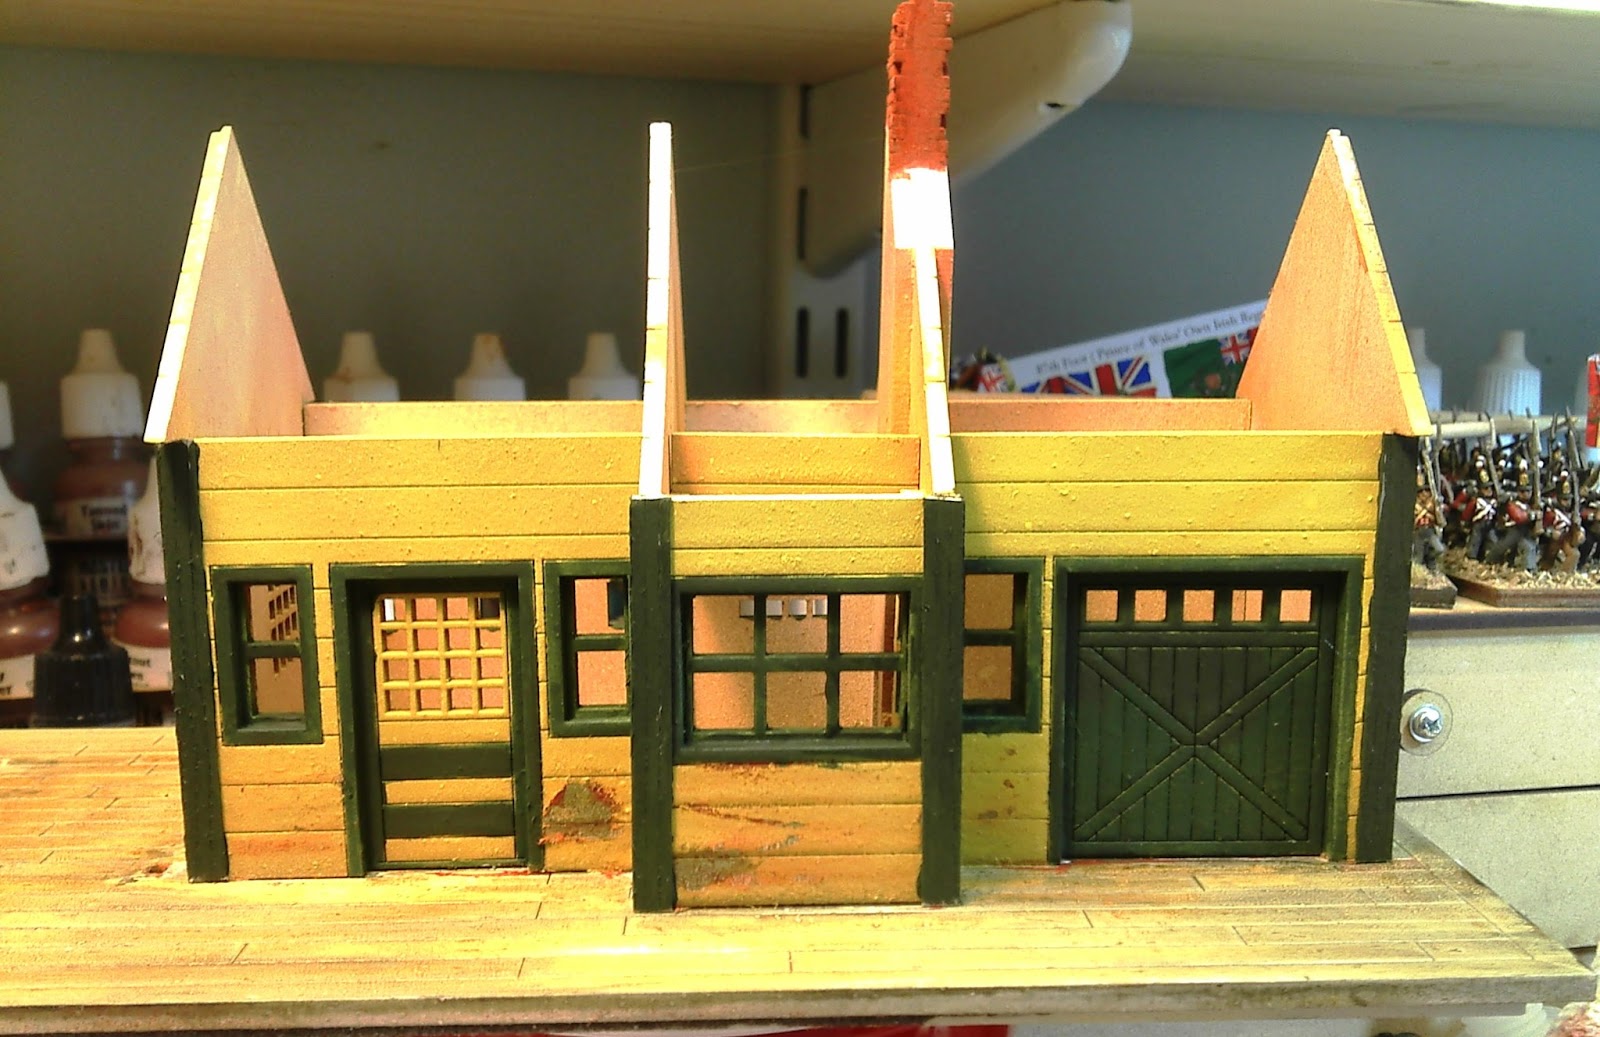
Building Calamity - Sarissa Precision Railroad Station Part 2

Things are humming along with the Railroad Station right now. I finally got around to weathering some stripwood for the trim and glued that on to hide the very ugly puzzle cuts. I then applied some rubber cement and painted it with my green trim color. After that had set a bit I took my erase to the trim and created some more peeling paint. I think this came out better than the peeling paint on the siding. Just tweaking the technique a bit to get a better result.

At this point all I really need to do is get some shingles for the roof and this one is good to go. I have toyed with the interior a little bit but there isn't much room to work with in there so I may leave it alone. We will see how it goes.

I still think that this is a good kit, it has some faults be generally things that you just have to watch for. I know that I need to check the thickness of the MDF sheets that I get from Sarissa at this point to make sure they are actually 2mm and not 2mm+. The ugly corners resulted from this out of spec MDF, which to be frank should never have been put in their laser cutter.

So here are some in process pictures:
The trim glued in place. A little wide in a few spots but over all it looks pretty good.


And then painted trim:


And now a little weathering work, tried to keep it lower down.


Finally this one is nearing completion. Of course I discovered that I am completely out of shingles at this point! I'll have to decide to either go get some from Caboose Hobbies or try printing some out from the textures I bought from Clever Model.

Thursday, February 28, 2013

Building Calamity - Marshal's Office Finished

Well the exterior is finished, I'm still deciding what to do with the interior. But it should look just fine on the table right now. This is definitely not a blow by blow account on how I finished this one. It is the only brick structure that I have so it should stand out a bit. There are a couple of details that I'm not fond of, one of those being that the corners are wood for the brick exterior walls. I would have preferred to see a more standard brick corner. Overall its fine though and I'm pretty happy with the way it came out.

I haven't added any kind of dirt to it yet. I'll save that for when its mounted on its sabot. I'll want to match the ground cover as closely as I can with all the other buildings. So there is work to be done but for now it can sit on the completed shelf and I can move on to another building. The railroad station is nearing completion as well. It needs some touch up paintwork and the roofs need to be shingled, probably a little work on the chimney as well, but its getting close and I'm much happier with it at the moment.

The front, the roof is off in this shot, the interior is not lighted, however, that is an interesting idea.
The brickwork was done with a combination of pigments and isopropyl alcohol which creates a  paint like pigment paste. 
I may go back in and do more with the brickwork. I like the dark mortar lines but they don't show up very well.
You can't really see the paintwork on the roof, but it looks good. Pretty pleased with the way the roof came out.
Back to the front. The whole thing needs a shot of dullcote now to seal it up and provide some protection