Quotes

Life is short, break the rules. Forgive quickly, kiss slowly. Love truly, laugh uncontrollably and never regret anything that makes you smile. - Samuel Longhorne Clemens (Mark Twain)

Tuesday, August 29, 2023

World War II Project - 28mm Village Church - Sarissa Precision - The Walls Part 6

Progress has been a bit slow. I'm in the process of getting ready to head out to ReaperCon, down in Denton Texas, for Labor Day weekend. I didn't manage to get anywhere with projects I had in mind so if I take an entry it will likely be something that I sitting on the shelf, likely one of those French Halftracks at this point. Since we have a pet sitter stay with the dogs rather than using  a kennel it means we have been getting ready for a visitor.

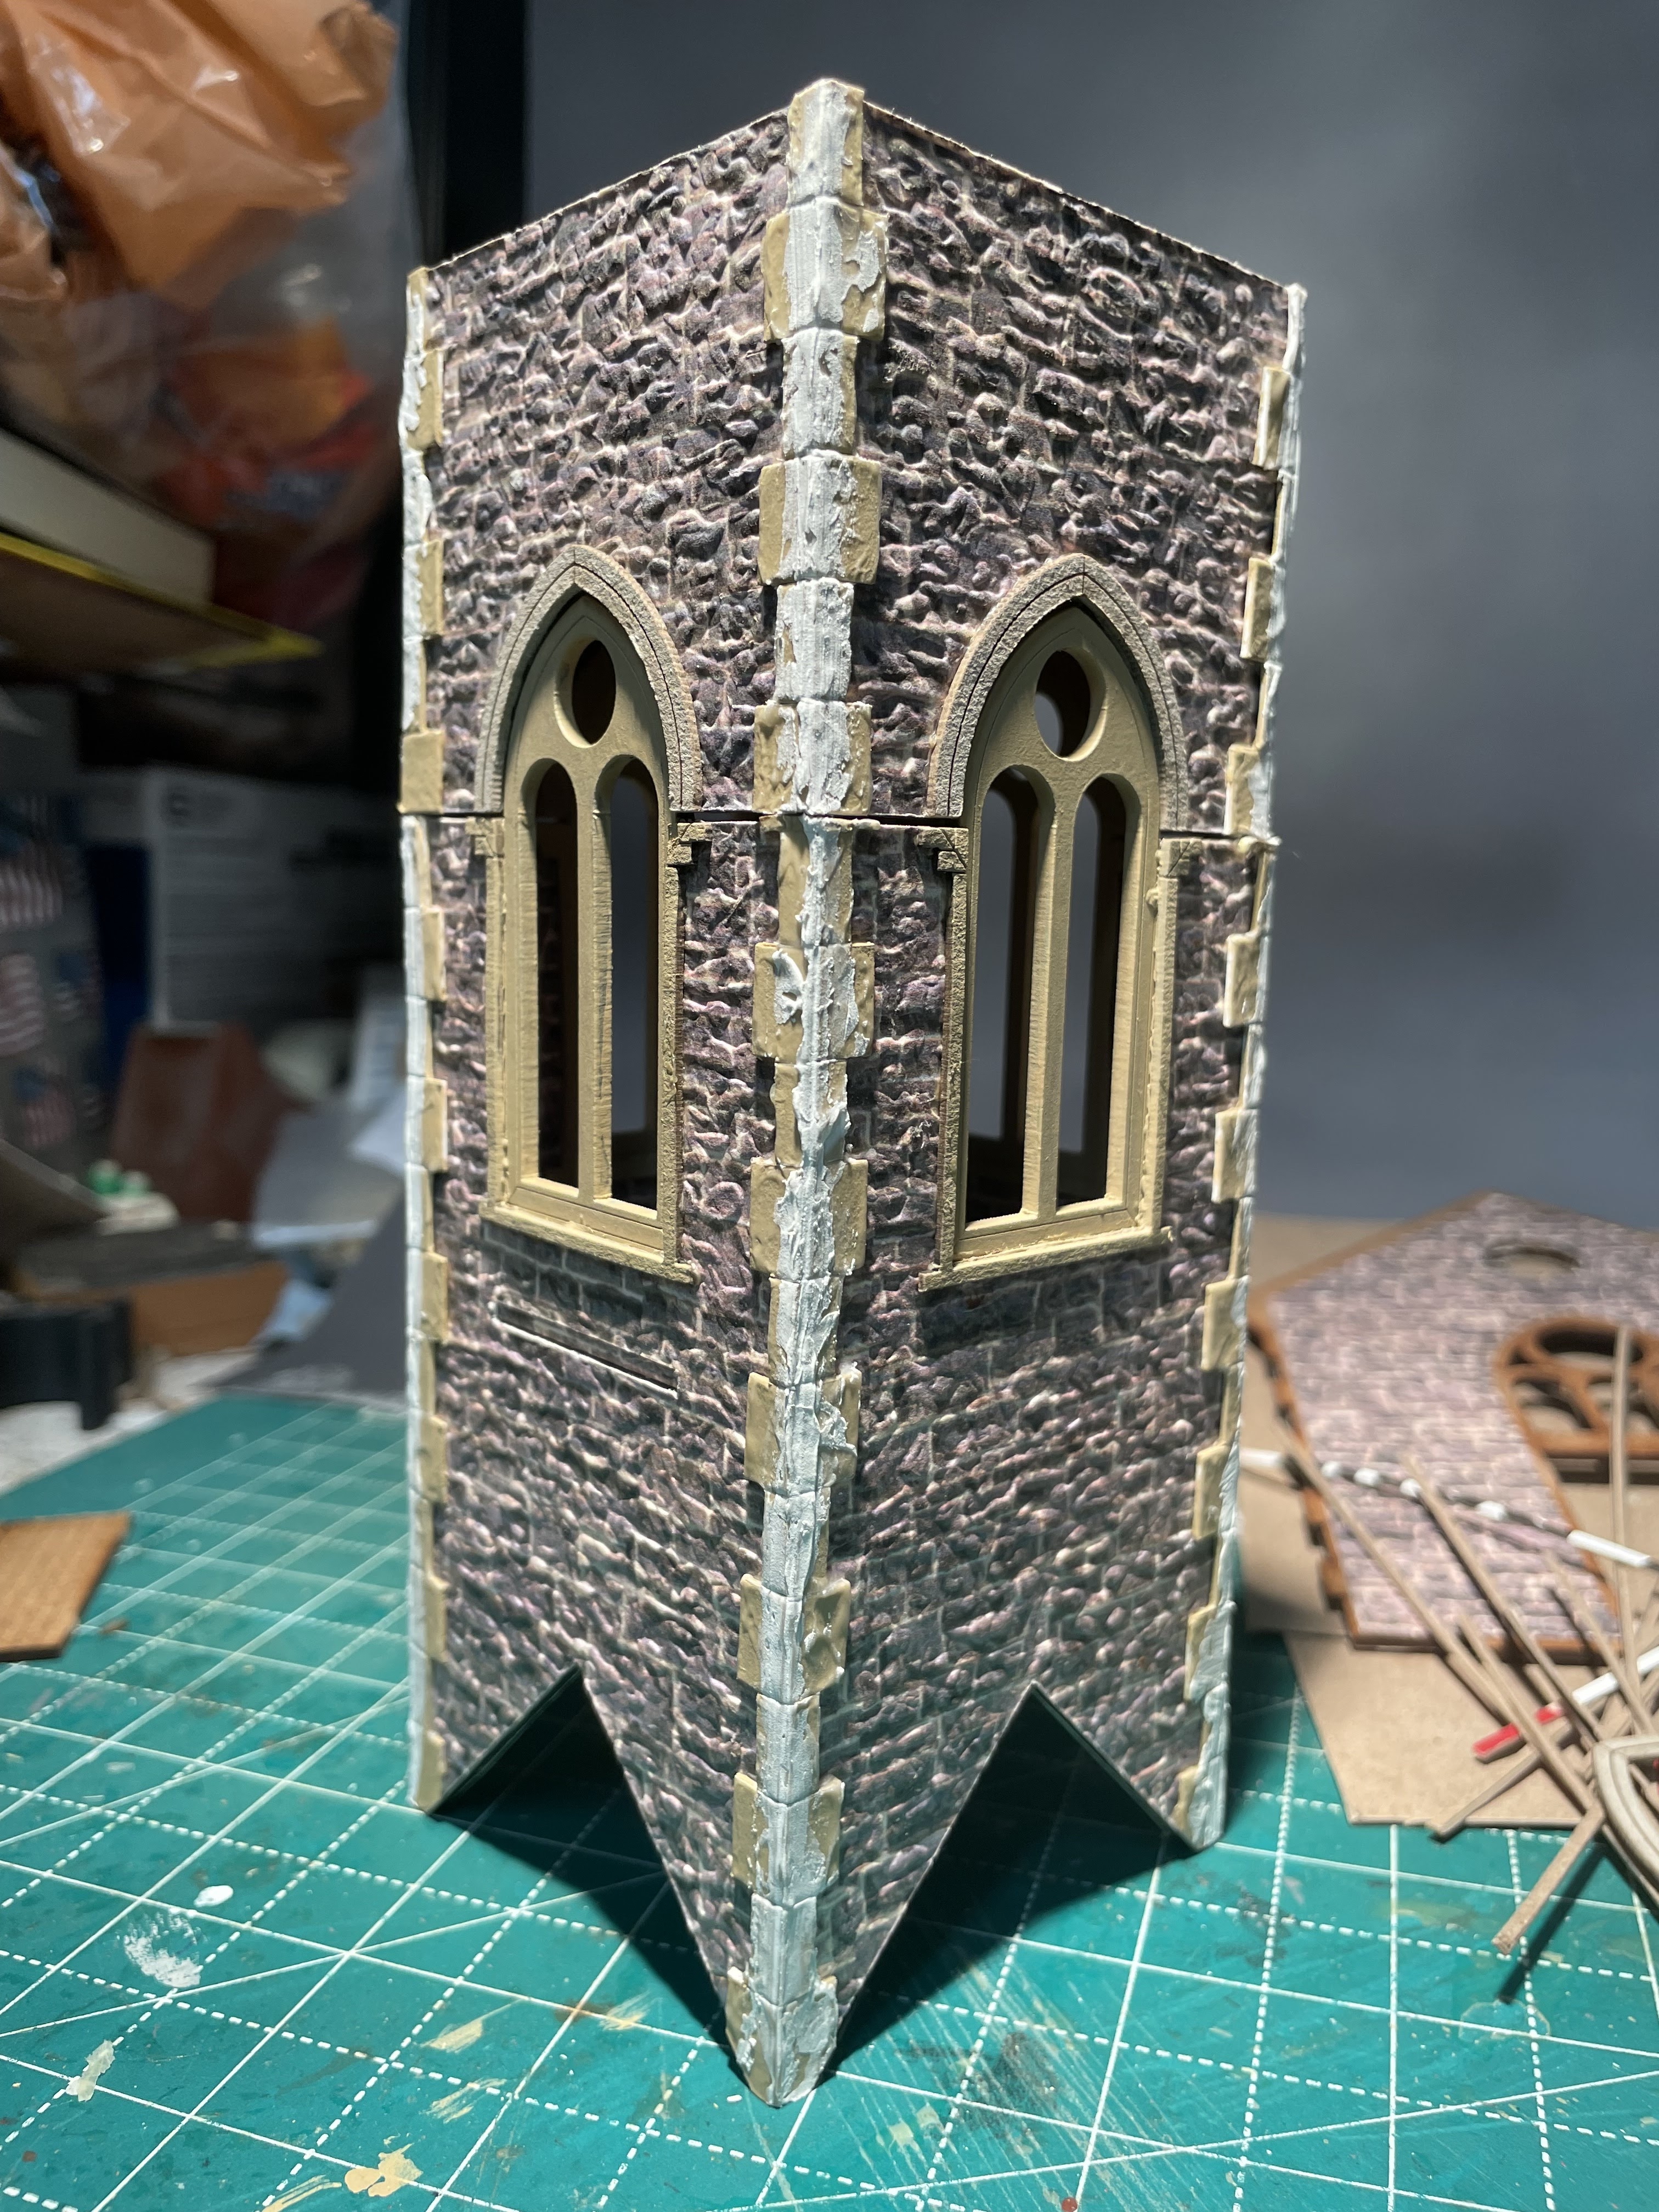
In the meantime I have set the steeple aside and moved back to the walls. First step was to make up some interior arches for the windows, like I did with the steeples, with a slightly different approach. I cut the upper arch as a single piece and the straight sides and bottom edge will be three pieces instead of a single piece like I did with the steeple. I also decided that the interior arches need a little help so I cut out some stonework to wrap around those as well.

Now here is the potential step to far. Since I'll be putting in stained glass (plastic) in the windows I was thinking about how to take a picture of the interior with light streaming through those windows. There are a couple of options.

1) Do not glue the short walls in place. This would allow me to remove a short wall for a photograph and I could remove any of the four short walls so this would be a very flexible solution The long walls are sturdy enough that I think this would work. Down side is that its likely that the short walls would just fall out of place on regular basis. They just are designed for that type of removal, plus the exterior quoins could be damaged from the handling.

2) Working door, now I find this idea intriguing. It would certainly limit the potential camera angles, but I'm probably really only going this series of photographs once anyway (which means I could do option 1 once and just glue it together when I'm done). I went ahead and cut out the door so I could play around with it and think about how  to make a set of working hinges, or just buy some hinges. I'm sure there are some out there. Again the downside to this the limited viewing angle, but I would always be able to take photos this way.

All of that means I'm thinking about some extra interior detail. This how snowball gets started.


Cutting out the small arches, the sheet of large arches and the strips are up towards the top of the picture.

Bunch of arches cut out, a few extras for mistakes.

Gluing arches in place on the short walls. Basically followed the same process on the long wall.

Working through the arches. I used the walls themselves for the initial template then used a ruler and compass to lay everything else out. I found this oddly satisfying work.

The group shot. Lots of pieces that have been scattered across my work surface all brought together for a group shot. Well most of them, some of the smaller stuff is in a plastic storage box.


Thursday, August 24, 2023

World War II Project - 28mm Village Church - Sarissa Precision - The Steeple Part 5

I was going to set the steeple aside till I was ready to add some extra roof detail that I haven't quite figured out yet. However, I was looking it over and felt like the stonework needed a bit of texture. I found some Liquitex mat gel in the cupboard and thought I would give that a try. 

It looks okay, however, it didn't really fill in the edges the way I wanted. I let it dry and went back in with Vallejo plastic putty, again something that I had near to hand, I applied that right along the edge and got a much better fill than the gel did. I think maybe some spackle would achieve the same effect.

Here is the top of the steeple, minus the roof

Here is the bottom, I like the soft texture that the gel added I just need a sharper edge.

Here we are after the putty has been added. Fills in the the edge gap and adds a bit more texture. I had to go back and add some separation lines between the stones.


Monday, August 21, 2023

Roxborough Park Wood Jigsaw Puzzle

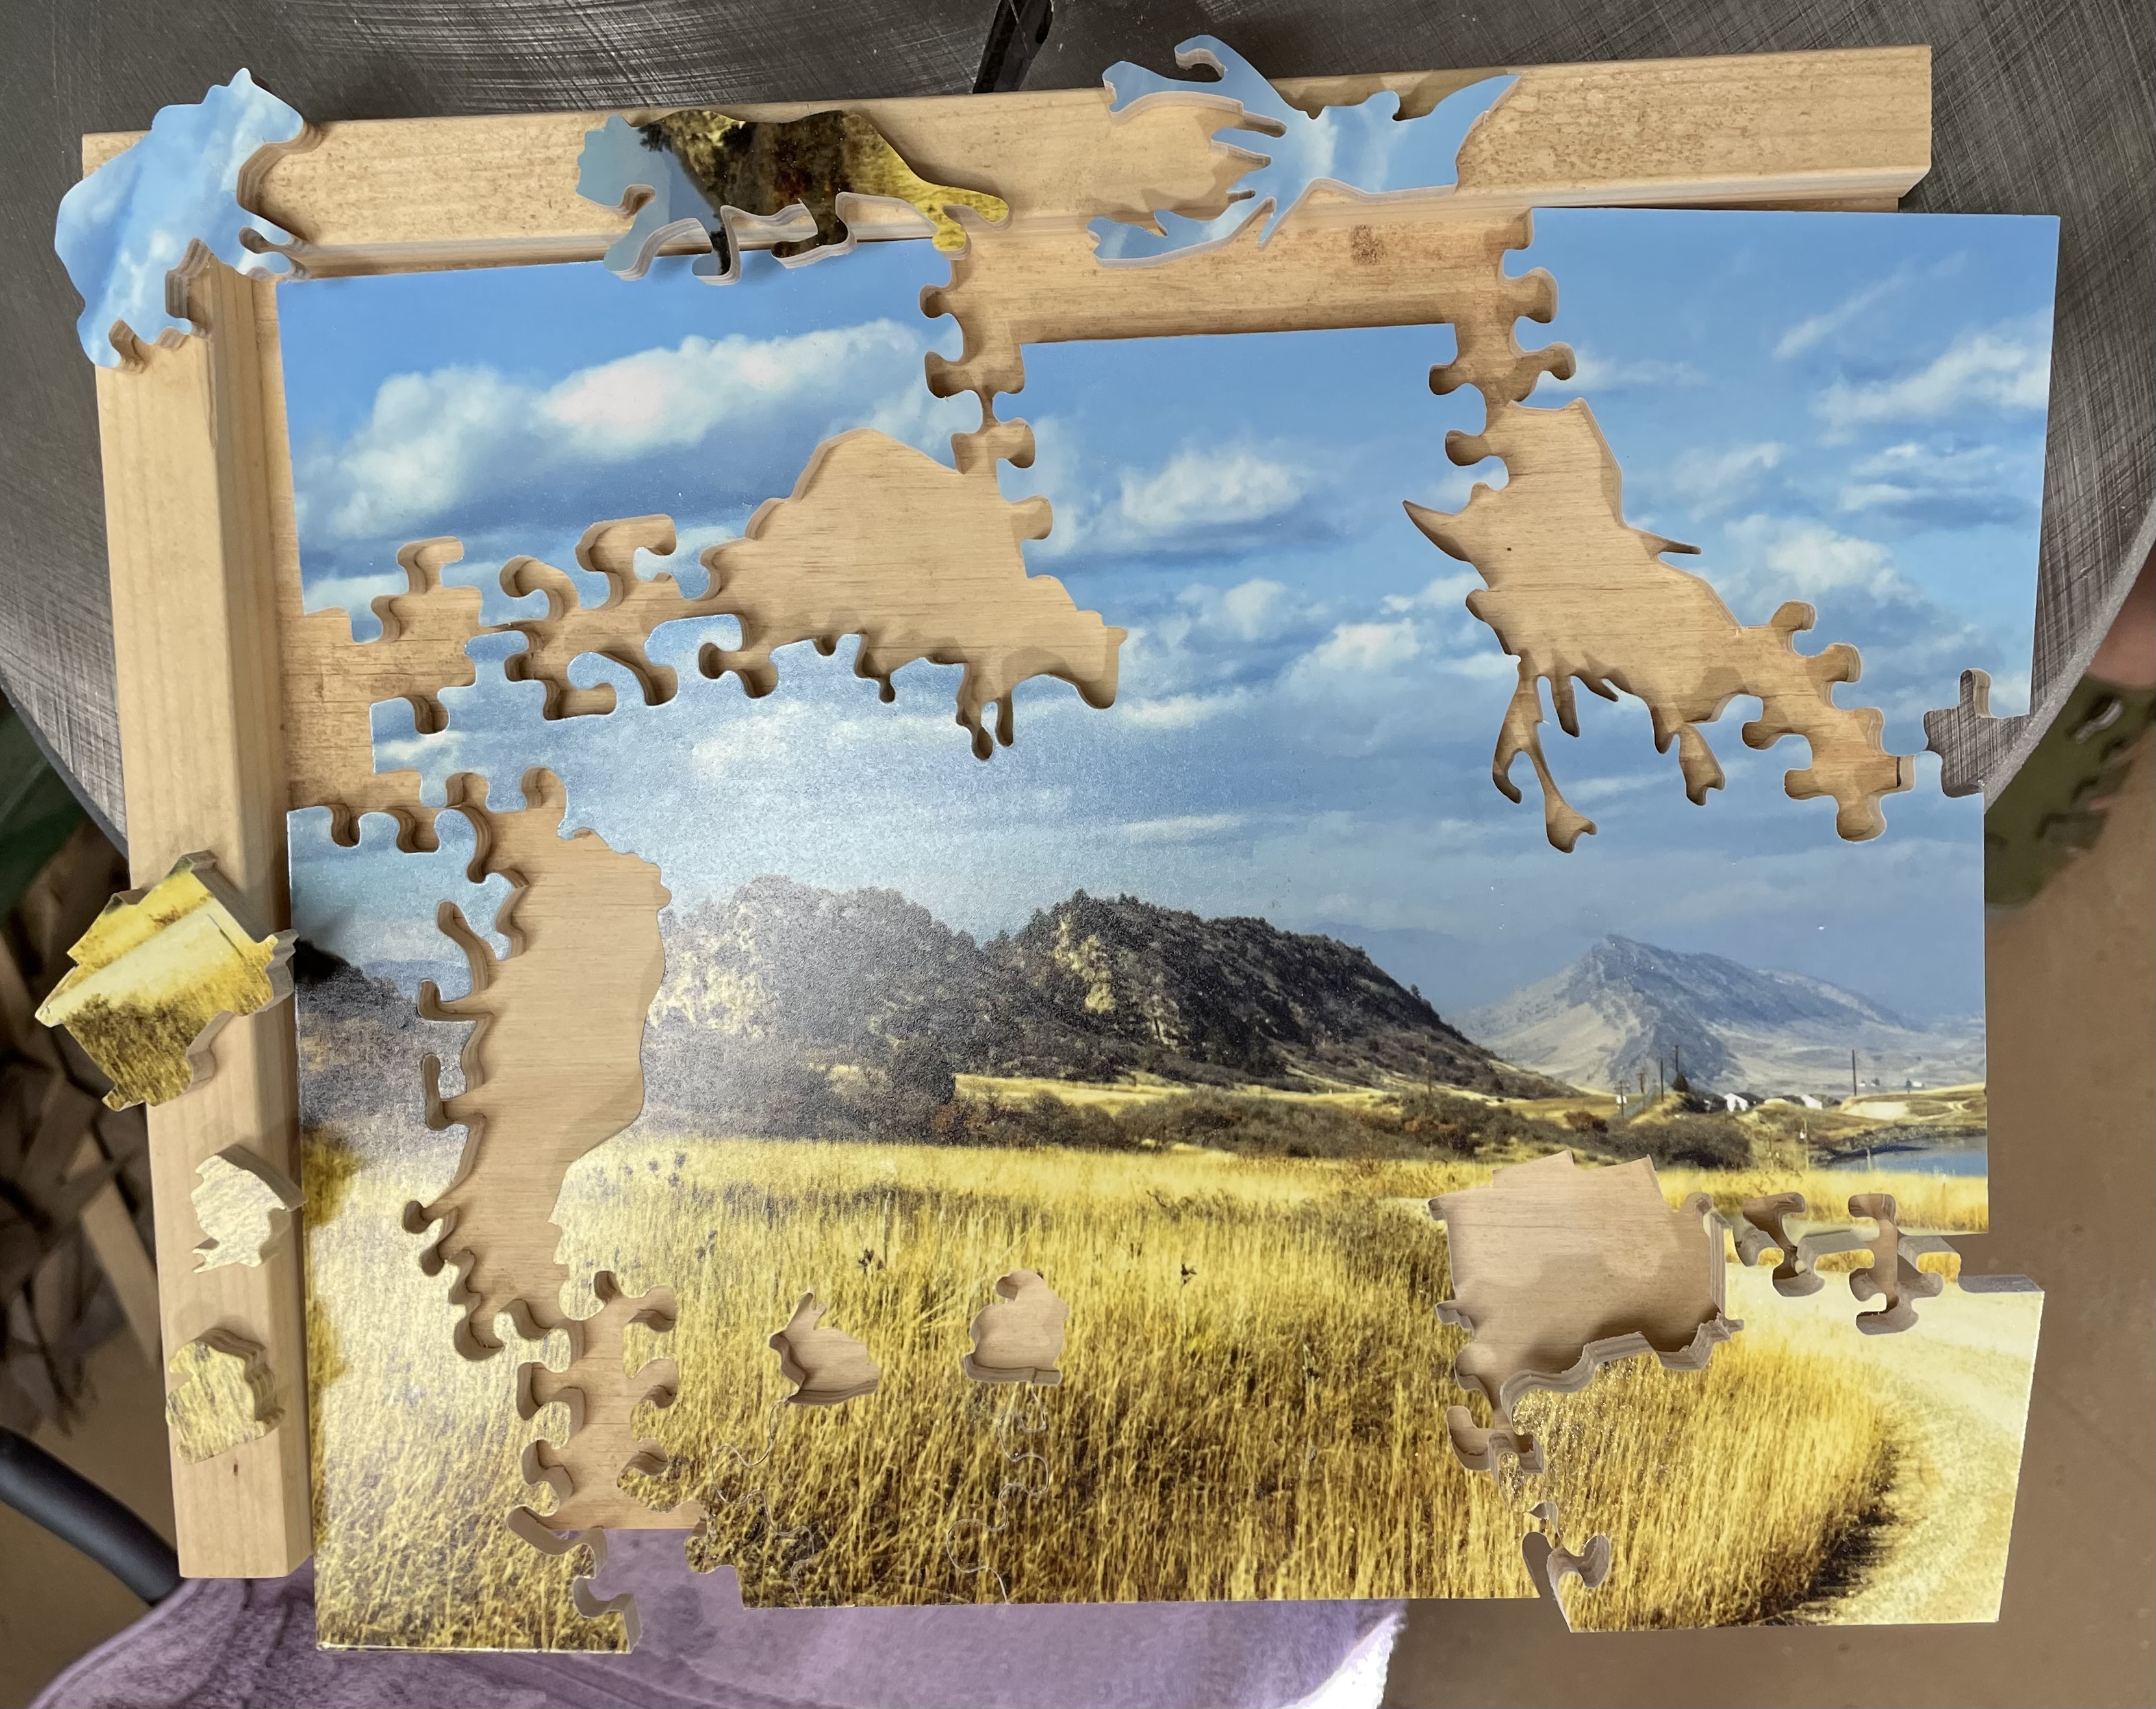
The photo I used for this puzzle is looking north up the front range from the entrance to Roxborough Park. I think I took this about 10 years ago now. It took about six hours to finish this puzzle including the prep and finish work.

The picture is dry mounted to a piece of 5 ply baltic birch plywood. First step is to locate the whimsey pieces. I use low tack tape from 3M and traced the pieces on to the tape. 

I have been cutting out the edge first and then work my way into the center. This time I decided to cut the whimsey pieces out first.

I cut up the rest of the puzzle into larger pieces to work with,

Here are the two small sky pieces cut into pieces. I do assemble the puzzle as I cut it.

The mid sky, and the other two corner sections.

One section left!

All cut out.

I then flipped it over and sanded the back so it was nice and smooth again.

After all that I attached a smaller version of the picture to the top of a wood box that I picked up from Michael's. I counted all the pieces (206), put them in a ziplock bag and dropped it in the box, which I forgot to take a picture of...oops. One present down,


Friday, August 18, 2023

Christmas Puzzling...Again

I eventually learn my lessons and I have started working on the puzzles for Christmas. We are doing a few more puzzles than last year and at least one of them will be my first foray into a larger version, 11x14, as opposed to the 8x10 that I have been working on so far. I expect that one will end between 300-400 pieces at the end.

So these are the photos that I have mounted to this point, there are a few more coming. I also discovered that I'm going to need more 1/4" 5 ply birch plywood so I'm looking for a reasonable source for that. So once more into the breach!

Four of the photos are mine, the Spanish windmill is one of my Dad's and the car photo is a Carol Highsmith photo from the Library of Congress. She donated her entire body of work to the LOC and they are available to the public now.

I do promise to keep moving forward on the Normandy Church though!