Quotes

Life is short, break the rules. Forgive quickly, kiss slowly. Love truly, laugh uncontrollably and never regret anything that makes you smile. - Samuel Longhorne Clemens (Mark Twain)
Showing posts with label Building Calamity. Show all posts

Wednesday, March 16, 2016

Inspiration and the buildings of Calamity

This is a book on Architectural theory and the concepts are built around many of the towns made famous in western movies. Town that only exist on film and in our minds. I found it fascinating but probably wouldn't recommend it to the average model builder. But for building Calamity I find it ideal.

Calamity started from a desire to build a detailed, yet transportable, gaming table that would be a real standout game at the local conventions and maybe even farther out than that. I have always appreciated the work that goes into making some of those great display games that we see in the magazines and I really want to see if I can pull off that same level of craftsmanship. My model railroad hobby has helped me really work up plans for not only making it look good but how I can build something that can be transported and survive being transported multiple times. Model railroading has also had a heavy influence on what I want and how I’m going to present things.

I have to admit that when it comes to my western town of Calamity things have moved along a lot slower than I anticipated. Some of my planning approached upwards of 40 buildings spread across three 2’x4’ modular boards. My initial thoughts were to build as much as possible with the wide variety of western MDF kits that are on the market from companies like; Sarissa Precision, 4Ground, Battle Flag and Knuckleduster. All of them make great kits but they are also very cookie cutter in appearance. As I assembled and re-worked them I felt a growing need to make things a lot more individual in appearance. I started Calamity with the concept that the town was as important to the game as the miniatures and the personalities they would someday represent. Scratchbuilt buildings would be the Main Characters and the MDF buildings would be the supporting cast. I still think that concept holds true now, but even supporting cast members have their own costumes and personalities. I think that it become more obvious to me as I started to modify the MDF buildings to make them look at little better that I really wanted to make everything unique.
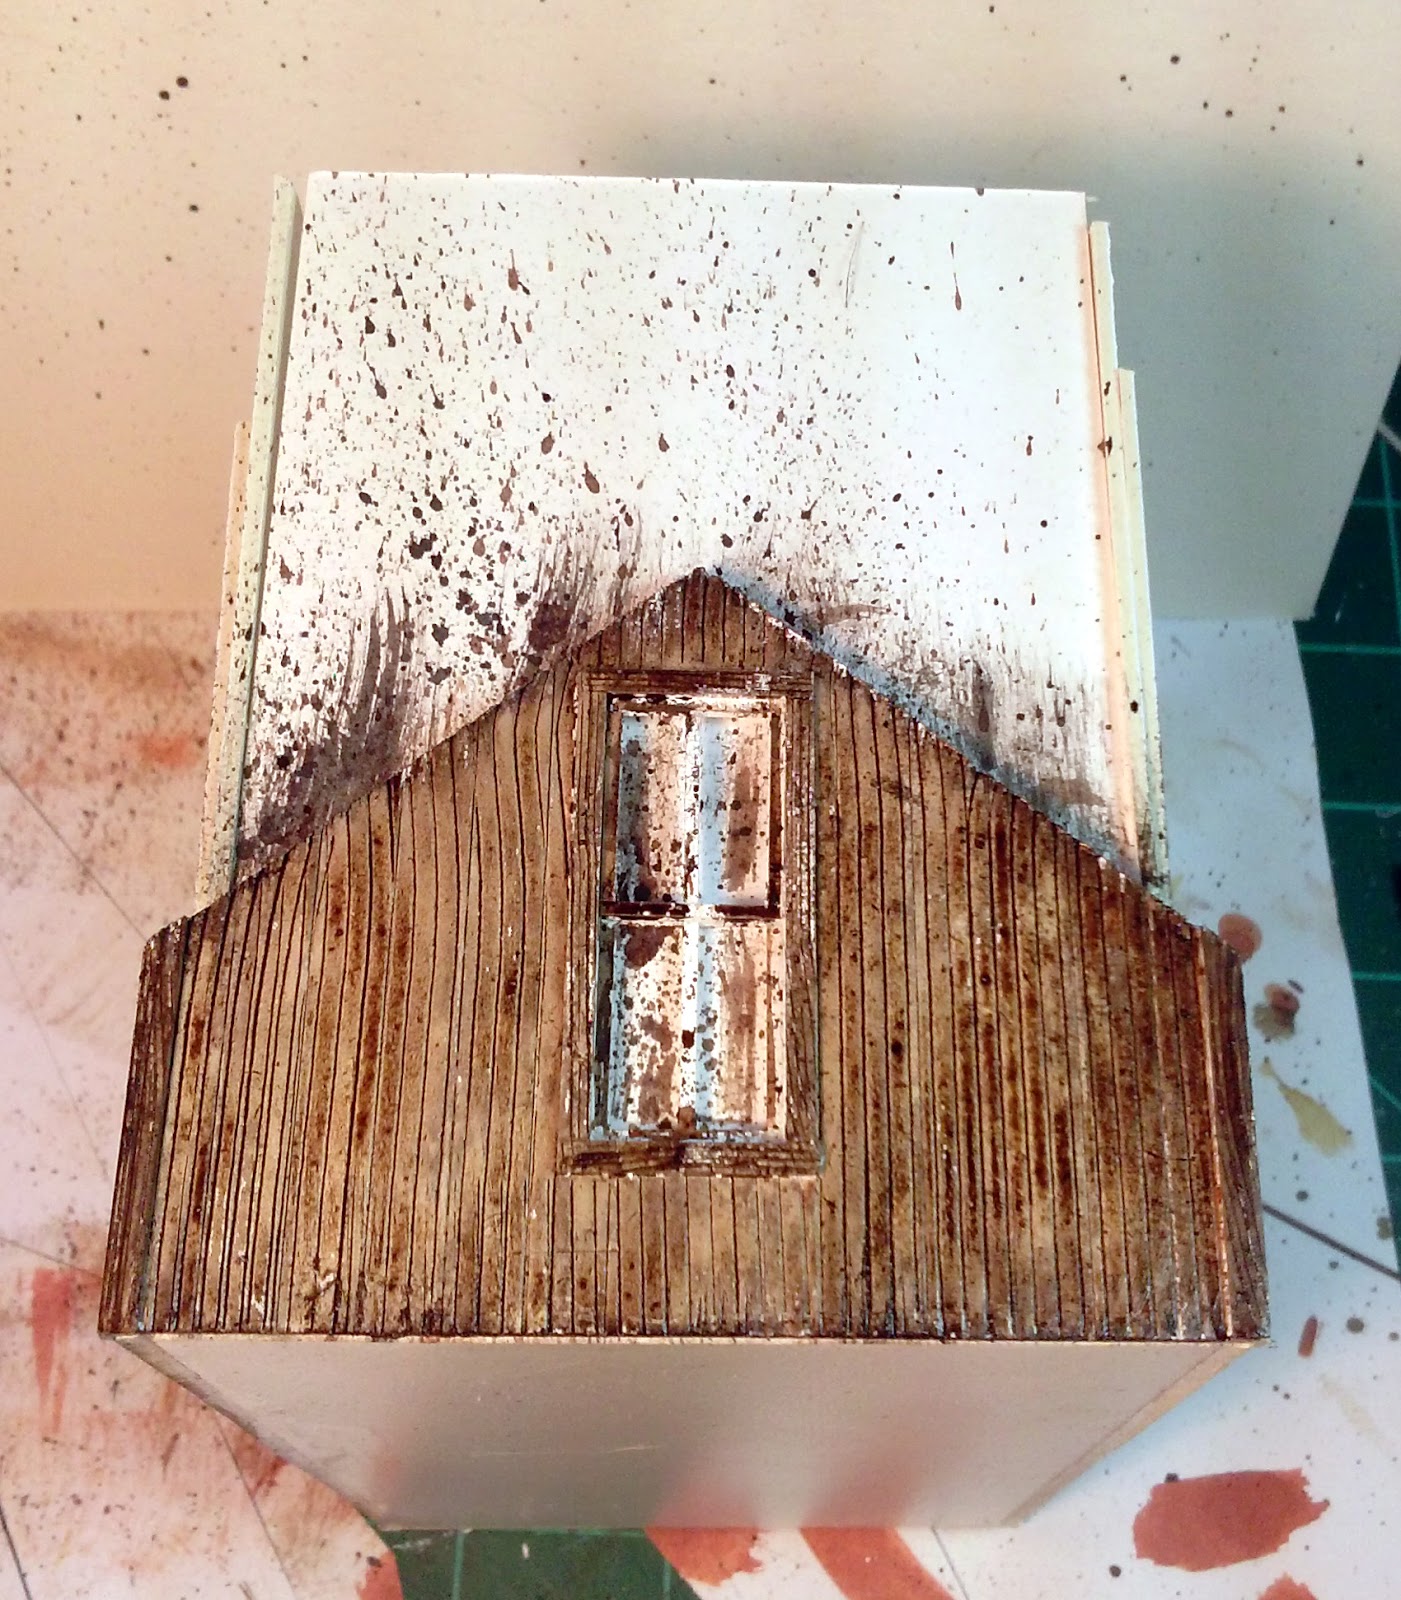
Scratch built primarily from foamed PVC sheets
MDF buildings, Battle Flag on the left, 4Ground on the right

Its a lot of work and there is the possibility that it will never really be finished too. But it’s a project that I can really pour myself into and be very proud of as it comes together. Still coming up with 40 buildings is tough! I needed inspiration and the best place to get inspiration are books and when that fails the internet can reveal even more amazing things. Model railroading provided me with a source of books and magazines that most wargamers wouldn’t even think about. Do an internet search on western ghost towns and you will find plenty of inspiration for buildings. Bodie California is a particularly good one. Another great resource are movies and the sets they were shot on. There are quite a few that are still active and many more that have been turned into parks and even more than only exist in pictures. Watch your favorite western and pay attention to the buildings and see what really grabs your interest, then stay through the credits and find out where that movie was shot. I have a links to some of the better ones here in the side panel of the blog.
From Carsten Publishing. It was easy to find even a year ago, but I'm not sure if anyone has picked up the line for publication since Carsten shut down. This one is not quite as useful as there are a number of more modern buildings in it than our roughly 1860-1890 time period.

My favorite reference by Joseph Crea. This one is a 2nd edition or 2nd printing and its long since out of print. I was able to locate a couple of 1st editions online over that past weekend though.

A compilation over that past year involving On30 trains and buildings. This is my preferred scale for our western trains.

And my favorite RR magazine, this is the one that features the line drawings for the buildings of Bodie CA.
Something else to keep in mind is that there were cookie cutter buildings out there. You could order whole house right of the Sears and Roebucks catalog and have it delivered to your building site. There were cabin’s for miners and shotgun shacks (so called because you could shot through the whole building with a shotgun). Mining towns in Colorado like Silver Plume, Leadville, and Silverton still have shotgun shacks still standing. Many buildings though were built on site with local materials. Don’t forget stone and brick buildings either, competitions between towns to become county seats or what not were not uncommon at all and stone and brick buildings were the currency used in the competition.

I think I have found some of my best inspiration though from model railroad kits. They are typically the wrong scale but I have scale rulers and I’m perfectly happy to do the conversion work on the measurements. As an example the two houses I build were based on a Grandt Line plastic kit. The Hardware store is based on a kit from Wild West Scale Models. There are a couple of resin kits from Main Street Heritage Models that I’m likely to take a run at as well. For some of these the measurements right off the website work quite nicely. The advantage of basing things off model railroad kits is that they are already compressed. That means that the designer has already shorten and/or narrowed the building to fit into a smaller space and look right. Prototype buildings even for western towns can be quite large at times, larger than we really want to deal with. For example Bodie California has been featured in a long running series of articles in one of my favorite magazines, “The Narrow Gauge & Shortline Gazette”. His measurements are for the full sized building and in some cases those buildings are just going to be massive even when scaled down to 1/56th scale. Selective compression of the building keeps the “look” we want while making it fit into the space we have. Something that we often inadvertently do in miniature gaming as the “ground scale” doesn’t always match the scale or size of our minis (yes, I still refuse to say the 28mm or 32mm is a scale. It’s a measurement not a scale, 1/56th is a scale).
From Main Street Heritage, this one is the next one I tackle.

From Wild West Scale Model Builders, this one should look quite familiar


From Grandt Line's Gold Rush line, again these should look quite familiar too.


So the buildings of Calamity will come from a variety of sources; model railroad kits, plans in books, plans in magazines and even my own imagination. Really all you need to do is sit down and look and some pictures or google some images till you find something you like and then just dive in. Everything will get easier after that!

Thursday, February 4, 2016

Building Calamity 29 - The "Hardware" Store - Getting to the Roof On

Like I have mentioned before, I really like how the building is coming along. The weathered wood is not as "silver" as I wanted but that's always a matter of experimentation anyway. Rather than dive into the painting though I thought it was time to finally get to that scary roof.

I started just cutting out the two basic roof panels out of 1mm foamed PVC sheet stock. I then cut out the sections where the half dormer style windows sit. I also cut the sides of the dormers, and managed to get a pretty good match to the angle of the roof.

The really difficult portion is mating the dormer roof to the regular roof. I have always had trouble figuring out how to cut that angle. It is definitely slowing things down at this point. You can check out my current process below.


The two roof panels cut out

Roof sections marked for the dormer cutouts

Oops, had to modify the interior a bit to add some bracing to support the roof on the false front side. Had to trim away some wallpaper to provide a surface that would accept the plastic weld glue.

Braces in place

Test fitting the roof panels

Figuring out the correct angles for the dormer sides

Cutting out what will become my cutting template

Dormer sides

Gluing the dormer sides in place

Test fitting the roofs again, looks pretty good.

And the other side. The next big challenge is figuring out how to  making the sloping dormer roof which also lays tight against the slope of the main roof, tricky.

Sunday, January 31, 2016

Building Calamity 28 - The "Hardware" Store - Painting, the weathering layer

Like most of my other structures for Calamity, the first layer I paint is the weathered wood layer. I typically paint the entire exterior like this since I'm not always sure where I want to show peeling paint. I started out with the splatter ink technique but as I worked my way around the building I found that it was just as easy to "paint" the ink on instead of splattering and the pushing the ink into place.

Once this stage was complete I let it dry and then applied a coat of matte varnish. Instead of it Vallejo Model Color Matt Varnish through the airbrush this time I opted to spray it with Testors Dullcote from a rattle can. That should protect the weathered paint layer better than the acrylic matte varnish I have been using. I'll let all that dry and hopefully move forward to finish the painting.


I used some scrap mattboard to help protect the finished interior work


On the upper floor I started with the splatter method. Definitely messy


On the ground floor I applied ink randomly and then streaked it down with the brush, moving with the grain of the boards. Here Burnt Umber and Carbon Black have been applied.

Followed that up with Raw Sienna

Straight Burnt Umber

Carbon Black and Raw Sienna


A fuzzy picture of the front

And from the back.

Thursday, January 28, 2016

Building Calamity 27 - The "Hardware" Store - First Floor Assembly

I didn't post anything for a few days and I lost six followers! Seems like that mystical 200 follower barrier will remain intact a while longer.

I was able to finally find some time to get back to work on the Hardware store and I'm quite pleased with the results so far. The first floor went together without to much trouble. I have to make sure that I trim wainscotting and baseboards correctly so that the walls come together at the corners better. The interior wall that runs across the width of the interior is actually a little long and bowed the sides out a bit. I considered trying to fix it and then decided that, really, it just adds character.

I added the corner trim to help hide the seams. I need to prep those a bit and then I'm ready to do some exterior painting. But first I think I need to bow to the inevitable and start work on the roof itself. The dormers certainly add character to the building but they definitely add a level of complexity that I have kind of shied away from. I also need to build the stairs up to the second floor so I need to think about that for a bit. I want to paint the building before I add the stairs so its a bit lower on the priority list. The stairway side and the back will be left "unpainted" so they will get the silver wood treatment. The front and the window side will be "painted" and will get a bit of the peeling paint treatment. I'm not going to overboard with this affect though, I don't want the building to look to old.

Here is the result of the evening's work:

The small pictures are ones I accidentally deleted and recovered. Here I'm gluing a long sidewall  to the floor. I'm using my magnetic jig for this one.

Adding in the bagwall

The other long side in place plus a look at the front

the interior as from the front

And the back

the three components. This was shot was taken after the ones below and they have the corner trim

I took these shots before the corner trim was added. The top and bottom lined up pretty good. Not perfect which actually confuses me a bit. All I can figure is that the two floors aren't quite the same size/

A shot from the other side. Some how I managed to completely forget to photograph the front. 
The little shack that will go on the back.

The exterior door for the second floor is finished but I haven't glued it in place yet. I'll wait till the exterior is painted to do that.


Wednesday, January 20, 2016

Building Calamity 26 - The "Hardware" Store - Doors and Floors

I'm pushing a little bit on this build right now since I can see the light at the end of the tunnel. It might be a pinprick but its there. I'm at the point where I can start actually assembling things which is pretty exciting because I think its taken a month to get to this point. But that also means that I needed to at least build the interior doors. Building doors became the evening's project. I had one false start, I started on one door and realized that I really didn't know what the door should really look like and the framing pieces were just to narrow. I did a little searching on the internet and found something that I liked and went with that.

Doors are time consuming and of course had to be built specifically for each opening so I have to get better at making sure all the door openings are the same size. After that I went ahead and assembled the top floor and after that had dried I inserted the interior wall complete with its painted green door (Reaper HD Dragon Green, love it. It hasn't been released yet it showed up in one of my Reaper orders that I made during their paint promotion). So far I think its looking really good, but that roof line is starting to scare me!


First I finished applying the wallpaper to the ground floor front door. Of course I have managed to get paint where it doesn't belong.

Assembling the top floor, you wouldn't think that five pieces of plastic would be that difficult to get together.

Looking pretty good

A bit of a color shift from this angle

The door blank for the top floor interior wall. This is cut from a piece of 1mm thick foamed PVC to serve as a base for the framing.

A the outside framing on the door in place

That's a finished door. Not exactly straight but close enough/

Unpainted doors in their respective walls

Now with a little paint applied. I really like this green

Interior wall in place


A "Ground" level look from the front

And from the back. The roof line is starting to look a little daunting. Oh and I have to build those stairs too or no one is going to be able to get up there.