Quotes

Life is short, break the rules. Forgive quickly, kiss slowly. Love truly, laugh uncontrollably and never regret anything that makes you smile. - Samuel Longhorne Clemens (Mark Twain)
Showing posts with label Team Yankee. Show all posts

Thursday, February 9, 2017

Team Yankee - Filters and Washes

First thing I had to do was redo my efforts on the APC interior green and repaint the interior of the hatches in NATO Green. Once that was done I applied the filter. I went, again with the tan filter as it seems to be the best compromise on almost any type of 3 tone camouflage. I followed that up with a dark wash wiping most of the wash off the high points. I'm not sure the results are all that visible at this scale, but I'm trying to develop the process. I should have applied a gloss coat after the filter had dried and before I applied the wash. The wash would have behaved better and I wouldn't have damaged any of the existing paintwork.

The lights at my desk are driving me crazy, I really need to do something to be able to take better pictures and actually see what I'm working on.

Tan filter added. This helps blend the camo work together a bit.


Dark wash applied and wiped off the high surfaces.


Monday, February 6, 2017

Team Yankee - A little paint work

Another project moving slowly forward are the American AFVs from Team Yankee. One thing I learned is that I'll be going back and repainting the interior of the exposed hatches as they should be in the main body camo, so a bit more work to come on the M113s and the M106s.

Tonight I quickly painted the stowage on the M1s so that everything would be ready for the coming steps. Like the German armor these vehicles are going to get a filter and wash treatment before I apply a few decals and move on to the weathering steps.


Friday, January 27, 2017

Team Yankee - Bringing back the green

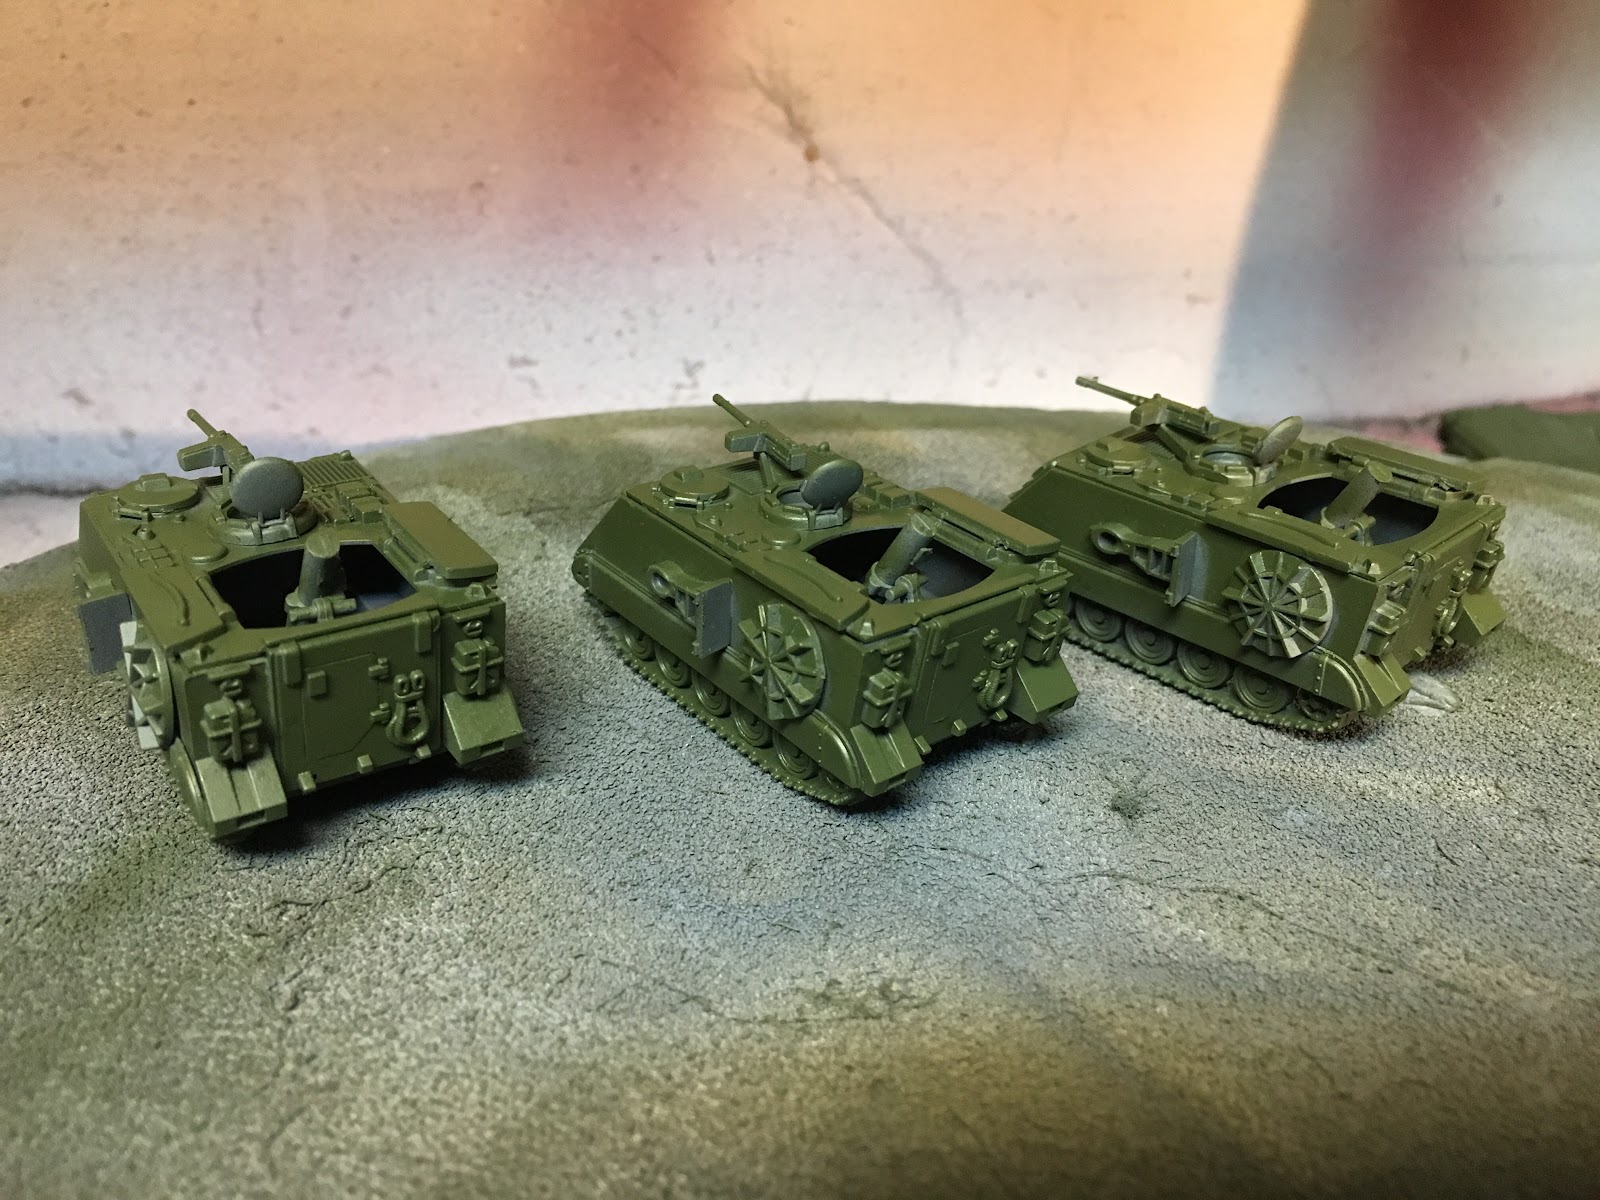
I started with a base of NATO green on all of the modern vehicles. As I added the Matte Black and the NATO brown, the green started to get a bit lost with the overspray. In this next session I went back in and went over the green again. I originally considered going in with a slightly lighter green but in the end went with it straight from the bottle. I also added Olive Drab (the modern version) to the tent at the back of the M577 and added some APC Interior green to some of the exposed interior side of open hatches as well as to the actual interior of the M106. I'm still really liking the AMMO paints at this point.

A look at the progress so far:

The paints for the evenings work.


Taped up so I could spray the APC interior green. I'm not quite sure how these should actually be painted now that I have done it. The NATO Green was probably more correct for the hatch interior. It did lighten up the interior though and you can actually see a little bit of the detail inside.


Like I said, this green is very bright. I'll have to check and see if this actually correct or not. It might get repainted.


Here is the M577 taped up so I could spray the back with "modern" olive drab


You can see the NATO green a lot better at this point too.


The Khurasan M113s. The green looks better and now there is that bright spot on the exposed hatch.


The five M1s are looking good. A little detail painting of the stowage and they will be ready for decals .


Wednesday, January 25, 2017

Team Yankee - Adding some black and brown

With the green in place it was time to attempt the rest of the Nato three color camo to the accumulation of armored vehicles for Team Yankee. I'm still working with the AMMO paints and after I applied the initial NATO Green I'm quite likely them. For the next step I used A.MIG0046 Matt Black and A.MIG0085 NATO Brown.

Since I wanted to do finer work I turned down the pressure on the airbrush to about 8-9 PSI, this would allow me to have the airbrush pretty close to the model and, hopefully, not have to much overspray. The paints performed quite well at this pressure although I did add a drop of my Vallejo Airbrush thinner for this. For the brown the drop was to much and I had to add a little more brown to get a nice line.

In theory, they use templates so that the pattern is the same on every vehicle and there is a different template for each vehicle type. I couldn't fine one specific to the M106 so I just used the one for the M113. I also was not interested in masking off all of these vehicles. So my pattern is roughly similar to the actual pattern with a little modification because of the airbrush. My vehicles came out roughly similar to each other, so I'm happy with that. I feel that I lost way to much of the green on the M113s and M106s, so a I'm going to go back in with the green and re-establish it, maybe with a slightly lighter shade so it stands out more.


You can see here that I really lost way to much of the green and its actually hard to see the brown against the green, although maybe that's actually the point of the camo. I'll still go in and see if I can accentuate the green a bit more.


All of these pictures are just to dark to really get a good look at them. I'll try and remember to take some better pictures before I move on to the weathering phase.


Sunday, January 22, 2017

Team Yankee - An Evening of Green

After priming it was time to airbrush on the base coat of paint. I'm going to do all of these in the NATO 3 color camouflage pattern. That means the base coat will be NATO green. I wanted to the try the paints from Mig Jimenez's Ammo company. 

NATO Green is AMIG0084, these are supposed to be usable right from the bottle either through an airbrush or with a paint brush. I held my breath and poured it directly into the airbrush cup without any thinner added. Visually it looked good, perhaps a little thicker than I would use. I set my compressor to about 8 or 9 PSI and started working.

Paint flowed through the airbrush (a Badger Renegade) without any problem. I'm quite impressed with the paint at this stage. Still to come will be swathes of NATO Brown and Black. I'll do that on another night. Then some detail painting on the stowage, decals and on to the fun part, weathering!


M1 Turrets

M1 Hulls and the M577

M106s ready for more camo


M577, that stretched canvas back will be done in the modern equivalent of Olive Drab


M1s in their full green glory. I could have opted to go with the transitional color of Forest Green and that would have been equally acceptable for the 1987 time frame.