Quotes

Life is short, break the rules. Forgive quickly, kiss slowly. Love truly, laugh uncontrollably and never regret anything that makes you smile. - Samuel Longhorne Clemens (Mark Twain)
Showing posts with label AMMO. Show all posts

Thursday, February 13, 2020

Acquisition - Two Books from Ammo

Its hard for me to resist painting books, so when I put in a paint order to Ammo by Mig I grabbed a couple more for the collection and which I hoped would be useful guides.

I think I managed to hit 1 out of 2.


The book I was most excited about was the Solution Book; How to Paint WWII German Late. Its, in theory, a step by step guide to painting and weathering WWII late war German armor. What I was hoping for were complete step by steps, what you get is a tiny paragraph, a number of pictures and some symbols showing colors used and sort of how to apply them. Useful place to start for beginners but not enough information to suit by tastes. I would have preferred more explanation with the pictures. You would be much better served buying the Weathering Magazine, in particular the one that talks about filters, oils and washes.


The second book I had some reservations on but now I'm quite happy to have picked it up. It is, again, a step by step guide but it features a variety of different "objects"; diorama terrain, trains, planes, armor and figures. Seeing how to actually blend with the oils over different surfaces and with different techniques is very helpful. If you were to buy one of these two, I would definitely order this one. Since I like it I just need to hide it from the dog so it doesn't get eaten, like my Lance Mindheim book.


Friday, June 7, 2019

World War II Project - New Paints

I'm trying to move forward with the German Troops and a couple of vehicles. I wanted to try some new techniques so I decided to use a little birthday money and order some paints from Ammo. They actually arrived quite quickly (via DHL from Spain) and I had the pleasure of opening the box today. On the other hand the book is so new it still smells of the printing process and has managed to give me slight headache.

Right now all of this dovetails into the Sledgehammer project as the troops for that will have a uniform based on the German Field Grey and I need to be moving on to that batch fairly quickly at this point.


I'm not quite sure I have the clearance to actually open this box.

The knife slipped, really, right through every piece of tape.

More or less to fill out missing colors 

I'm curious to try out Ammo's version of Field Grey. You can't really go wrong there are so many variations.

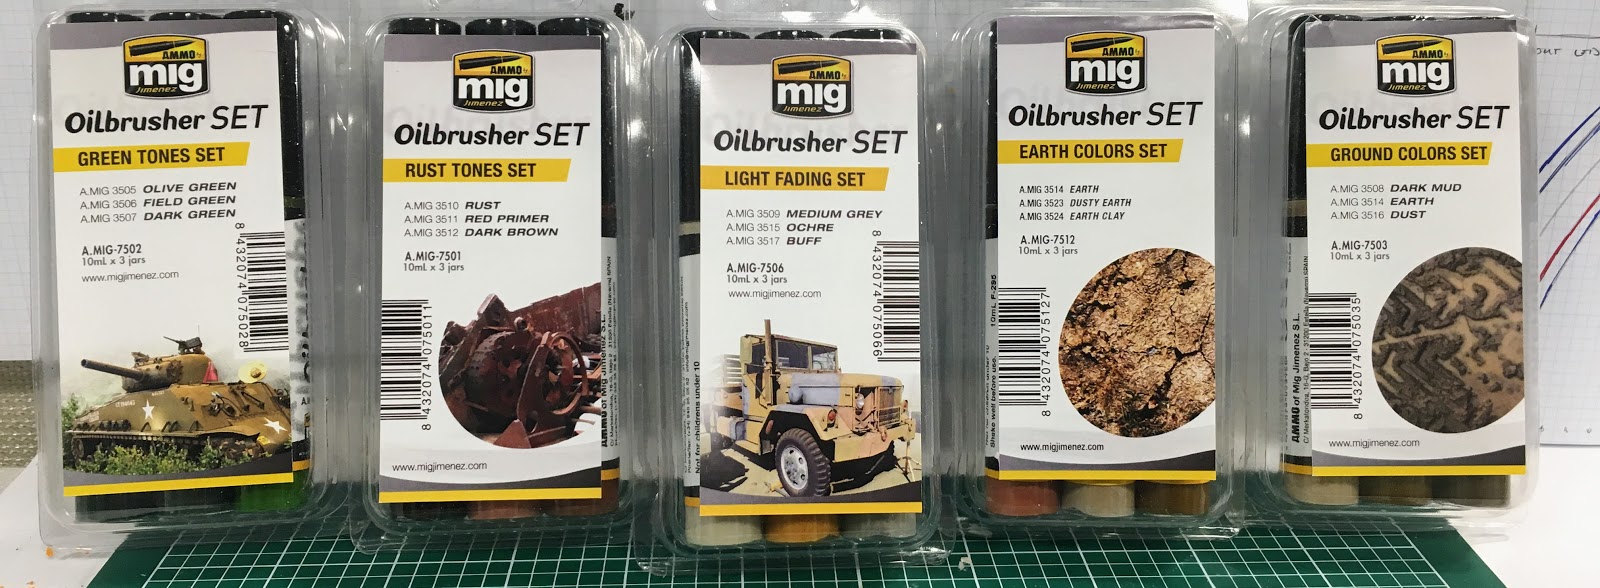
These are intriguing as I'm trying more techniques involving oil and enamel paints. These look like they will make some of those techniques a lot easier. Its basically a small container with a brush. I have seen Jame Wappel use these on a couple of projects and he likes them. He also found a way to make them himself using nail polish bottles.

And a book, because I'm always interested to see if there is something I have missed. This book is not bad, it really needs a bit more explanation than it has and there are a number of  steps it completely skips, like how the decals were chipped (as an example). Its not a bad introductory book though and you can buy it as part of a set that literally includes all the materials that they use in the book, short of the model itself.

Monday, January 30, 2017

Madbob's Miniatures - Getting on with the Camo

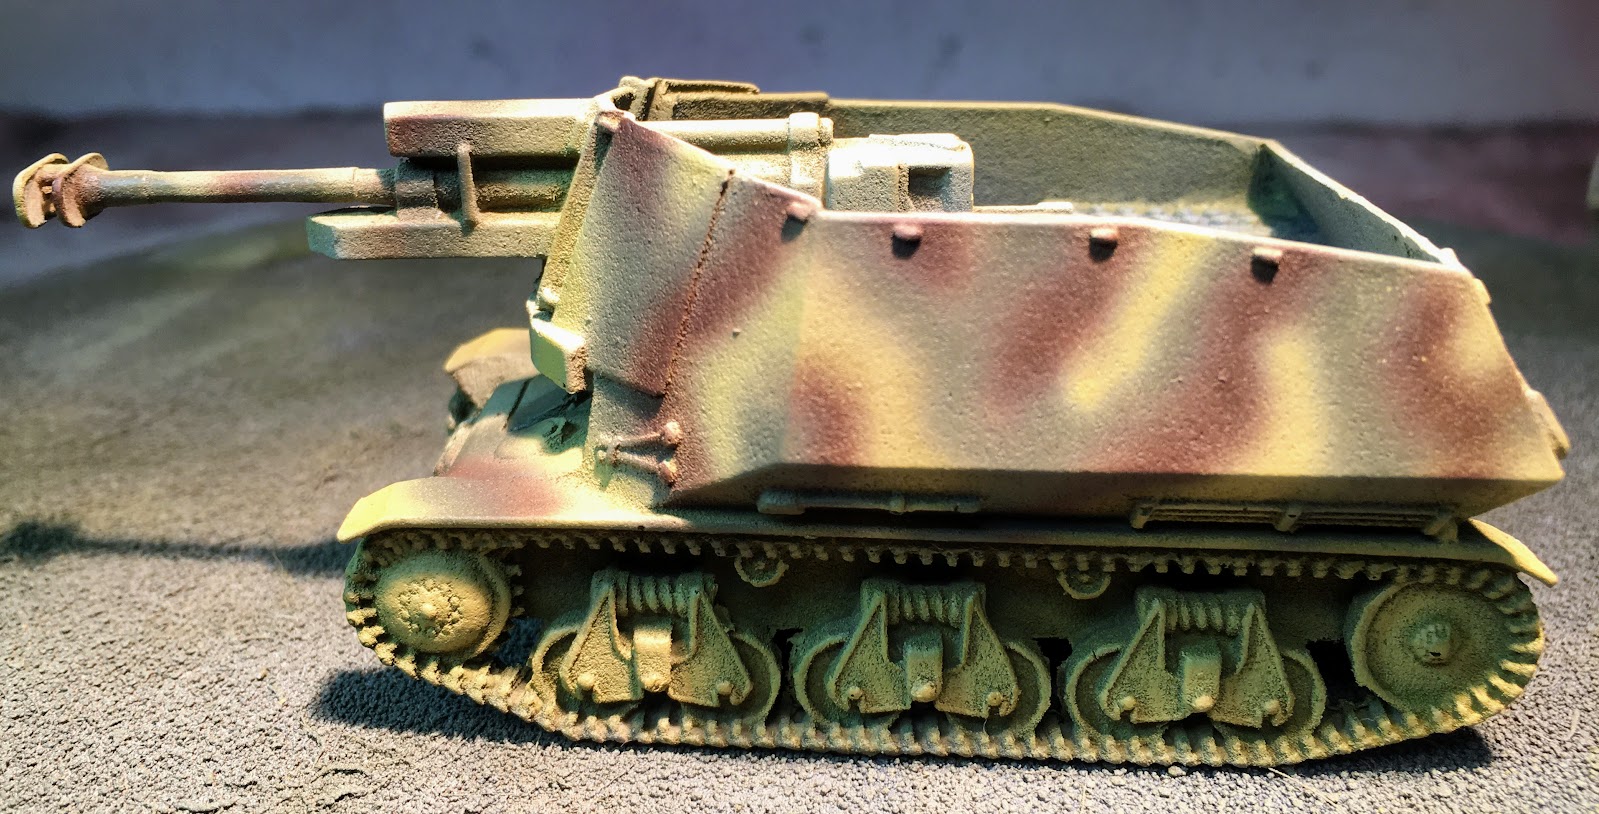
Its been a few days (well almost a week) since I have been able to work on the WWII German vehicles so I pulled out the airbrush and some paints and went to work on the camo pattern. I had done a little bit of research on these, but there aren't a lot of references for these vehicles out there. Some of the B&W photos I did find showed the vine like pattern which seemed to be pretty common in Normandy so I went with that. What I wasn't sure if it was a two tone or a three tone pattern. I opted to go with the three tone pattern just because its more fun. I'm going to call the pattern done at this point and get ready to bring out the paint brushes and add the decals. Weathering will follow after that but I'm going to keep it a little on the lighter side, you just don't see the mud here the way you do on Eastern front vehicles for the most part.

Here's a look at the progress so far.


The paints for the evenings work, I'm becoming a fan of these for airbrush work. Jury is out on how well they will work with a brush. The AK airbrush paints worked great in my airbrush too but were pretty useless when you tried to apply them with a brush.


Started with the green


Added the brown, my control was a bit lacking this evening, my skills are definitely rusty.


I came back in with the green, since I had lost so much of it with some of the wide swatches of brown that I had managed to lay down.


Of course then I had started to lose some of the dunkelgelb base so I went back in with that to clean things up a bit.


In the end I'm pretty happy with the results. I don't think my attempts a bit of modulation were to effective but I think there is definitely a learning curve with that. My dark areas went to light in the end and they should have been much darker to have the desired effect. I'm definitely ready to move forward with the brushwork now.

One of the things that has become more obvious as I have worked on these vehicles is that I should have done a second coat of my Milliput wash. The roughness of the surface is still pretty apparent in some areas.


Friday, January 27, 2017

Team Yankee - Bringing back the green

I started with a base of NATO green on all of the modern vehicles. As I added the Matte Black and the NATO brown, the green started to get a bit lost with the overspray. In this next session I went back in and went over the green again. I originally considered going in with a slightly lighter green but in the end went with it straight from the bottle. I also added Olive Drab (the modern version) to the tent at the back of the M577 and added some APC Interior green to some of the exposed interior side of open hatches as well as to the actual interior of the M106. I'm still really liking the AMMO paints at this point.

A look at the progress so far:

The paints for the evenings work.


Taped up so I could spray the APC interior green. I'm not quite sure how these should actually be painted now that I have done it. The NATO Green was probably more correct for the hatch interior. It did lighten up the interior though and you can actually see a little bit of the detail inside.


Like I said, this green is very bright. I'll have to check and see if this actually correct or not. It might get repainted.


Here is the M577 taped up so I could spray the back with "modern" olive drab


You can see the NATO green a lot better at this point too.


The Khurasan M113s. The green looks better and now there is that bright spot on the exposed hatch.


The five M1s are looking good. A little detail painting of the stowage and they will be ready for decals .