Quotes

Life is short, break the rules. Forgive quickly, kiss slowly. Love truly, laugh uncontrollably and never regret anything that makes you smile. - Samuel Longhorne Clemens (Mark Twain)

Monday, October 12, 2020

World War II Project - Jagdpanther by Rubicon - Progress continues

Found some more time to work on the Jagdpanthers but not the STuGs, still struggling with the debris shield (I just need to go to the hobby shop and gaze at the Evergreen and Pastruct racks for a while). I also forgot to mention I have one more reference book, the Panzer Tracts book (Panzer Tracts No. 9-3) and from a technical perspective is most thorough work, it does make for some rather dry reading though. Panzer Tracts books seem to go in and out of print so if you can't get your hands on this one then the Kagero Photosniper book is a reasonable replacement for it.

The  build is basically complete at this point. Note that while I have the tracks in place right now they are not glued on and I'll remove them for painting. I have one more to build and I'll use the G2 hull for the last one.


Making sure that the lower hull is firmly attached to the upper hull


Initial filling of the attachment spots that I don't need on the sides


Stuff that needs to be relocated to the back deck or in the case of the D-Rings (C12 & C13) moved from Step 1 to Step 3

Based on the photo I looked at, after I glued these on, The axe should be located where I put the sledgehammer. The Sledgehammer should be mounted perpendicular to the back edge, rather than parallel like I did, and between the engine hatch and the fan on the right side. 

The  bolt cutters can me mounted here or on the top of the rear deck.


Friday, October 9, 2020

World War II Project - Jagdpanther by Rubicon - In progress

I have stalled out, again, on the STuG builds. I want to add the debris shield over the gun mantlet but my first few attempts were poor at best. That, of course, delays getting them painted...again. In the meantime I decided to take on the Rubicon Models' Jagdpanther.

The first one is just about completed. I was able to replace some of the posts and hooks on the side to better match what you might see on a vehicle from the 654th Schwere Panzerjäger Abteilung. I have also found some better thread to represent the tow cables so I need to return replace the ones I made originally, fortunately that won't hold up the painting itself. I have left the tracks unassembled at this point. It consists three major pieces; the tracks with the outer road wheels, the middle road wheels and the inner road wheels. I really can't even think about assembling these until after everything has been painted. That, of course, means that you would have to wait to add the side skirts till after painting as well. Fortunately I have no intention of adding the skirts, the maintenance unit of the 654th typically removed the skirts, along with all the other changes, before they were released to a combat platoon.

With the first one, basically, complete and ready for paint I started building the second model. This one will also use G1 hull and the single piece cannon. I didn't get very far last night but I was able to complete the lower hull and start modifying the upper hull. Modifying the upper hull basically requires scrapping off some of the cast on details like the shovel and the axe that are located near the front on either side. Again not a lot of progress but its a start and the Rubicon kits are relatively quick builds after you have finished the first one. I think the one criticism I have on this kit that the G1 really should have a coating of zimmerit on it, the G2 hull is kind of a 50/50 proposition but the G1 definitely should.

Filling the gaps in the hull. These are where tools and other things would have been located on a factory fresh Jagdpanther G1 hull. The 654th removed all these things are relocated them to the rear deck, rear plate and rear of the superstructure. If I was really clever I would figure out a way to leave the marks where the brackets were located. Something to think about for a future build.


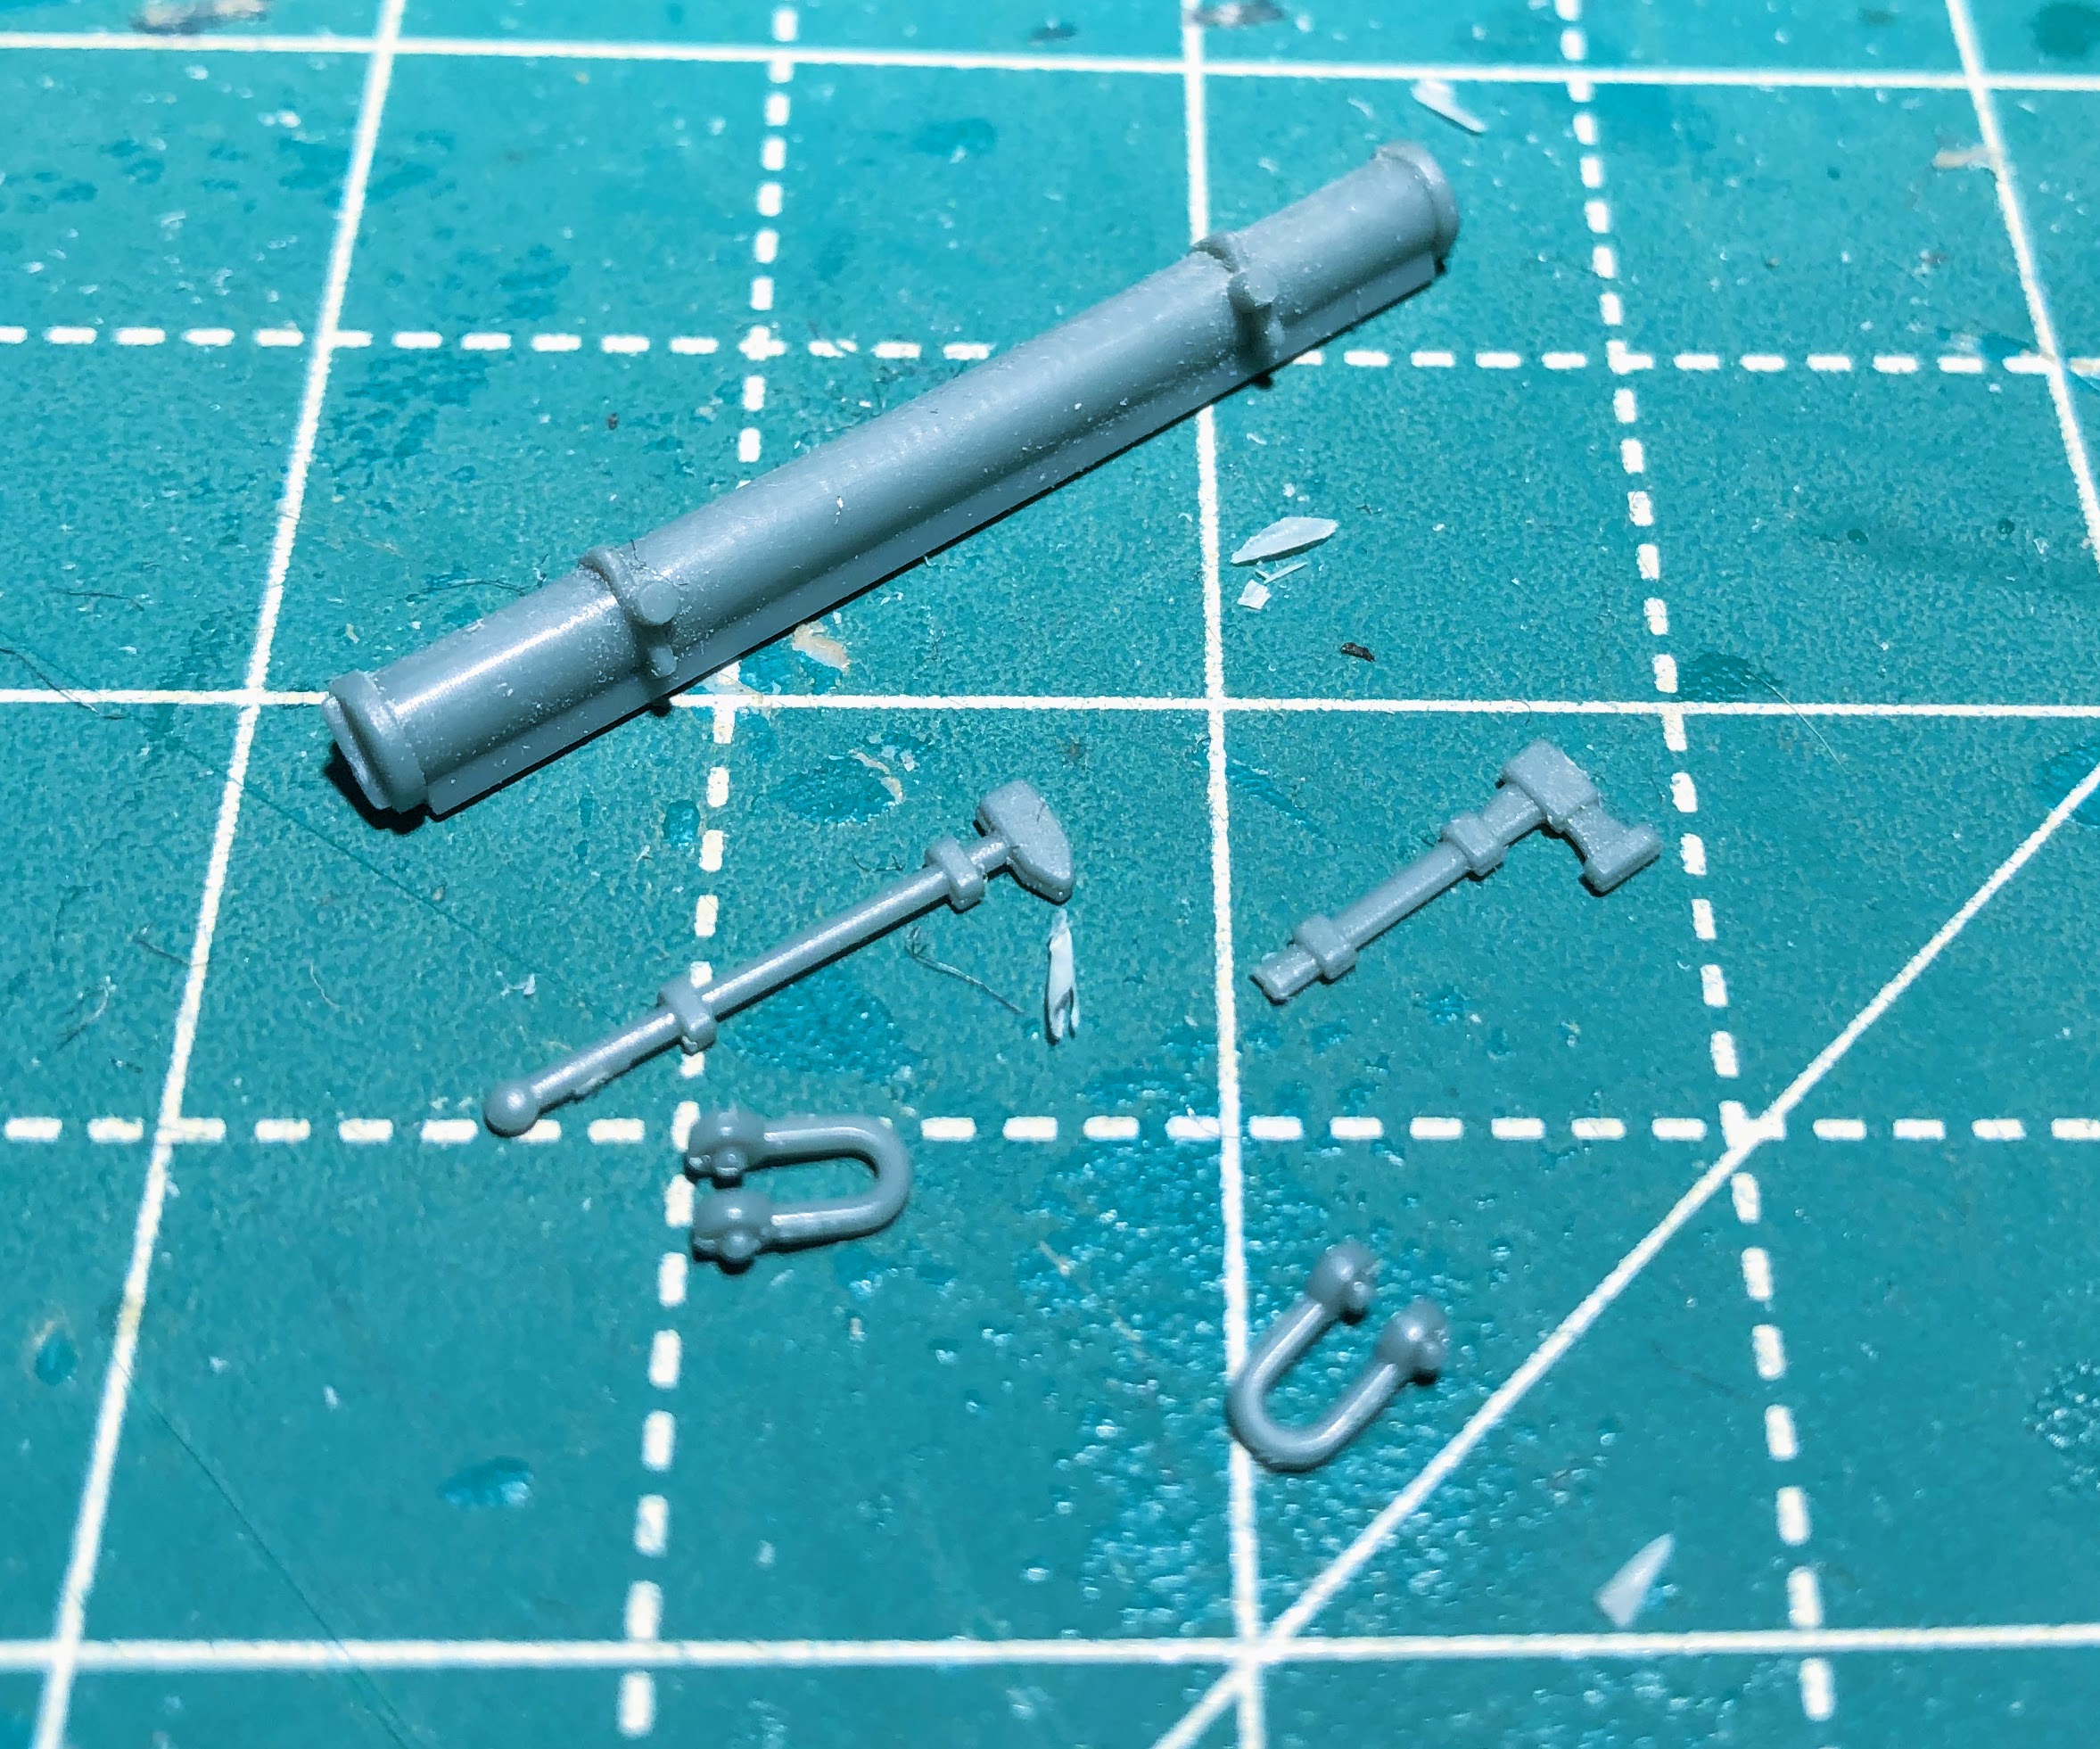
Here I have added the round post to the front edge and the three "L" brackets to the side.


Here is the second Jagdpanther under construction. Lower hull is complete and tools have been removed from the side. On the lower hull which is Step 1 in the instructions there are two D-Rings (for lack of a better term) Parts C12 and C13 that attach to the lower glacias. DO NOT assembly these in step 1 has indicated. They are in the way and will either pop off or you will have to remove them when you assembly the lower and upper hulls together (either in Step 3E for the G1 hull or 4F for the G2 hull). This happened to me during the first build and fortunately I remembered this on the second build. I didn't add these D-Rings until after I had assembled the upper and lower hulls.

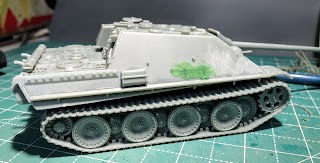
The other side. In the background you can see the STuG that I'm using to test fit the debris shield to.

I have more Jagdpanther references than I realized including the Tank Craft book for the Jagdpanther which I had totally forgotten about it. The primary, and definitive, reference is "The Combat History of Schwere Panzerjager Abteilung 654" which is also an excellent reference for the Ferdinands/Elephants that the unit initially deployed with on the Eastern Front at the battle of Kursk. Another good reference is the Photosniper book on the Jagdpanther from Kagero and the last one is the Military Miniatures book on Jagdpanzers which is okay, but its not focused specifically on Jagdpanthers (especially considering there the Jagdtiger is featured on the cover!).


Tank Craft book by Oliver

Schwere Panzerjager Abteilung 654 by Munch (This one may be out of print, it is the companion volume to Schwere Panzerjager Abteilung 653)

Photosniper series from Kagero. This one has some great walkaround pictures of a Jagdpanther in a museum as well as a ton of line drawings.

Military Miniatures publication on Jagdpanzers


Thursday, October 8, 2020

Pz III Library Addition - Panzer III from Tank Craft

I have acquired another book to add to the Pz III library. This particular volume is a new one from Tank Craft. I discovered the Tank Craft books about six months ago (or there abouts) and I thoroughly enjoy this series. This one is titled Panzer III, German Army Light Tank Operation Barbarossa, 1941 by Dennis Oliver. I must admit to being a bit confused about the title as I have never heard the Pz III referred to as a light tank before. Mr Oliver does a very nice job on the subject in 64 pages.

As stated the book covers, primarily, the Barbarossa period with a little background to go with it. For the most part it shows ausf Fs through ausf Js (with the short 50). Detail on the campaign and the units involved are included. There is a section of color plates which are nicely done, although mostly in grey! Following that are some model builds followed by manufacturers of both kits and aftermarket parts. He concentrates on 1/48th and 1/35th scale kits with a brief mention of a company out of Scotland called Milicast that I need to check out. Unfortunately Rubicon Models is not mentioned although it is mentioned in one of the other books from Tank Craft (either the Sherman or STuG III book, not sure which one).

There is a very short section on the different models from A to the early J as well as the different uparmoring programs. Its very short and is much better covered some of my other books (especially the ones from Panzer Tracts). However, it is loaded with pictures and color plates and is really written for the modeler rather than the researcher. This is probably the first book I would pull out for reference for eastern front Pz IIIs for this campaign for paintwork and decaling and I would supplement it with the Panzer Tracts books for building models.

Its a high quality paperback that does a very good job introducing the 1940-1941 Pz IIIs. I would certainly recommend it for those with casual interest as a good starting place.

Thursday, October 1, 2020

World War II Project - StuG III Skirt Modifications II - Rubicon

Moving forward on the STuG III skirts. The original vision for the skirts was to get that loose, out of alignment look. Easy to achieve with Rubicon kit just cut the panels apart and you are good to go. This creates a couple of issues:

1) Painting, I discovered this during the priming stage and then got stubborn about it. If you cut them apart before you paint them then you need to tape them down to something or they will blow all over the place if you are using and airbrush or rattle can.

2) Once you cut them apart it basically becomes impossible to figure out which ones were part of the same skirt. Why is this an issue? Its an issue because unless you can match up the pieces you cut apart they don't fit together as well and you will need to do some filing to get nice fits, even if the plan is for the loose look.

All of that is easily solved, just need some double sided tape and popsicle sticks. Painting the back will be a paint but that to can be overcome, especially since the back side will only be painted in the base dunkelgelb color. On the positive side of cutting the panels up first, it was much easier to bend the tops of the first three panels than if it had been one solid piece.

The skirts are just about ready to get back into the spray booth.

Panels bent, the second set went much faster.

Squadron Green to fill the joint. I split a couple almost all the way through so some Squadron Green was needed on the front in a couple of places.

Filing and cleaning up the obnoxious Squadron Green putty.

I had already mounted the first set on popsicle sticks, there is that hindsight issue again. You can see that I did manage to completely snap off the top of one panel. I'll still paint that one as a single unit and I just won't mount that panel.

Filing and cleaning... again would have been easier to do before I taped them down. I didn't pull them up since I would have needed to put new tape down and two-sided tape is kind of expensive.

Panels ready for painting. They will be much easier to paint mounted to the popsicle sticks.