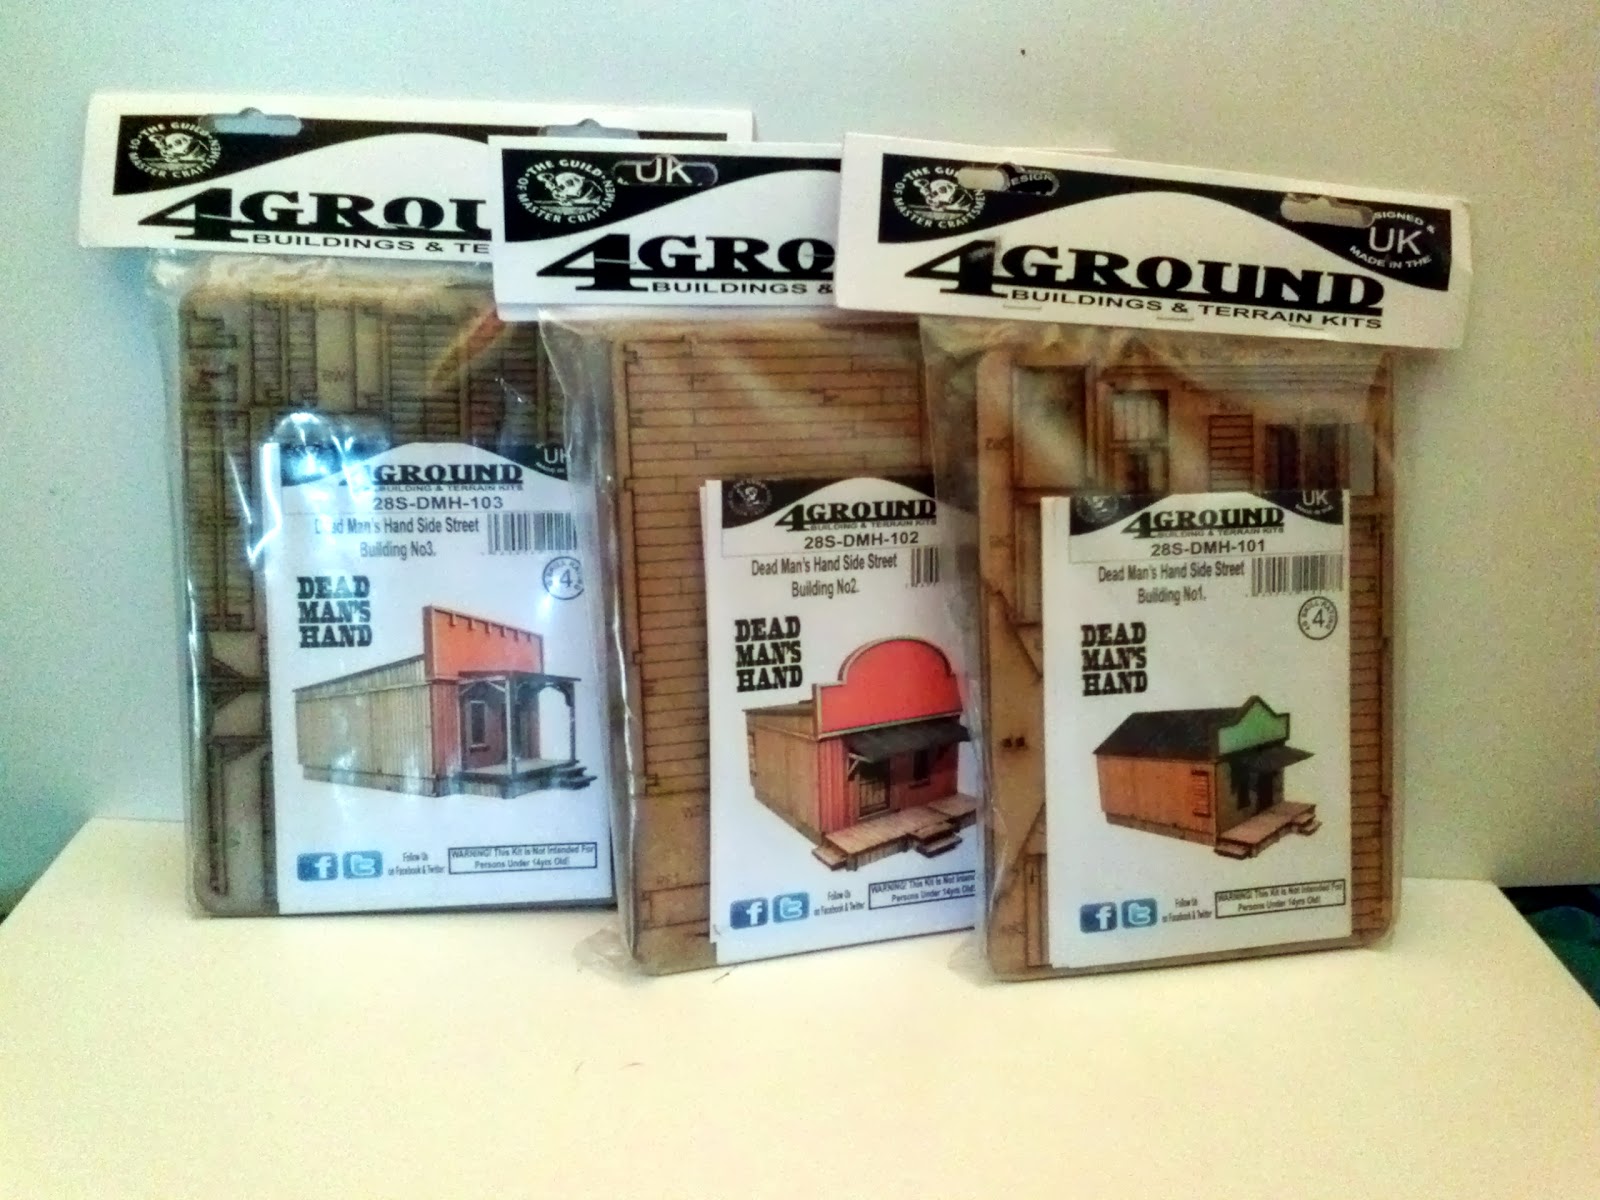
I finally freed up enough funds to get some of the 4Ground Western buildings. These are produced by 4Ground for Great Escape Games for their Dead Man's Hand western rules. Currently there are eight buildings available; 3 Main Street Buildings, 3 Side Street Buildings, a Marshall's office and a Sheriff's office. The Main Street buildings are 2 stories tall with external stairs. The Side Street buildings are 1 story. The Marshall's office is one story with a brick jail in the front of the building. The Sheriff's office is two stories with a brick jail on the side of the building. Since I was finally able to get my hands on these I was going to update my western building comparison but that will have to wait as Tri City Laser (from Knuckleduster) has re-designed their buildings and I would like to build a couple of those before I update the comparison. Right now the comparison is going into considerably more detail than before and is an ongoing project which I thought was nearing completion.
I purchased the first six buildings that were produced. I skipped the Marshall's office and Sheriff's office at this time. Although they are neat structures I would prefer something that has the jail in the back of the building which is more common in Hollywood westerns (not sure about real life). I decided to start with one of the side street buildings as my first build. I randomly pulled out Side Street Building #2 and got down to business.
 |
| Packed full of wooden goodness |
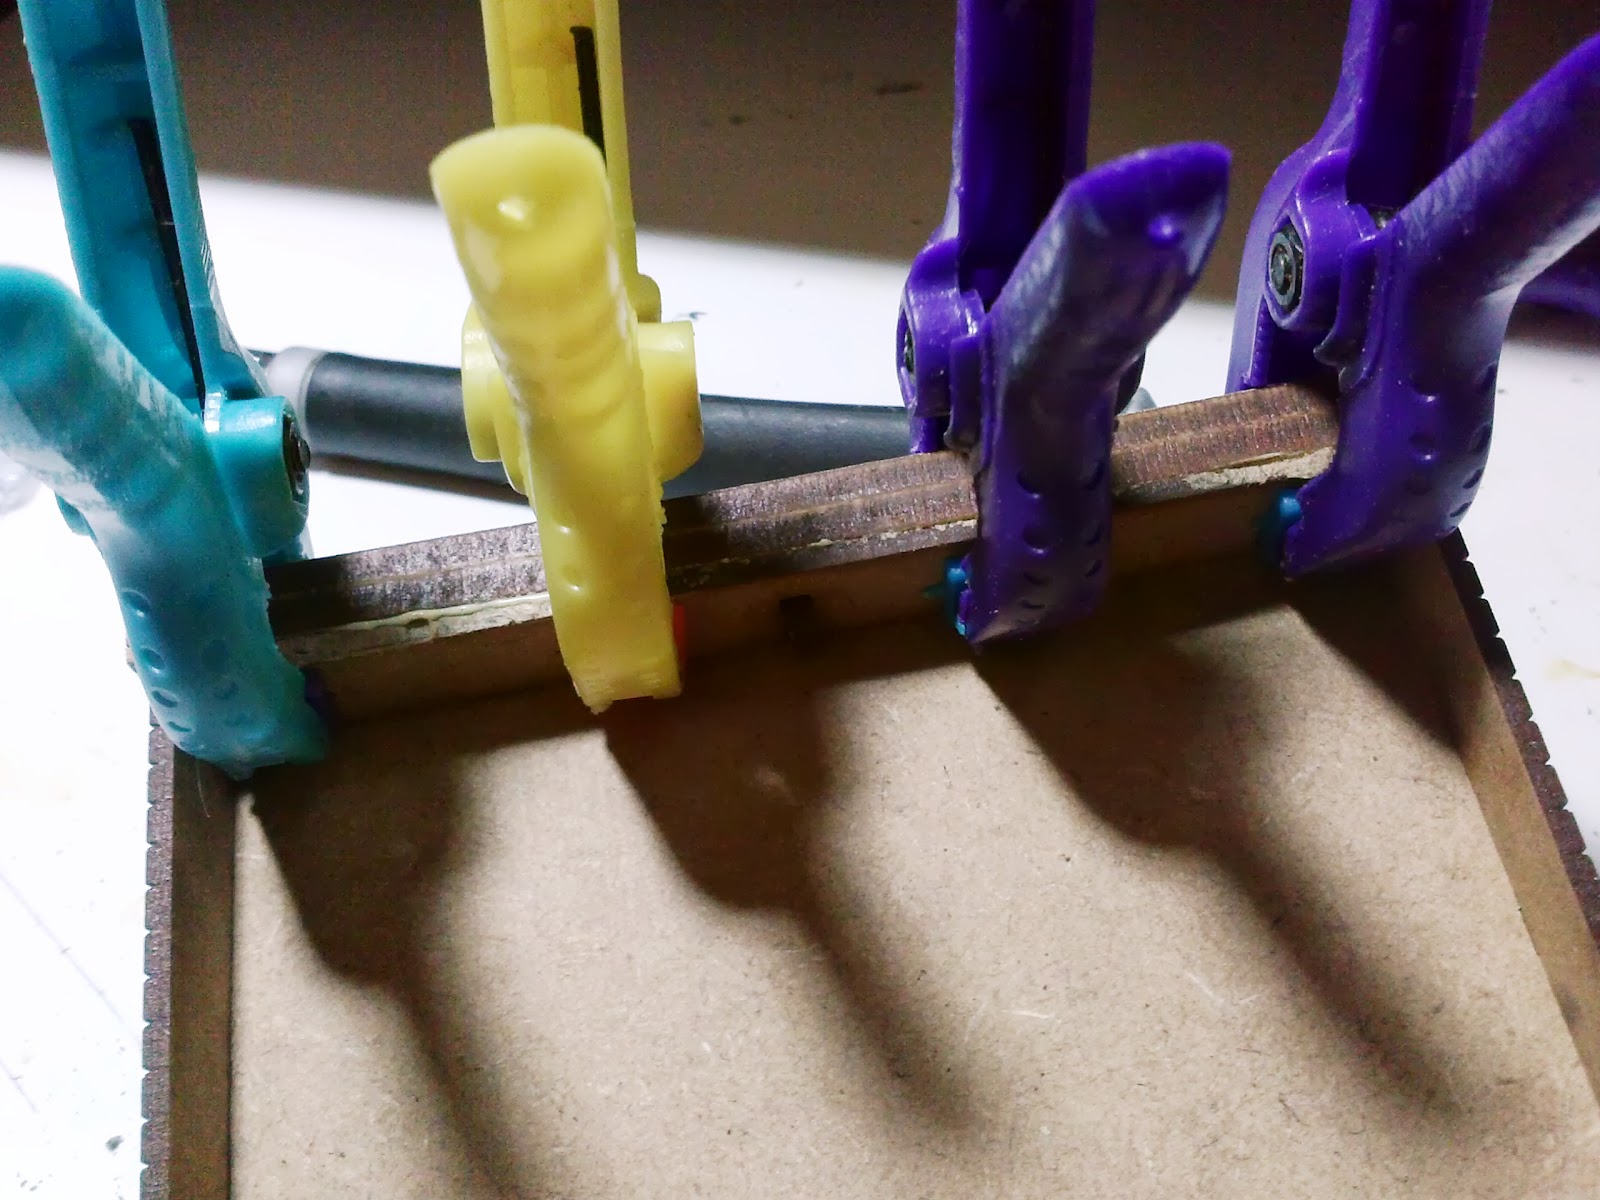
Getting down to business for me requires pulling the right tools together. For this exercise I decided to use my "on the road" kit and see if it is up to snuff or if I need to expand the selection of tools. Please keep in mind that you do not need these tools to build these structures. A sharp knife, some good strong rubber bands and some clothes pins will do the job as well. I have the tools so I use them and they allow me some flexibility that you don't get with just a set of basic tools.
 |
| I prefer carpenter's glue (aliphatic resin) over regular white glue or PVA (polyvinyl acetate). I like the carpenters glue because it has more grip during assembly than white glue. Ultimately they have about the same strength. |
 |
I do like my clamps. I'm going to replace my corner clamps though. Mine are really old and there are better versions out there now.
|
This post is pretty picture intensive even more so than my other build posts. There are a couple of steps that I really felt would benefit from a few extra pictures. So here we go; Dead Man's Hand Side Street Building No.2!
 |
| Side one of the Instructions |
 |
Side two of the instructions
|
This is not a slap together kit, there are some intricacies that make it more difficult build and you do need to pay attention to the instructions. If you have read my other western building posts you know I have some pretty strong feelings about instructions and there are some issues with the ones from 4Ground. Although their pictures are excellent they are rather small and there is, almost, a complete lack of any kind of written instructions and there are a couple of steps that need a little explanation. Hopefully folks can take advantage of this post and avoid a couple of the mistakes that I made.
The initial steps are pretty straight forward, assemble the exterior walls add the interior pieces (which provides you detail on the inside and the outside) and then slot in the single interior wall. Don't get confused with the interior wall. The 5th picture in the sequence shows a wall with a door in the center. The 6th picture in the sequence shows the door on the left side, the correct location for the is kit. The sprues are clearly labeled with the part numbers so don't worry about the picture to much.
 |
| Initial wall assembly |
 |
| Adding in the interior sides. The long sides need to go into place first. Window and door openings are pre-cut for you so make sure you are using the correct piece or you may cover up something. The two end walls have to slide down and slot into the side walls. I found that filing down the side wall edge a bit made this a lot easier to do. |
 |
| The interior wall glued together and slotted into place. I didn't have a clamp large enough to span the building in my "on the road" kit (although I do own one that would) and I really needed a stronger rubber band than what I had. Oh and you can see in the photo that there are some little nubs sticking up above the walls at the corners. DO NOT REMOVE these, they will keep the roof in place (or the second story in the main street buildings). And no I didn't cut off the nubs, this works the same on most of 4Ground's pre-painted buildings. |
Now its time to build up the windows and doors. Unlike the buildings from other manufacturers 4Ground's windows come in a few more pieces. They are still pretty simple to put together though there are just a few more steps and some additional time. There is an option to have one of the windows boarded up instead.
|
| In this picture you can see the opening for the window. It looks more like a picture frame at this point. |
 |
| Step One; add the top and bottom sill. I elected to having the color facing up (they are only pre-painted on one side). |
 |
| Step 2; Glue in the window frame, this time color side facing out so you can see it. If you prefer an unpainted window just reverse it. |
 |
| Step 3; Glue in the glass panes. I elected to have the smaller panes on the top and the larger on the bottom. Repeat for all the windows or replace one with the boarded up pieces (you still need to put the sills in place if you do this) |
From here we move on to the doors which again are a bit more complex than the average door from other manufacturers. First the front door can open and close, the interior door is glued in place. I found this irritating. If you are going to go to the trouble to make one door move you may as well do it for all of them. Again there is a sequence of pictures showing this. There is a mistake in the instructions here. Piece DR5 is the door handle and is shown correctly as such in picture 10 and again in picture 11 when you glue it to the door. However, picture 12 is confusing. It shows a piece labeled DR5 being glue into the top of the frame and again to the bottom of the door frame in picture 13. This should be labeled DR3 not DR5. It took me a couple of minutes to figure out what was going on here but at least I did it before I applied glue.
 |
| Note that the door frame comes in two pieces. Here I have glued DR3 to DR2 (DR2 is the inside frame and will be facing the interior of the building) |
 |
| Here I have glue DR1 (which will face the outside of the building) to DR2 |
 |
| The door assembly so far. Ready to glue the second DR3 piece in place which will allow the door to move. Don't get any glue into the hole and make sure the inside edge of the door frame is also clear of glue. |
 |
| The bottom DR3 glued in place. |
 |
| The finished door assembly. This can now be glued in its spot in the building. |
 |
| Doors in place. |
Next up is the foundation. 4Ground recommends that you don't glue this into place on the bottom of the building. For now I have left mine as a separate piece but that's mostly because I may choose not to use it when I add it the building to the Calamity board. This is a straight forward build, nothing terribly difficult. (which reminds me that I need to make some cardboard mockups of the 4Ground buildings for my model of Calamity).
 |
| My corner clamps and a rubber band are all it takes |
This is followed up by gluing together the supports for the front porch roof. This is a feature that I don't like, but its strictly personal, it just doesn't have a western feel to me (although it is a common feature on western railroad stations so it certainly was done).
From here we proceed to the boardwalks. They look fine and the constructions is straight forward again it just doesn't quite have that western feel to me.


Then its on to the roof. Now this kit has a flat roof and there is no option to purchase a pitched roof which I prefer but at least this roof is slanted and looks good so I can live with it. I'll probably cover mine in tarpaper, the black paint they used is a little to "black". The roof hatch gave me a little trouble. Partially its because the pictures are a little small and initially I put the frame in backwards, panicked and pried it out to reverse it so that the little notch would face the front of the building. Had I taken another 30 seconds to think about it I would have realized that my hatch would just open the other way, no big deal. Its very similar to the door assemble but a bit more difficult to get the hatch in place. You have to angle the hatch nub into place while trying to glue RH3 into place at the same time. Just take your time, it all fits together quite nicely.
The next step adds the sides to the roof. Make sure that your roof angles correctly so the high end will be in the front and the low end in the back. RH1 is your key to this and must be in the front of the building and flush with the front edge, then everything will flow from there. There is a bit of added difficulty here though. RH1 is also the key to attaching the False Front correctly and as such has two square holes in it. RF7 is a u shaped piece that goes here with the bottom of the "U" on the inside of RH1. The holes in RH1 are not centered so its possible to assemble RH1 upside down, which of course I managed to do. I didn't discover this error until I test fitted the finished roof into place and I discovered that the False Front was to low and the roof wouldn't fit in place. Its hard to describe what to look for here. I think the easiest thing to do is to construct the False Front before you put the roof together. Then you can use it to test fit and make sure that you have RH1 in place correctly.
On to the roof pictures!
 |
| Note that here I have the notch facing towards the back of the roof. This is when I panicked and pried it out to face the front of the building. I could have just left it and it still would have worked just fine. |
 |
| Here it is finished and opening the right way. |
 |
| Applying the edges to the roof. Hatch in the proper place, but in this photo RH1 (on the right side) is upside down. |
From here the instructions have you assemble the False Front again I would recommend that you do this before you put the roof together just to make sure that you have everything together correctly. The assembly of the False Front itself is straight forward. Just make sure that the back of the False Front is flush with the frame.
 |
| Here I have assembled the back of the false front. Make sure you assemble this flat with the color side down on both the frame and the false front. So flush on the painted side, slight lip on the unpainted side. |
 |
| Sorry, the camera didn't want to focus on all that red. I have attached the front of the false front, but haven't added the second half of the frame. |
 |
| Adding the front frame (and gluing it to RH1 all at the same time) |
 |
| I took this picture and didn't realize my mistake yet. The edge of the false front should be flush with the edge of RH1 here not extended above like you see here. |
 |
| Here is what it should look like. I got to this step by prying RH1 apart from the false front and the roof and then flipping it over and gluing everything back into place. Please note that the 4Ground instructions would not have saved me at this point. |
And now a look at the finished product. I'm quite like this building and I'm sure construction of the rest of them will go quite a bit smoother and a bit quicker as well.


Here are some final thoughts. Because of their double walled construction these kits are going to be able to take some abuse. They should easily survive the rigors of transportation and gamers. They have a nice foot print although I would probably class these as a small building, they are roughly equivalent to Sarissa Precision's Small Plus buildings or maybe the straight Medium Buildings. I'll have to pull everything out for some pictures here in the next week or so. The instructions are okay. From a construction standpoint they are entirely picture oriented and that definitely caused a few problems in the constuction, problems that could have been avoided with a little bit of direction. I still need to think about it but these would probably rate at least 3 stars out of 5 and maybe 4. Quality is top notch, everything fit together the way it was suppose to although fitting the interior detail walls was tough until I though about filing down the edges a bit, really removing the paint from that portion of the wall made the assemble easier. I would put these up in the Cadillac of western buildings along with the ones from Battle Flag. Go out and buy a few and see what you think.


This comment has been removed by the author.
ReplyDeleteNice. I like their medieval and renaissance buildings too.
ReplyDeleteAside: While Titebond Original and Titebond Regular are aliphatic resins, Titebond II is a crosslinking PVA. I've found it to work well for buildings, though.
ps. Sorry about the deleted comment. It had a typo that annoyed me enough to repost.
Crosslinking PVA? I'll have to look that up. I guess I just looked and it said wood glue, I shouldn't make assumptions like that.
DeleteGreat post Kris. That building looks fantastic and I really appreciate the in depth review from an experienced builder. Now if they just made buildings in 1/72 scale.
ReplyDeleteGlad you like them, I figure if I'm building something folks might want to know how it went. Since everything is done for a laser cutter it should be easy to scale it to what ever size they like. Might be worth an email.
Deletenice post , I love your style of blogging :)
ReplyDeleteyou see, there are 2 blogs that i've found so far to be very helpful and have something interesting for me whenever i visit, this one and http://danieluyi.com
Keep it up. I will be visiting again.