There are three Trenchworx FT-17s in my box that could see almost immediate use so, of course, I decided to assembly the armored car first. I think because I find it to be a fascinating vehicle and I think I'm going to use it as my vehicle entry for Genghis Con in February. There are a fair number of parts to this resin kit so I thought it might be useful to explore the does and don'ts of this particular kit.
If you have been a regular reader of my blog then you know that I prefer some kind of instruction with almost any kit regardless of how simple it should be to put together. What is intuitive to the kit designer is not always immediately apparent to the builder. While there are some excellent photos on the Trenchworx website there are still a few question marks on how things really should fit together.
Let's go through the initial pictures of prepping the vehicle for assembly and I'll try and point out some of my mis-steps in building this kit. While getting ready to put this together you will really appreciate the detail on this armored car. I went out and found a lot of pictures on the web for reference (watch your dates though, this vehicle saw service up through the opening days of WWII) and Trenchworx did a great job capturing it in miniature. The only thing I could really wish for right now is real spoked wheels. I'll have to keep my eyes out for likely substitutes. Oh and if anyone actually finds a picture that shows the floor in the back bed I would appreciate a link to it. Anyway on to the pictures.
 |
| Laying out the parts in an "exploded" format. Turrent and MG at the top. Wheels on the outside then the fender/running boards and the chassis. In the back are the storage boxes and the components that make up the rear bed. Finally what I thought initially were antennas of some kind are actually the headlights and should be up at the top. |
 |
| The parts from a slightly different angle, showing off the detail better. |
 |
| A wheel sprue, looks like the mold slipped a little on this, that's not flash on the edges. Nothing a file won't fix but you may have to score the tread pattern back into place. |
 |
| Here are the fender/running boards. |
 |
| And while it was fine to clip the sprue bits off, I also removed what I thought was sprue off the locator pins. I should have dry fitted first then clipped. While I have enough pin to hold it into place its going to be a weak point on my model. Fortunately since this will be a contest entry its not going to get handled that much. |
 |
| The side bits for the bed in the back. Two bits of sprue here. |
 |
| And easy enough to clip off. There are two of these pieces. |
 |
| This are big! |
 |
| I went in with my clippers, a razor saw would have been a better choice. I though this might get hidden but after looking at various pictures on the Trenchworx site and on the web this is a pretty visible area. I'll have to do some filling to make it look nice again. |
 |
| I found some resin bubbles underneath the chassis while I was filing off a mold line. This is very much out of sight and you don't need to worry about it for a gaming piece. I'm going to remove them since its a contest entry and I'm not sure right now if the extra stowage is going to hide it or not. |
 |
| And more on the other side. |
 |
| Sprues on the storage boxes need to be removed. |
 |
| As do the sprues on the headlights and MG |
 |
| The turret has three big sprue channels on it. I used my clippers to remove most of the material, a final filing is required to get it smooth. |
 |
| The axles are a little long. Rather than clip them shorter I decided to deepen the holes with a drills instead. The axles on the rear could stand to be thicker. |
 |
| And the same gap appears on the front wheels. Same deal, drill the holes in the wheels deeper. You will need to do this for the spare tires as well. |
 |
| Dry fitting the back. The tabs are taller than the floor. I filed the tops down so that the floor will be level. |
 |
| I decided to use a piece of heavy paper as the floor. Mostly because I didn't have any thin plastic at hand. |
 |
| The locator tabs filed down flush with the bed. |
 |
| The sides for the rear bed all assembled |
 |
| And gluing down the new "floor" |
 |
| Getting the running boards in place was painful since I cut to much off the pins. Remember dry fit the components first before cutting! |
 |
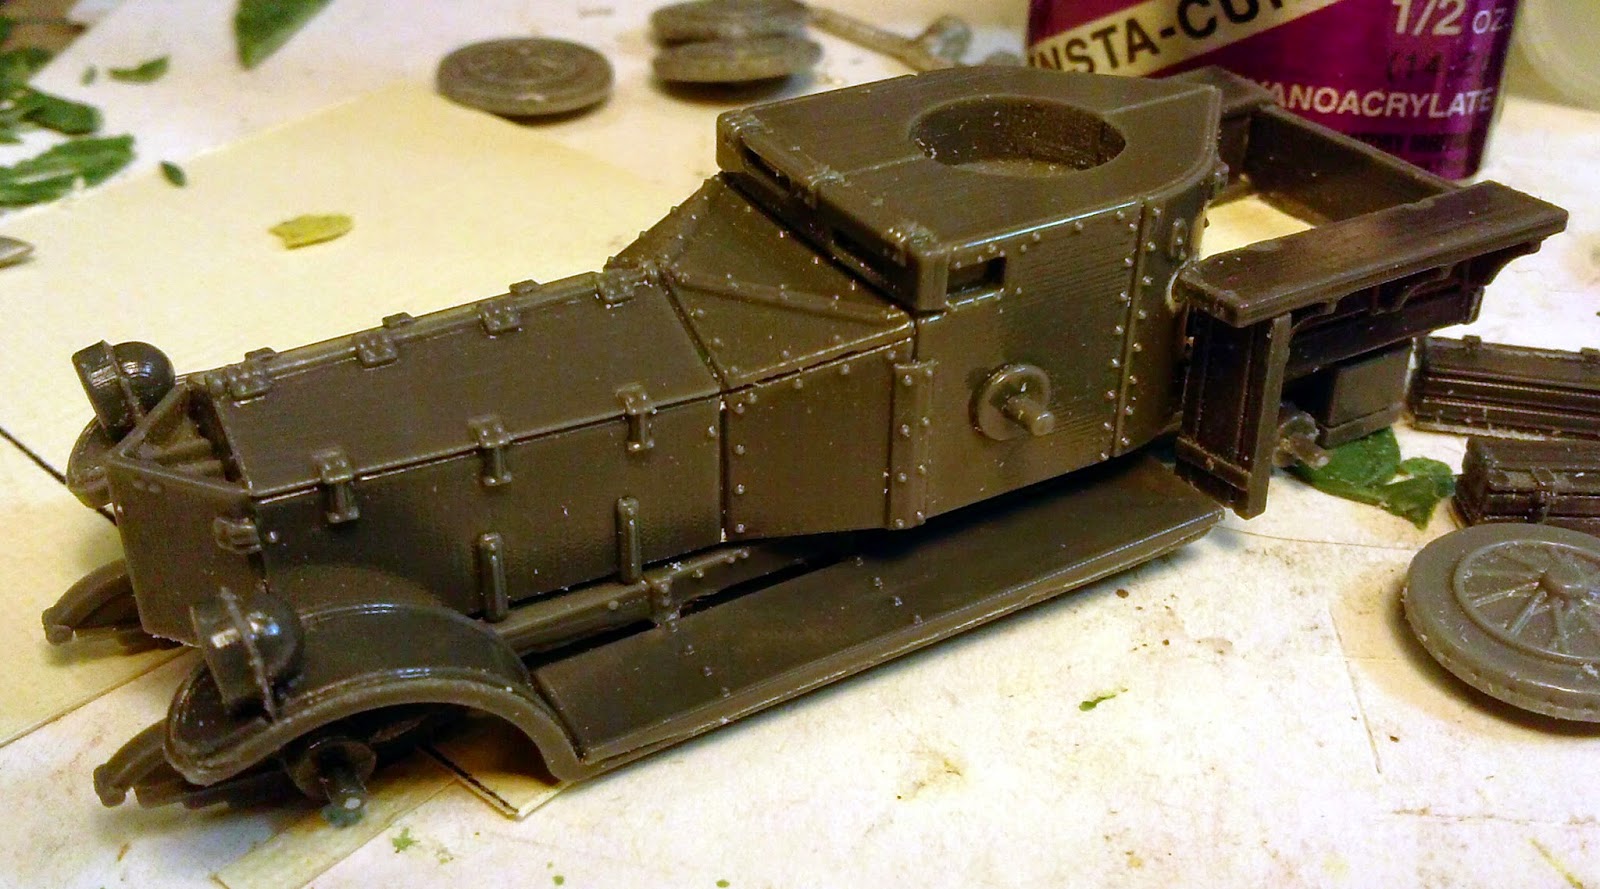
| Really starting to come together now. |
 |
| Here I have "dry" assembled the Rolls. I won't glue the wheels or the storage boxes into place until after priming. The wheels may not be glued on till the paintwork is finished completely so I don't miss anything. |
 |
| And here we are after a quick priming session in the airbrush booth. I used Vallejo Grey Primer (28011) straight through the airbrush without thinning |
 |
| And a quick look with the turret in place. Looking good! If you were concerned about the 3D printer marks that can be seen on some of the components don't be. I had not problem covering them with the primer. The parts really do have a very nice smooth finish to them. |
I will let the primer dry at least until tomorrow. I need to decide if I want to paint this up as a desert vehicle (Lawrence used these to great effect in his campaign) or western front vehicle during the early mobile phase of the war in 1914. I found a really nice three tone camouflage scheme that was used. Maybe I should just buy a second one and do both.
I do recommend going out and doing some quick research on the net on this armored car. There are some fascinating variations that could be done. What I would really like to find are some replacement wheels that are actually spoked. I'm heading to Colpar Hobbies tomorrow I'll have to check to see what they have that might work.


I'll be watching your build with some interest. I just got my box from Trenchworx - which included 2 of the Rolls Royce Armored cars
ReplyDeleteI think I have gotten you through most of the building process on the Rolls Royces now. Just watch those locator pins on the running boards! That was definitely a big mistake on my part and it made fitting them into place quite difficult. They are also going to be quite fragile, so I pretty much ruined mine for gaming purposes. Fortunately mine will be for display only otherwise I'd going back to Trenchworx begging for some new running boards!
Delete