I'm trying to approach getting the shop and the greenhouse done by what I have on hand combined with what I need to do next. With seven boxes from Omniwall taking up space I figured I should get the west wall in the shop done next. This way I could at least sort out all the Omniwall stuff and make sure we received what we ordered.
Unlike the greenhouse the shop is big enough I could do all the cutting inside. Here is the west wall before I got started:
 |
| Here the west wall is on the right and you can see the rafters and the power outlets in place. The light switch is out of sight by the 4' door which will become the main entrance to the shop as soon as I get a gate built on that side. The six foot double door opens up onto a driveway for the lot located directly behind ours and its only meant to get large items in and out of the shop. Once the fence is up we would have to walk all the way around the property to get to this door. |
 |
| This is an earlier pictures before rafters and electricity. That's a 4' double door on the right side, the future main shop entrance. It opens directly into the back yard. |
Five sheets of underlayment later it looked like this (there was some tricky piecing together around the door):
 |
| The left side towards the six foot door. |
 |
| Looking towards the right and the 4' door. It is fully insulated as well. That's a double light switch panel, one for the lights and one for the exhaust fan. |
And then I was able to put up the wall of organization (actual tool arrangement is likely to be an ongoing process):
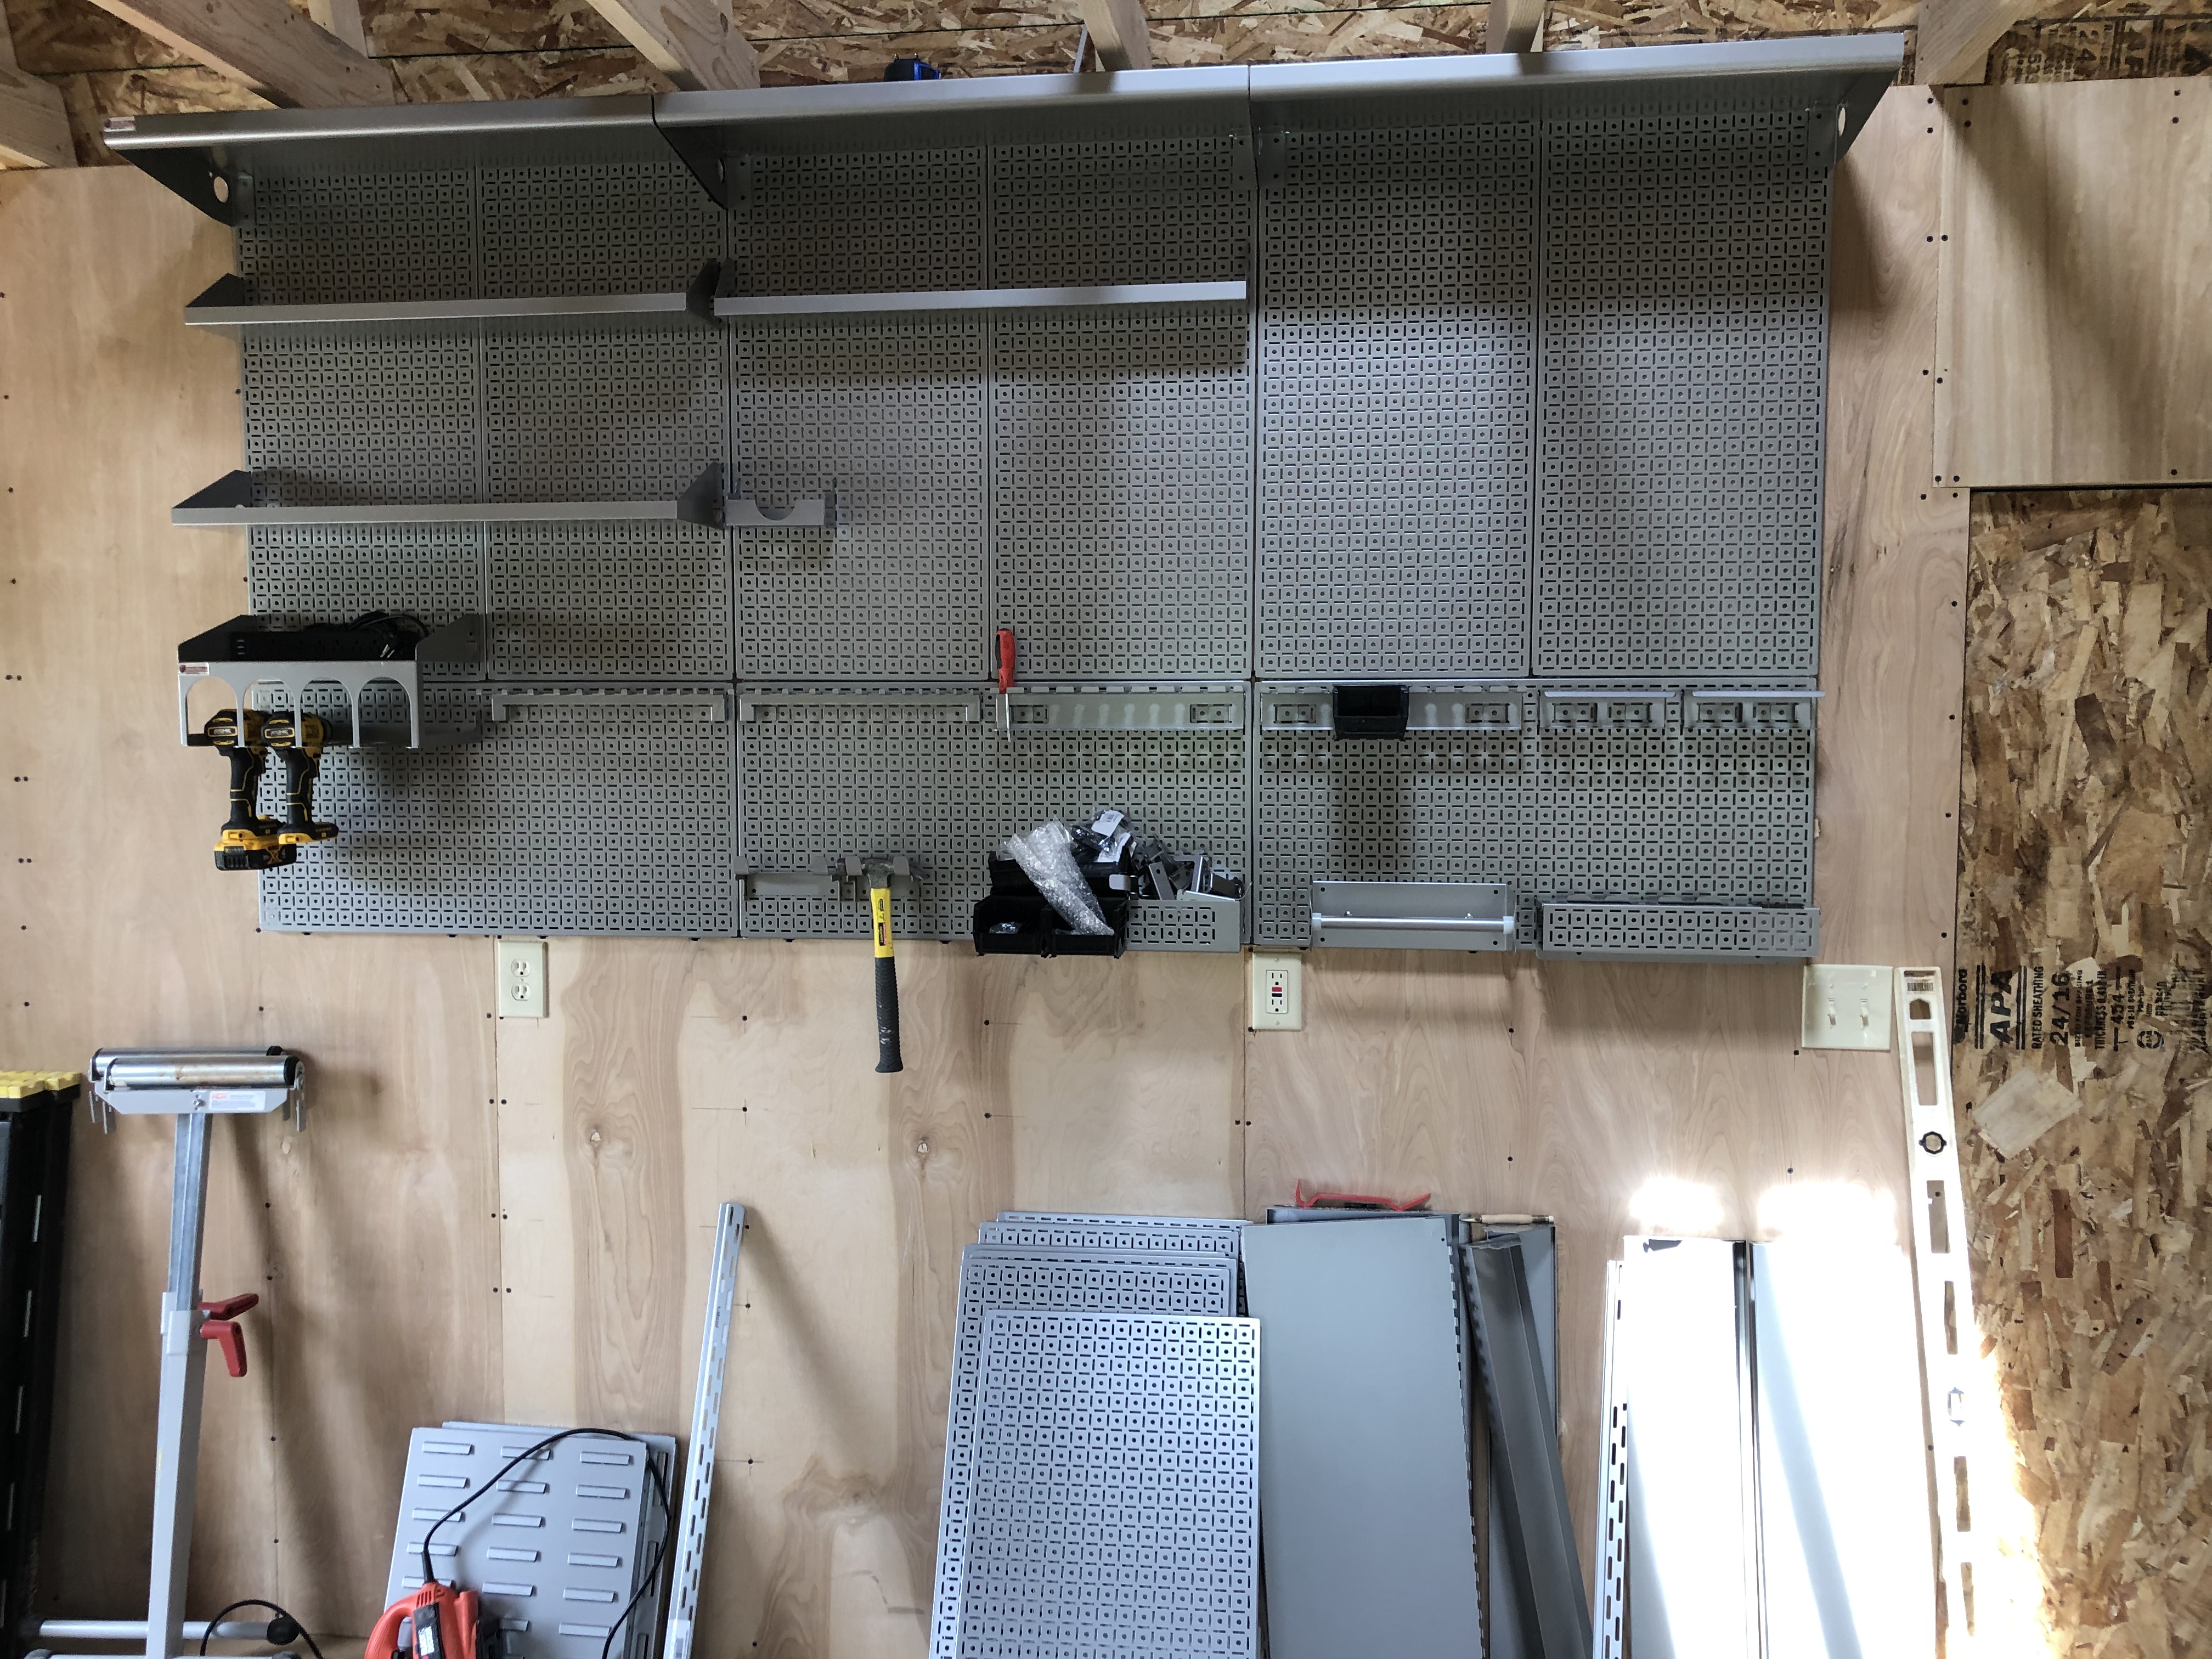 |
| This is the Weekend Warror XL kit, measuring 8' long and 4' high. Those very top shelves, right underneath the rafters are 12" wide. I just kind of throw all the bits and pieces up on it to get a feel for it. Expect to see things shift quite significantly as tools start to migrate from the garage to the shop. |
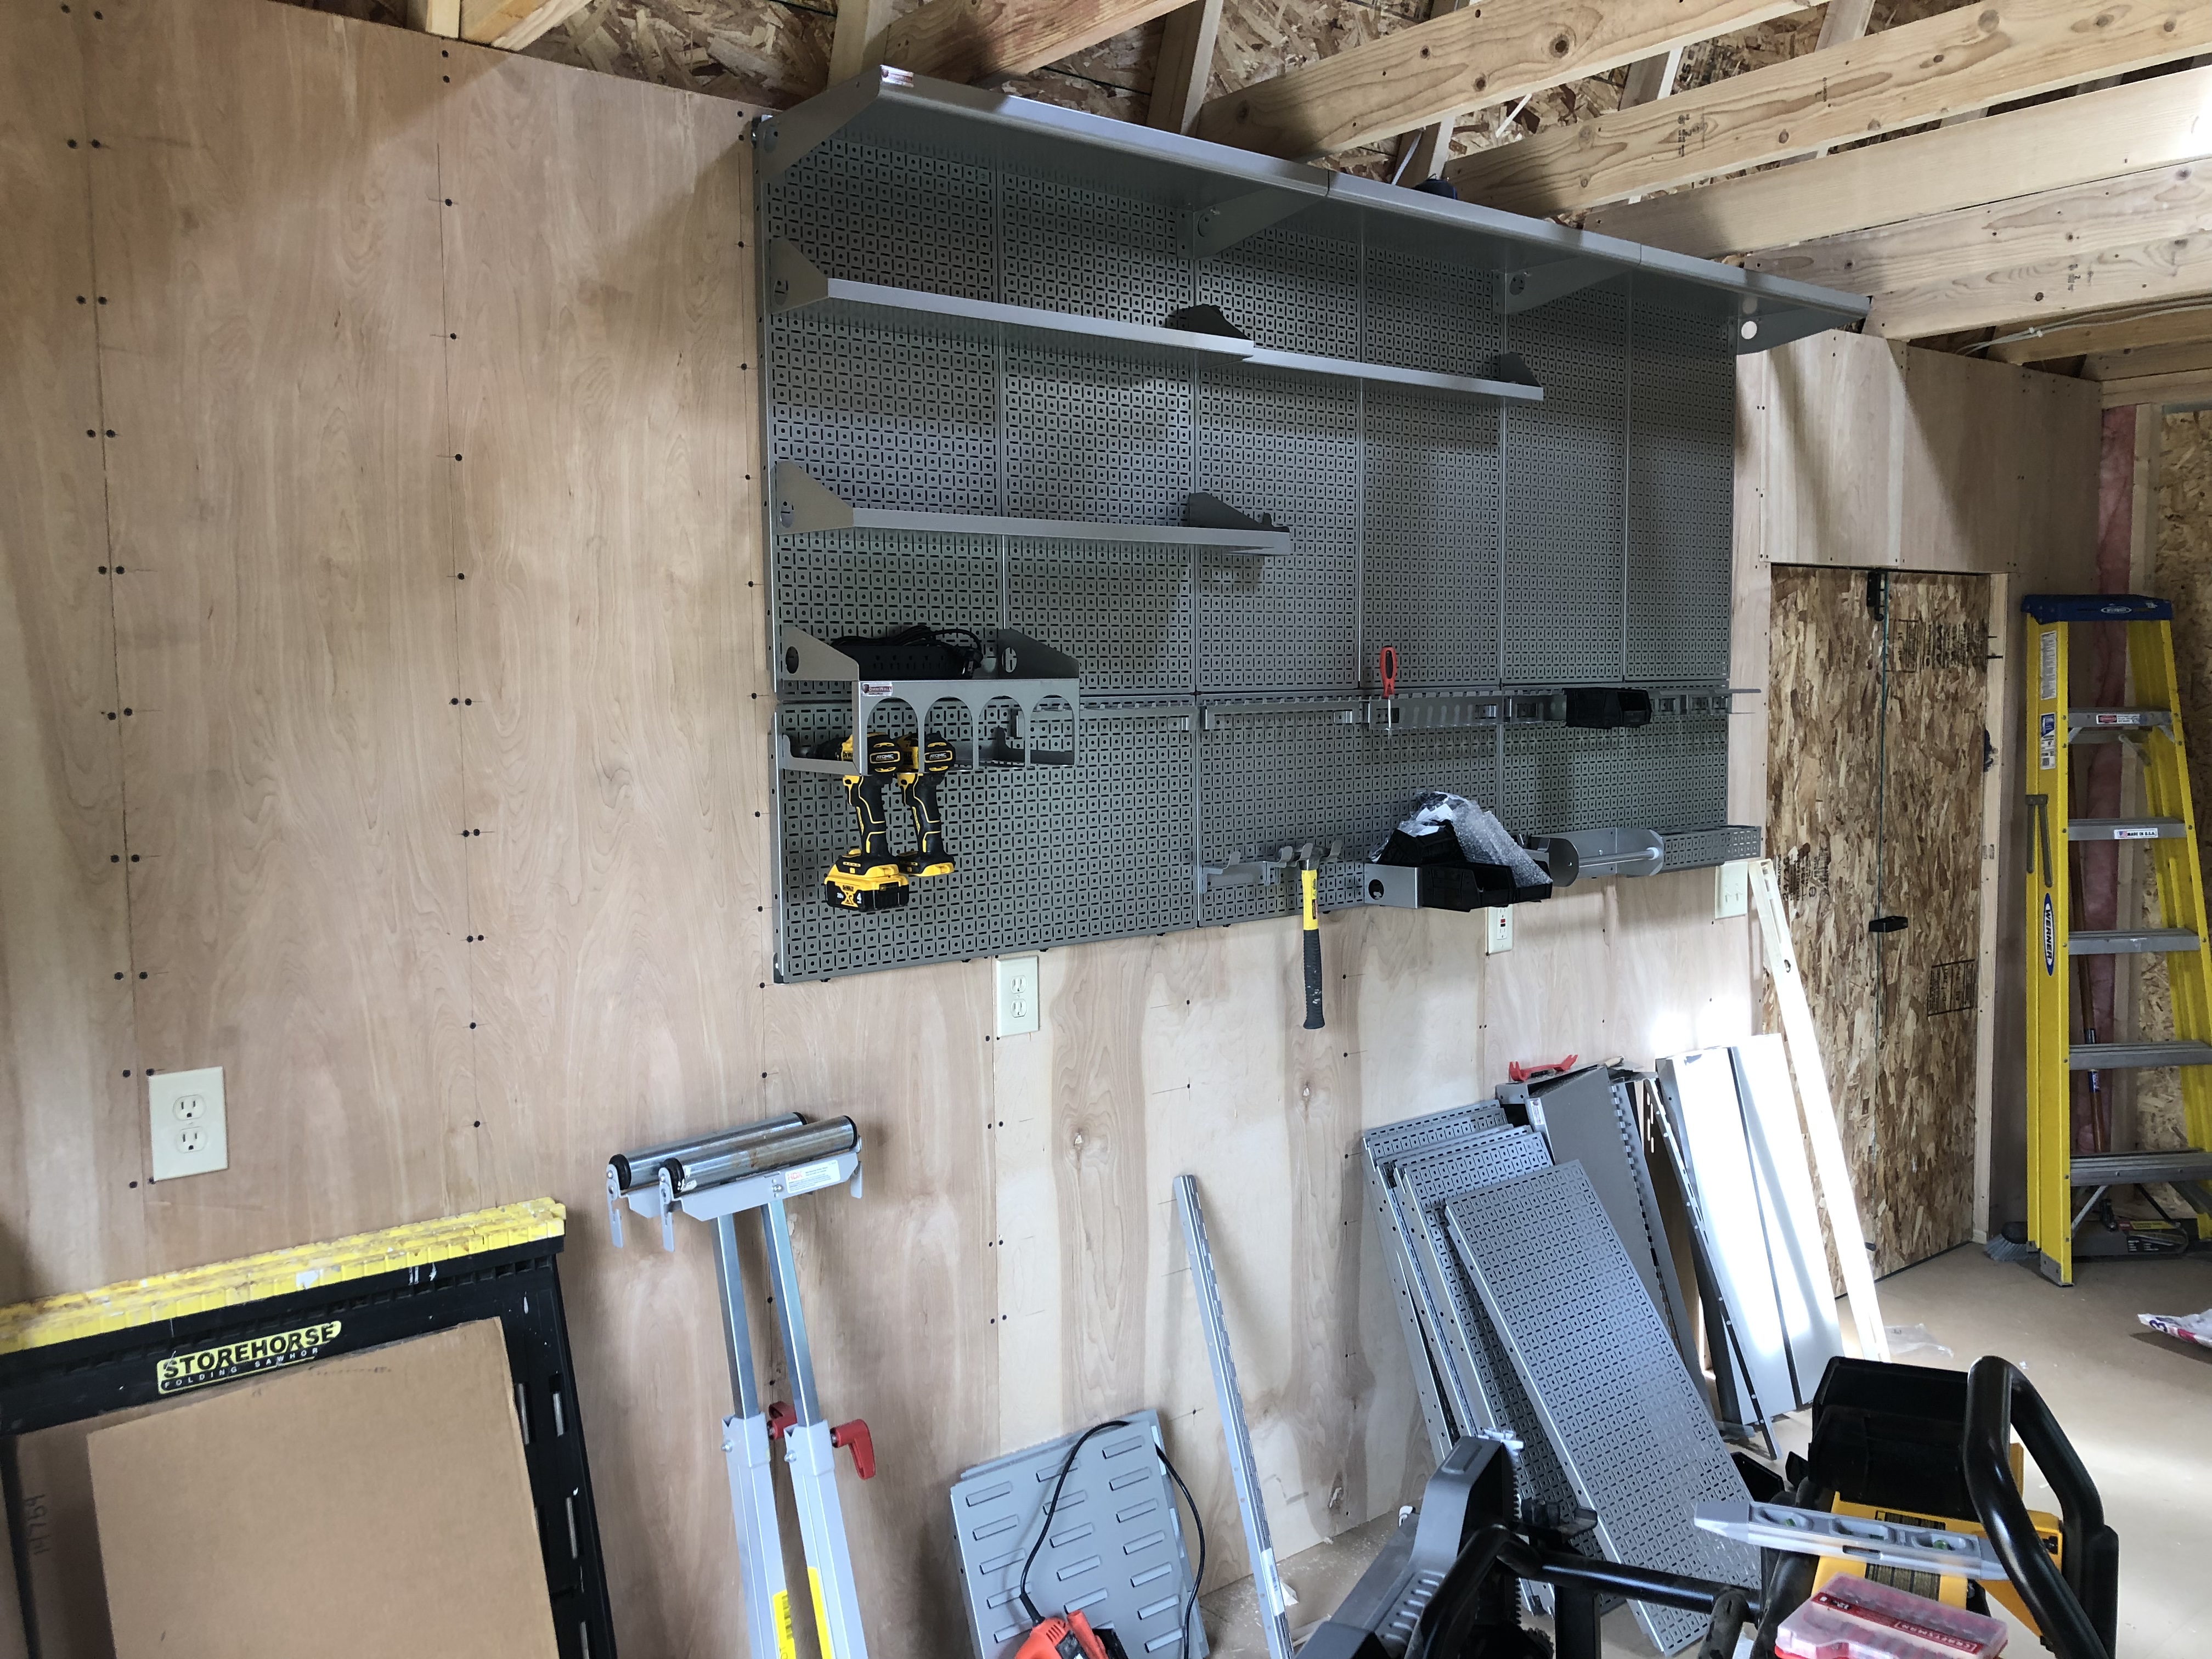 |
| Looking more towards the north end, you can see that two of the power outlets are right underneath the bottom cleat. There's about a 1/4" clearance there. As close as I could get it. We went with silver on silver and now I'm thinking we should have done either the panels of the various hooks and shelves in a different color. |
Now you should note those rafters right at the very top of the OmniWall. I ran into a couple of problems that I hadn't really anticipated. The first was the level we placed the light switches and the power outlets. I didn't want any floor level outlets so we wouldn't need to be reaching under things to get to power. I also need 4' of height for the OmniWall. When I went over what I wanted with the electrician I simply measured 4' down from the top of the wall. Based on that he could set the light switch at the standard height along with all the power outlets that would put them well above, the more or less, standard benchtop height of 35" (typical range in the US is 34-36").
Stud location really determined where I could place the OmniWall. The first issue I ran into is that I couldn't set it more than 1/2" below the top of the wall otherwise it would run into the outlets. Okay, no problem, and I merrily went on my way of setting the top cleat for the wall system. The OmniWall wasn't quite as easy to put up as I had hoped. Their instructions have you start with the top cleats and go down. That works just fine if you are dealing with a single panel but the large wall consists of two levels of panels, the top row made up of 6 panels hung vertically and a bottom row made up of 3 panels hanging horizontally which are then held together with some interesting pegs. If I was doing a multi panel install like this again I would start with the bottom cleats, everything would go together cleaner because what they don't mention is that those locking pegs create about a 1/16" space between the rows and if you measure exactly you will be 1/16' short. Plus with the bottom cleat in place first you can do a quick assembly of the two rows and a more precise location for the top cleat.
My second issue cropped up after the wall was in place and I wanted to put the top shelves in place. Well to correctly install the 12" wide shelf you need 12" of clear space ABOVE the top of the panels. Well my rafters were only 1/2" above the panels which meant I had to temporarily dismount the offending 4 rafters put the shelfs in place and then remount the rafters. Fortunately it wasn't terribly difficult but the space available meant I had to cut two of the rafters I little shorter to get everything in place. I might go back and add a little reinforcement to those two.
In the end everything is in place, although the OmniWall is a bit higher than I would have like to have it but its a compromise I can live with. The organizers that will go on the east wall are all single panel so they should fit just fine. Its more important for the tool station organizers to be at a more normal height. I'll tackle that wall next.
No comments:
Post a Comment