Now we stand on the precipice. Before us is a tiny figure that has been prepped and primed and is now ready for paint. Question number 1 is where do we start? Well, not where you might think. I'm going to talk about color first and why you might pick one color over another and the effects of scale on how we perceive colors on our models.
Scale does effect color, not as much on people as it does on vehicles. Essentially if you take a color chip of your favorite color, vehicle color, freight car color or nearly anything else. At full size it looks perfect to our eye. For instance our Jeep Wrangler is Gecko Green, which is very bright and we can always find it in the parking lot. If I perfectly match Gecko Green and then apply to a 1/125th scale model of the Jeep Wrangler its going to look to dark. While the color itself didn't change our perception of that color on a smaller object makes it appear to dark to our eye. As we go smaller we need to keep this effect in mind so when our perfect shade of denim looks to dark on our miniatures we know why.
How do we lighten a color? The immediate answer is by adding white, but that's almost never the right answer. Blues and yellows, typically, lighten well with white, but red just turns pink. Red is best lightened with yellow which moves it towards orange rather than pink. Lightening your colors is something that you just have to play with and if white isn't working (often) then try a primary color or a lighter value of either color when painting with secondary colors (i.e. green is made with blue and yellow to lighten green use a lighter shade of one of those colors) just be aware that you are also shifting it towards that primary color when looking at a color wheel.
Sometimes you need to darken a color, again black is not always the answer. I typically add a darker brown like burnt umber to darken a color. Again its situational based on environment and the look you are trying to achieve. If you prefer black use that, but try some other things, dark browns, dark greys as well, you might find something you like better.
Do we get to paint yet? Almost there!
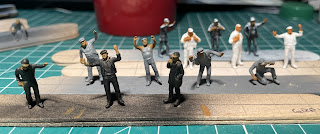
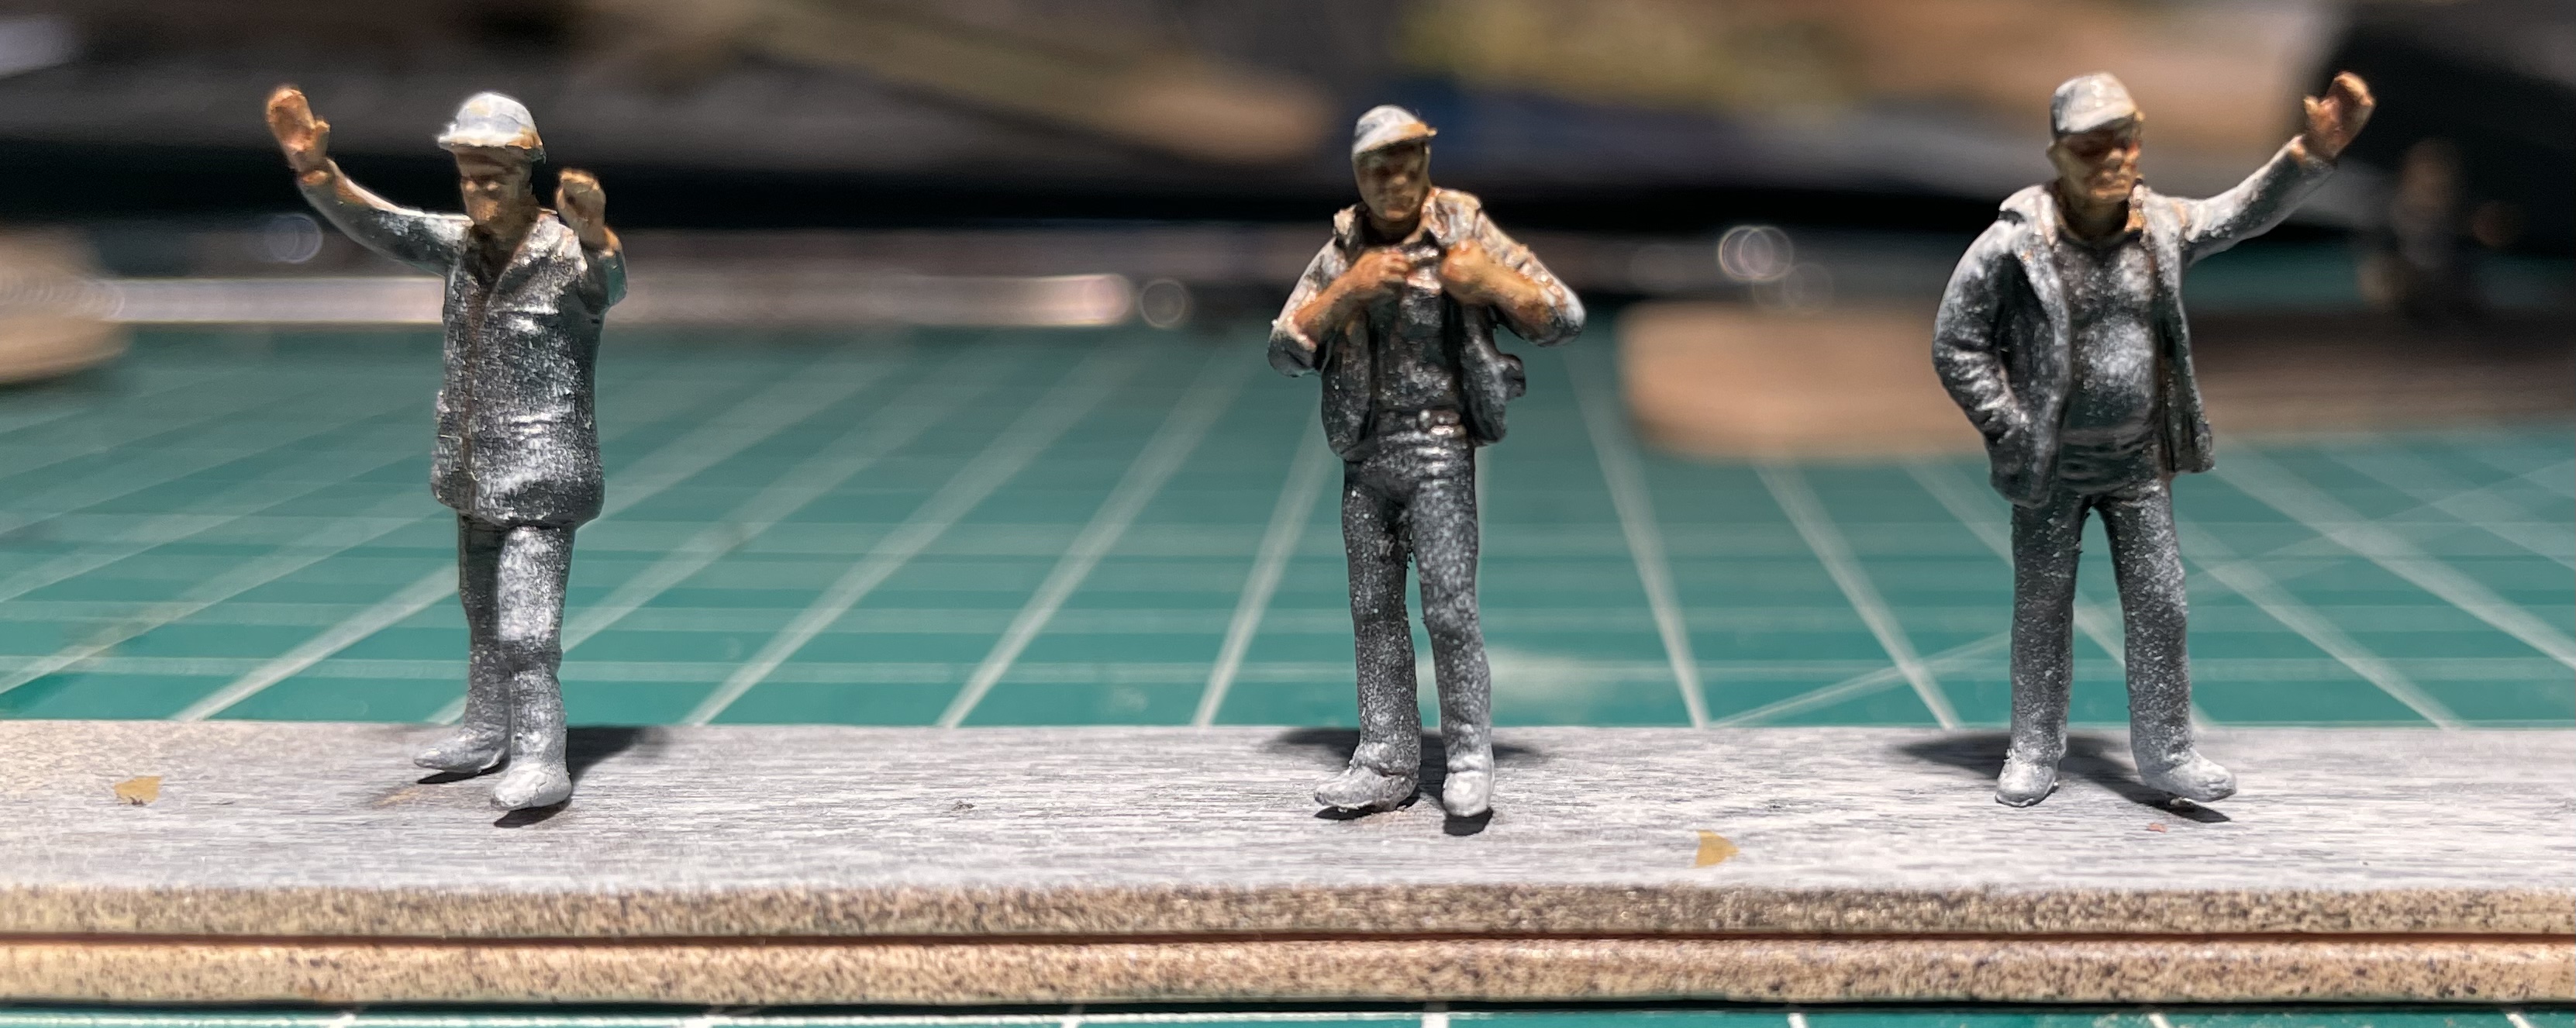
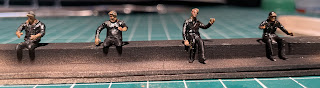
Time to delve a bit into the techniques. It has been a very long time since I have painted HO miniatures and I want to try a couple of different techniques just to see what will work better. From Step 2 we ended up with eight sticks of miniatures divided into 4 groups; white primer, grey primer, black primer and zenithal (black primer with white primer added from directly above). I have further divided them into sitting and standing (well the kneeling guy ended up in standing). Put the brush down, we aren't ready for that just yet. For efficiency reasons I approach painting miniatures in a fairly defined order, basically I paint miniatures the way you get dressed. Therefore the order is (subject to circumstances); skin, pants, shirt, belts and other misc items, jackets, hair and helmets or hats. I don't remember where I picked this up from but it works. By painting in this order you can be very sloppy in the beginning and then become more precise with your colors as you move forward. This means that you are, in essence, correcting mistakes as you work your way outwards. Enough of that, to the paint!
I like to build my colors up in layers, but that doesn't work as well as we get smaller. On a 1/56th scale miniature and larger I might use 7 or more thin layers on the skin to create shadows and highlights and make the miniature look "alive" or "pop". So in place of my usual style I'm going to try a couple of different things. The sitting groups will start off with the midtone skin color while the standing group will start off with the shadow skin color. So let's dive in.
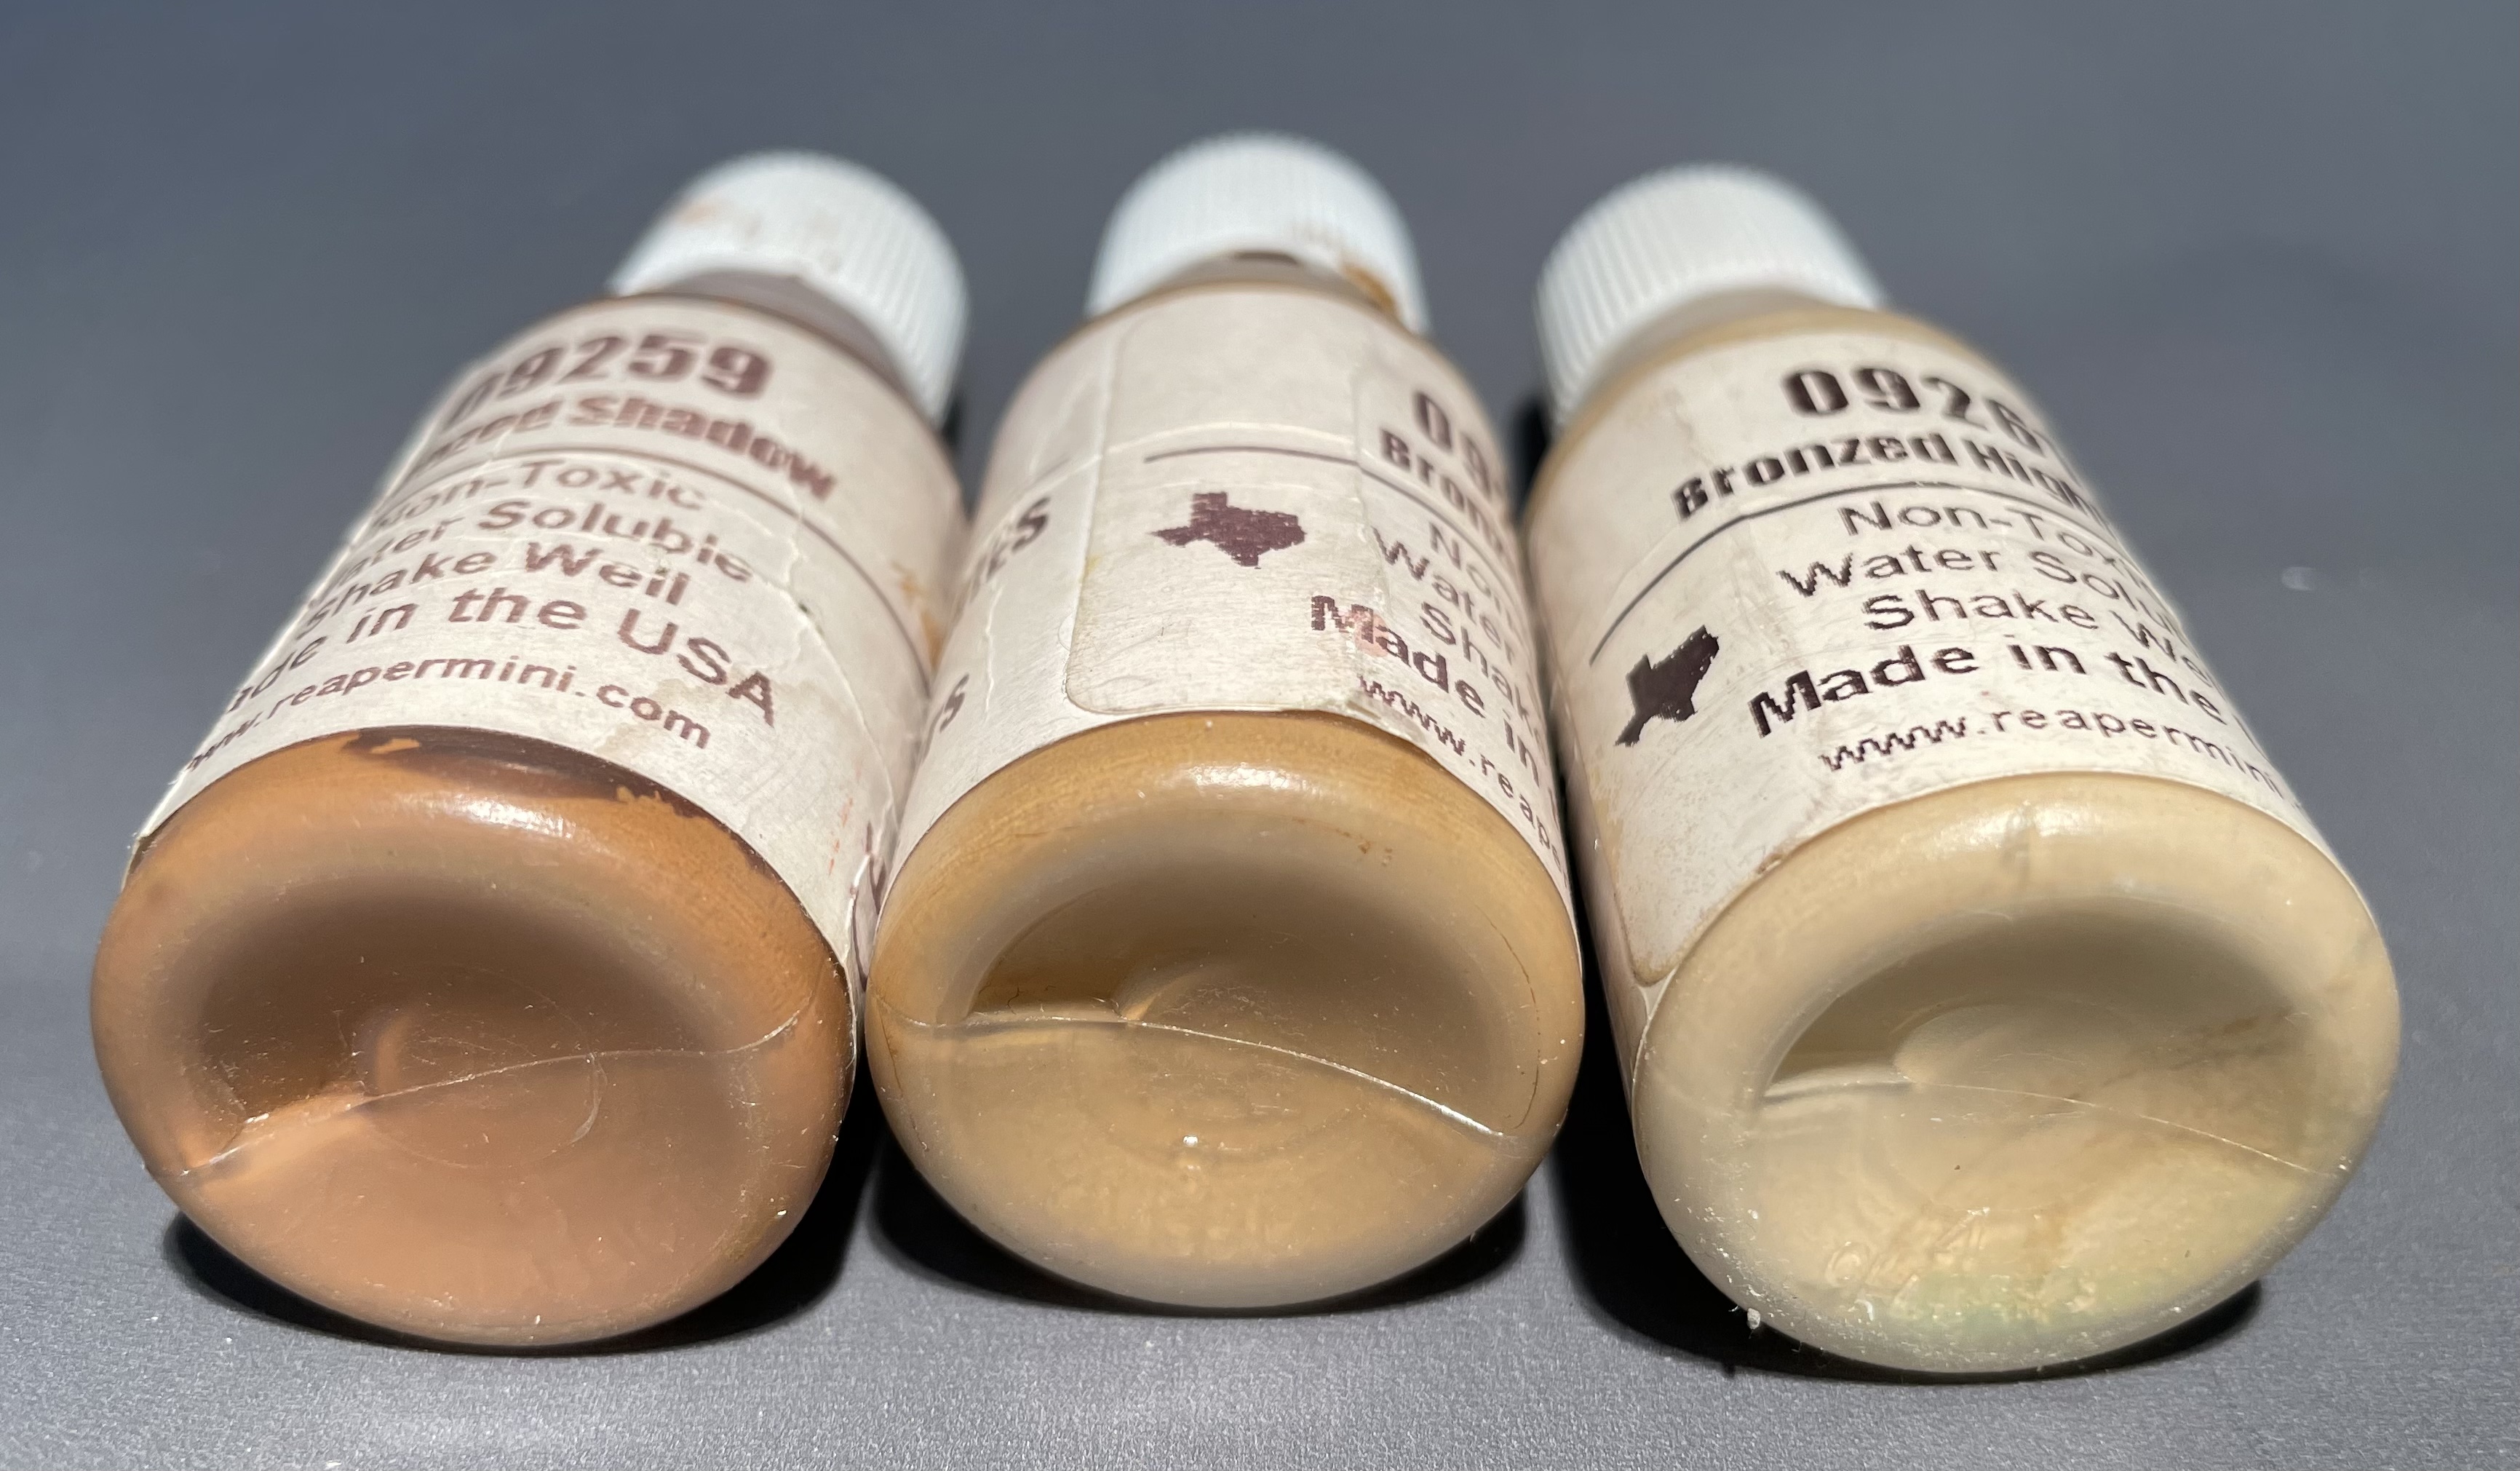
I think the first mistake I see many, many railroaders make is finding a color called "flesh", painting that on and calling it good. Those "flesh" colors (and we are talking caucasian at this point) are typically way to light and sometimes leaning towards pink or even orange (Vallejo flesh colors, in particular, tends towards orange). At this point I'm going to point you to the Reaper Miniatures paint line and look at their skin colors. They have a better variety and you should be able to find something that suits your tastes. I mostly use the bronze and tan skin "triads" although I see that one of my other favorites the olive (Mediterranean) tones seems to have been discontinued. Also not all of the skin colors show up with that link, so spend a little time searching and see what you can find.


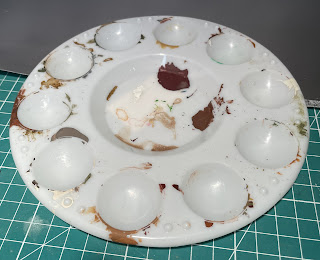 |
| My plastic palette. Available at most large craft stores, often in packs of 5 or 10. If you "clean" it after each session that package could be a lifetime supply. |
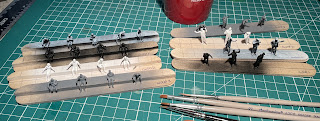 |
| Standing minis on the right, sitting on the left, brushes at the bottom right. Cheap brushes at this point, both nylon and an old kolinsky sable that still, more or less, will hold a point if a bit frayed. |
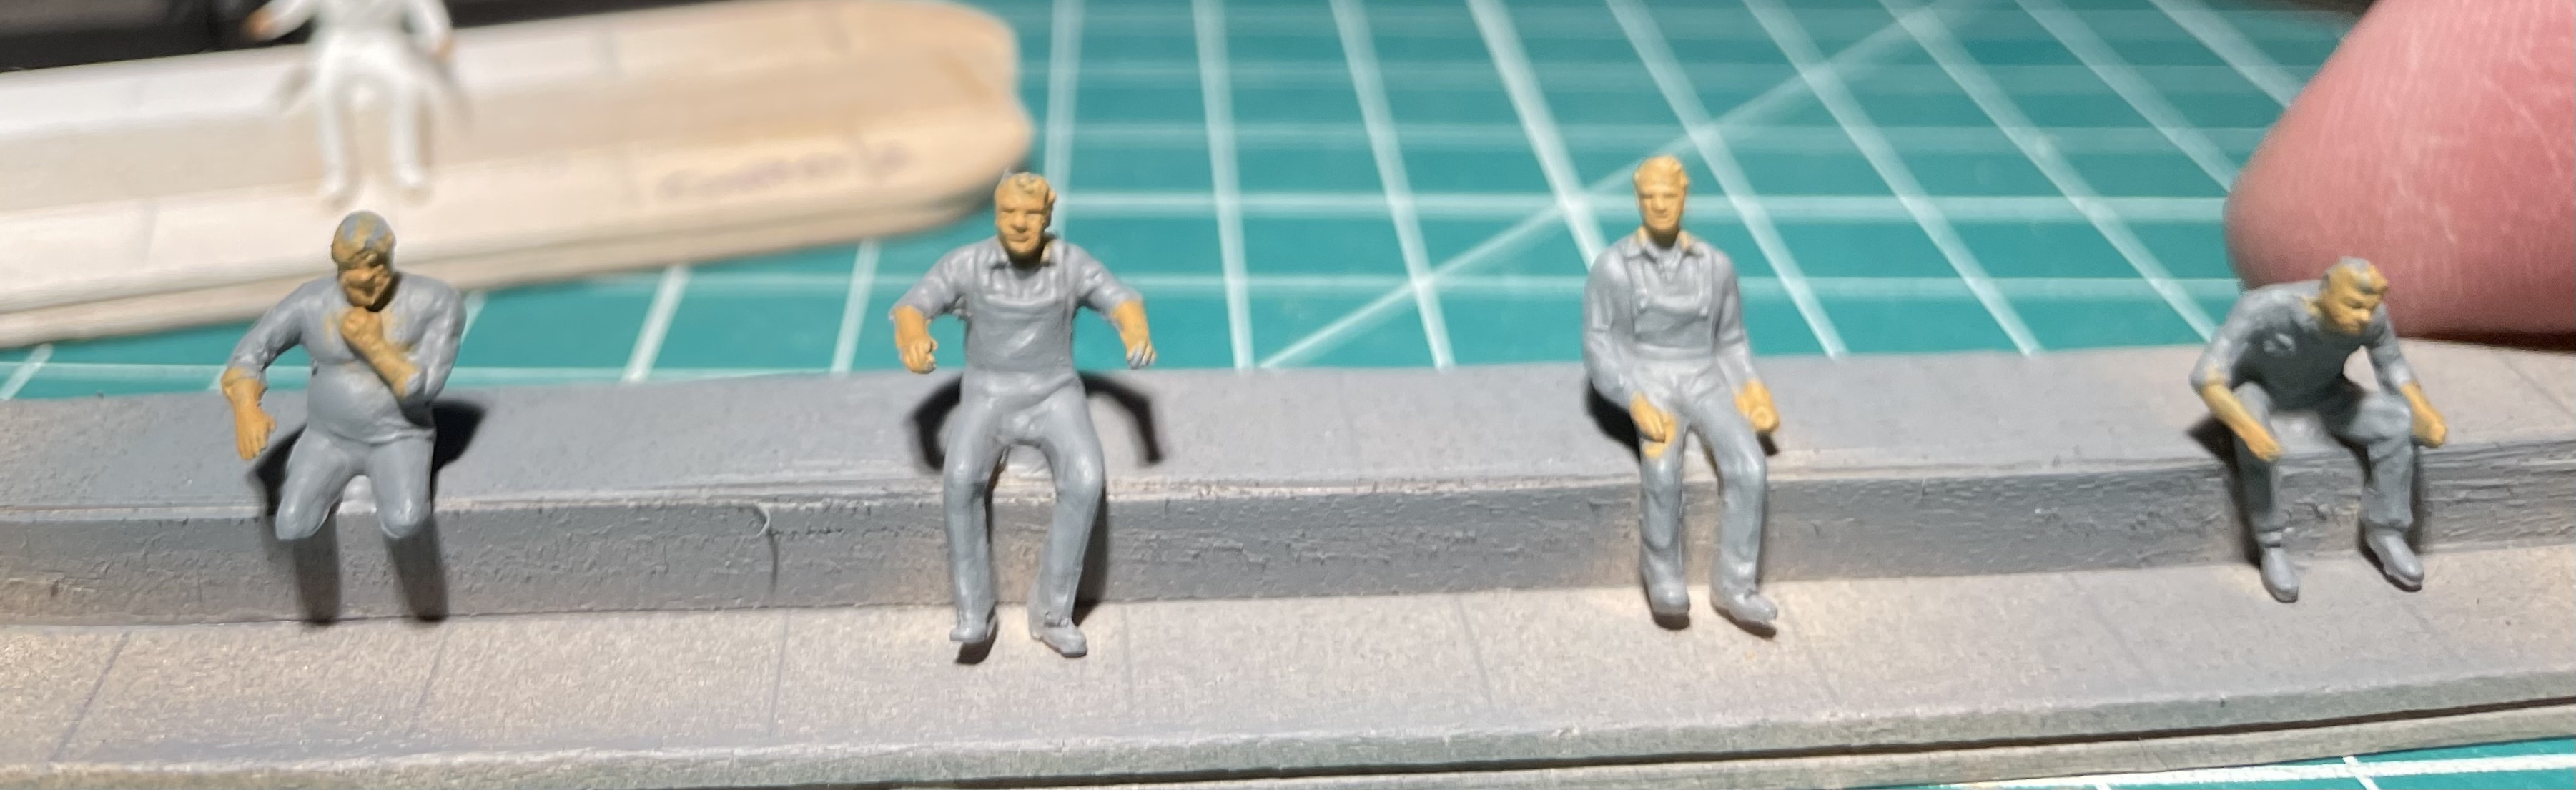
To start I split the standing figures from the sitting figures so I could experiment a little bit. I painted all the skin on the standing figures with the Bronzed Skin Shadow color and the sitting figures received Bronzed Skin (which is the midtone).
 |
| Sitting minis with bronzed flesh (mid tone) |


 |
| Standing figures with bronzed shadow |
 |
| A group shot of the standing figures, since they have a pin in their foot I can move them back and forth a little bit anyway. |
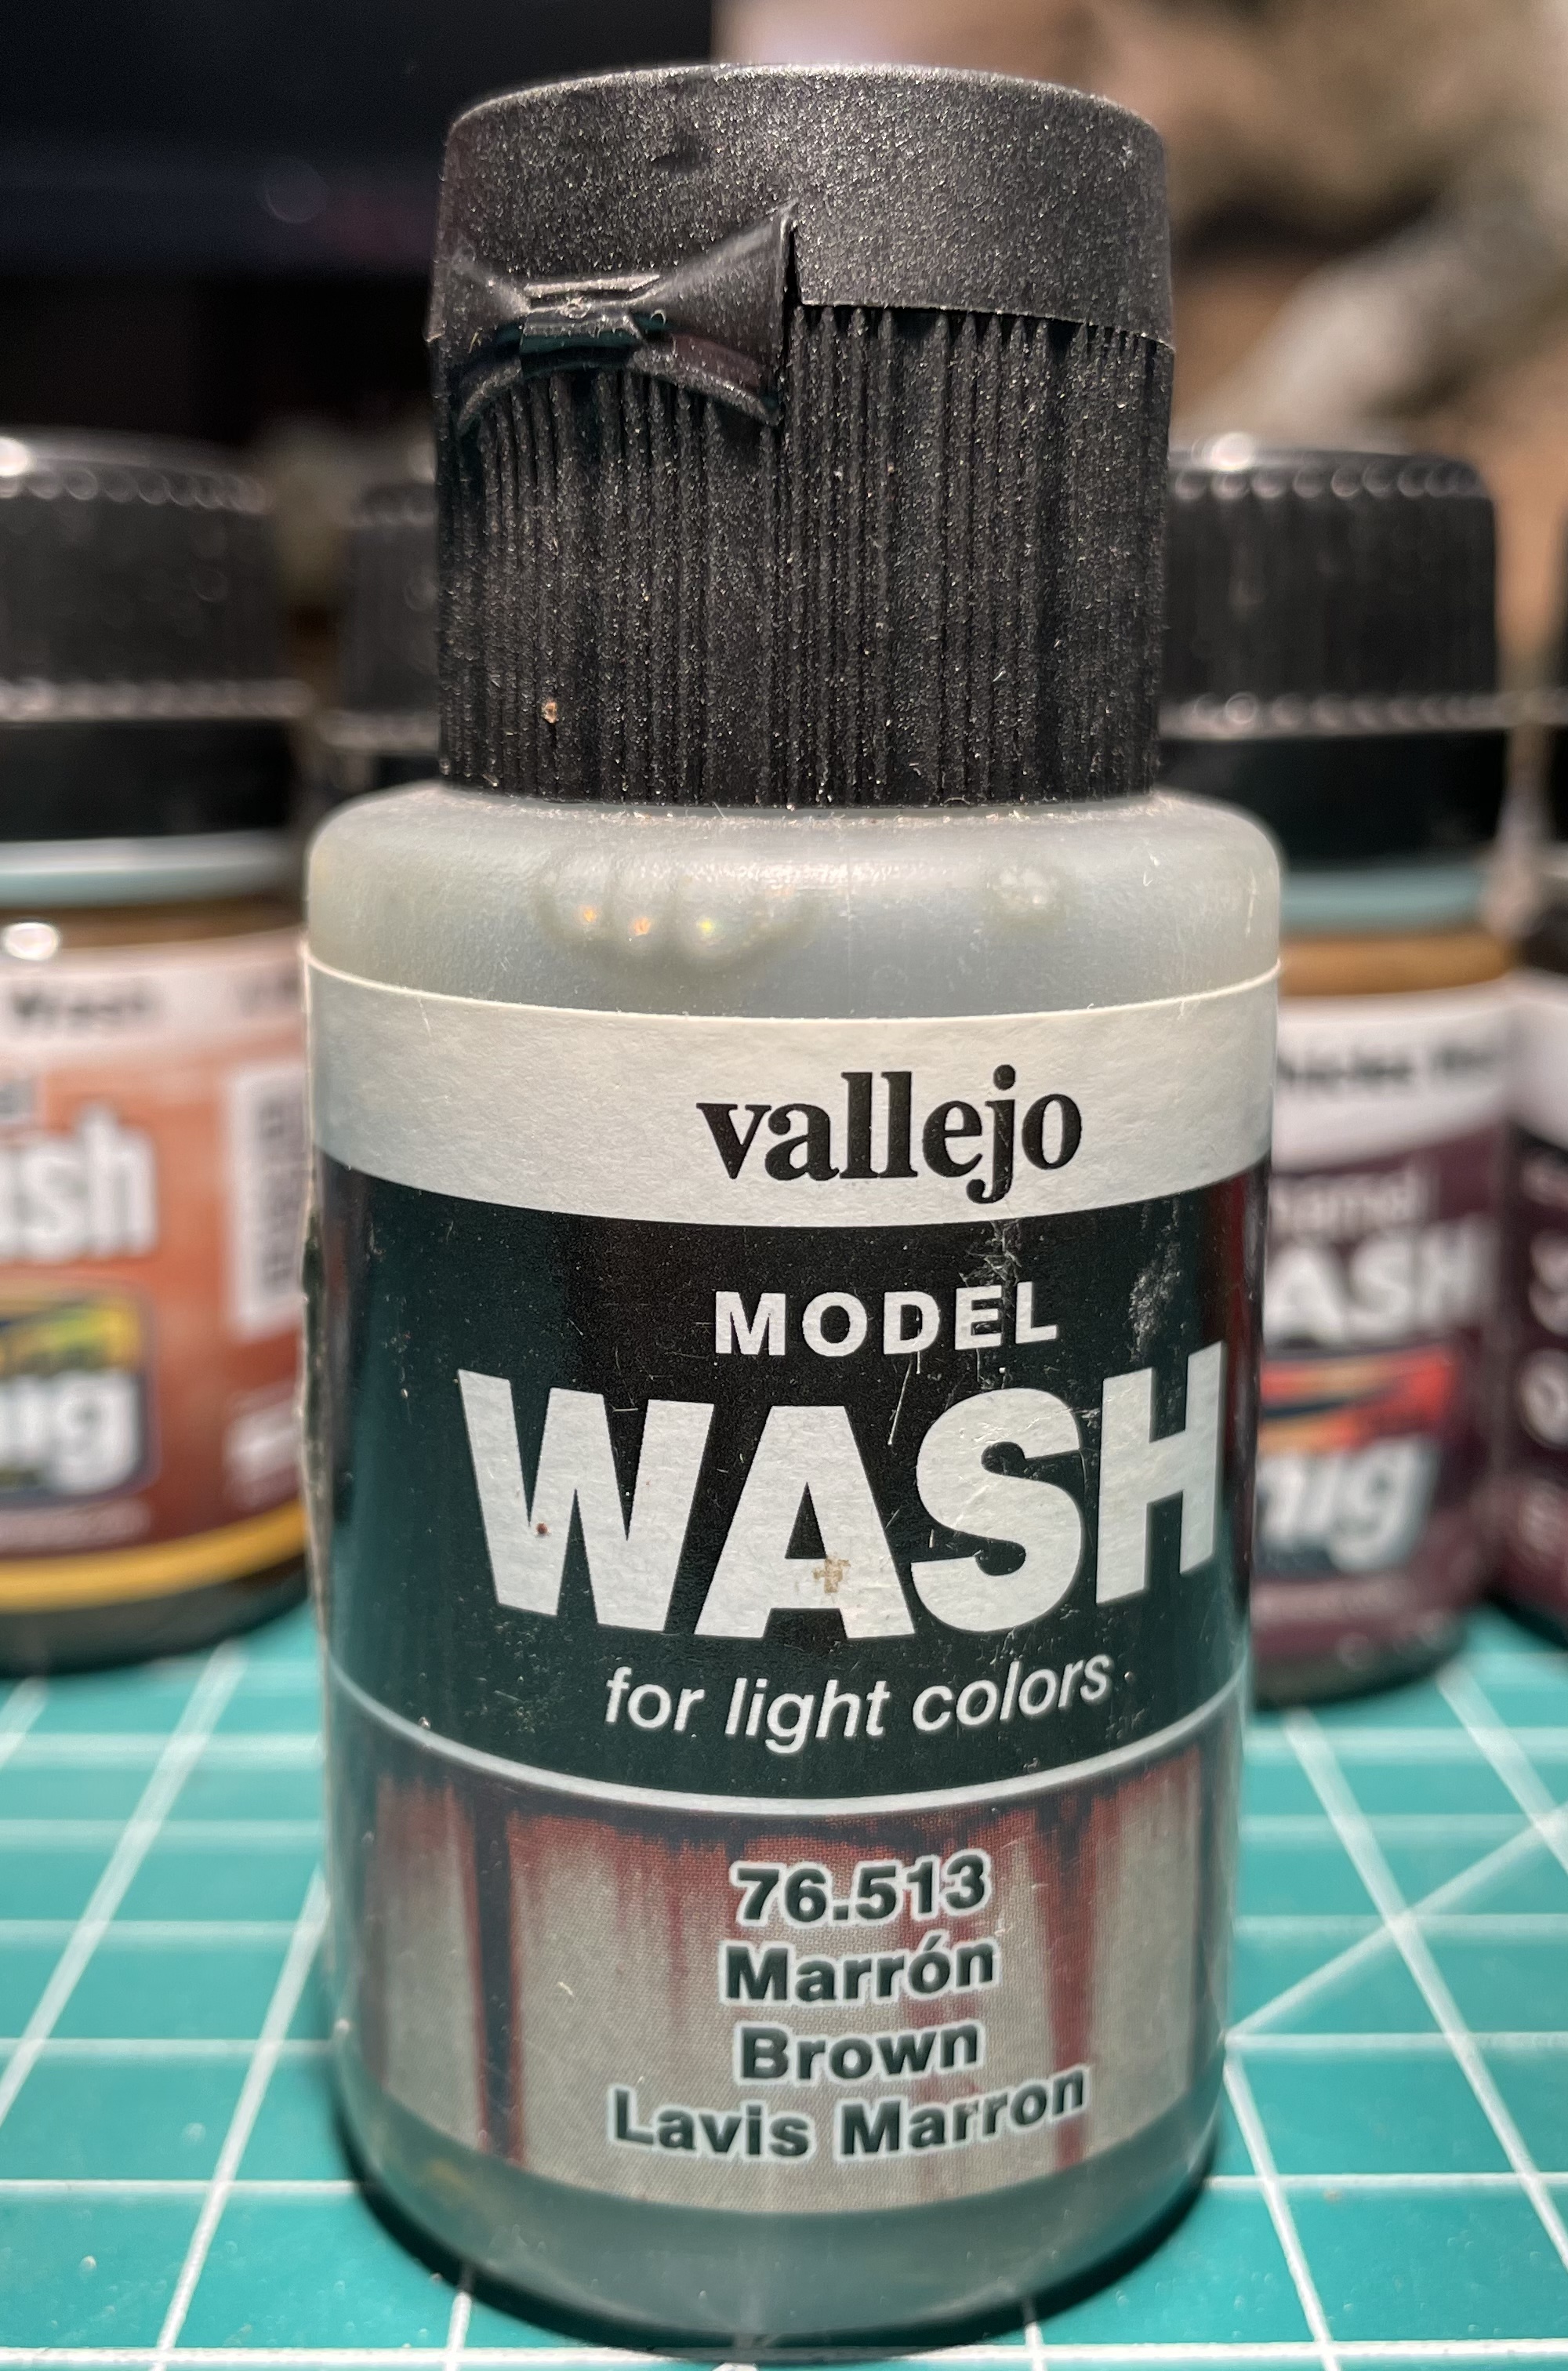
The 2nd step is to apply a wash, the whole point of the wash is to help create our shadows. You can apply it somewhat liberally over all the skin, but make sure you wick away anything on the top surface with a clean brush and it make sure you don't have any pools either. I first tried the Ammo A-Mig 1203 Streaking Grime wash which is an enamel base. I used it straight from the bottle and it worked fine, but I wasn't pleased with the look. I did use it on both the standing and sitting figures and I use this wash a lot on vehicles rather than miniatures but in the end I wasn't happy with it. Mostly because it just takes longer to dry and it gave me a slightly hydrophobic surface. I basically went back and re-applied the skin tones then went back over it with the Ammo A-Mig 0134 which is a burnt brown red color thinned out as a wash with airbrush thinner. I rarely thin with straight water I have a mix of, essentially, "wet" water so it flows better. I now thin with airbrush thinner instead, it just saves work. I applied this wash just like the enamel one and I was much happier with the result.
 |
| A variety of ready to go enamel washes. The two on the right are really more of a filter than a wash. A filter is used a little differently and is typically used to shift a base color one way or another. It is much thinner than a wash. |
 |
| Ready to go Vallejo wash. I was going to use this but its old and wasn't any good. Vallejo washes need to be well shaken and applied very lightly or they get white spots showing up if the wash gets to thick especially a problem if it pools. |
 |
| The Mig color I actually ended up using for my skin wash. Pretty pleased with how this came out. |
 |
| Standing figures with the wash applied |


 |
| Seated figures with the wash applied. |


If you need to you can reapply the appropriate skin tone to the upper surfaces again, while being sure not to cover the shadows you just added.
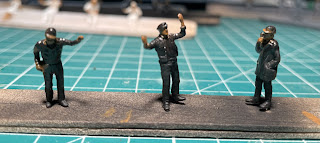
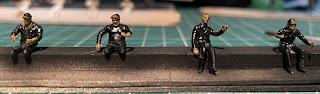
The 3rd step is "wet" drybrush. For this I like to use a small chip brush. I mixed bronzed skin and the bronzed skin highlight together about 1:1 and thinned it a little bit (the infamous "just a tad", just to make it flow of the brush evenly). I only want to hit the highest points with this. I load the brush with paint and then drag the brush straight down the face and the hands. (This would vary based on your light source, but generally this is good for high noon and no one is likely to notice). Going straight down ensures that anything covered by a hat or helmet or the like will remain in shadow. This step really helps "pop" the details at least as much as it will help really define the face without going into a lot of extra detail and time!

 |
| Standing figures with a quick vertical drybrush |


 |
| Seated figures with a quick vertical drybrush |


When you look at the miniature now you should be able to make out the important details from our 12-18" mark. The eyes should really just appear as slits or shadows depending on the miniature. We are not going to try and actually paint eyes! As long as we can tell where the eye is, our minds will fill in the details whether they are actually there or not.
After this we will move into the initial layer of clothing. The painting part is pretty quick its finding time to write it all up, edit and add photos that's killing me!
No comments:
Post a Comment