Before we break out the brushes for another round let me just say that nothing here is set in stone. Take the process and modify it to suit your needs, experiment and don't be afraid that something might not work out as intended. After all its just paint and you can paint right over it, your brush can be an eraser too!
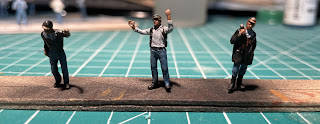
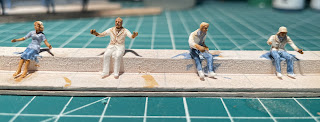
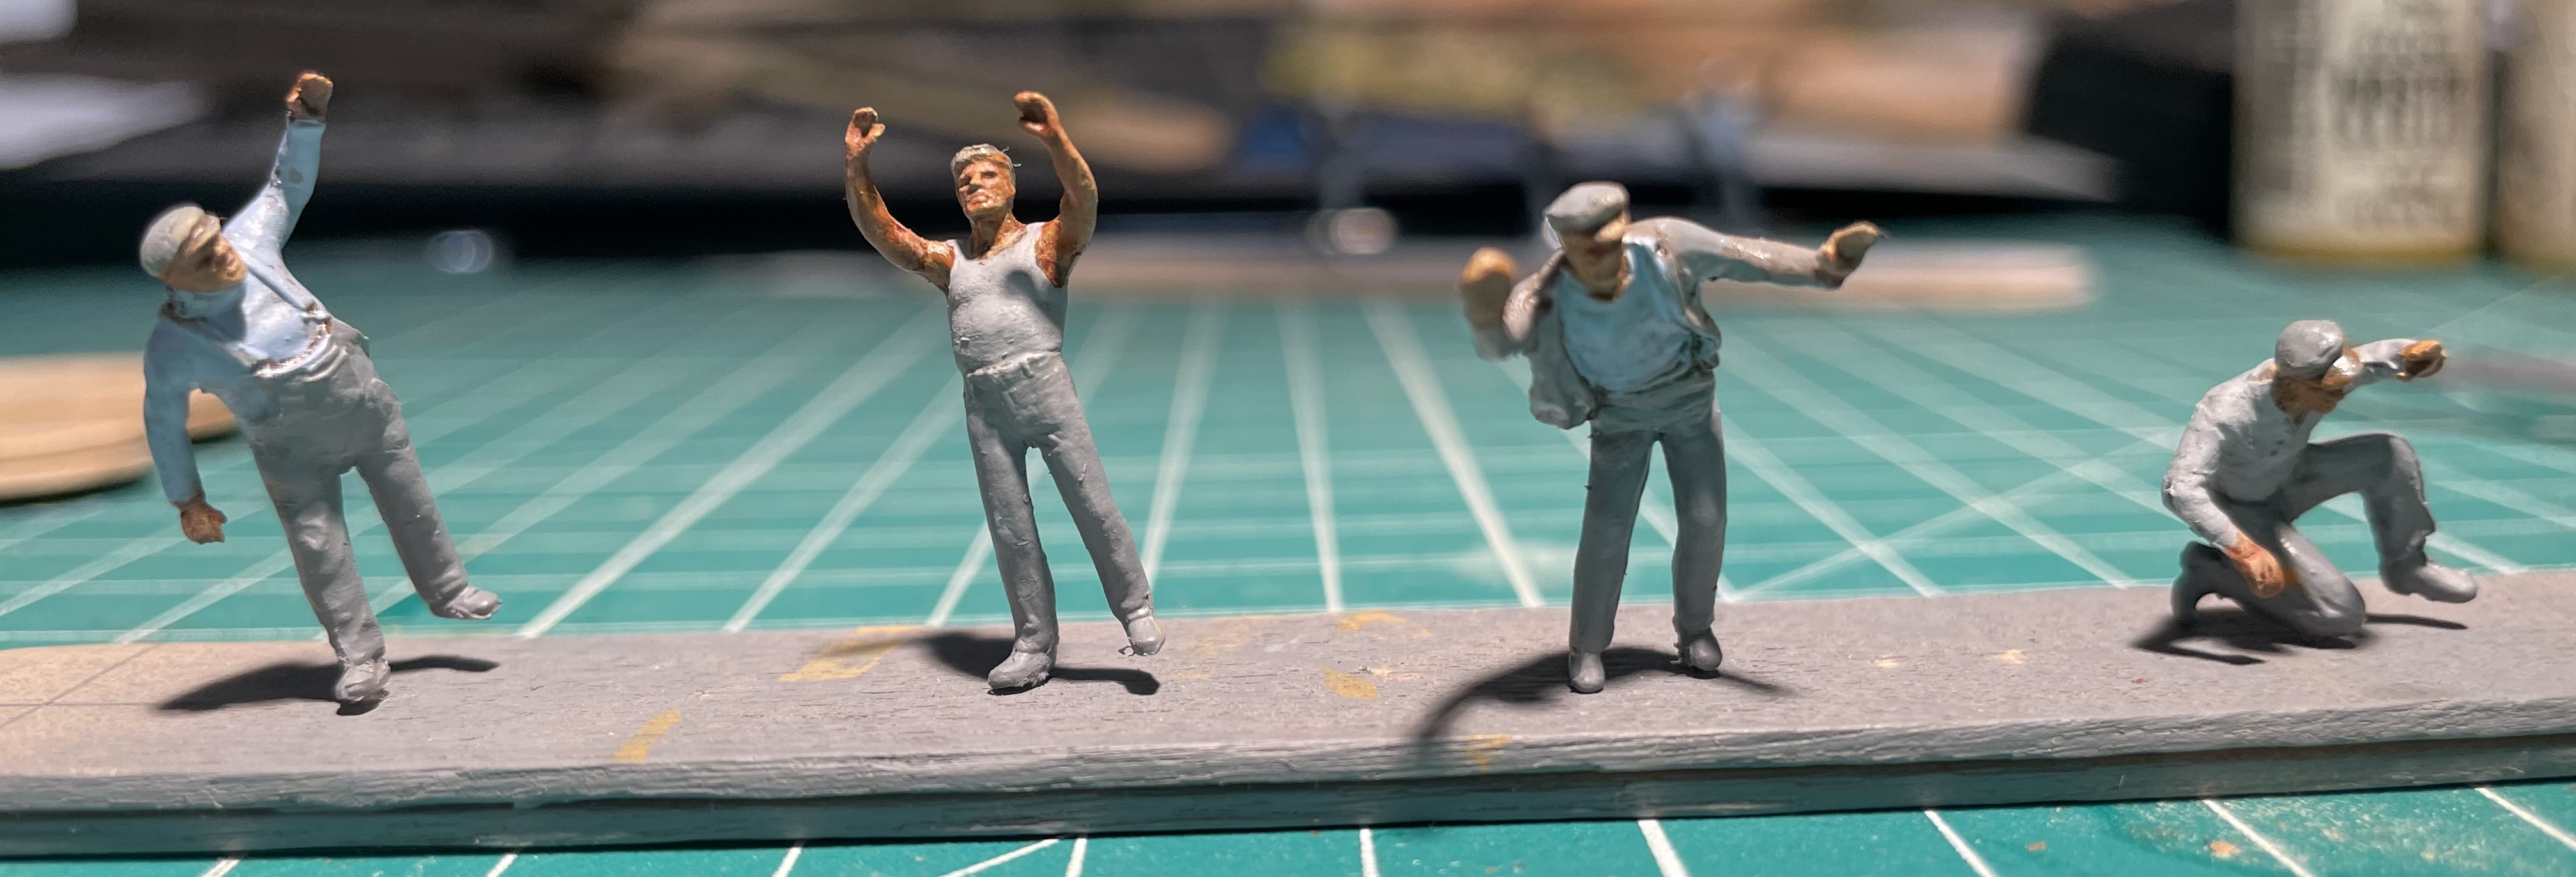
Time to move on to the clothes. Following the guide we are going to hit the pants and shirts (and dresses) next. I am painting this bunch with an eye towards using them on the Warehouse Row layout (when ever that gets built) which will be set in the late '50s early '60s. From a clothing perspective we are looking at an almost uniform like clothing style. Since most of these miniatures are male and some form of laborer I'm going to go with a lot of jeans and light grey, or bluish grey shirts. At the moment that's going to make everyone start to look very similar to one another but that is also part of the process.
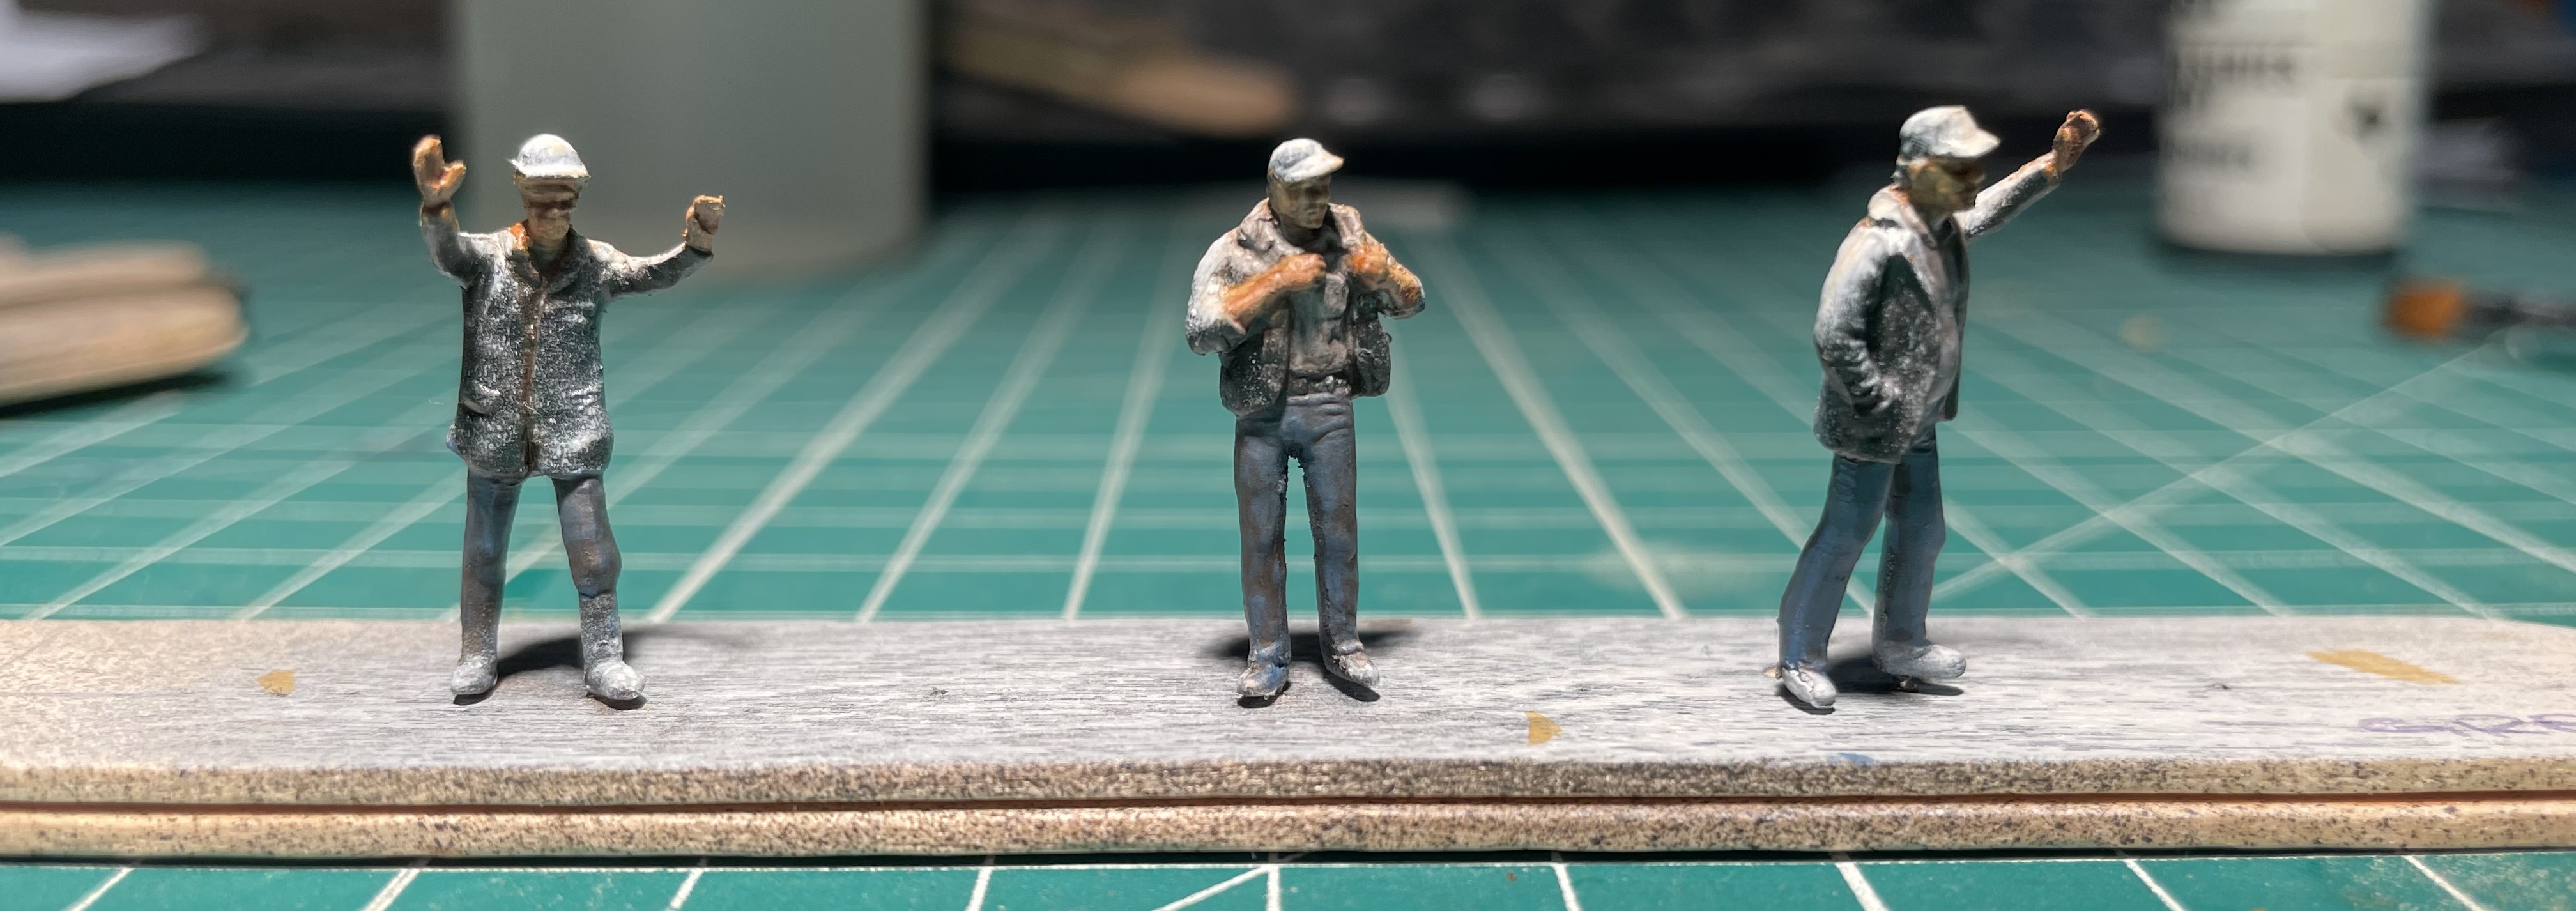
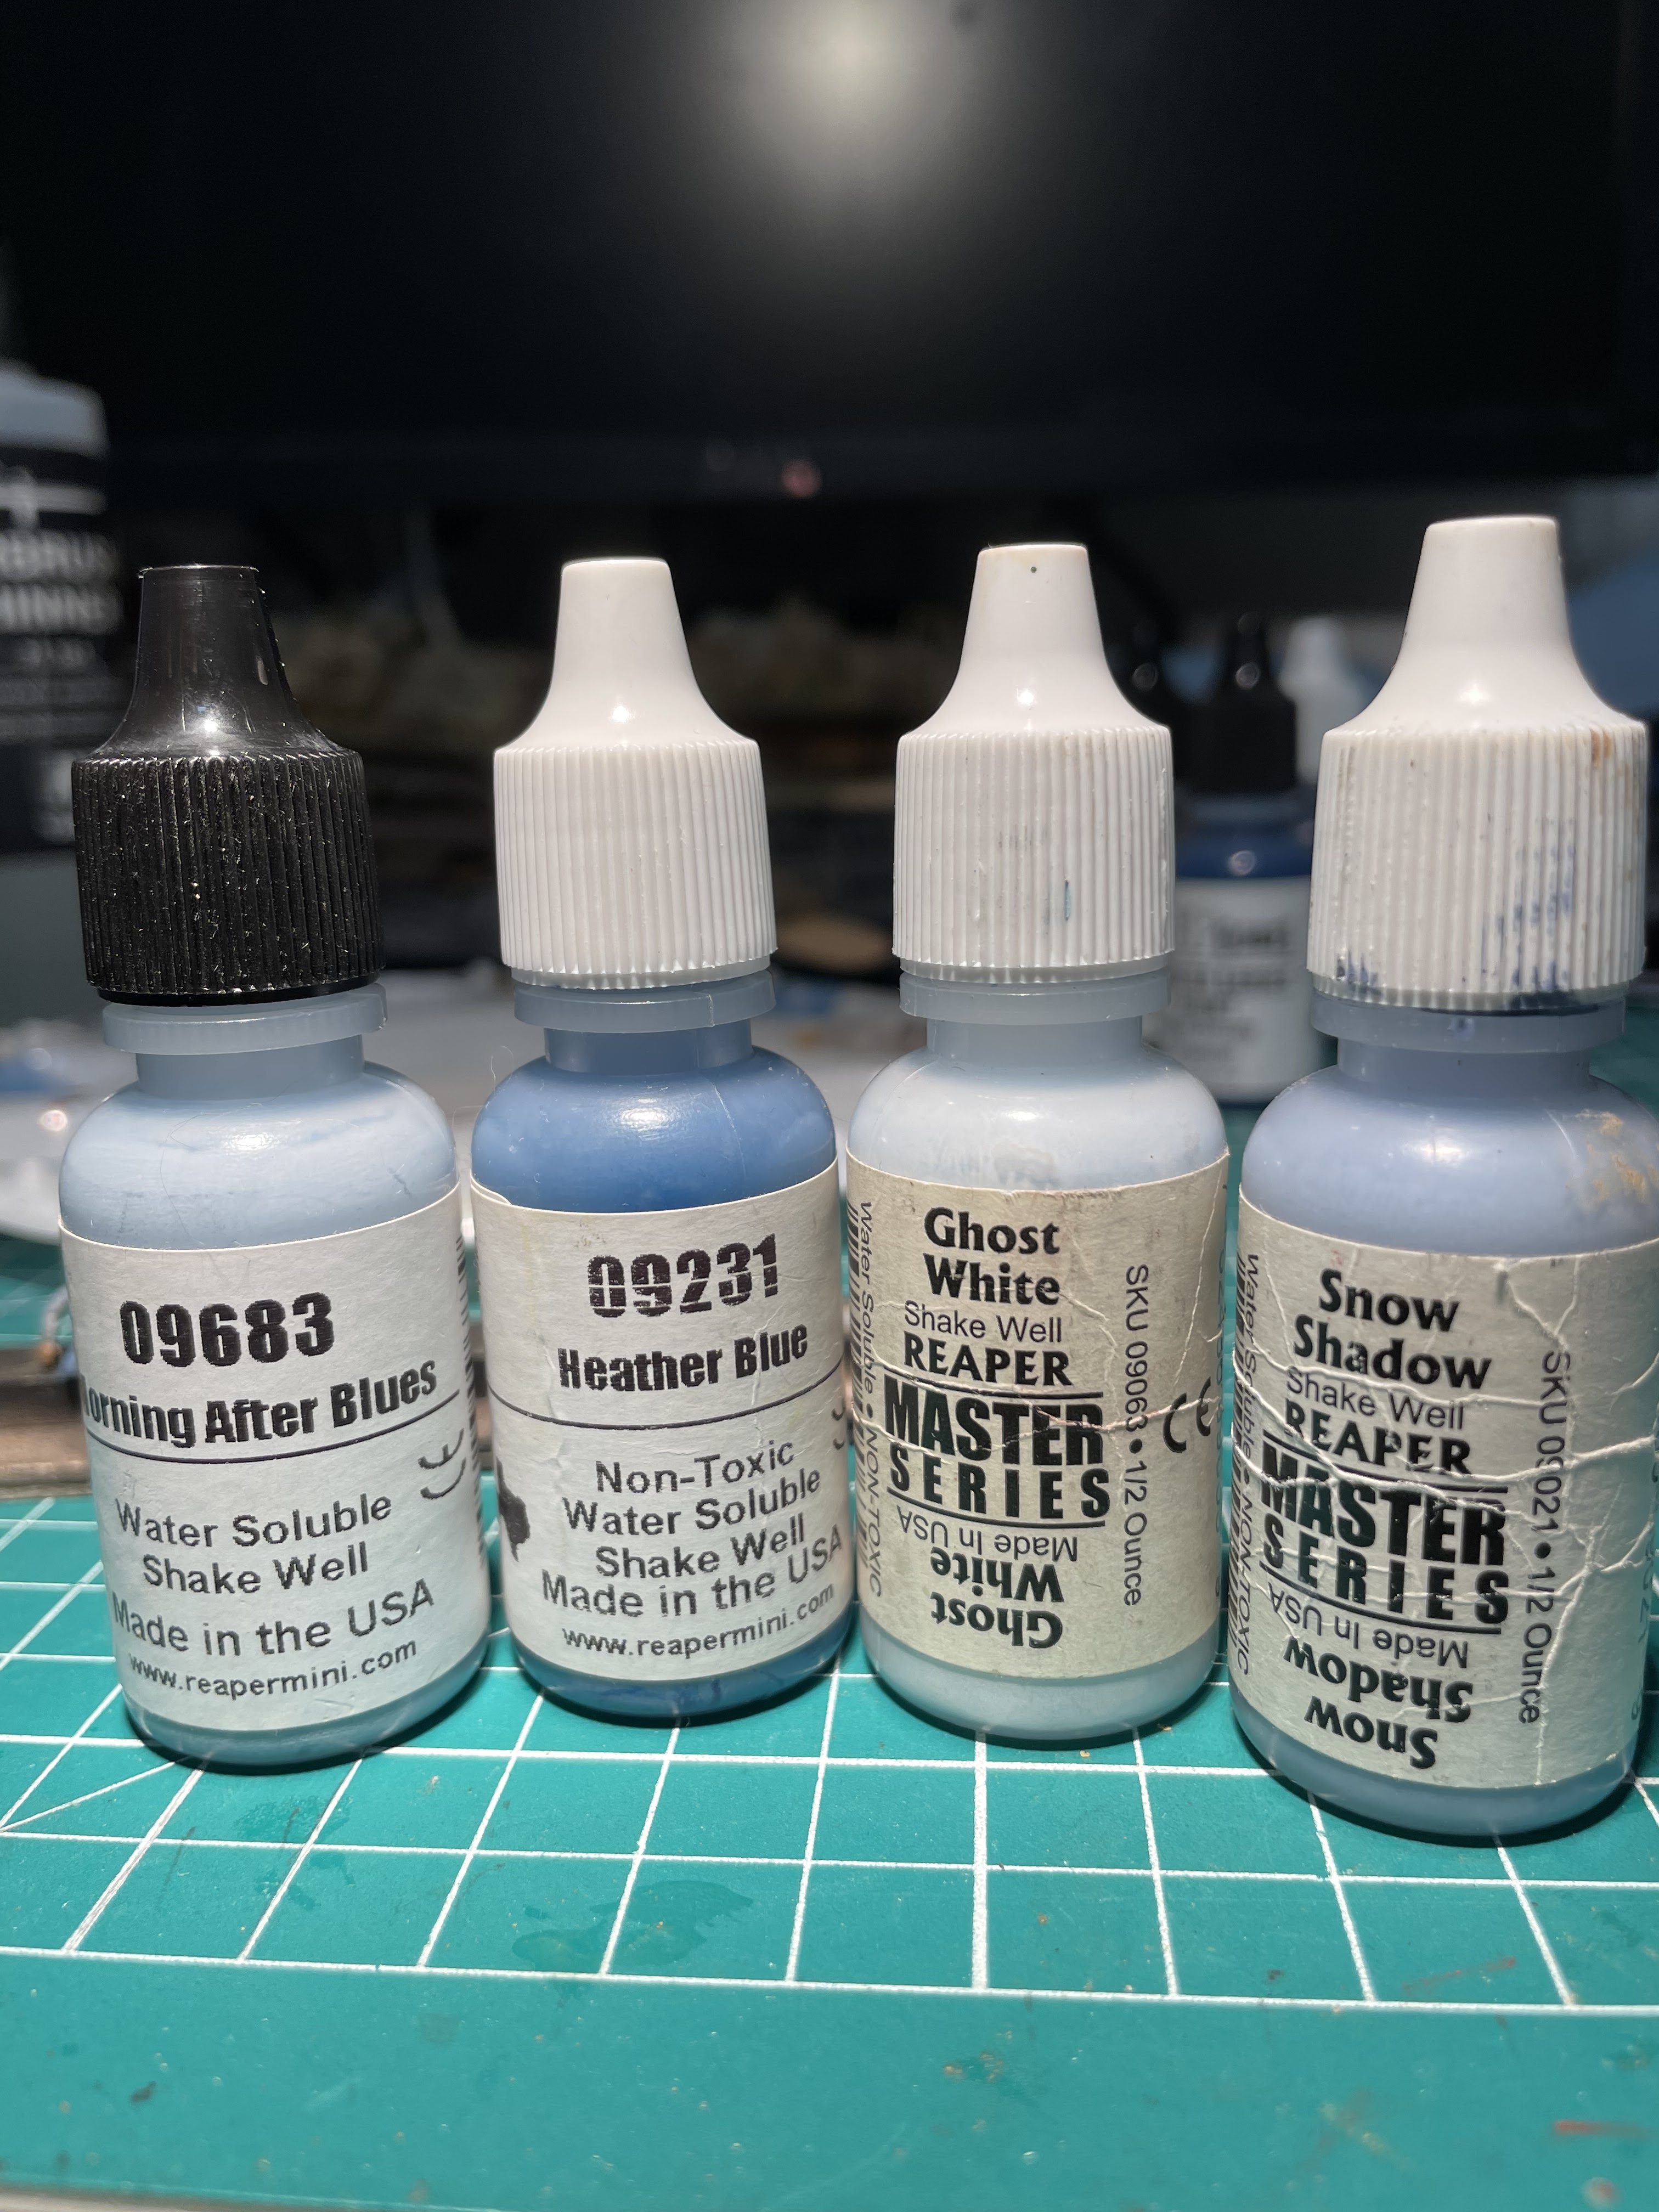
When you are batch painting you want to be efficient which means grouping your similar miniatures together, that avoids constantly switching back and forth between different colors. To go along with that we are going to paint all the miniatures that will be using the same color at the same time regardless of where they maybe on my painting sticks. I'm starting off with a blue for pants, overalls, skirts and dresses. Again we will start with the mid tone blue this will, more or less, clothing that has seen some wear and fading. I started with Grp 1 Standing Miniatures and just worked my through in order through all eight groups. I used a smaller chip brush for this to reduce the painting time since we are dealing with relatively large areas. After I finished the blue I went back and just checked them to make sure I had covered all the relevant areas.
I moved on to the shirts (and one blouse). I decided on a light grey (not white) and a very light greyish blue just to get a little variety. I did half of the miniatures in the light grey and half in the greyish blue. At this point I could see a visible difference between the two colors. I used the same brush but found myself using the edge a lot more than the flat tip, which means I could have used one of my workhorse rounds to do this work, especially on the two or three miniatures wearing overalls and trying to avoid painting the straps that were already painted blue. I could have remedied that by painting the shirts first then the pants, nothing like 20/20 hindsight.


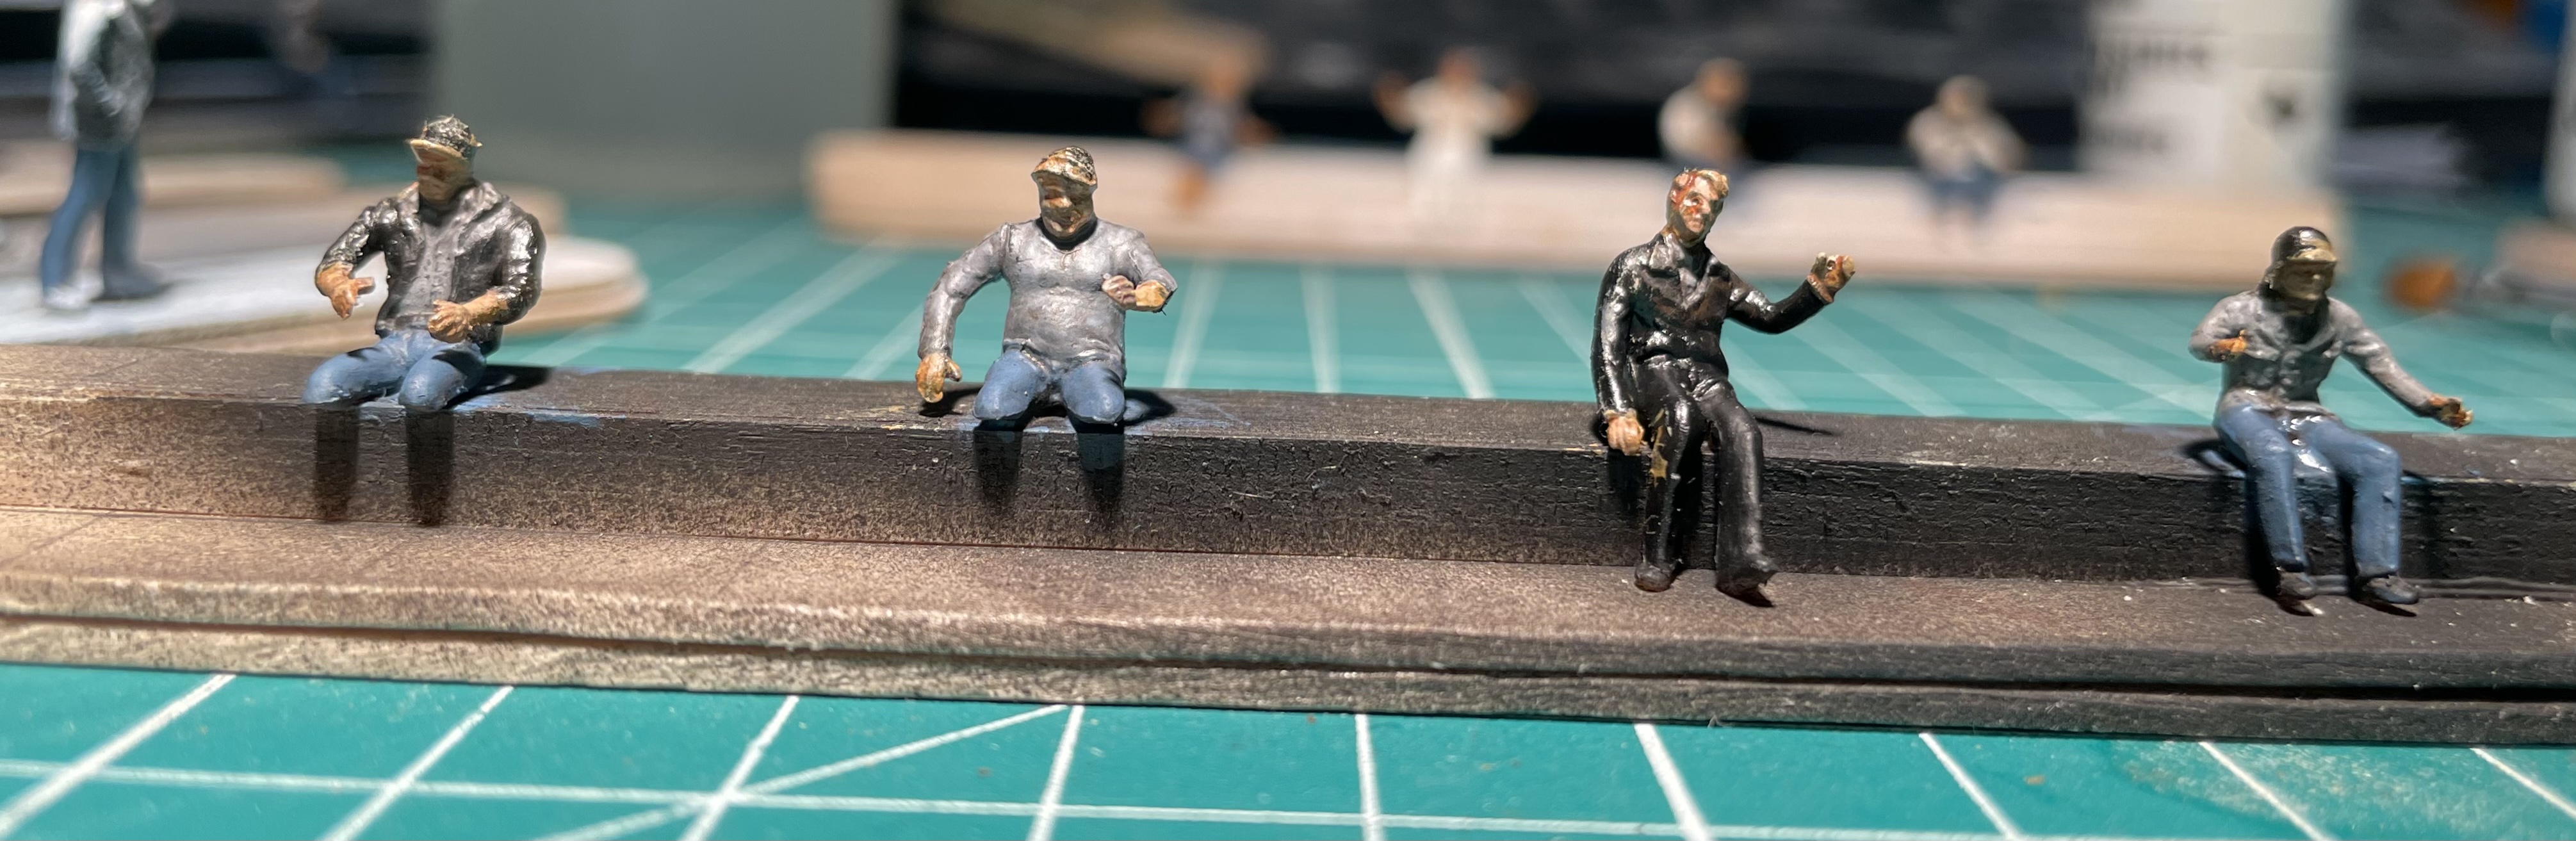
Now we need some contrast and that means adding shadows and some highlights, the same basic process. I experimented here a bit, first with a very dark blue as a wash for the blues and a darker bluish grey for the shirts. I applied this some what liberally over all the painted clothing. I made sure that there was a good line of color at anyplace where clothing met skin or a different piece of clothing. In this case mostly in that crease where a shirt met a jacket, but there are plenty of places to accentuate those spots where skin met cloth as well. Make sure your wash isn't pooling and if its sitting on high spots wick it away with a clean brush.
At this point I was not happy with the look after I was done. I decided to go darker and with a single color, black would have been a reasonable choice but I think black is just to harsh so I went with something called Charred Brown, a very dark brown. I repeated the process with this color and I was much happier.
Partially because I had two layers of wash and partially because the last one was very dark I need to restore a that mid tone color a bit. Working with the thought of a "high noon" sun I applied it lightly to the areas most visible and into the shadows a little bit (not the deep shadows that we just spent so much time adding a wash to). I did the same with the shirts but only used the light grey, after the wash the difference between the two colors was virtually invisible.
After I cleaned that up I added the highlight. Just like the skin I used a 1:1 mixture of the mid tone with a lighter color, a very light blue for the jeans and very light grey for the shirts. I used a workhorse round brush for this and instead of the tip I use the edge. A "wet" drybrush technique dragging straight down where appropriate or highlighting a top of edge of the cloth (mostly on the seated miniatures.)
At this point I'm pretty pleased with the look and I don't feel like I have spent an inordinate amount of time on these. Its always hard to tell how long it takes. My sessions tend to be pretty short and somewhat infrequent during the week.


