Quotes

Life is short, break the rules. Forgive quickly, kiss slowly. Love truly, laugh uncontrollably and never regret anything that makes you smile. - Samuel Longhorne Clemens (Mark Twain)
Showing posts with label Village Church. Show all posts

Tuesday, July 18, 2023

World War II Project - 28mm Village Church - Sarissa Precision - The Walls - Part 5

Getting close to wrapping up the basic wall construction. I'll leave the window work for later. I want to have stained glass in the windows and the only reasonable source for something close was out of the UK. I made that order and windows will be on hold till it arrives.

With the interior/exterior walls finished up its time for the short walls, "End Caps",  to fill the gaps. Each of these three pieces are, dimensionally, the same. Three feature larger versions of the arched windows and the fourth is the door with the top of an arched window above it. And there is a common feature of a smaller circular window near the peak. In this case I just quickly measured and cut out eight identical pieces of stone paper, marked the back side for the necessary cuts, remembering to measure for the door on one and it was off to the races.

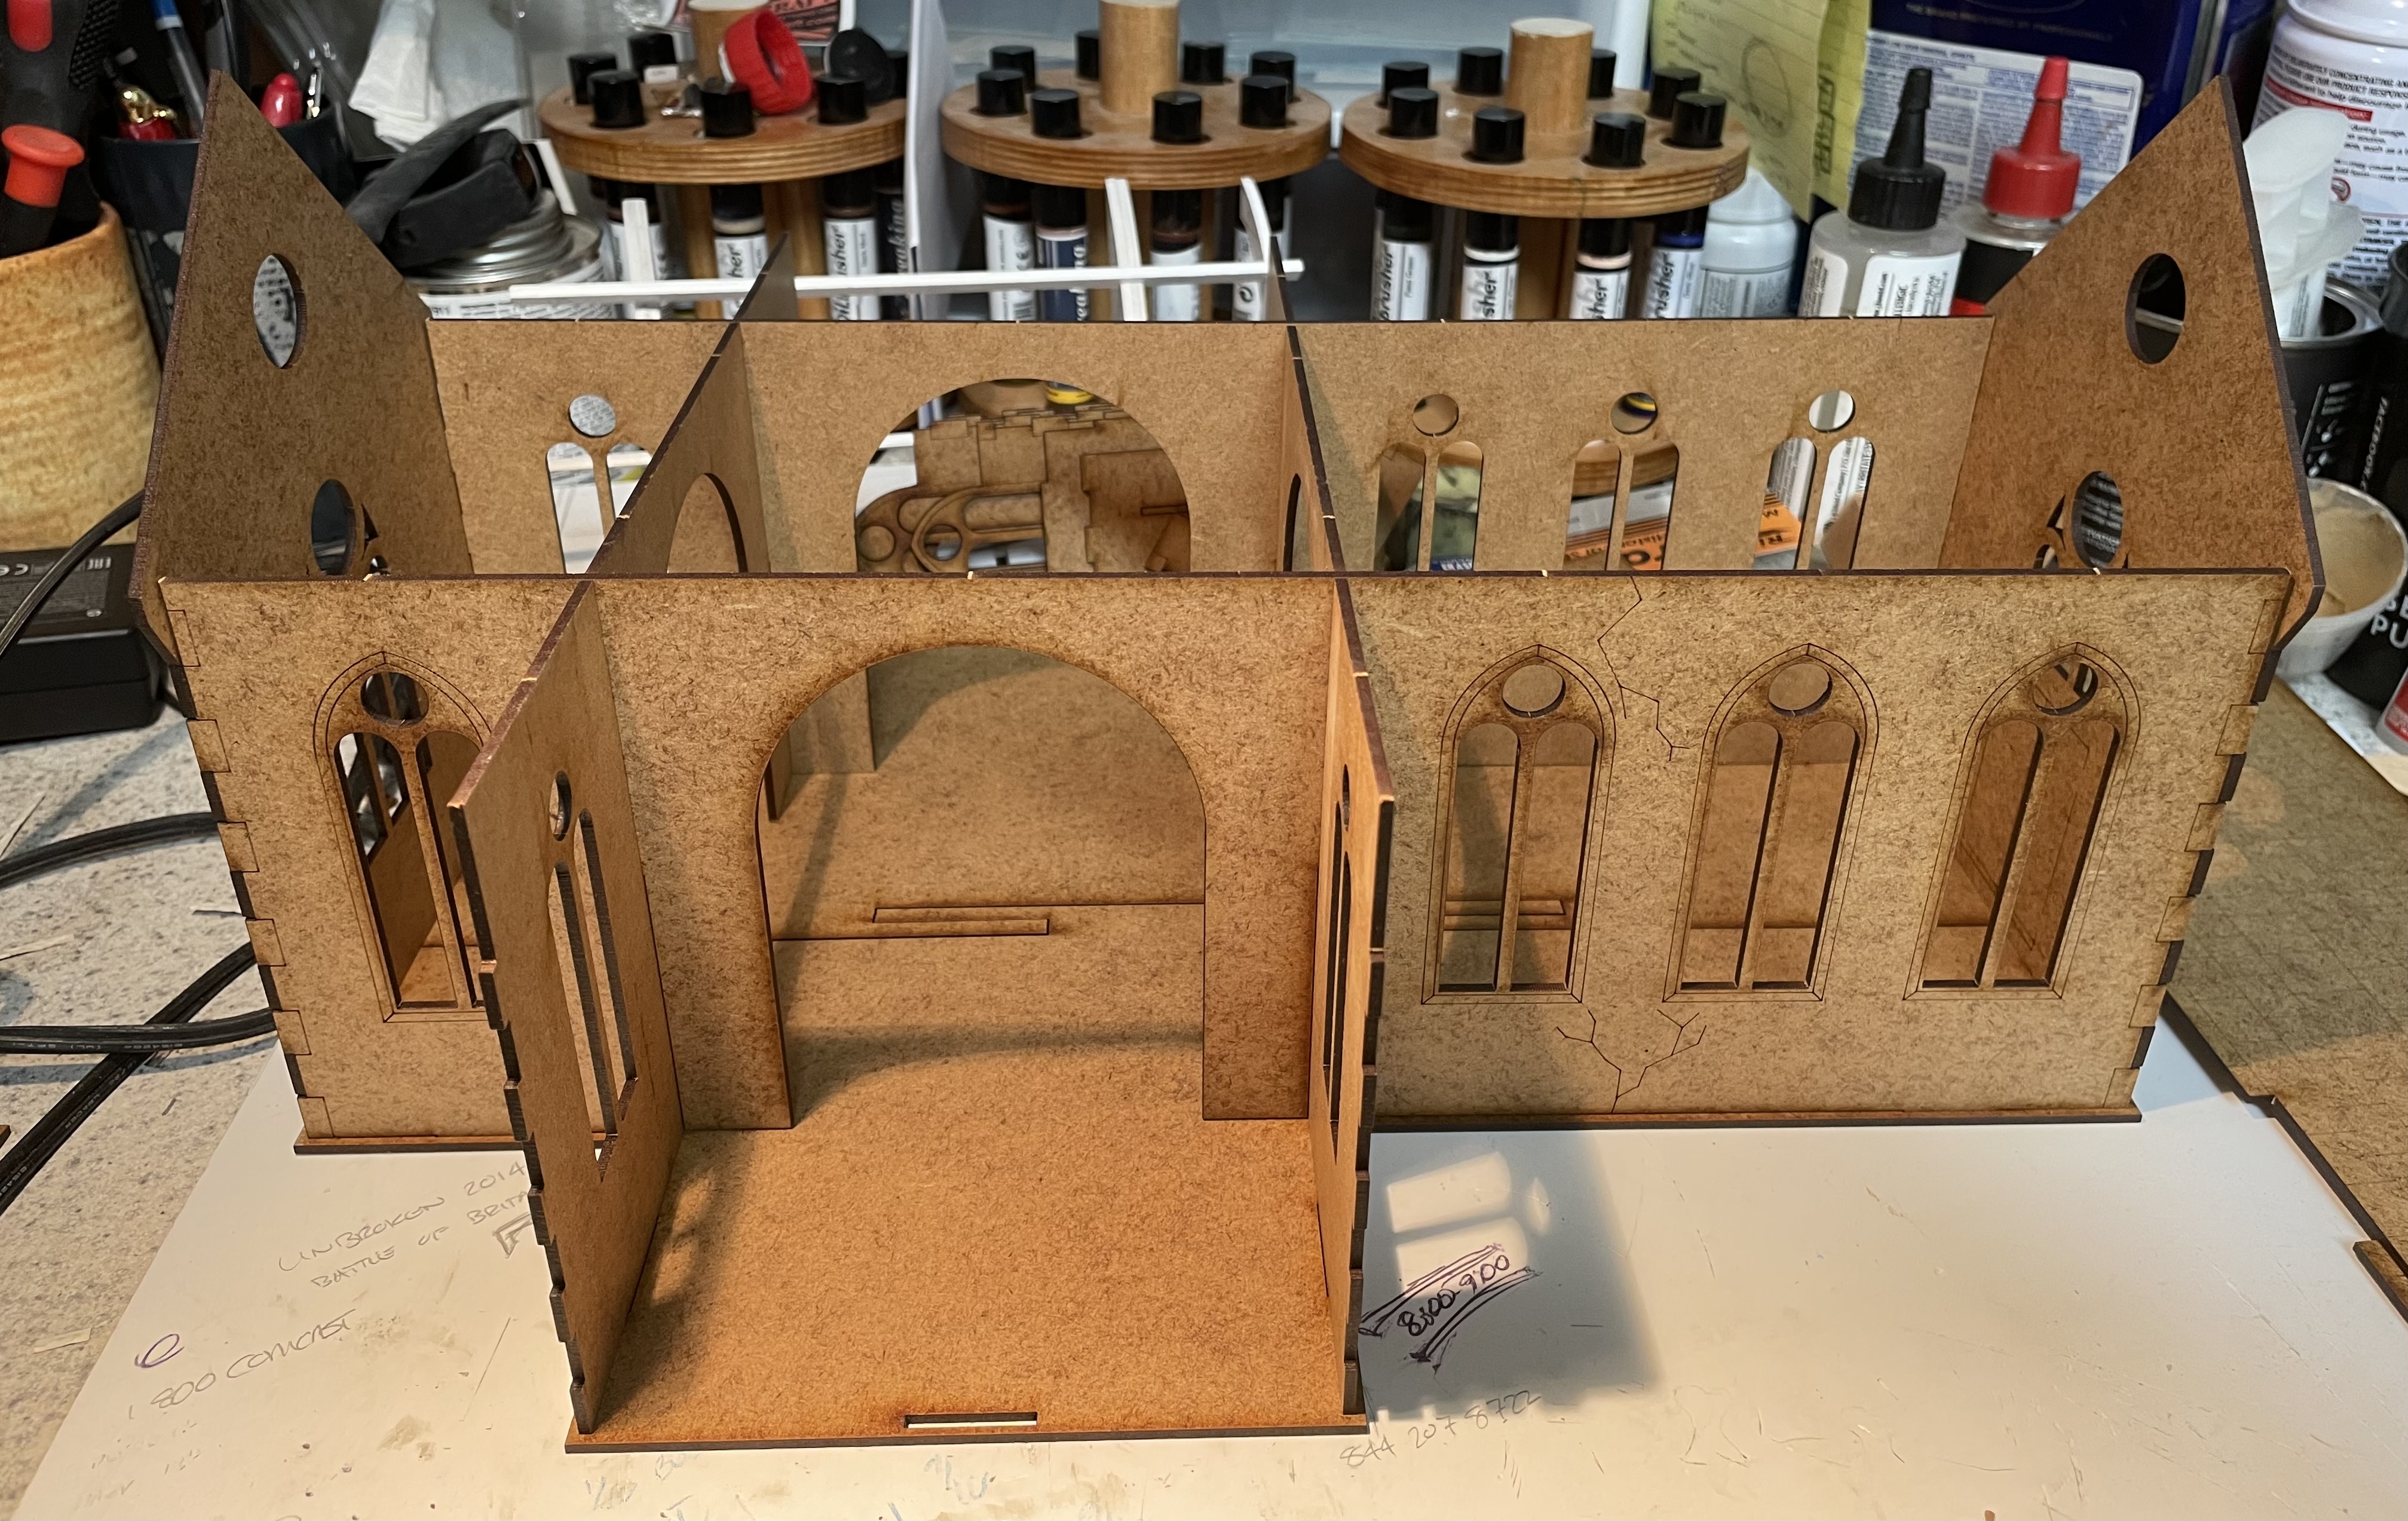
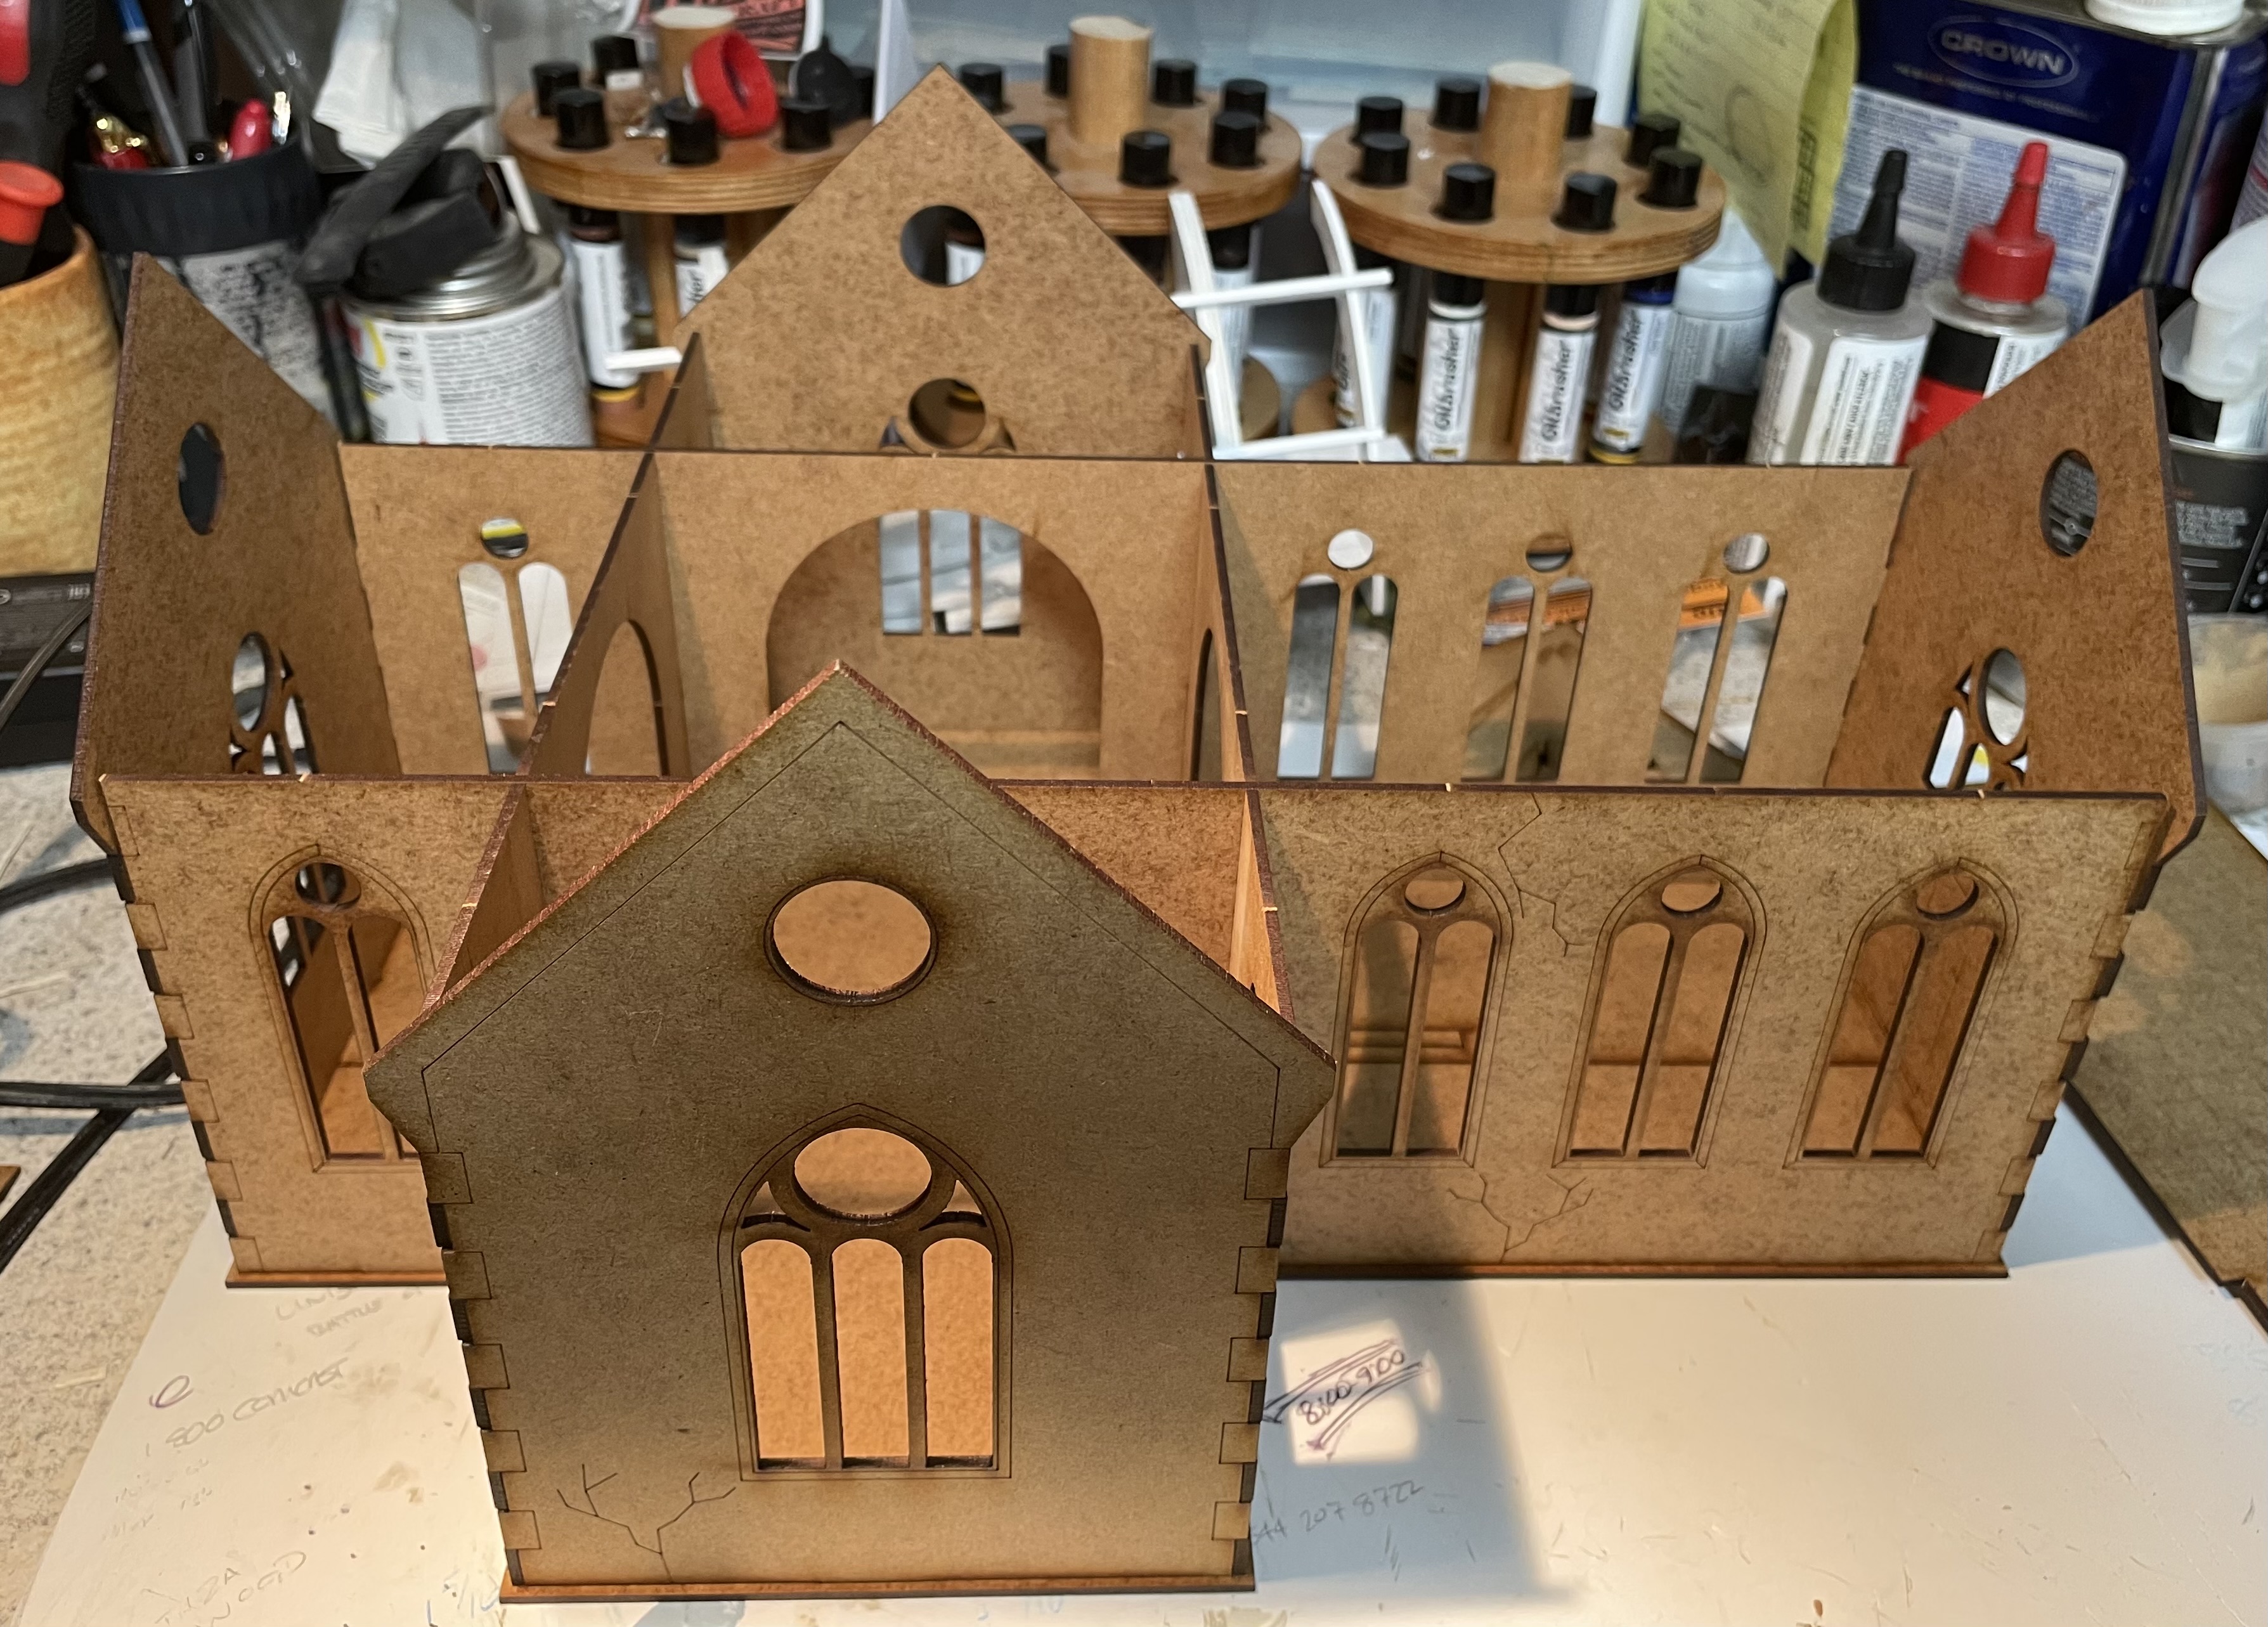
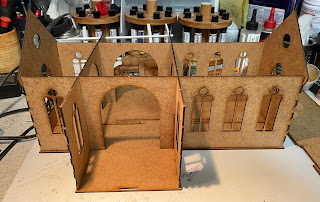
At this point the whole process of cutting and fitting has become pretty routine. There are some pictures of the entire building dry fitted together below. One thing you will notice is that all the outside corners are still showing through as bare MDF. Since corner blocks are often a different color and more regularly shaped I'm going to cover the corners with thicker cardboard "stonework" to emulate that. I did something similar on the stone farmhouse but I think I have a better idea this time around. I won't do the corners though till the whole building is ready to be assembled and I don't plan to do that until after the windows are finished. I want to do as much as I can with everything flat, another lesson I learned the hard way from the railroad station.

Laying out the lines

Hard to see, but here are my cut lines

Eight pieces, pretty much identical

And there are the four "end caps" as it were.

And the dry fit after they were cut and glued up. I think its looking pretty good.


Monday, July 17, 2023

World War II Project - 28mm Village Church - Sarissa Precision - The Walls - Part 4

Now its on to the short walls. I followed the same process I established for the long walls. One thing I should point out. When I'm doing the initial layout on the back of the stone paper I always mark the top and bottom edges as well as the sides. Since I'm working on the back side of the paper I need to remember that I'm working a mirror image. So if I measured from the left side of the wall, I need to repeat that measurement but working from my right. So mark the paper with an L on the right side and an R on the left side. I mark the bottom because I want to use the original cut edge as the bottom edge, that should be the straightest and unaffected by the wanderings of a knife or scissors. If I'm making two pieces from one sheet of paper I flip it so I'm, again, working from a straight edge and not the cut edge left by the previous piece.

So lots of pictures here to show off how things are looking after I did another round of dry fitting.


Short walls with one side of the arch glued in place

These are dry enough to cut out

gluing on the other side of the arch wall
I
Here are the short walls ready for dry fitting.

Some look at the dry fitting. I really like how its coming along.


Couple of "ground" level shots

From the main door

From the back looking towards the entrance.

Friday, July 14, 2023

World War II Project - 28mm Village Church - Sarissa Precision - The Walls - Part 3

Probably should have said this in the last post but I broke these long walls into three sections; short edge, long edge and the arch. The arch is the easiest so I saved that for last. I did the short side in the previous posting so that leaves the three arch section followed by the full arch.

I used the same approach as the short wall, taking all of my measurements from the same side and I used my best 12" steel ruler to do this. The process, surprisingly was successful! Take a look at the sequence below.

Laid everything out just like I did for the short wall.

Here are all the weights holding it down. I leave these in place for about 15 - 20 minutes while the glue sets. Then I can move on to the next piece, usually the opposite side.

And here is the three arch piece glued in place.

And now with the arch piece in place

Here are the long walls just about finished. Just one more arch to cut out. I let the glue completely dry before I cut out arches or trim up the edges.


The main thing to remember is keeping things slow. With that in mind I don't trim up anything until it has dried completely and I usually let it go overnight to be sure. While the stone paper is pretty stiff it sucks up the moisture from the glue and the air and tears easily when its wet, so make sure its very dry when you start to trim or it will tear. It lengthens the process but there are plenty of wall sections to work on so I do as much as I can while a section is drying. At this stage I continue to dry fit sections together to make sure they still fit. Typically I find that the stone paper has slid into the slots used to slide things together and since this is laser cut there is virtually no give there so I need to cut and file to make sure the tab and slot section remains clear. If you rush through this and force things to much its still possible to snap the MDF so take your time.


I dry fit the walls back into the floor. I like the contrast between the two stone types.


I did some quick work on one edge of the short walls. Testing the fit here so I could make sure everything continued to slide together smoothly. Its still a tight fit, tight enough that I probably won't have to use glue to hold these pieces together.


Thursday, July 13, 2023

World War II Project - 28mm Village Church - Sarissa Precision - The Walls - Part 2

With the window outlines transferred to the walls it was time to see if I could pull this off. I opted to use scrap paper from the floor so I wouldn't be wasting good dark stone paper.

I decided to start with the long wall on the left or short side of the building. I cut a piece of scrap to fit the area between the edge and the slot in the wall (2.5" wide, 4.5" tall). Using the engraving I marked out a line to represent the bottom edge of the window "sill". Then I determined where the center would be. Note that this is not the exact center from edge to edge. Rather this is the center of the based on the arch.

Conveniently the arch has a centerline marked on it as decoration. One rule I established was to make all measurements from one edge. In this case the outer edge. Outer edge to centerline was 31mm (I know, I go back and forth between imperial and metric which ever gives me an easier measurement to use) so I used that at the top and made a corresponding mark on the sill line. I drew a straight line through that.


Establish the bottom edge of the sill

Add the centerline


Then I took the narrow arch "template" (aka the cutout of the center of the narrow arch windows) which I located the centerline on (at least as best I could, I think its pretty close). I laid the template in place and traced around it. Then with a sharp knife I cut it out. Then came the moment of truth, I laid the stone paper against the outer edge to see if this worked. And it did! With a bit of adjustment the decorative engraving showed quite nicely around the opening I had cut.


Lining up the template centerline with the centerline on the paper

All traced out


All cut out

The moment of truth

How it should look with the "framing" piece in place.
c


Now I have a template and a repeatable process to work through all the windows on both sides of each piece. That's a total of 12 windows and 24 cutouts since I have to repeat the process on the interior side of the walls.

Tuesday, July 11, 2023

World War II Project - 28mm Village Church - Sarissa Precision - The Walls - Part 1

I figure that this will take at least a couple of sessions to work through at this point. Basically I'm going to use the dark stone on the walls. The walls feature a lot of arched windows, fortunately there isn't arched brickwork so I'm not going to have to lay in individual bricks like I did on the railroad station. The trick this time will be accommodating the arch and getting the paper to line up properly. In addition to that I would like to have the arch appear on the inside and sandwich in some stained glass in there. I know that's overkill on two counts, first its a village church and probably only the four round windows would have stained glass and two it increases the difficulty of the build. Still every build should have a new challenge to work through so interior arch framing and stained glass it is.

The first obstacle is to get the alignment of the arches to match, relatively closely, on each side of the wall. I was figuring I would use some kind of template to do the bulk of the transfer work. Well, the kit actually provided that template, inadvertently to be sure. The outside framing for the arches is laser cut from a thin cardboard and I just punched out the center of the arch and that discard becomes the perfect template. After that I just had to figure out the proper placement on the inside. Also note that the decorative arch frame has a gap between it and the window so I had to account for the gap when drawing the arch in on the other side.

The whole transfer process became much easier than I expected and proceeded pretty quickly. Now that I know where the arches will be on the inside I just have to figure out how to cut out the stone paper to line up.


Here are the arches all punched out. I have had this stuff open for so long that almost all the centers of the narrow arches had fallen out and had gone missing. Fortunately the framing for the round windows were located in the center of the two remaining narrow arches so I still had something to work with.

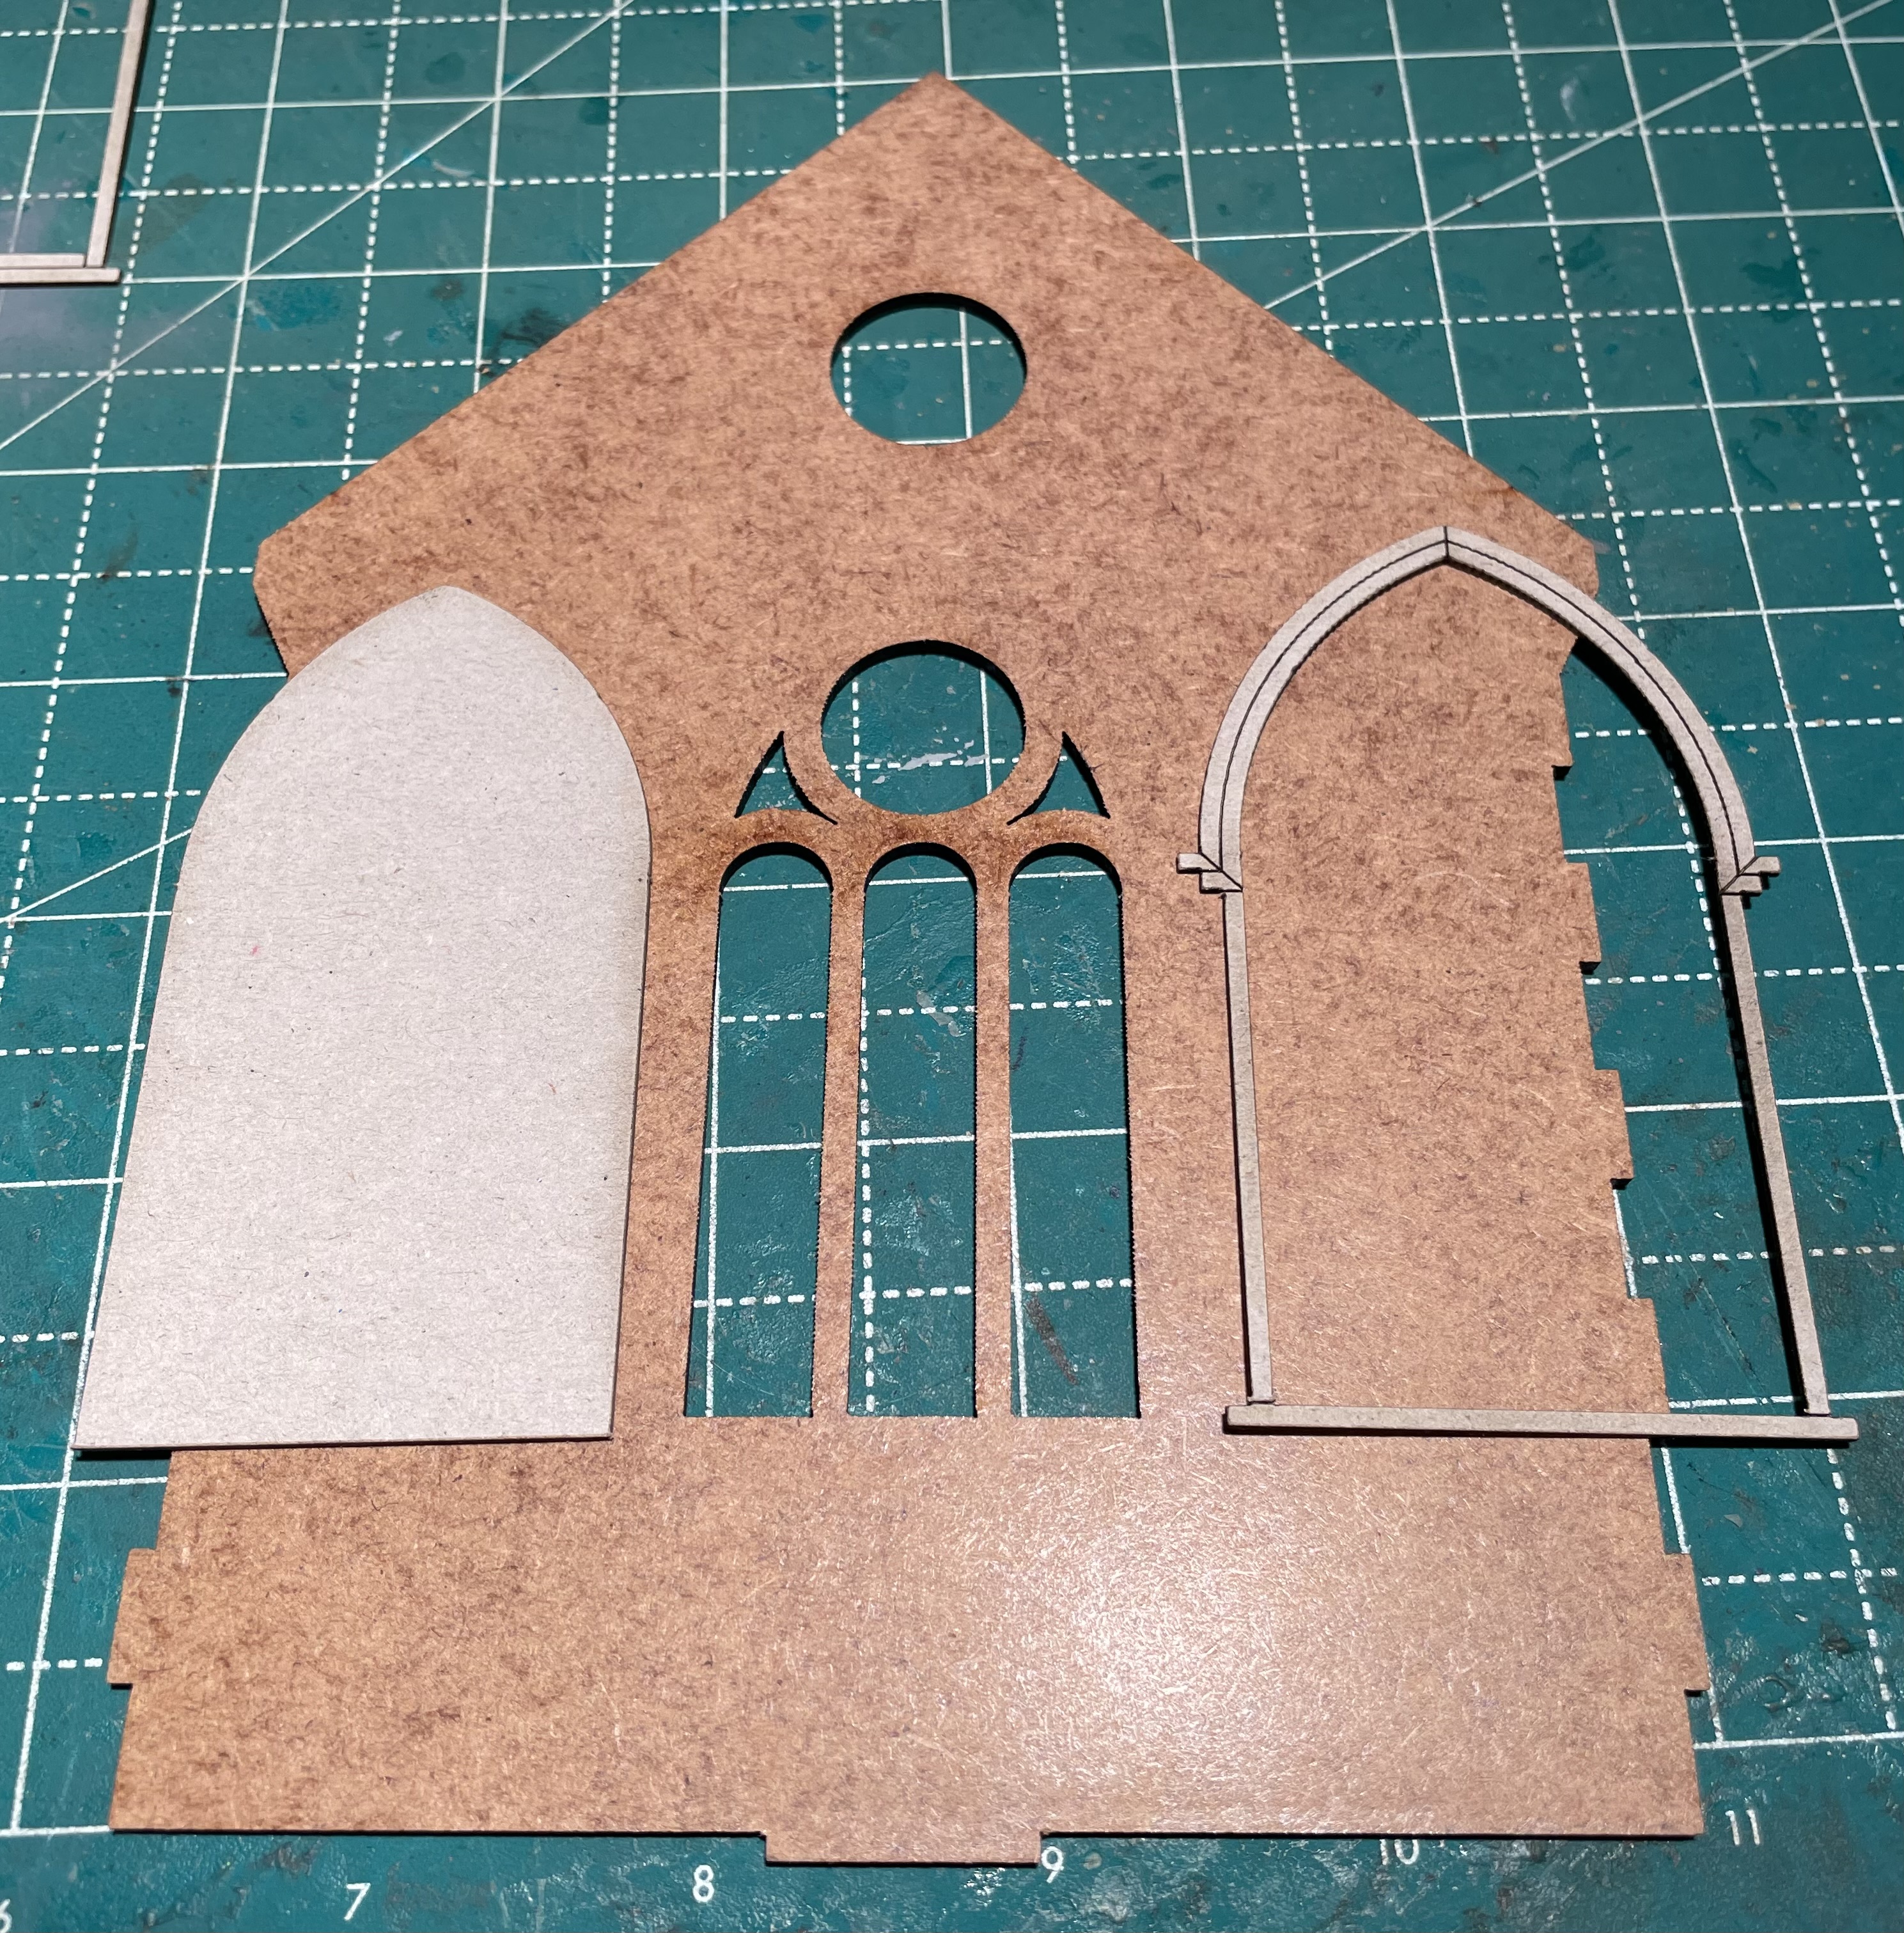
Here is the outside of an end wall and the matching cardboard arch.

It lines up with the outside edge of the engraved pattern.

Flipped over to the interior side with my center piece of the arch on the left and the arch itself on the right. I am going to have to to duplicate that arch for the inside.

Free handing that location just isn't going to work.

Precision measurements from both sides and the bottom were the answer to the alignment.

Then just lay in the template between the lines.

Then trace the arch. Quick and much simpler than I was expecting

With the narrow arches I was able to free hand the location of the template once I established the bottom edge and one side. The circular holes allowed be to see the mdf and I just had to adjust the template location till there was an equal amount of MDF showing through on either side. Even easier than the big arch. I didn't do the window on the tower yet. I think I can put that off a bit for now.


Monday, July 10, 2023

World War II Project - 28mm Village Church - Sarissa Precision - The Floor

I'm doing what I can on the church while I figure out the approach for the church windows. The floor is huge so I figured I would start there. The floor itself is in two sections and the fit is not particularly tight. So I spread the glue along the centerline and then used the walls to make sure it didn't get skewed or warped. I let that dry over night.

The gap in the floor is not huge but it didn't glue together very well. That just proved that I would need to use the stone pattern sheet to help hold it together. Kept the measurements as I tight as I could I cut out three sections for the center and one piece for each wing. This did leave four gaps between the interior arches, but I can fill those with strips later. Again I used the walls to make sure everything stayed pretty square through out the gluing process. 

The floor is much stiffer now and shouldn't cause any problems moving forward.

The two halves of the floor glued together with the walls being used for alignment.

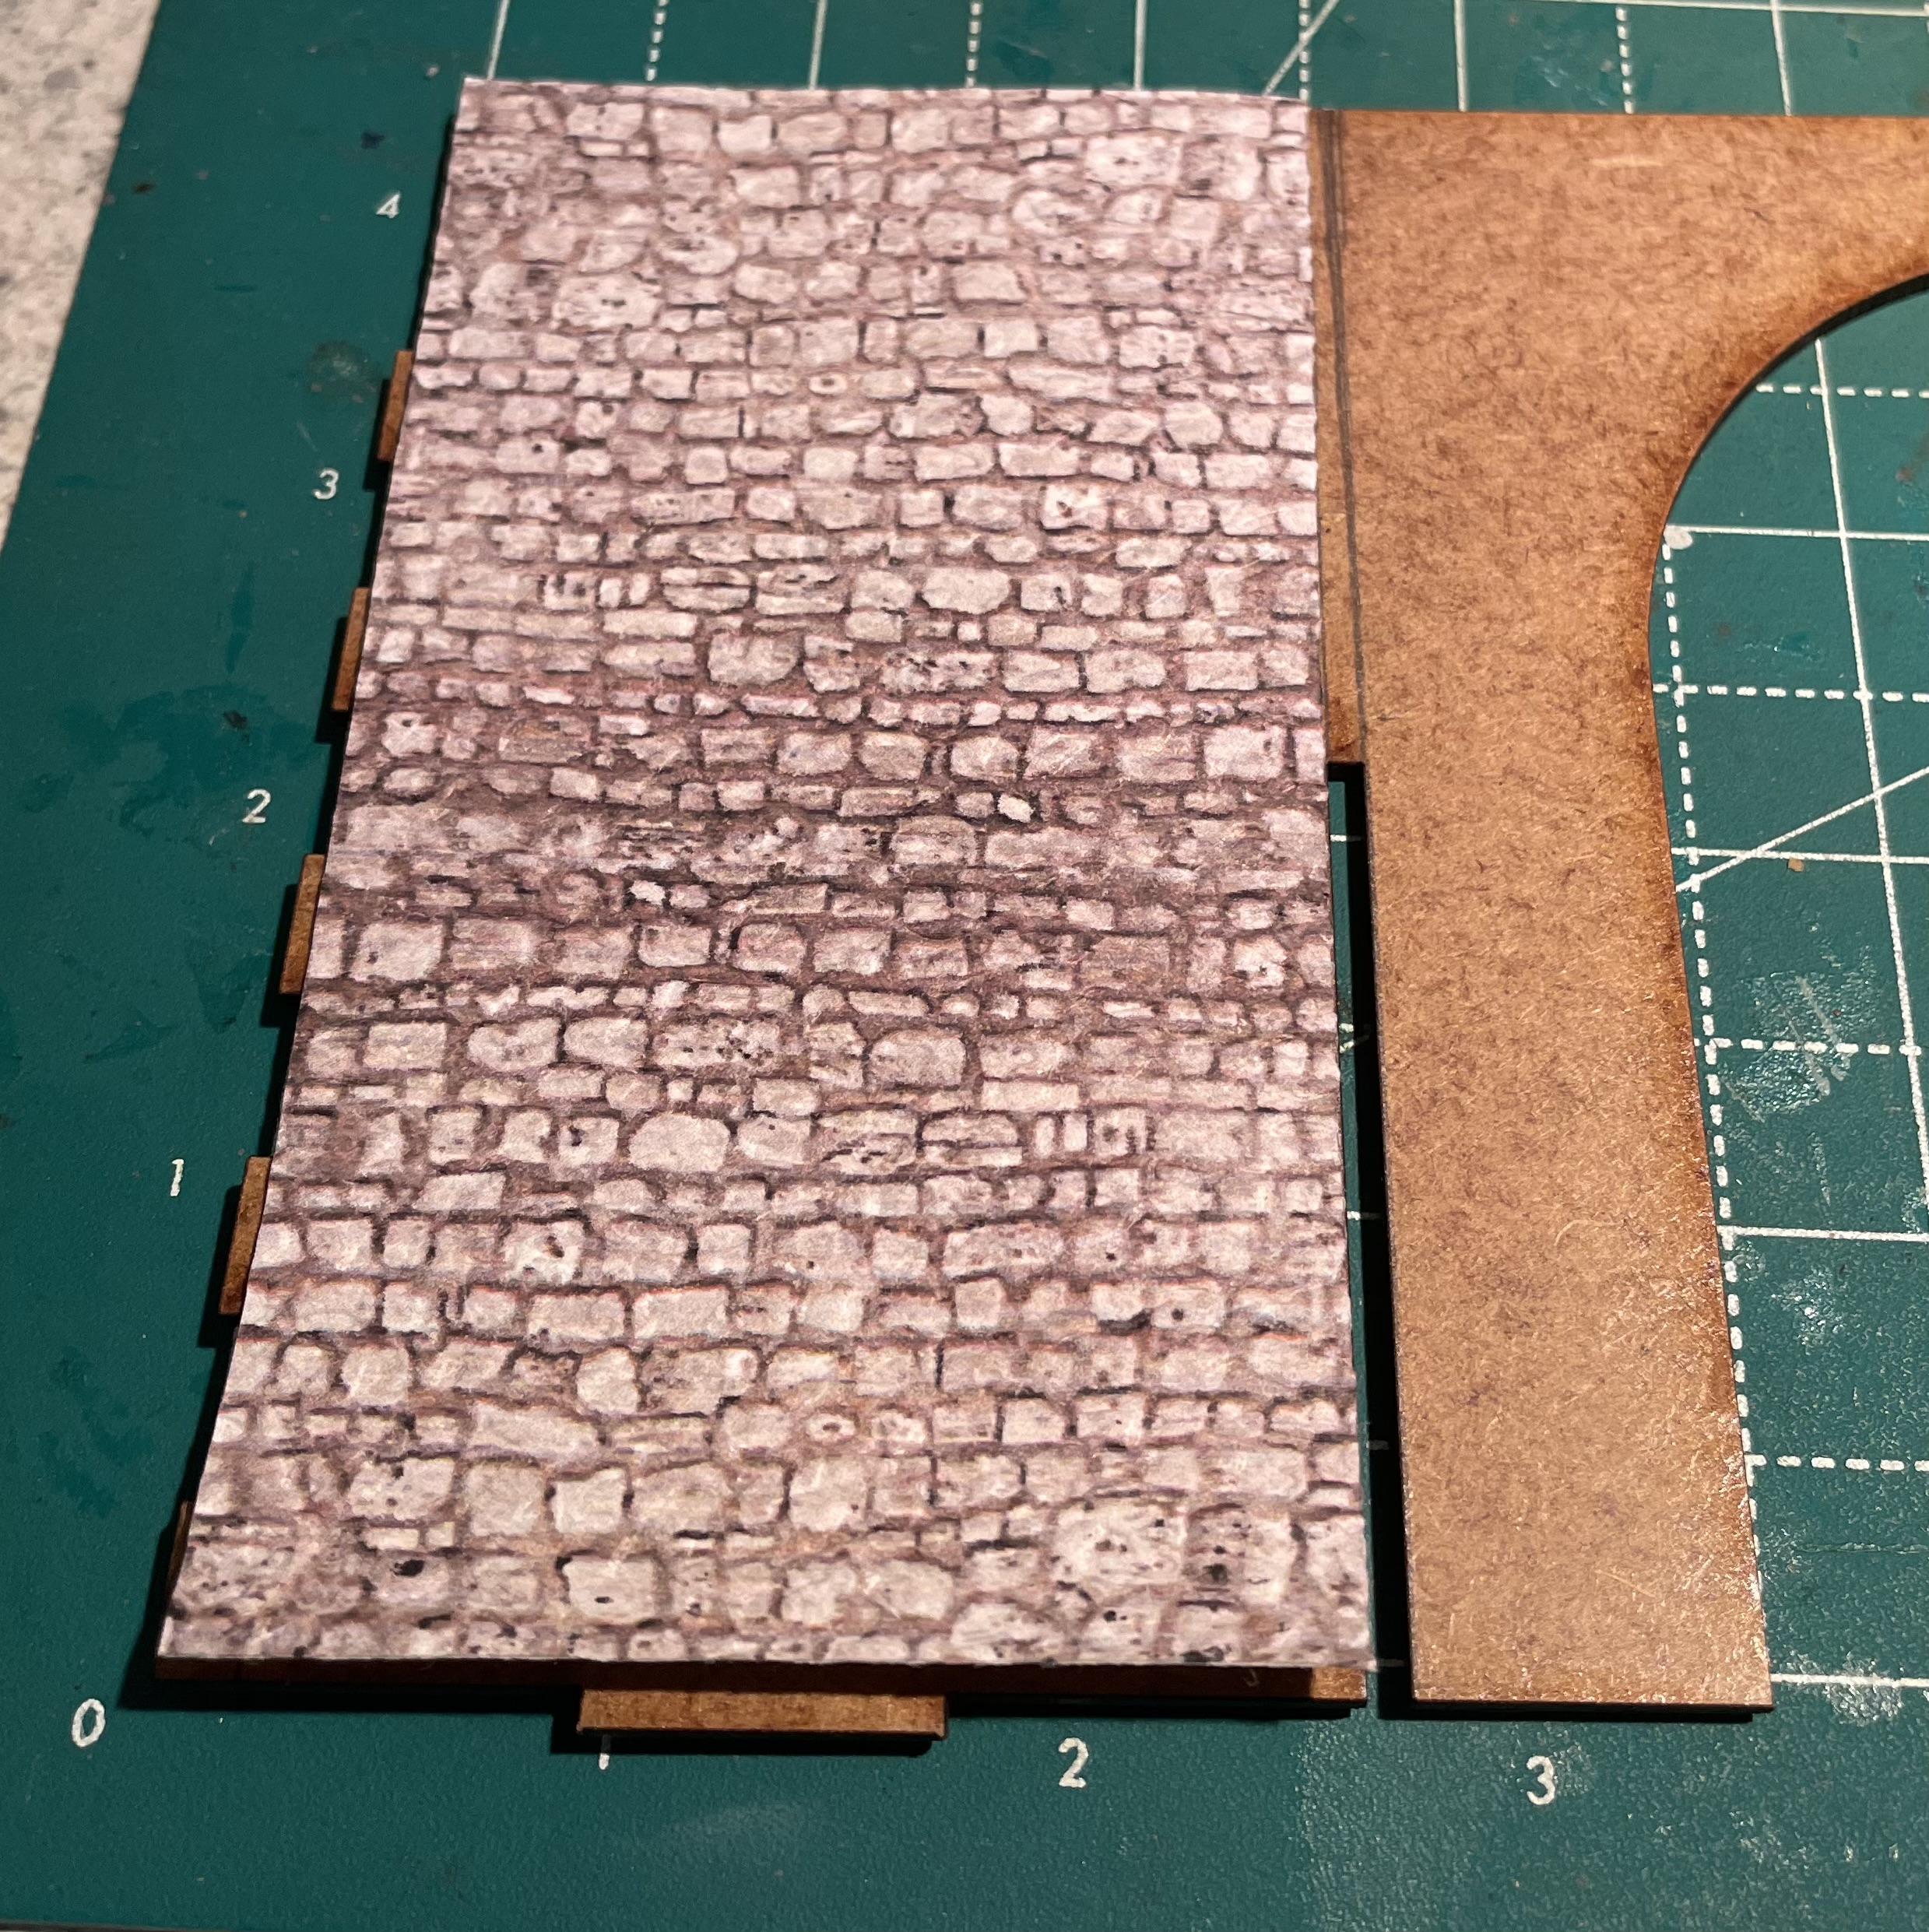
Stone paper being applied to the floor. This will help the floor stay together. The gap is, relatively speaking, wide and its hard to get enough glue in there. I applied glue over the entire underside of the paper, paying special attention to the edges. I used my, very heavy, 1-2-3 blocks for weight and for alignment. If you don't have a set of 1-2-3 blocks I really encourage that you pick some up (they are sold in pairs).

Floor is in, taking a look at how it looks.

This time with all the walls in place. If you look close you can see the gaps in the floor between the arches.

Removed the walls and put in some strips to cover the gaps. Hard to even tell they are there. I'm pretty please with how the floor has turned out at this point.


Friday, July 7, 2023

World War II Project - 28mm Village Church - Sarissa Precision - Introduction

I'm feeling pretty good about getting the railway station finished so I figured I would dive into the the Village Church from Sarissa Precision as my next project in this series. Mostly I picked this because its been sitting around unwrapped with loose parts since I started the railway station so a long time. Since I haven't lost anything yet I figured I better get it started.

Since I have long since lost the actual instructions I figured I should dry fit everything to figure out how it goes together and how I want to approach the build. The interior of this one is huge and while the roof is built in three distinct sections it will come away as a single piece when its all done.

My thoughts at this point:

1) All exterior and interior walls will be covered in a stone paper. This will require making sure all the windows are marked out appropriately so I don't cover up the detail and make sure mating surfaces are MDF to MDF.

2) The floor will be covered with another type of stone paper, mostly for contrast. Again wall locations will need to be marked out so that walls can be glued to the MDF and not to the stone paper.

3) Roof will get the same treatment as the Railway station, cardboard strips cut to represent individual shingles.

4) Stained glass windows. While there is nice detail on the outside of the structure, its a typical laser cut structure with no interior engraving. At the moment I'm thinking of tracing the cardboard detail pieces for the exterior and repeating them on the inside and sandwiching either paper or acetate for stained glass.

I think that's enough to think about to get a start on this one.

The floor is two pieces and I dry fitted the main walls into the appropriate tabs. 

Added the side walls for two wings.

Sort of got the roof into place

One of the walls for the wings with three different stone papers on the right. My thoughts at this point is to use the darker stone in the middle for the walls and the lighter grey/white stone for the floor. Off to the left you can see one of the arch frames that's been partially punched out.
Roof pieces for the wings and the tower components.


The tower is pretty cool, no idea how you would actually get up there though. The center section will be glued directly to the roof. The roof will be glued to the small piece on the left and all of that rests on top of the main central tower. Great observation post, very dangerous to actually use that way.

The roof tower dry fitted together and stack up. Definitely gluing the main body to the roof though. Don't want that sliding off.