I'm feeling pretty good about getting the railway station finished so I figured I would dive into the the Village Church from Sarissa Precision as my next project in this series. Mostly I picked this because its been sitting around unwrapped with loose parts since I started the railway station so a long time. Since I haven't lost anything yet I figured I better get it started.
Since I have long since lost the actual instructions I figured I should dry fit everything to figure out how it goes together and how I want to approach the build. The interior of this one is huge and while the roof is built in three distinct sections it will come away as a single piece when its all done.
My thoughts at this point:
1) All exterior and interior walls will be covered in a stone paper. This will require making sure all the windows are marked out appropriately so I don't cover up the detail and make sure mating surfaces are MDF to MDF.
2) The floor will be covered with another type of stone paper, mostly for contrast. Again wall locations will need to be marked out so that walls can be glued to the MDF and not to the stone paper.
3) Roof will get the same treatment as the Railway station, cardboard strips cut to represent individual shingles.
4) Stained glass windows. While there is nice detail on the outside of the structure, its a typical laser cut structure with no interior engraving. At the moment I'm thinking of tracing the cardboard detail pieces for the exterior and repeating them on the inside and sandwiching either paper or acetate for stained glass.
I think that's enough to think about to get a start on this one.
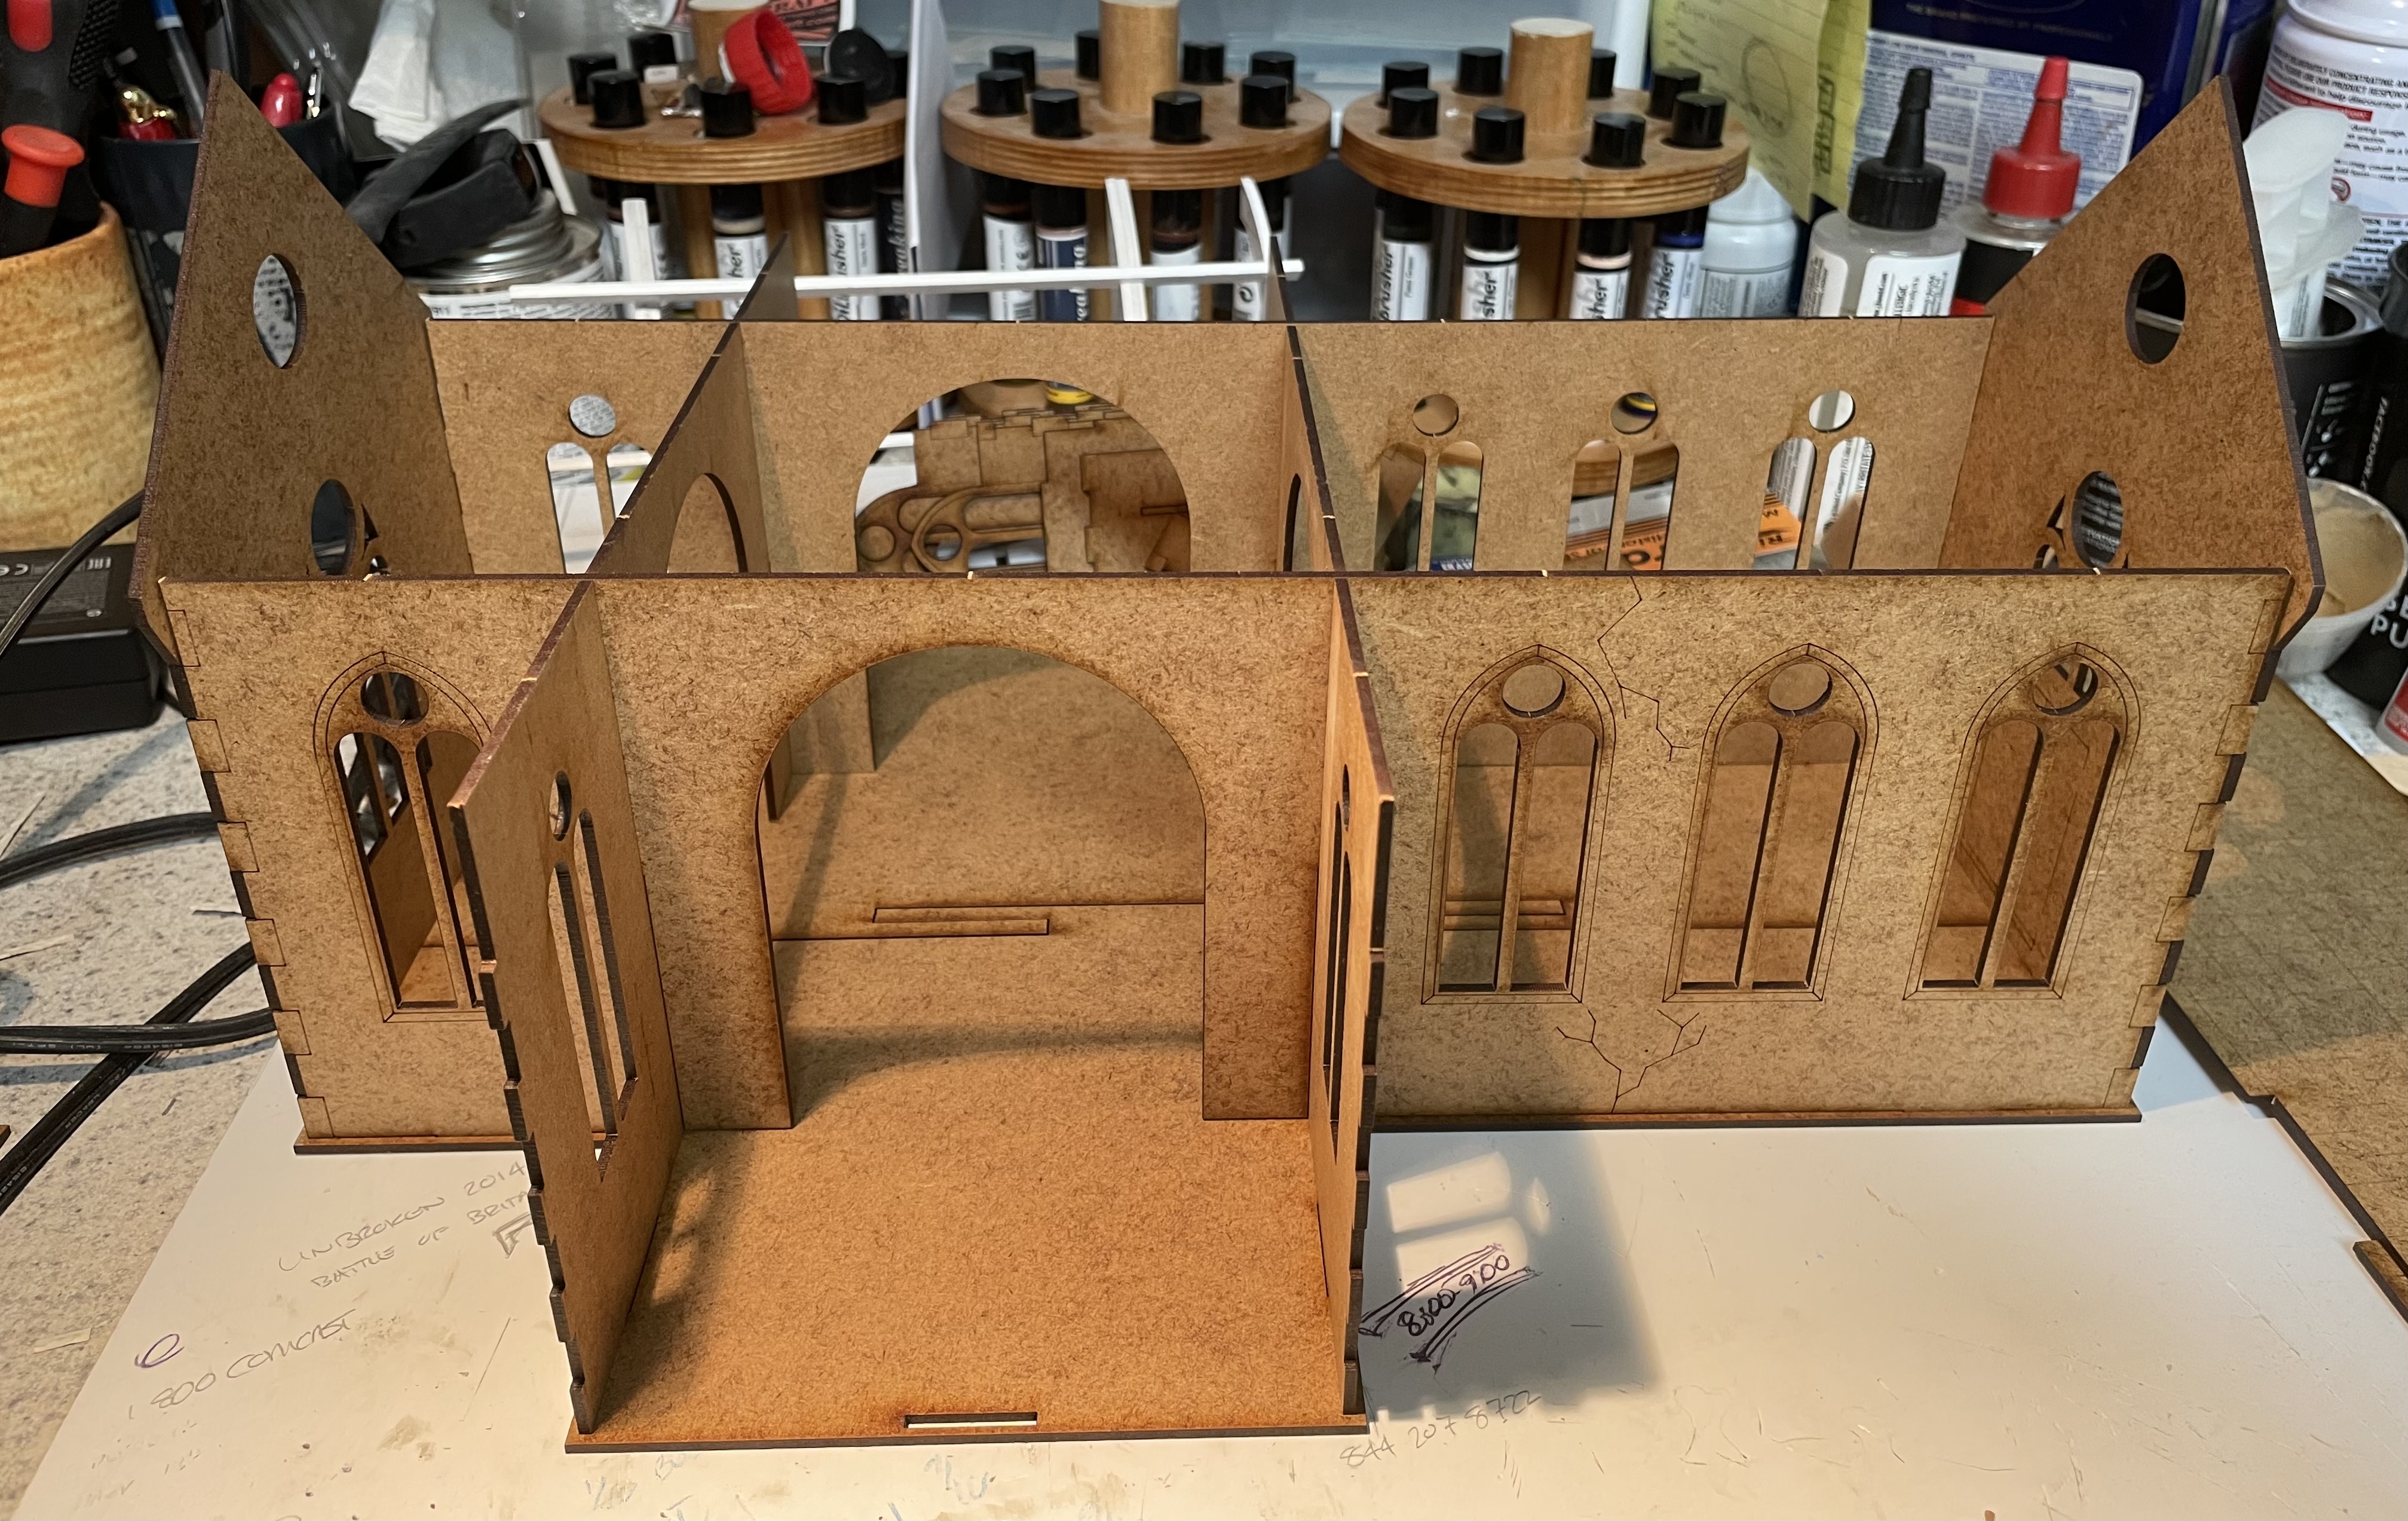 |
| The floor is two pieces and I dry fitted the main walls into the appropriate tabs. |
 |
| Added the side walls for two wings. |
 |
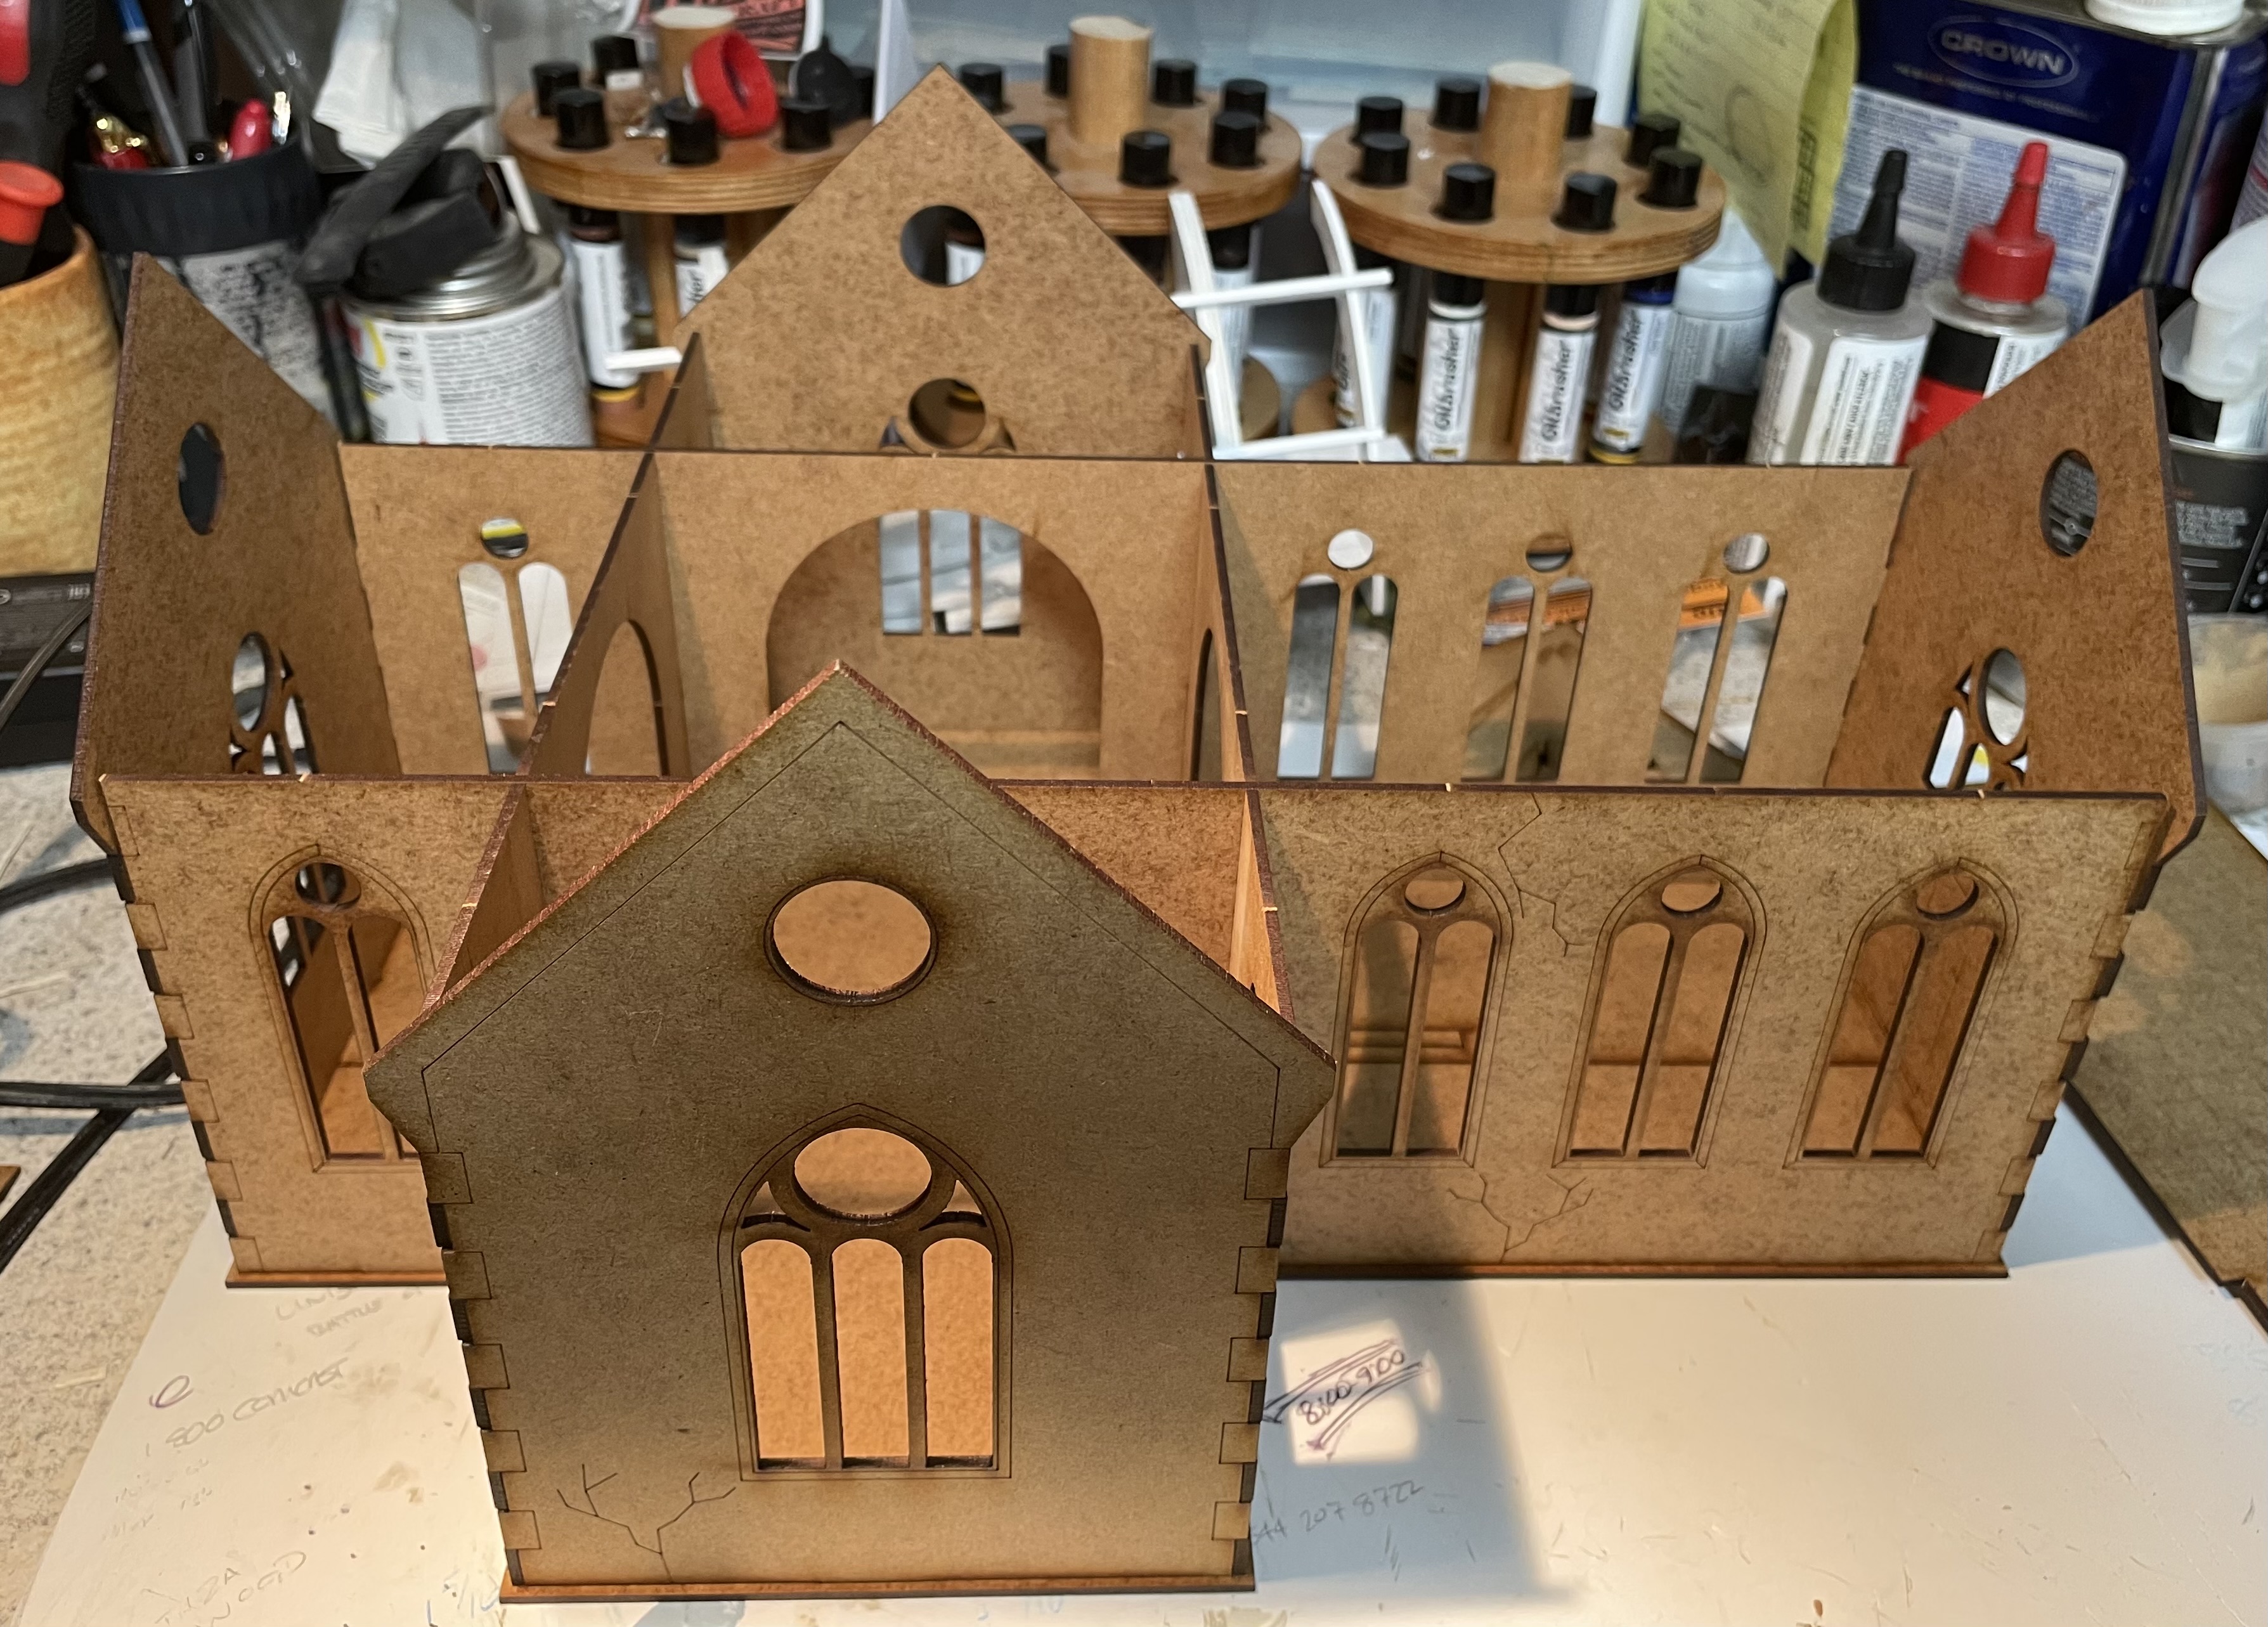
| Sort of got the roof into place |
 |
| One of the walls for the wings with three different stone papers on the right. My thoughts at this point is to use the darker stone in the middle for the walls and the lighter grey/white stone for the floor. Off to the left you can see one of the arch frames that's been partially punched out. |
 |
| Roof pieces for the wings and the tower components. |
 |
| The tower is pretty cool, no idea how you would actually get up there though. The center section will be glued directly to the roof. The roof will be glued to the small piece on the left and all of that rests on top of the main central tower. Great observation post, very dangerous to actually use that way. |
 |
| The roof tower dry fitted together and stack up. Definitely gluing the main body to the roof though. Don't want that sliding off. |
No comments:
Post a Comment