Quotes

Life is short, break the rules. Forgive quickly, kiss slowly. Love truly, laugh uncontrollably and never regret anything that makes you smile. - Samuel Longhorne Clemens (Mark Twain)

Monday, July 10, 2023

World War II Project - 28mm Village Church - Sarissa Precision - The Floor

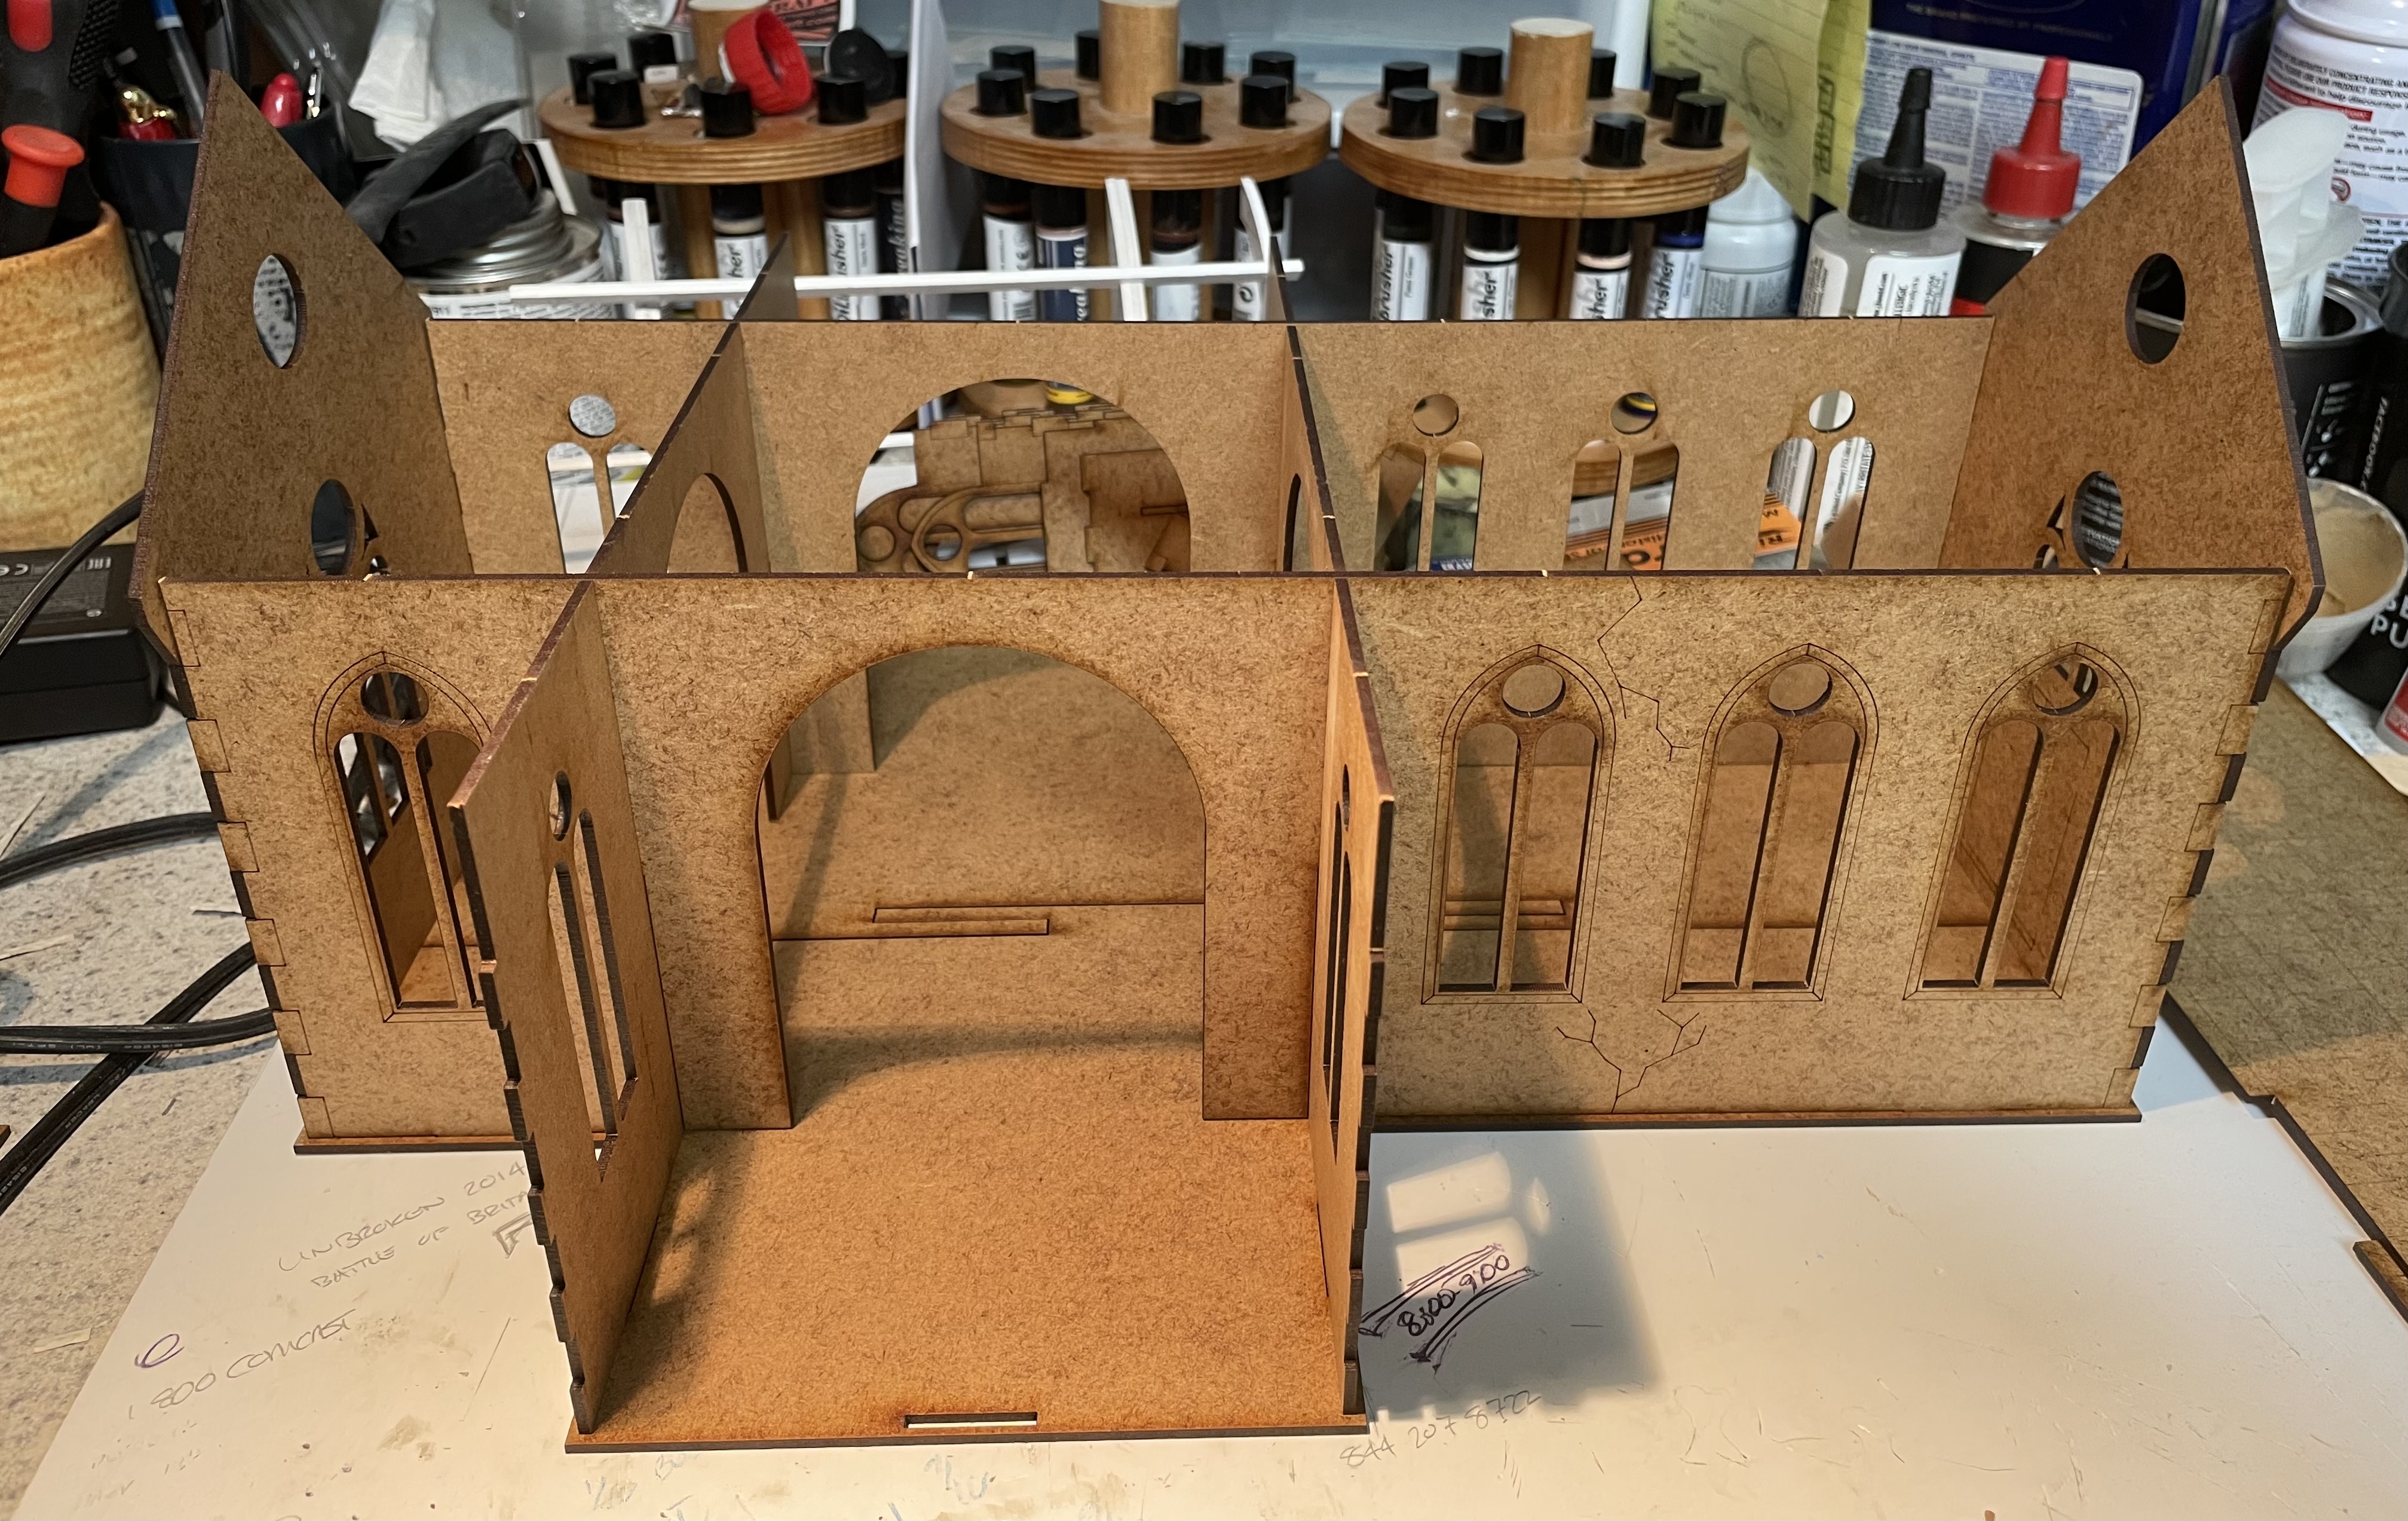
I'm doing what I can on the church while I figure out the approach for the church windows. The floor is huge so I figured I would start there. The floor itself is in two sections and the fit is not particularly tight. So I spread the glue along the centerline and then used the walls to make sure it didn't get skewed or warped. I let that dry over night.

The gap in the floor is not huge but it didn't glue together very well. That just proved that I would need to use the stone pattern sheet to help hold it together. Kept the measurements as I tight as I could I cut out three sections for the center and one piece for each wing. This did leave four gaps between the interior arches, but I can fill those with strips later. Again I used the walls to make sure everything stayed pretty square through out the gluing process. 

The floor is much stiffer now and shouldn't cause any problems moving forward.

The two halves of the floor glued together with the walls being used for alignment.

Stone paper being applied to the floor. This will help the floor stay together. The gap is, relatively speaking, wide and its hard to get enough glue in there. I applied glue over the entire underside of the paper, paying special attention to the edges. I used my, very heavy, 1-2-3 blocks for weight and for alignment. If you don't have a set of 1-2-3 blocks I really encourage that you pick some up (they are sold in pairs).

Floor is in, taking a look at how it looks.

This time with all the walls in place. If you look close you can see the gaps in the floor between the arches.

Removed the walls and put in some strips to cover the gaps. Hard to even tell they are there. I'm pretty please with how the floor has turned out at this point.


Friday, July 7, 2023

World War II Project - 28mm Village Church - Sarissa Precision - Introduction

I'm feeling pretty good about getting the railway station finished so I figured I would dive into the the Village Church from Sarissa Precision as my next project in this series. Mostly I picked this because its been sitting around unwrapped with loose parts since I started the railway station so a long time. Since I haven't lost anything yet I figured I better get it started.

Since I have long since lost the actual instructions I figured I should dry fit everything to figure out how it goes together and how I want to approach the build. The interior of this one is huge and while the roof is built in three distinct sections it will come away as a single piece when its all done.

My thoughts at this point:

1) All exterior and interior walls will be covered in a stone paper. This will require making sure all the windows are marked out appropriately so I don't cover up the detail and make sure mating surfaces are MDF to MDF.

2) The floor will be covered with another type of stone paper, mostly for contrast. Again wall locations will need to be marked out so that walls can be glued to the MDF and not to the stone paper.

3) Roof will get the same treatment as the Railway station, cardboard strips cut to represent individual shingles.

4) Stained glass windows. While there is nice detail on the outside of the structure, its a typical laser cut structure with no interior engraving. At the moment I'm thinking of tracing the cardboard detail pieces for the exterior and repeating them on the inside and sandwiching either paper or acetate for stained glass.

I think that's enough to think about to get a start on this one.


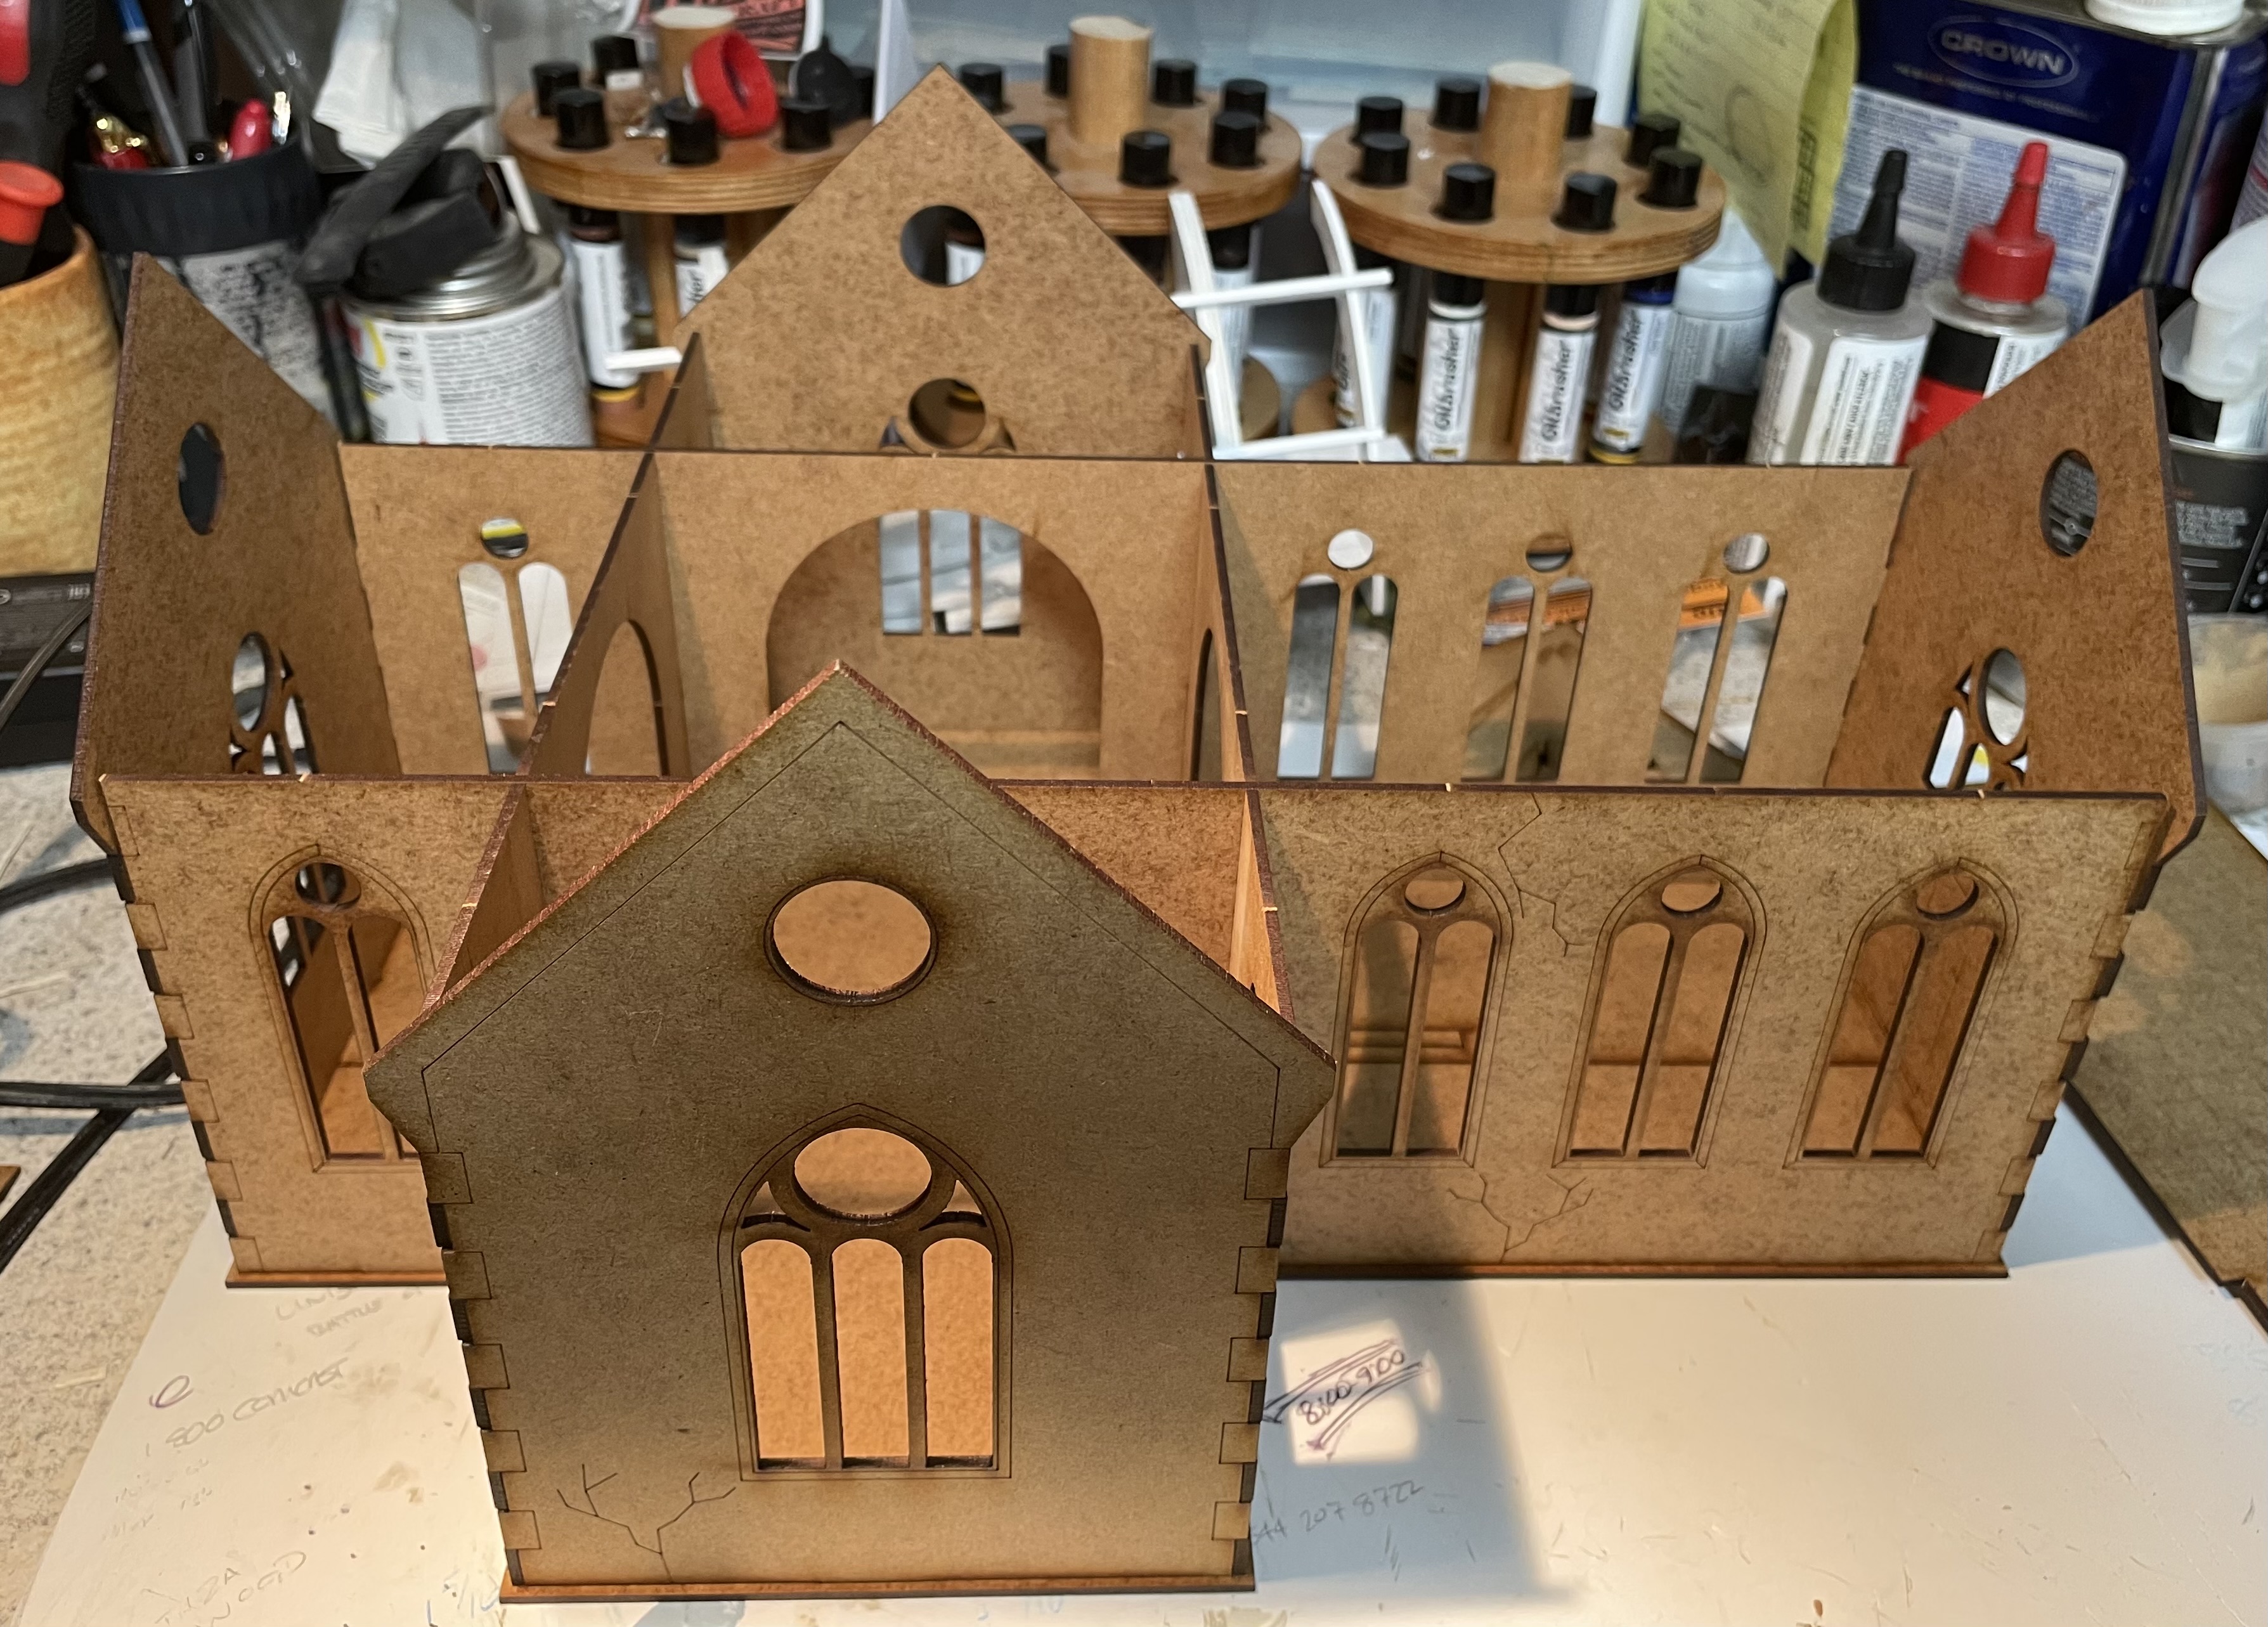
The floor is two pieces and I dry fitted the main walls into the appropriate tabs. 

Added the side walls for two wings.

Sort of got the roof into place

One of the walls for the wings with three different stone papers on the right. My thoughts at this point is to use the darker stone in the middle for the walls and the lighter grey/white stone for the floor. Off to the left you can see one of the arch frames that's been partially punched out.
Roof pieces for the wings and the tower components.


The tower is pretty cool, no idea how you would actually get up there though. The center section will be glued directly to the roof. The roof will be glued to the small piece on the left and all of that rests on top of the main central tower. Great observation post, very dangerous to actually use that way.

The roof tower dry fitted together and stack up. Definitely gluing the main body to the roof though. Don't want that sliding off.


Thursday, July 6, 2023

World War II Project - Return to the Railroad Station - Finished and some thoughts

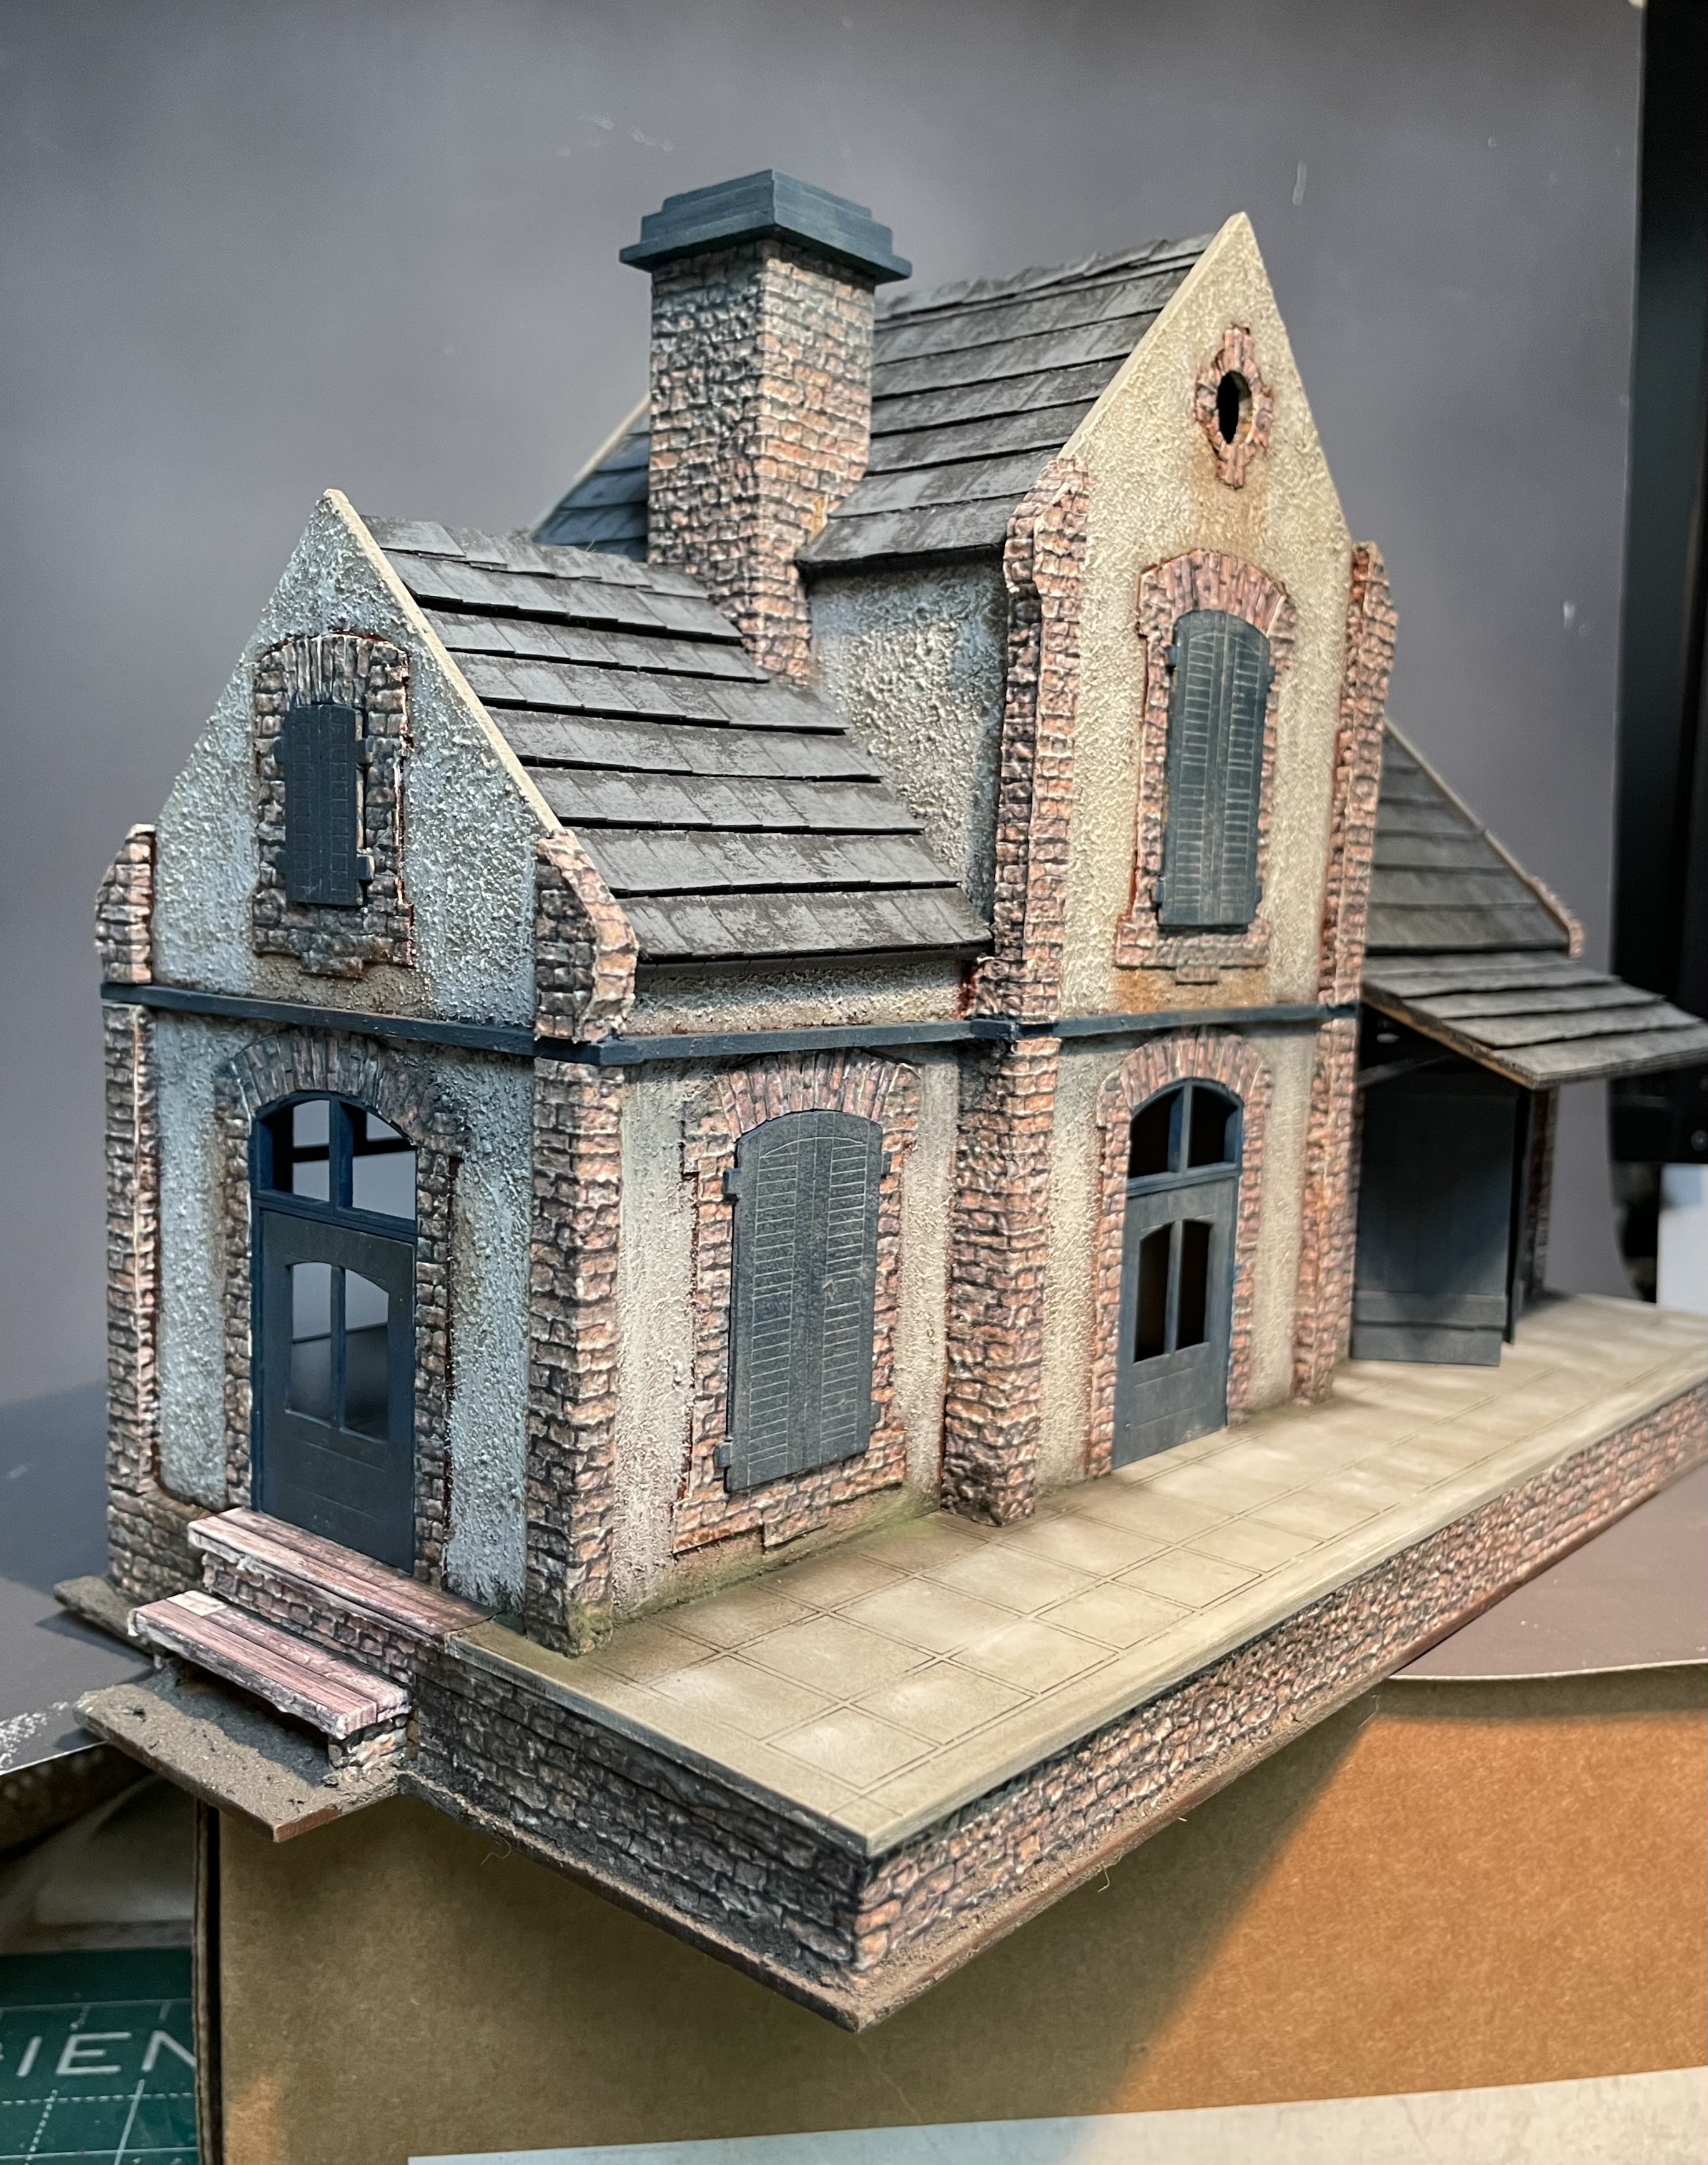
I stole some more time and pushed forward to finish the railroad station. I had previously painted the station platform and interior flooring with a "concrete" color. I followed this up with a dark wash, wiping it off the top surface leaving it, mostly, in the decorative etching on the platform. I then went back in with the Pan Pastels to add a bit of grime around the base of the walls and some neutral gray to pop the platform a bit. Then a little chromate green went into the deeper edges between the platform and the walls to give a bit of a moss feel to it.

I added a burnt umber wash to all the shutters and doors to try and make things pop a little bit and then with more Pan Pastel to fade the blues a bit. Then I glued everything into place. Leaving some shutters open and others closed. Freight doors were left open just a bit and the doors were just glued into place.

An initial closeup of the exterior steps with the paper wood combined with the bumpy brick.

Rail side. I have some of Sarissa's tracks and a carriage that I intend to use along this side.

Note the partially open baggage/freight doors


The road side. I opted for open shutters on this side. The baggage doors are also slightly open.


Overall I think Sarissa kits are pretty darn good. To make them better takes a little work, which is true of just about any laser cut kit out there. I intend to do groundwork along the edges and I'm to decide if this should be mounted to another larger base, which really goes back to how I want to approach the whole village build. Here are some of my thoughts and things I would do and how to make sure my next build goes smoother.

1) I have issues with MDF and its quality. Sarissa is not the only company effected by this lack of quality control. These are laser cut kits which translates to really accurate cuts. Unfortunately MDF itself is not made as precisely as the kits. I have found MDF pieces just a bit thicker or a bit thinner than they should be. The latter not much of an issue the first causes problems. Always, always dry fit the pieces before you try to glue things together. Forcing a tab that is to wide for the slot into place can easily result in a broken piece, typically the tab itself gives way and at worst the part it self snaps in half from the pressure being applied or the piece with slot snaps in half. A file or sandpaper will correct the issue really quick. Just be aware that if a piece is to thick that it can force the rest of the building out of alignment.

2) Specific to this kit, the station platform is a big piece and when you combine this with a big foundation piece and a lot of cross pieces you have to pay attention. Make sure that all the tabs come up through the platform deck correctly or you will have gaps in the foundation. I made this mistake (because I didn't dry fit first) when one of the cross pieces was to thick and I didn't notice the bulge created by this when I clamped everything down and the tabs didn't come through the slots correctly.

3) I love the look that the bumpy brick paper that I used gives the building, but working on the window arches was tedious beyond belief (hence the 2-3 years it took me to finish this thing). I would do it again, what I would not do is use the self adhesive version of this paper. The company makes both self adhesive paper and non-adhesive paper. At the time I thought the non-adhesive paper would be great. However it is thicker and the self adhesive backing can, and will, separate from the paper on a regular basis. Spreading glue is messy but a better choice in the end.

4) Keep anything you do on the inside as simple as possible. I have one kit by Charlie Foxtrot Models that I went whole hog on the inside. It wasn't worth the effort. Its a gaming piece not a display piece. I printed a floorboard pattern and applied it as one piece to the appropriate sections as opposed to individual boards. Painted the walls an off white color, with the airbrush, and left it at that. The last thing I did was apply the brick paper to the chimney and that took a lot of modification to the floor pieces for the second floor and two roof sections that the chimney came up through. So think things all the way through before you start to build to anticipate all the things that you will have to change and plan for it.

Thursday, June 29, 2023

World War II Project - Return to the Railroad Station - Pt 4

I have been avoiding the roof, but in an effort to finish the darn thing I needed to stop avoiding it. I had originally covered the mdf with shingle strips cut from cardboard. I should have sealed the cardboard with something first as it started to suck up paint like there was no tomorrow.

I back tracked a bit and re-primed the roof sections in black and then went over it with a light grey with a bit of light blue added to get a more bluish gray look. Its not bad, not perfect but at least the roof is now ready for weathering. In fact the only big piece remaining is the tile (?) floor on the inside of the main passenger section and the platform. Seems pretty fancy for a small station but that's how it was engraved on their laser. Once that has all been painted up I can start weathering, which is really the fun part.

Black Stynylrez Primer from Badger


Light grey plus a bit of light blue, a couple of colors from Reaper I think they are both out of production now.


And looking pretty good, the strong light is washing the colors out a bit,