This one is going to be a bit extensive, the proverbial wall of text perhaps. I'll go through a step by step build of a Rubicon Jagdpanther. This will be the G1 version for the Schwere Panzerjager Abteilung 654 after it was modified by their maintenance shops.
Step 1: Building the running gear and the lower hull. I'm not assembling the tracks and wheels at this point, it will be to hard to paint the inner wheels if I build them up, so those parts are all loose at the moment. One thing to keep in mind when you do assemble them is that the solid side of the wheel (no visible hole) faces to the outside. If you build them backwards you won't be able to mount them properly to the hull! At this point the only part of the running gear I have actually assembled is to glue on the driver and return wheels.
 |
| The Parts, that's the most extensive set of running gear I have put together from a Rubicon kit. |
 |
| Note that I have not actually glued together the road wheels and the track assembly. I'll do some priming and an initial coat of paint before I assemble them. |
 |
| The D rings on the front. I have not glued them because they fit nice and tight. However, DO NOT actually glue or otherwise attach them in this step. They will get in the way when you attach the upper hull to the lower hull and you risk damaging and/or losing them. |
Step 2: Periscopes. In step 2 you need to make the decision between the G1 and the G2 version. For this build I will be building a G1 so I'll be using part C01 - G1 Hull. Since I will be building a version as modified by 654's a maintenance shops this is a good time to clean up the hull by removing the tools. I'm also going with a closed periscope hatch on this one. As always be careful with the knife and file work! On the left side I managed to file away a piece I shouldn't have and a slip of the knife removed a couple of attachment points up higher on the hull. Fortunately I have plenty of plastic stripping that I can replace the unintended consequences. It was quite a bit easier to remove the tools from the right side of the hull.
 |
| G1 hull right off the sprue |
 |
| Tools removed from the right side. You can see the spot were the tools were on the left side in the next step. |
Step 3a: G1 Gun assembly. The only note I would make here is that you can glue piece D26 into place before you try to assemble the jigsaw assembly of the gun and I would recommend you do that. The gun is very "movable" I will probably glue it into a straight ahead orientation rather than leave it as built.
 |
| Parts for the gun and mantlet. Note the tools removed from the left side, along with the missing attachment points on the hull from the knife slipping. |
 |
| The gun from underneath. |
Step 3B: G1 Right Side and Upper Hull. There are a lot of optional parts in this step. The first thing to note is that D01 is unique to the 654th. If you are modeling a vehicle from another unit only use C09. I'm just happy that I didn't end up having to build this component from scratch. I'm definitely using C07 and D06 as those are tools that were moved from the hull sides to the rear. More appropriate for a 654th Jagdpanther but since they made recommendations to the manufacturer about placement they could be found placed in this way in other units. For now I'm leaving off the tow cable and the tracks. Based on the pictures the tow cable is just way to short and the spare tracks will go back on after the base camouflage is on. There are two selections for the rear hatch; B09 is closed, B10 is open. Although you can use B10 for open or closed. Not quite sure where I should be putting the jack block either. From the 654th history I don't see it any pictures so it may just go on the side if I can't find an alternate placement point.
 |
| Beginning the upper hull detail. Note that while I'm very grateful that piece D01 (last piece on the left) in included it is unique to the Jagdpanthers of the 654th. |
 |
| The jack block is the last piece. You can see where it is suppose to go on the hull side. I did find a picture where it was mounted further back on a Jagdpanther from the 654th so that's where I glued it. You can see it in place in some later photos. |
Step 3C: At this point, I had to go off the reservation because of the modifications. Again primarily moving tools from one point to another. There is a fair amount of filling that needs to be done on the hull at this point, I'll follow up with that later.
 |
| You do need to be patient when gluing on B12 to the left side (and B11 to the right. I found that it was easier to start at the front fender and gradually apply glue backwards. The piece likes to slip out of the trough at every opportunity. At least I know what it was this time and didn't slice it off like I did on the Trenchworx Jagdpanther. |
 |
| All of the tools in this step are moved to the rear deck. |
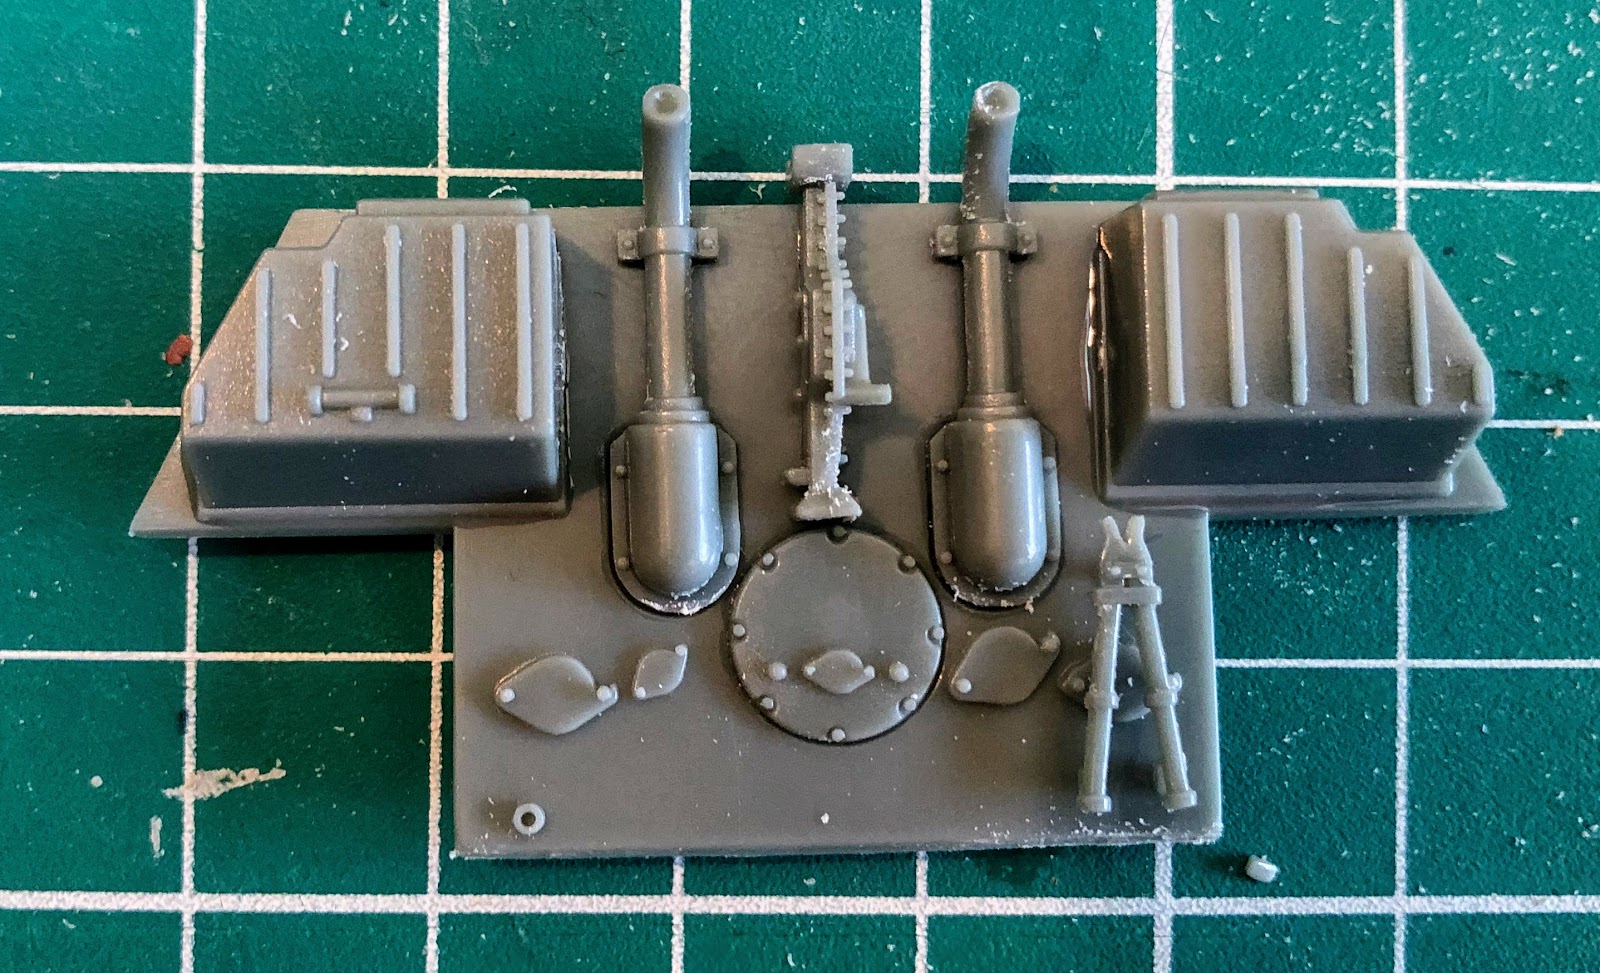
Step 3D: Rear Plate. While I glue everything together (and used the earliest style exhaust pipes, there are three options for these) for the next two I wouldn't glue anything to the rear hull plate until after the hull halves have been assembled. I ended up needing to reattach the hull jack and one of the exhausts.
Step 3e: Here you will be attaching, and maybe cursing, gluing the upper hull to the lower hull. After that comes the sideskirts, which I won't be using, the crew figure (I wish there was more than one) and the rear plate.
 |
| Mostly finished. Lower hull and upper hull glued together. If you look close you can see that the front D rings are missing because of how you need to slide the upper hull into place. The gun cleaning rod container has been moved to the back deck along with a couple of other tools. My sledgehammer is missing, I lost my grip on the tweezers and it went flying somewhere. |
So a few more notes. In step one there you attach C12 and C13, don't attach those in step 1. Do not attach those D Rings until you have assembled the lower and upper hulls. As I was putting the two hulls together I heard two pops as those D Rings went flying off into the vastness of the room, likely to never be found again. Its not a huge deal that they are missing now but the hulls will go together easier if you do this after the hulls are assembled.
Overall I'm pleased with the kit but I do feel there are somethings that could have been done better. The instructions certainly should have gone through an edit or two and it would have been nice if the G1 hull had a zimmerit coating since most of the G1 hulls had the concrete coating. I also had a hard time getting the hulls to match up cleanly. I'm going to do a little filling on the front to sharpen up that edge. The rear isn't to bad although I would have liked to have clamped it in place while it dried.
Overall, I like the kit and would recommend it. Should be a nice sturdy vehicle for the wargame table. Now I just need to figure out how to put zimmerit on it and make it look good. Never been one of my strong points.


No comments:
Post a Comment